
Whole Wheat Sourdough Bread

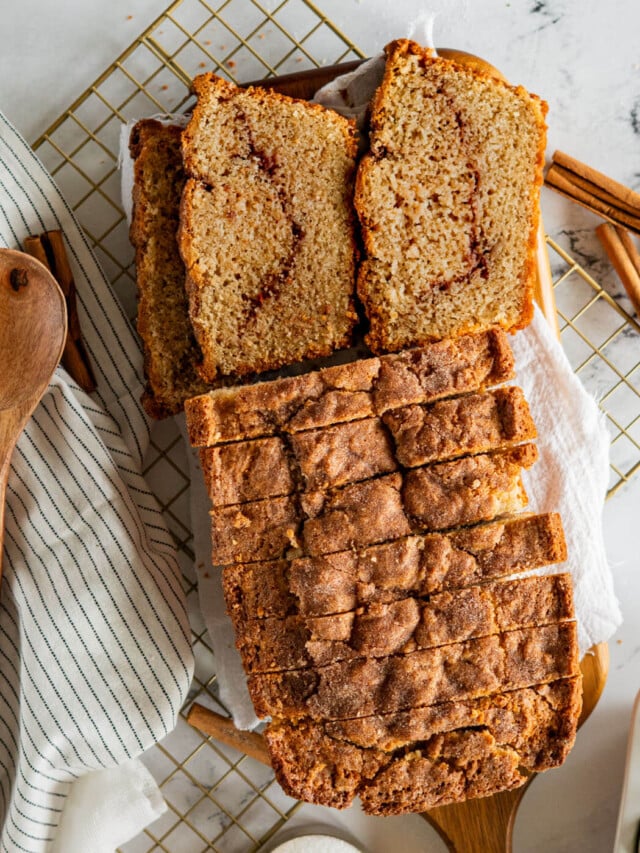
This whole wheat sourdough bread is soft, airy, and packed with the rich, nutty flavor of whole wheat flour; bran, germ, and all. With just the right balance of tenderness and chew, it's perfect for sandwiches, toast, or enjoying warm with a slather of butter.

Craving The Recipe Details?

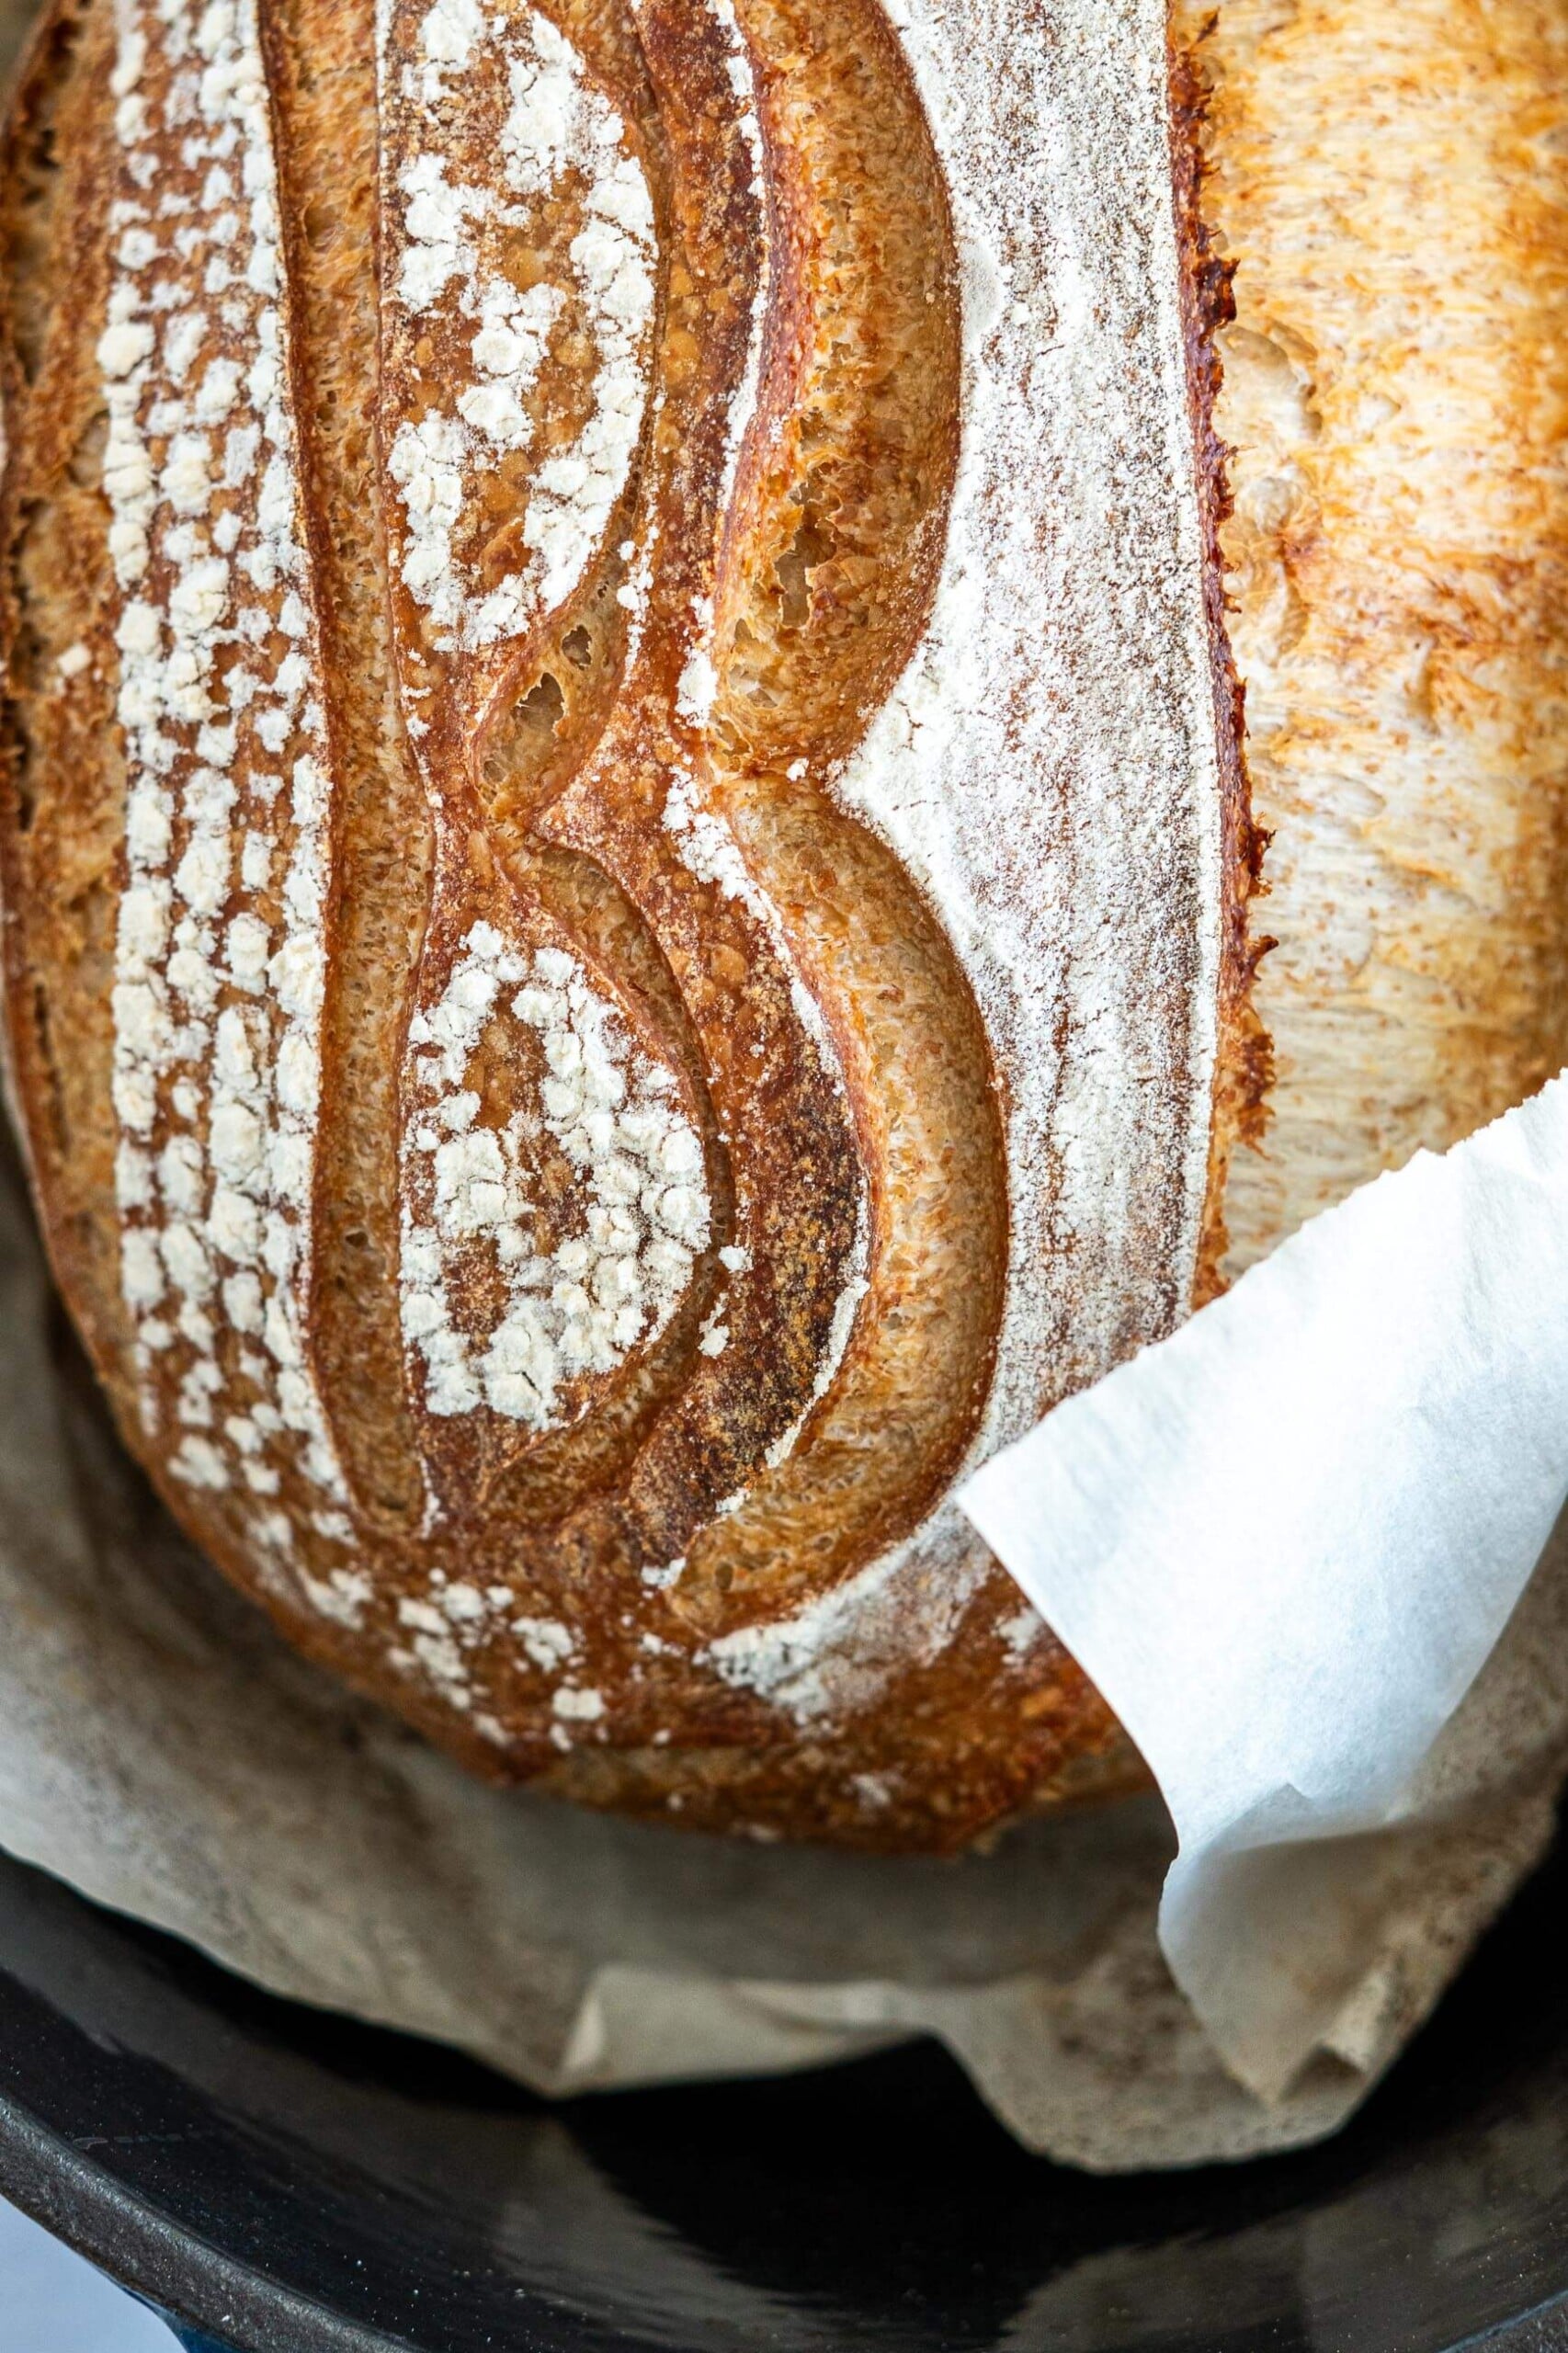
What it is: A soft, airy whole wheat sourdough loaf with a rich, nutty flavor, baked in a dutch oven with a beautifully scored crust.
Why you’ll love it: All the tangy sourdough goodness you crave, with 50% whole wheat flour and raw honey for a wholesome, flavorful loaf that’s worth every step of the process.
How to make it: Autolyse your flours with warm water and honey, fold in your active starter and salt, perform three sets of stretch and folds over several hours, shape and cold retard in the fridge, then bake covered at 450°F in a preheated dutch oven for a stunning loaf.
Whole wheat sourdough bread can be soft, airy, and genuinely delicious! It doesn’t have to be the dense, heavy loaf that gives whole grain bread a bad reputation. This recipe uses a 50/50 blend of whole wheat and bread flour, raw honey, and a technique called autolyse to produce a loaf with a beautifully open crumb, rich nutty flavor, and a crackling crust.
Unlike recipes that cap whole wheat at 20% to play it safe, this 50/50 blend delivers real whole grain flavor and a soft, airy crumb because the technique does the heavy lifting. The total timeline is about 24 hours, but your actual hands-on time is less than an hour. And the best part? You don’t need any special equipment or ingredients, just time and patience.
Whether you’re an experienced sourdough baker adding whole grains to your rotation, or a home baker looking for a healthier everyday loaf, this guide walks you through every step.
This whole wheat sourdough bread recipe is dedicated to patience.
Jump to:

Master Your Sourdough Starter In 5 Days!
From Confused To Confident.
Find success with 5 simple, actionable secrets delivered to you. No more guessing games – just clear, proven steps to a thriving starter.
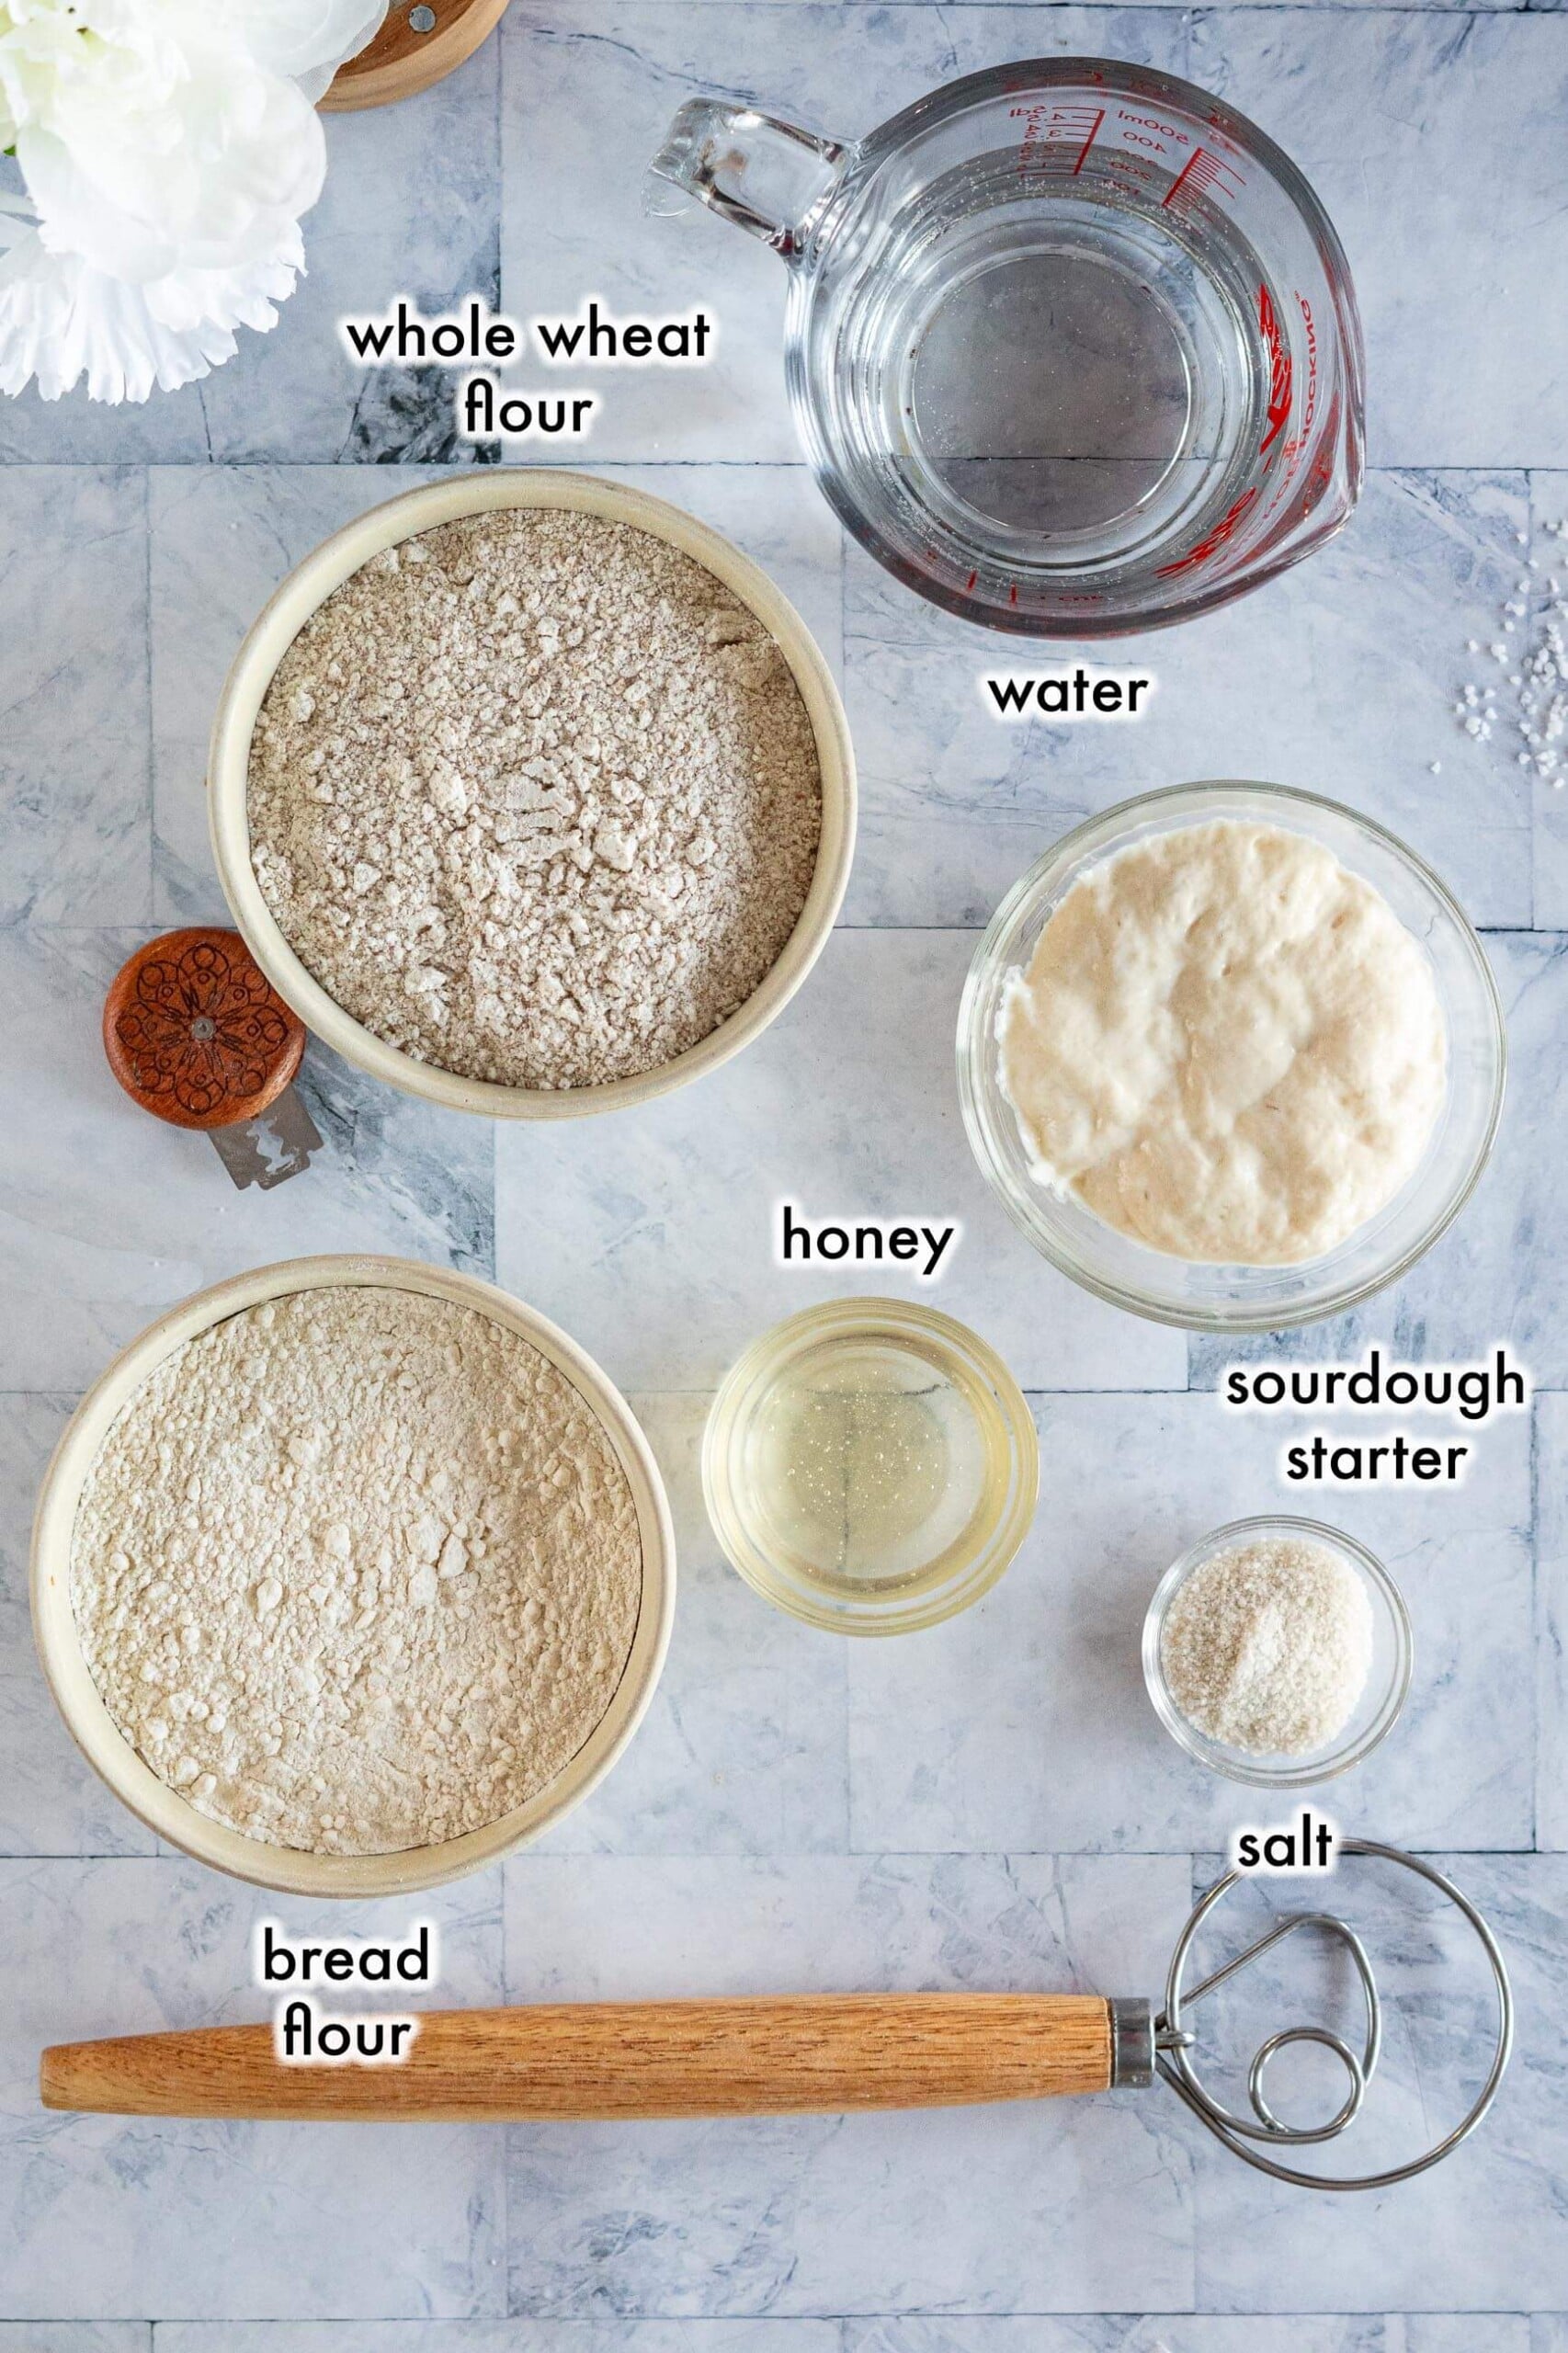
Key Ingredients
Sourdough Starter: For this recipe, you want to use a fed and active sourdough starter. This recipe is based on a sourdough starter with 100% hydration (equal amounts of flour and water by weight, not volume.)
Honey: I am using raw, unpasteurized honey straight from my homestead honeybees and it does more work in this recipe than you might expect! Honey acts as a natural dough conditioner and can help improve dough strength and baking performance. Whole wheat flour is nutty and earthy, but the bran can carry a slight bitterness, honey’s sweetness softens that edge. It’s subtle, but you’d notice if it were missing.
Read More: How To Revive Your Sourdough Starter
How To Make Whole Wheat Sourdough Bread
Autolyse:
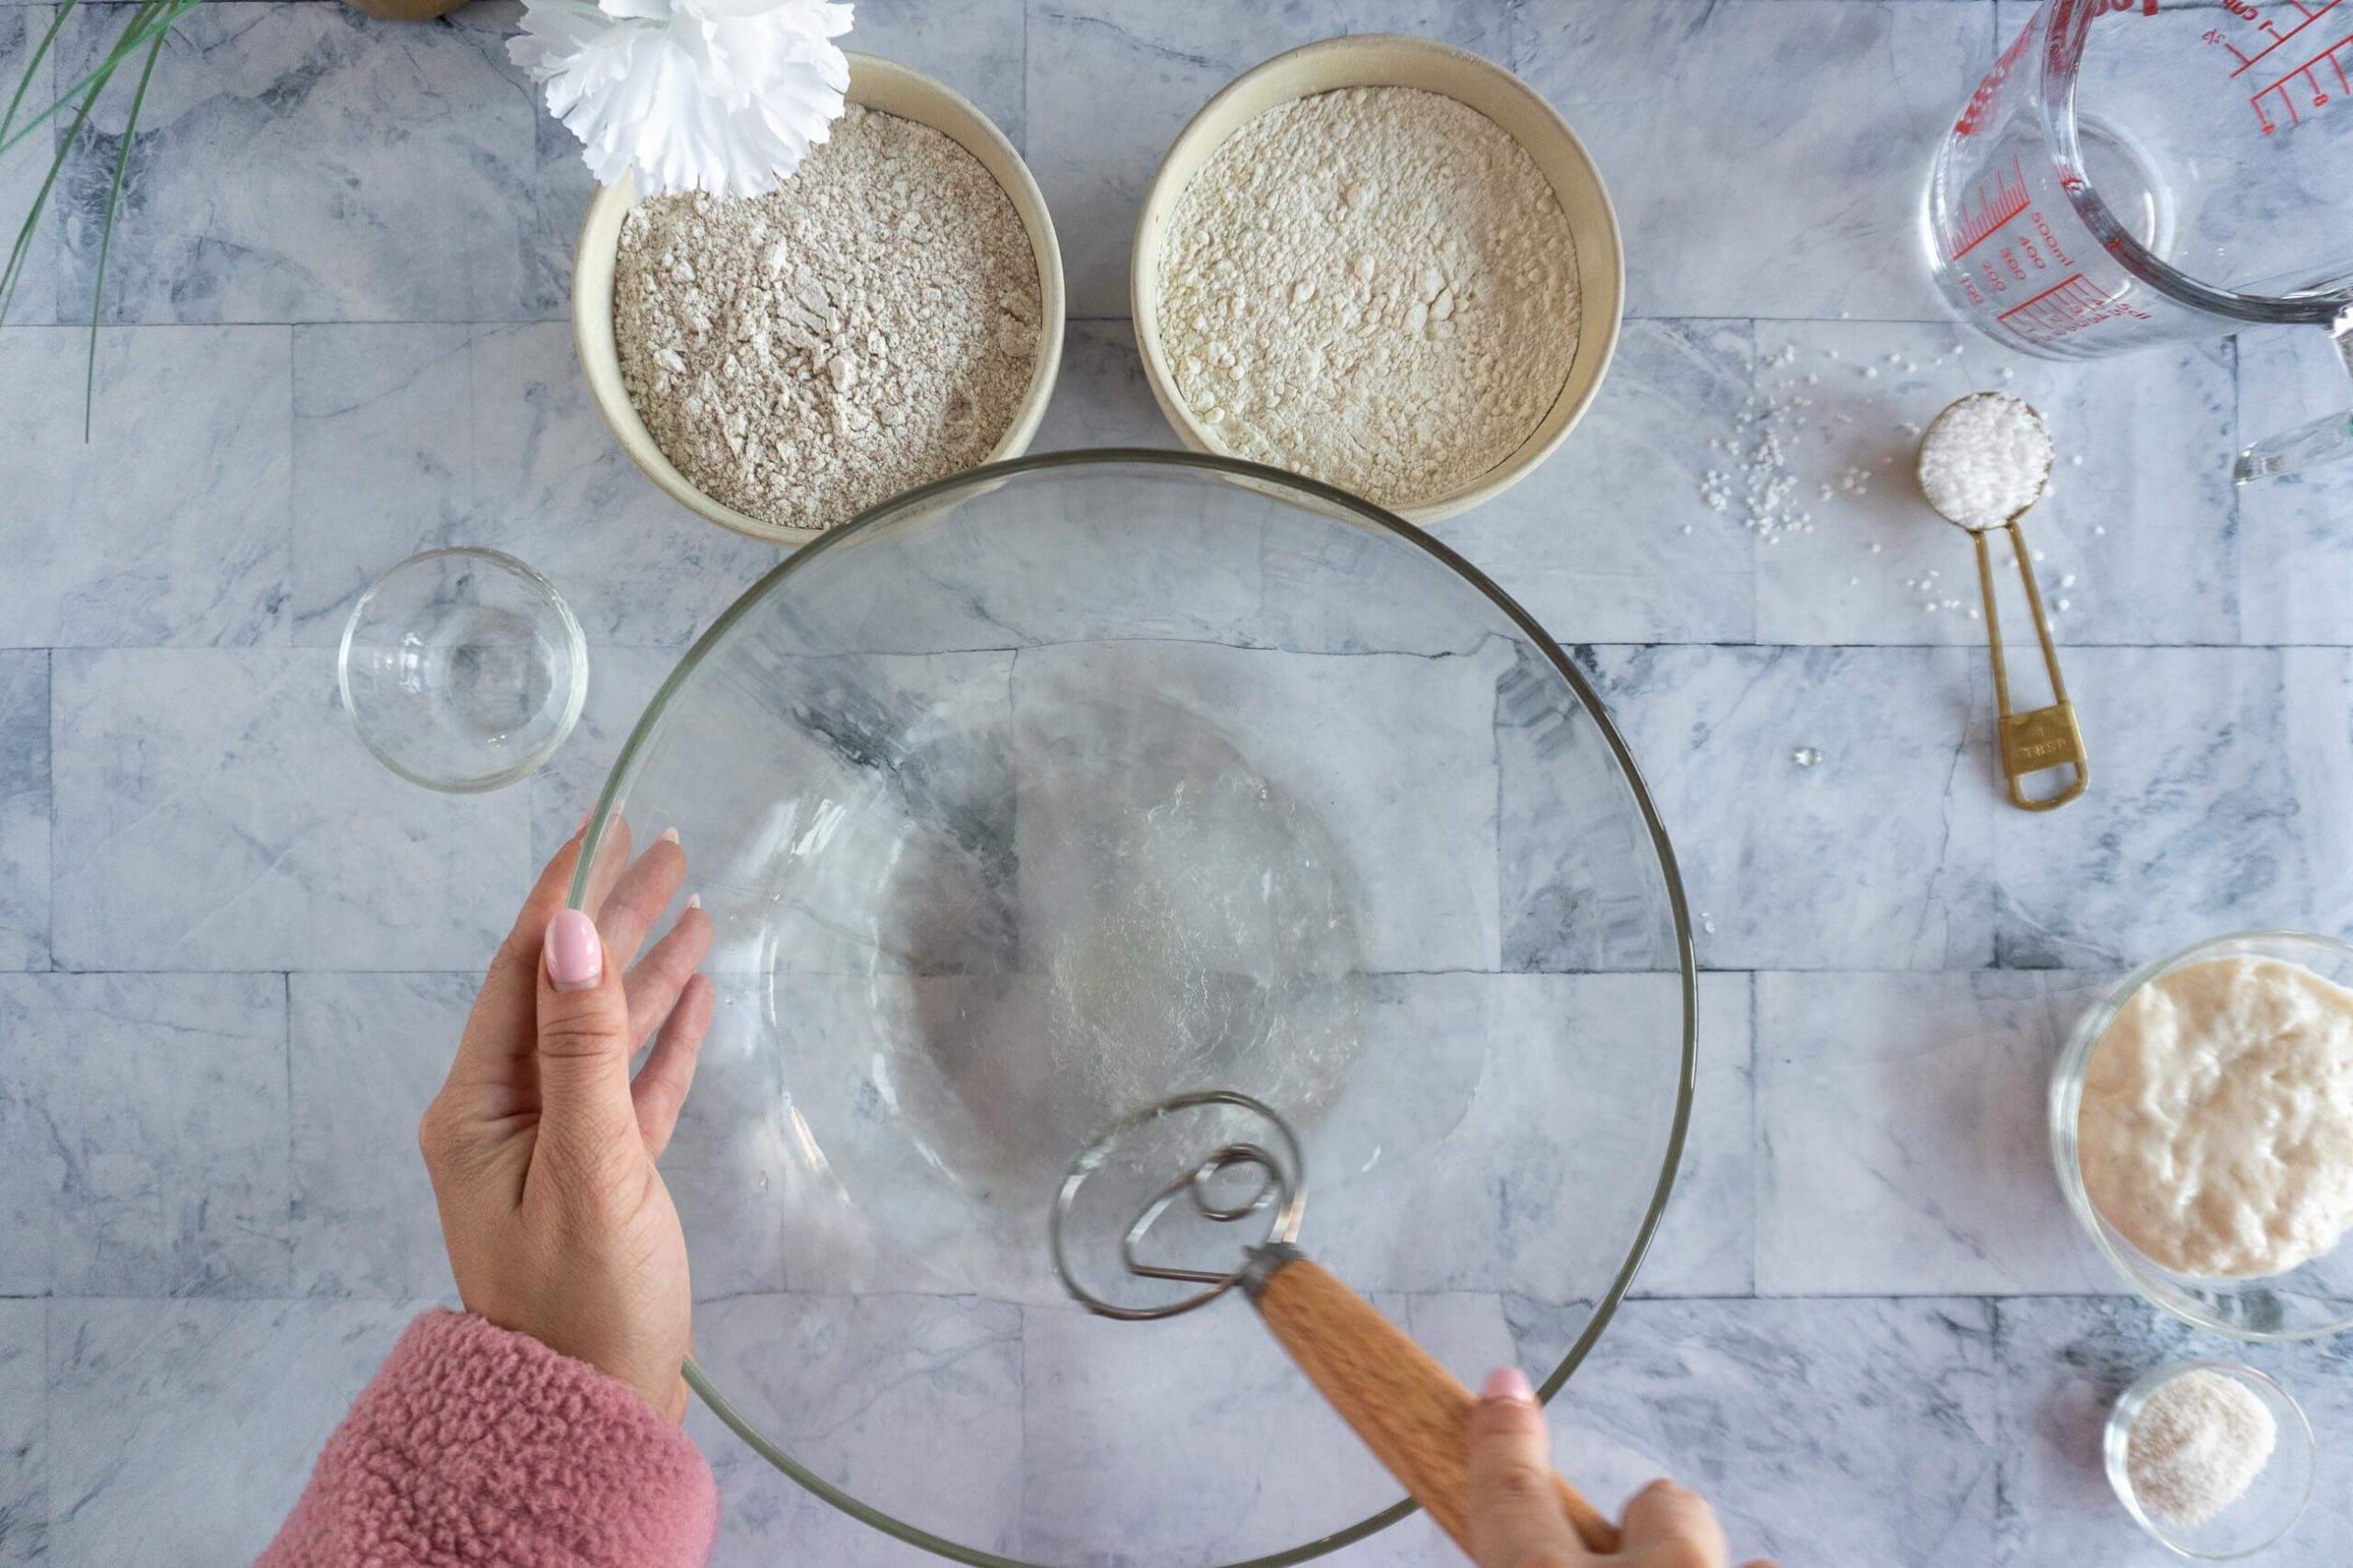
- Step 1: In a large mixing bowl, combine 340g warm water with 45g honey, stir until completely combined.
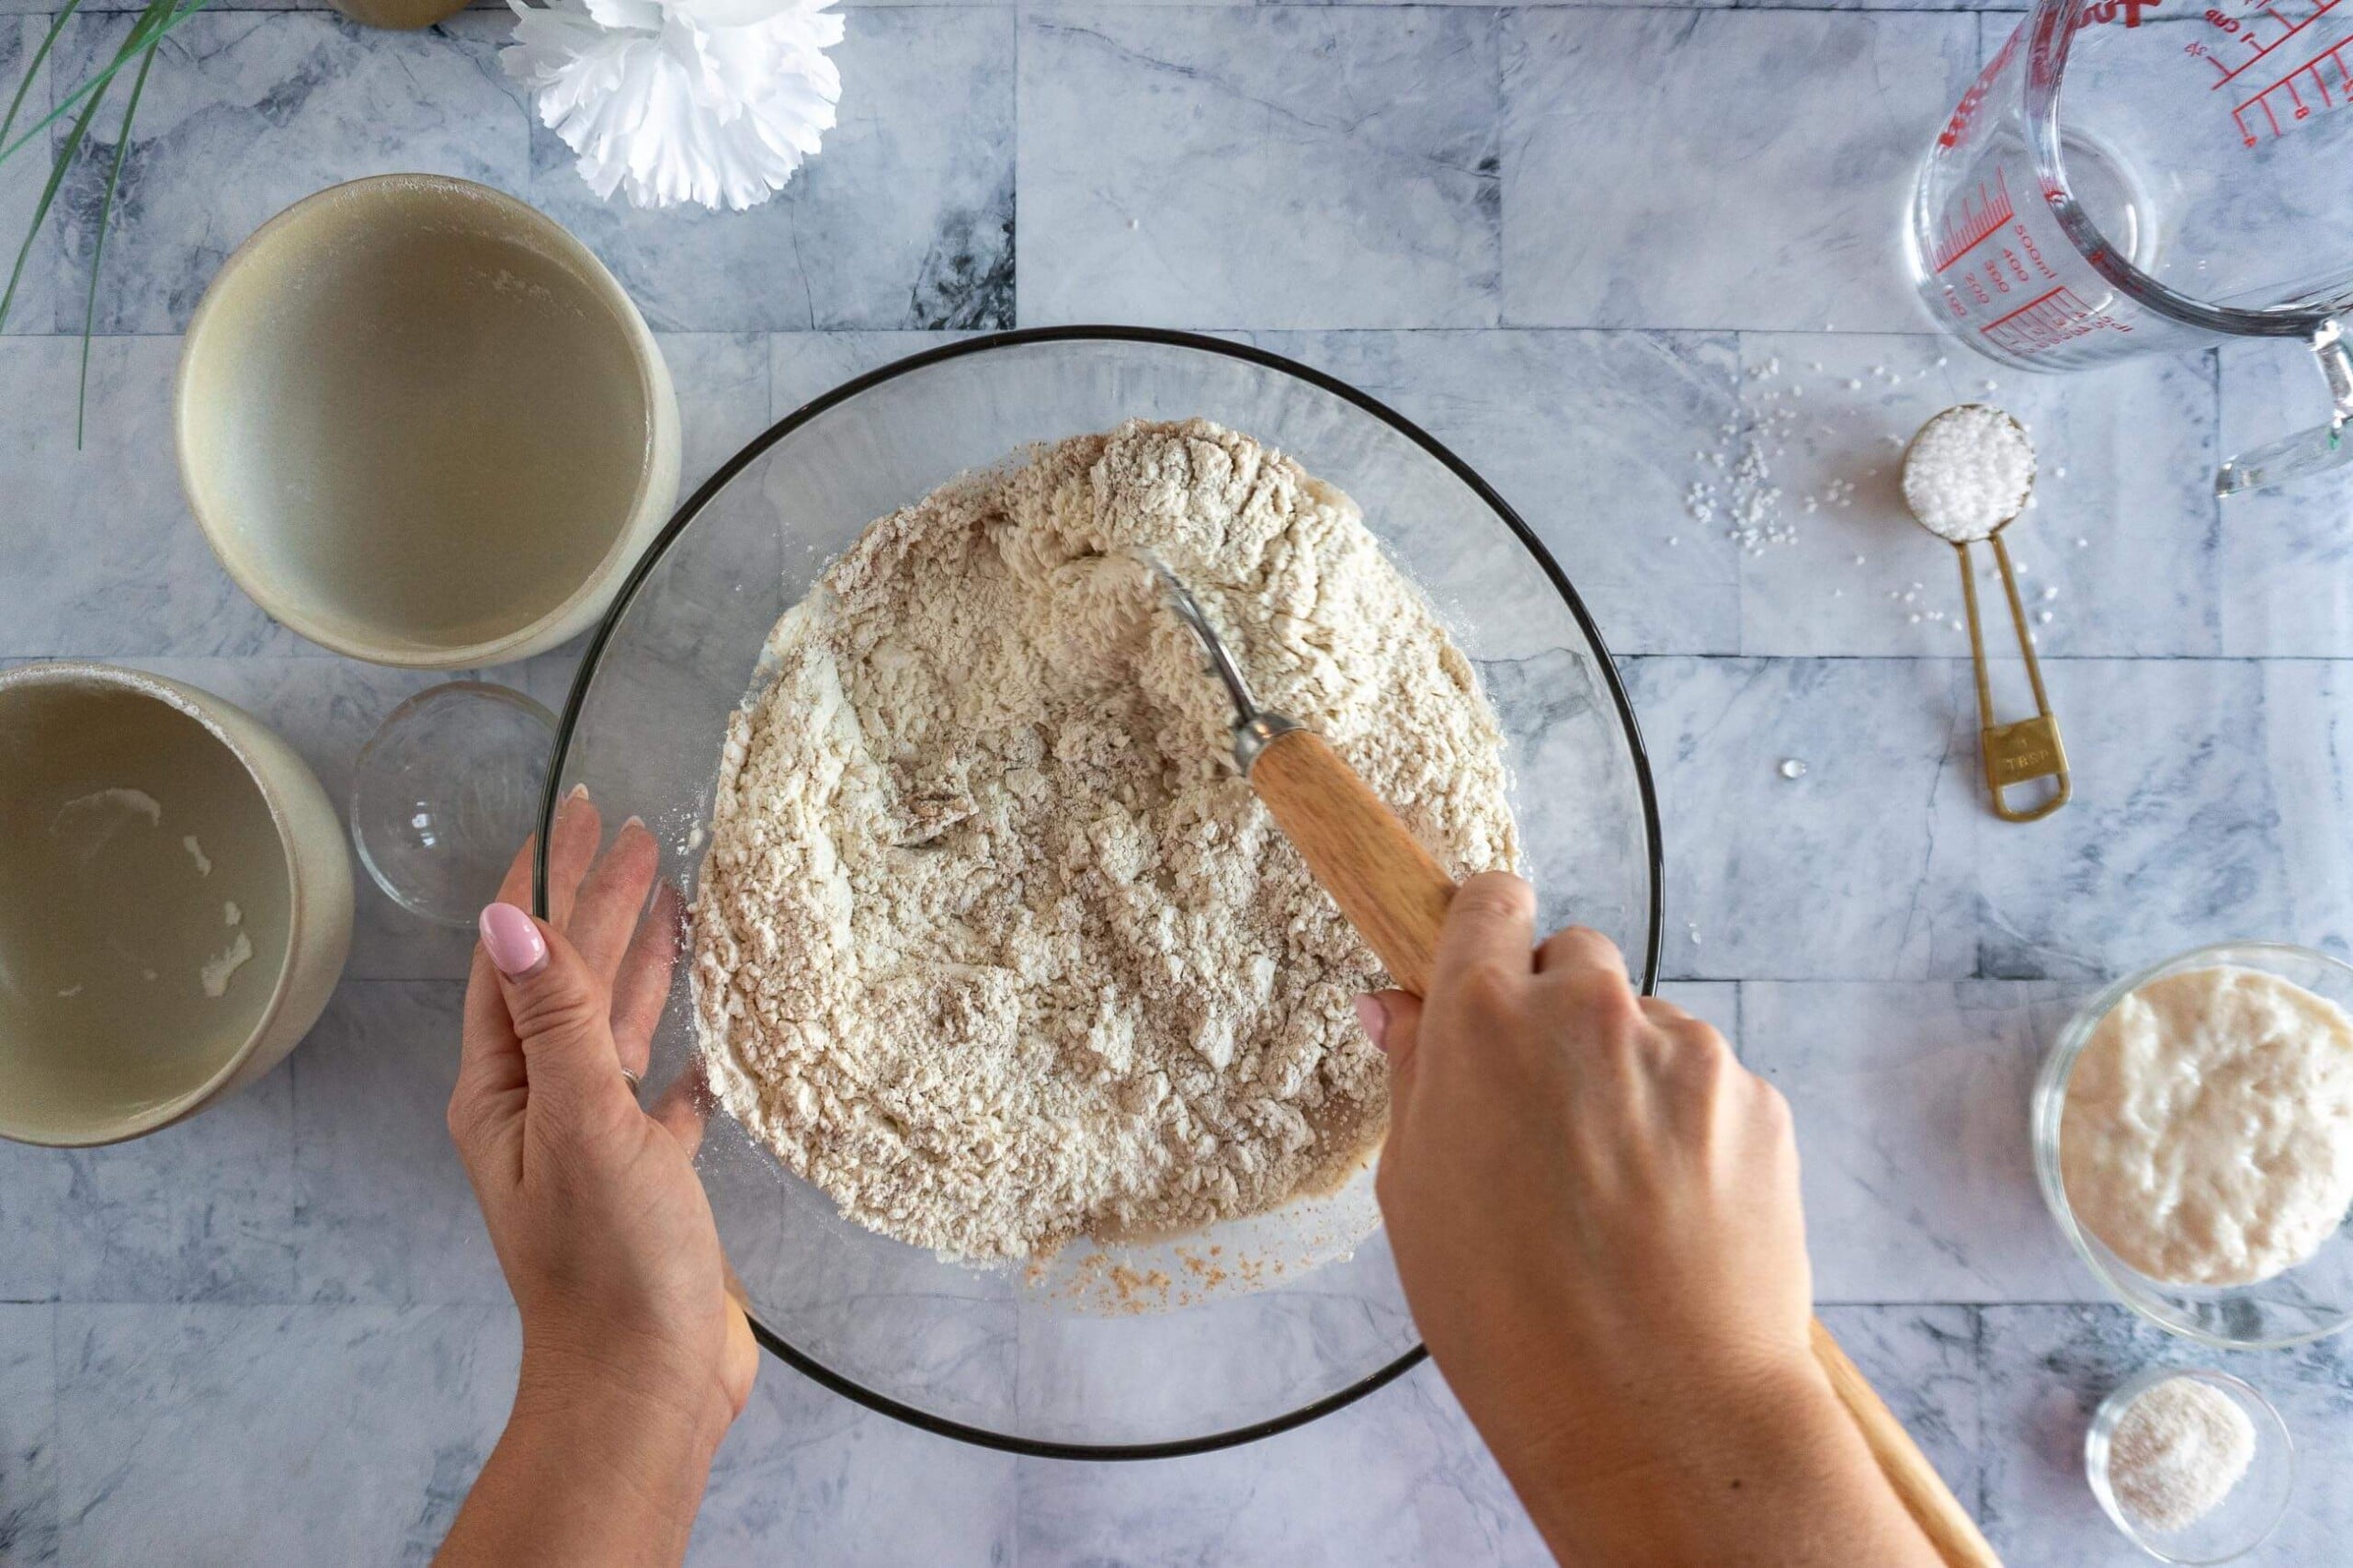
- Step 2: Add 250g bread flour and 250g whole wheat flour and mix until a shaggy dough forms.
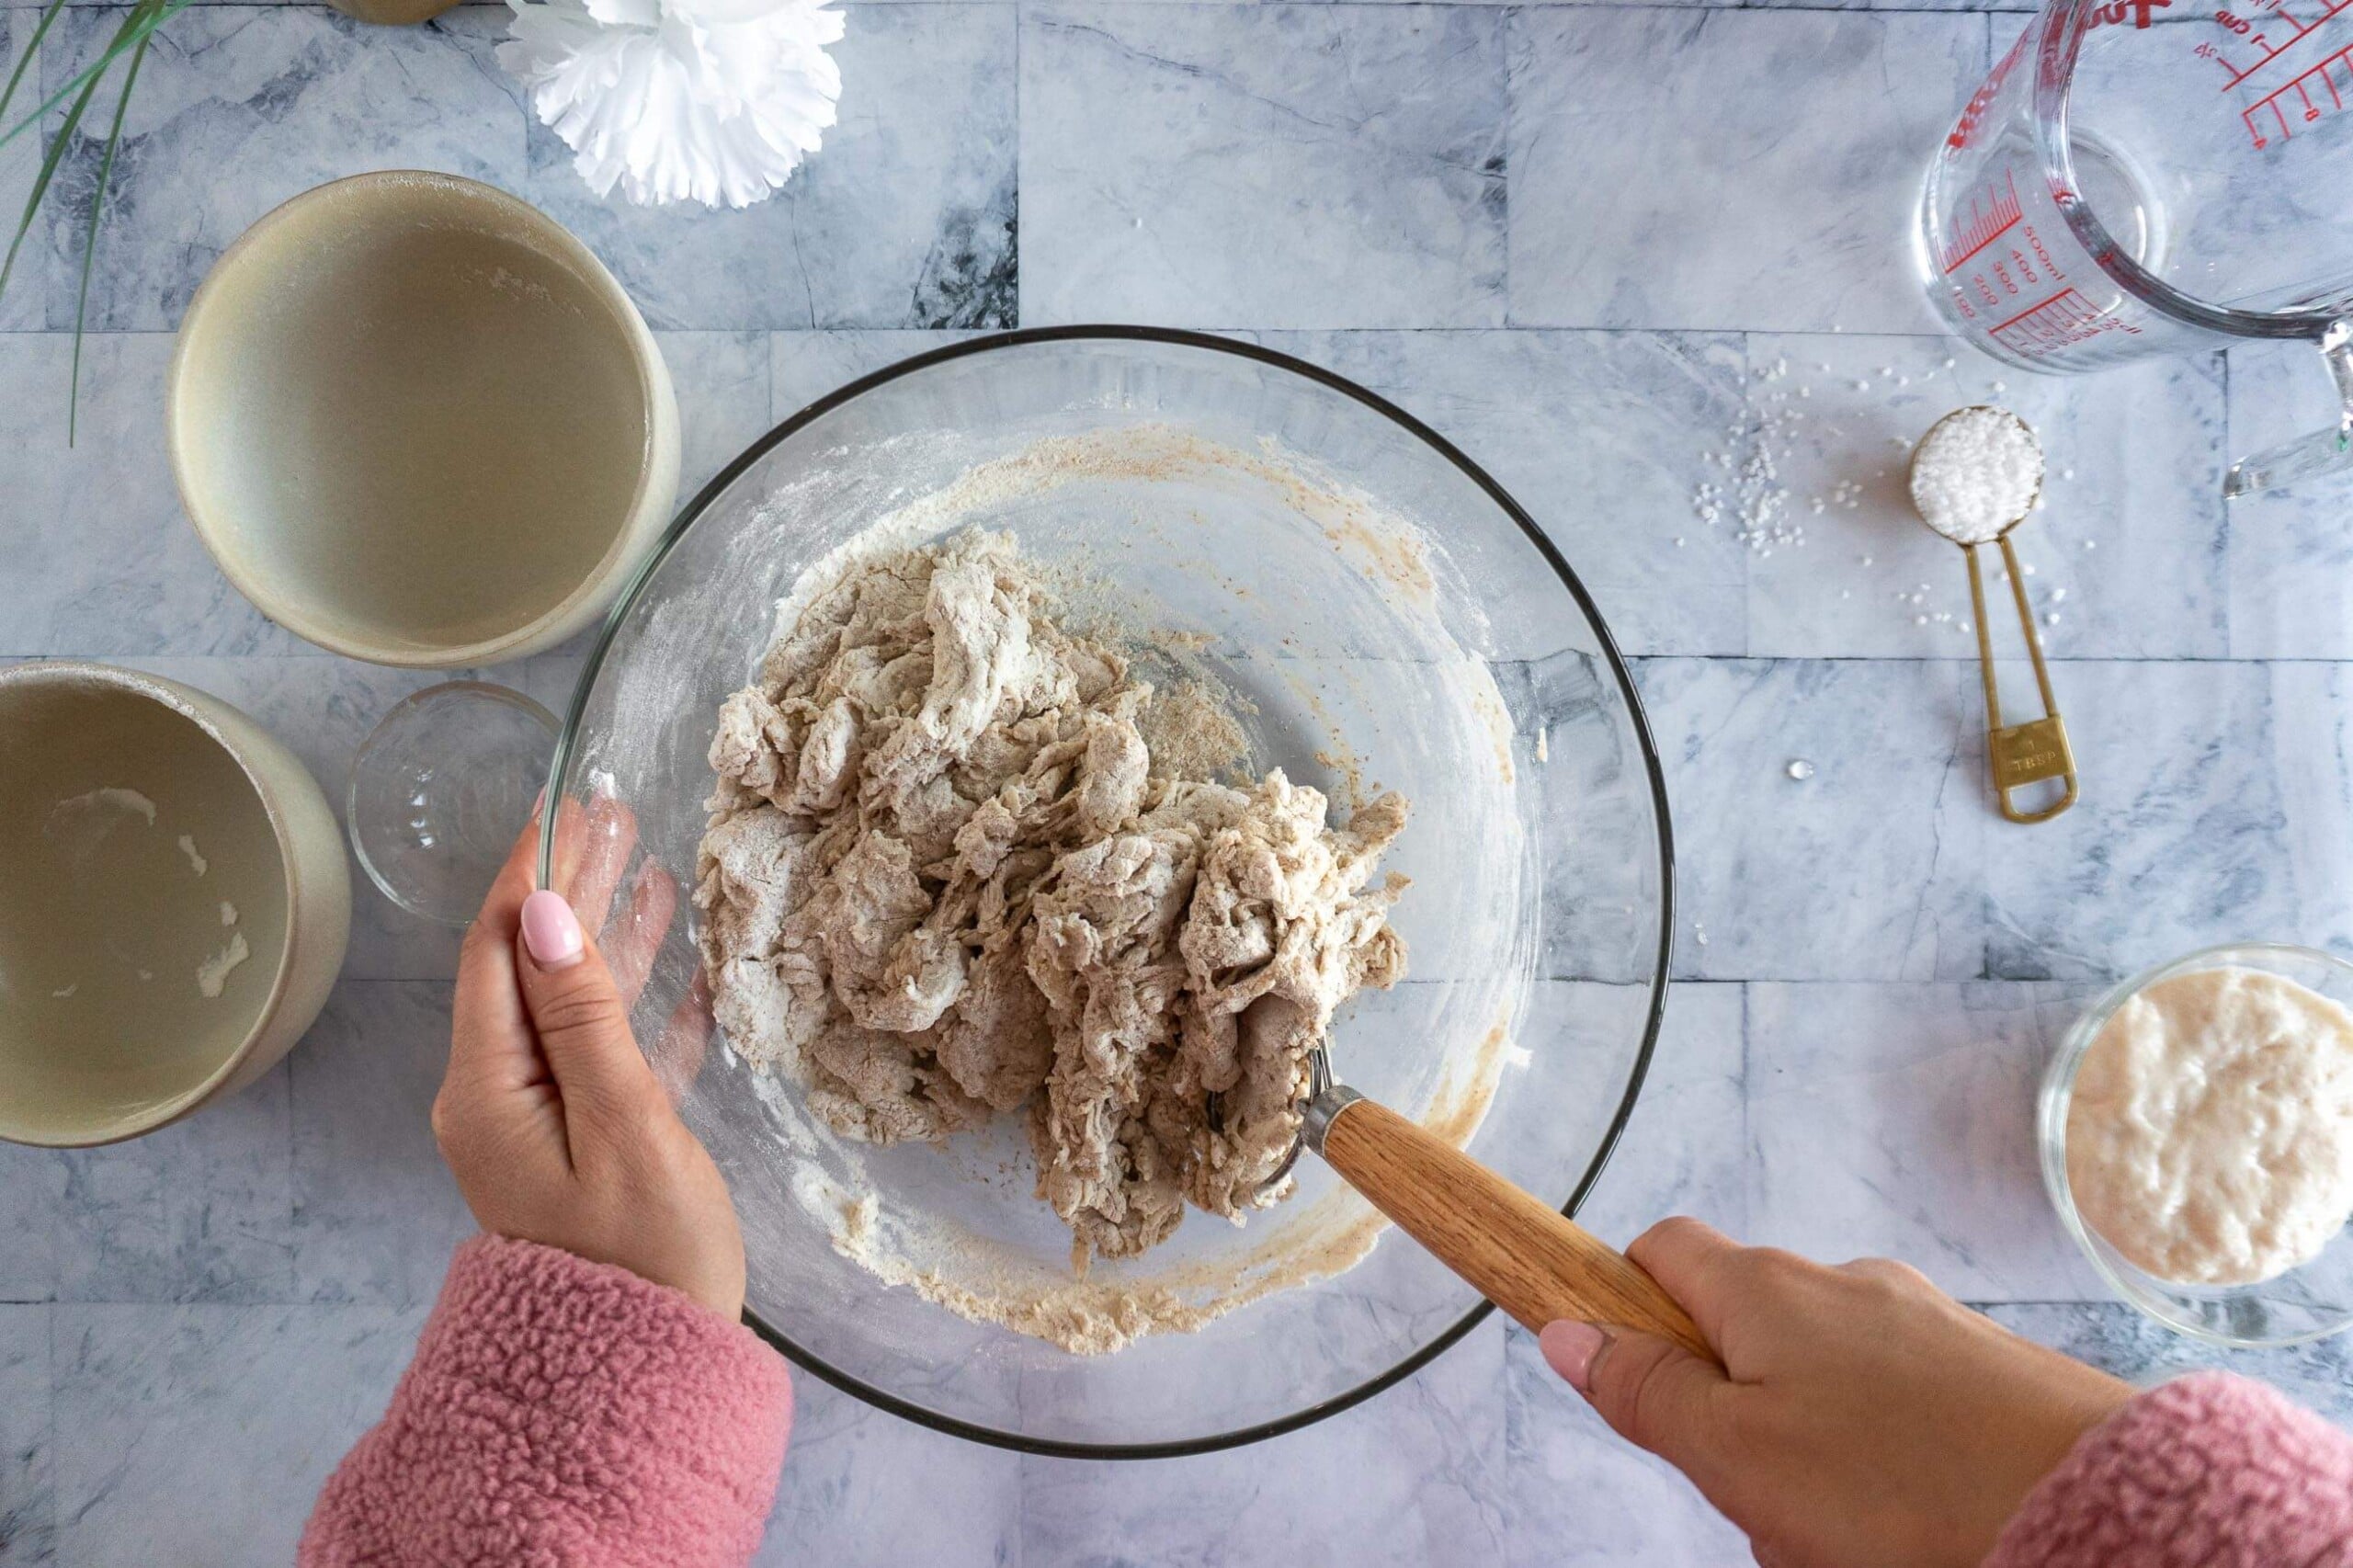
- Step 3: Knead the dough with your hands until all the dry bits are incorporated.
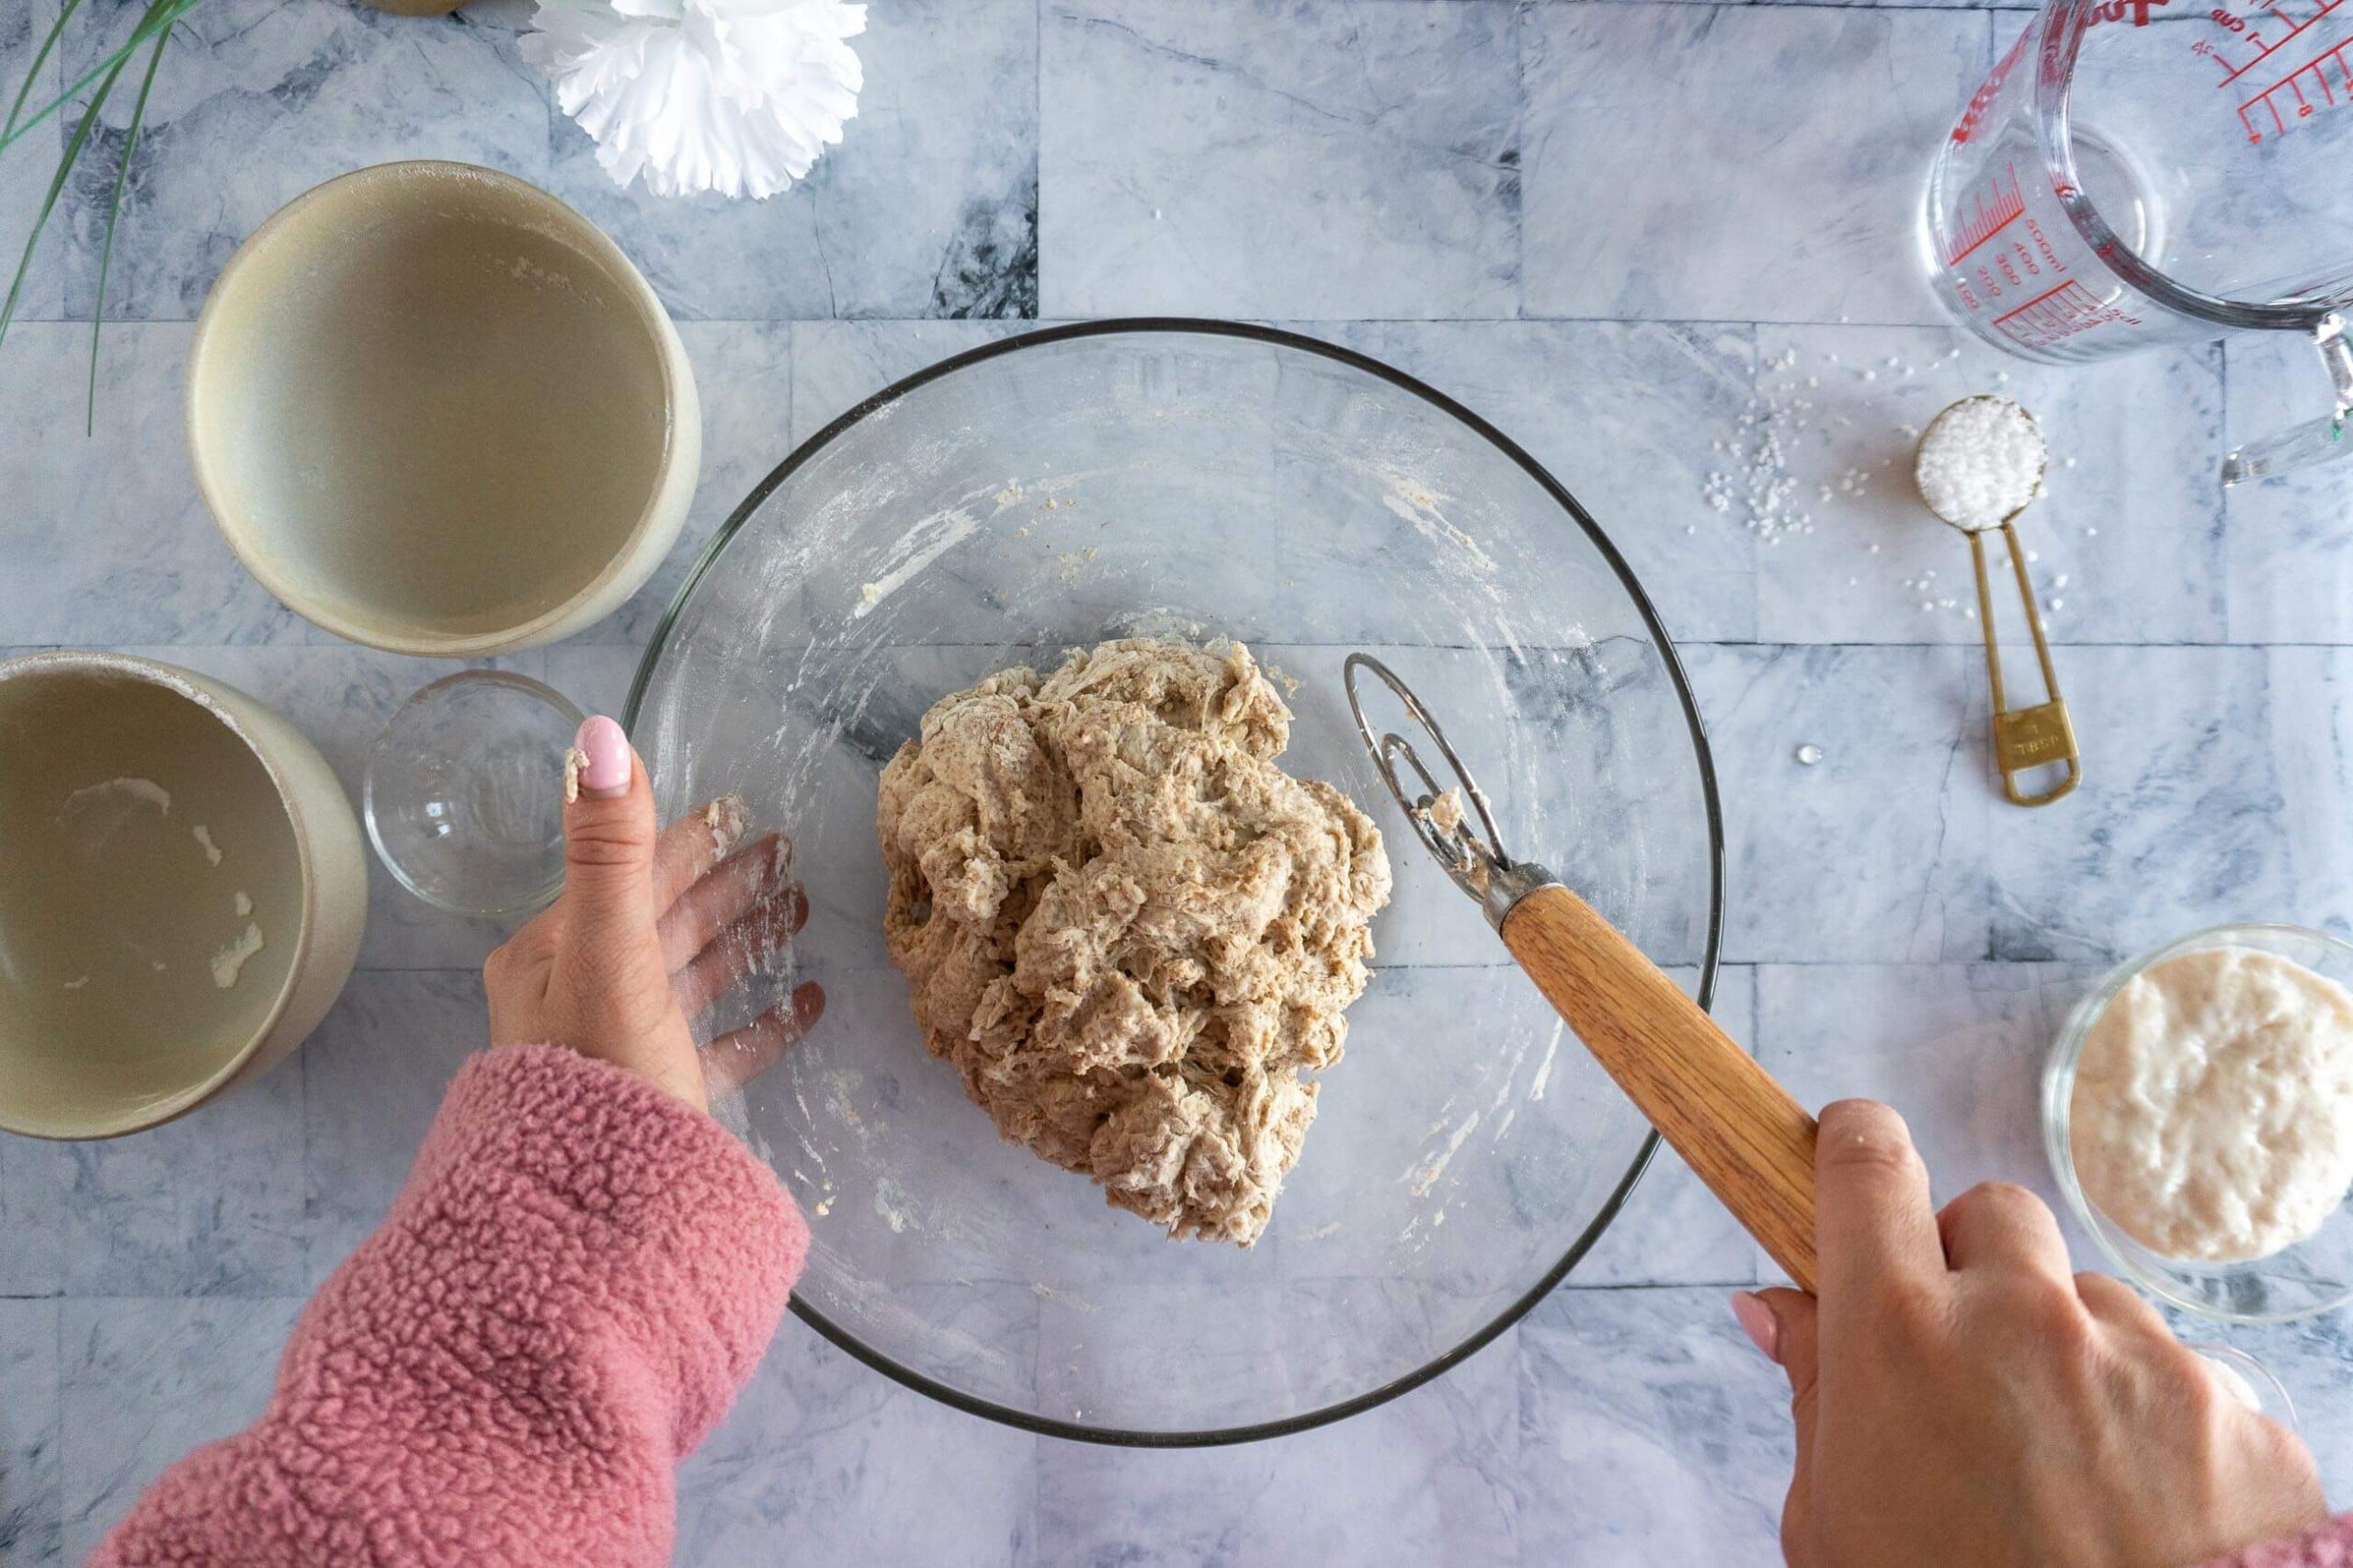
- Step 4: Cover the bowl and set aside to autolyse for 60 minutes.
Add Sourdough Starter:
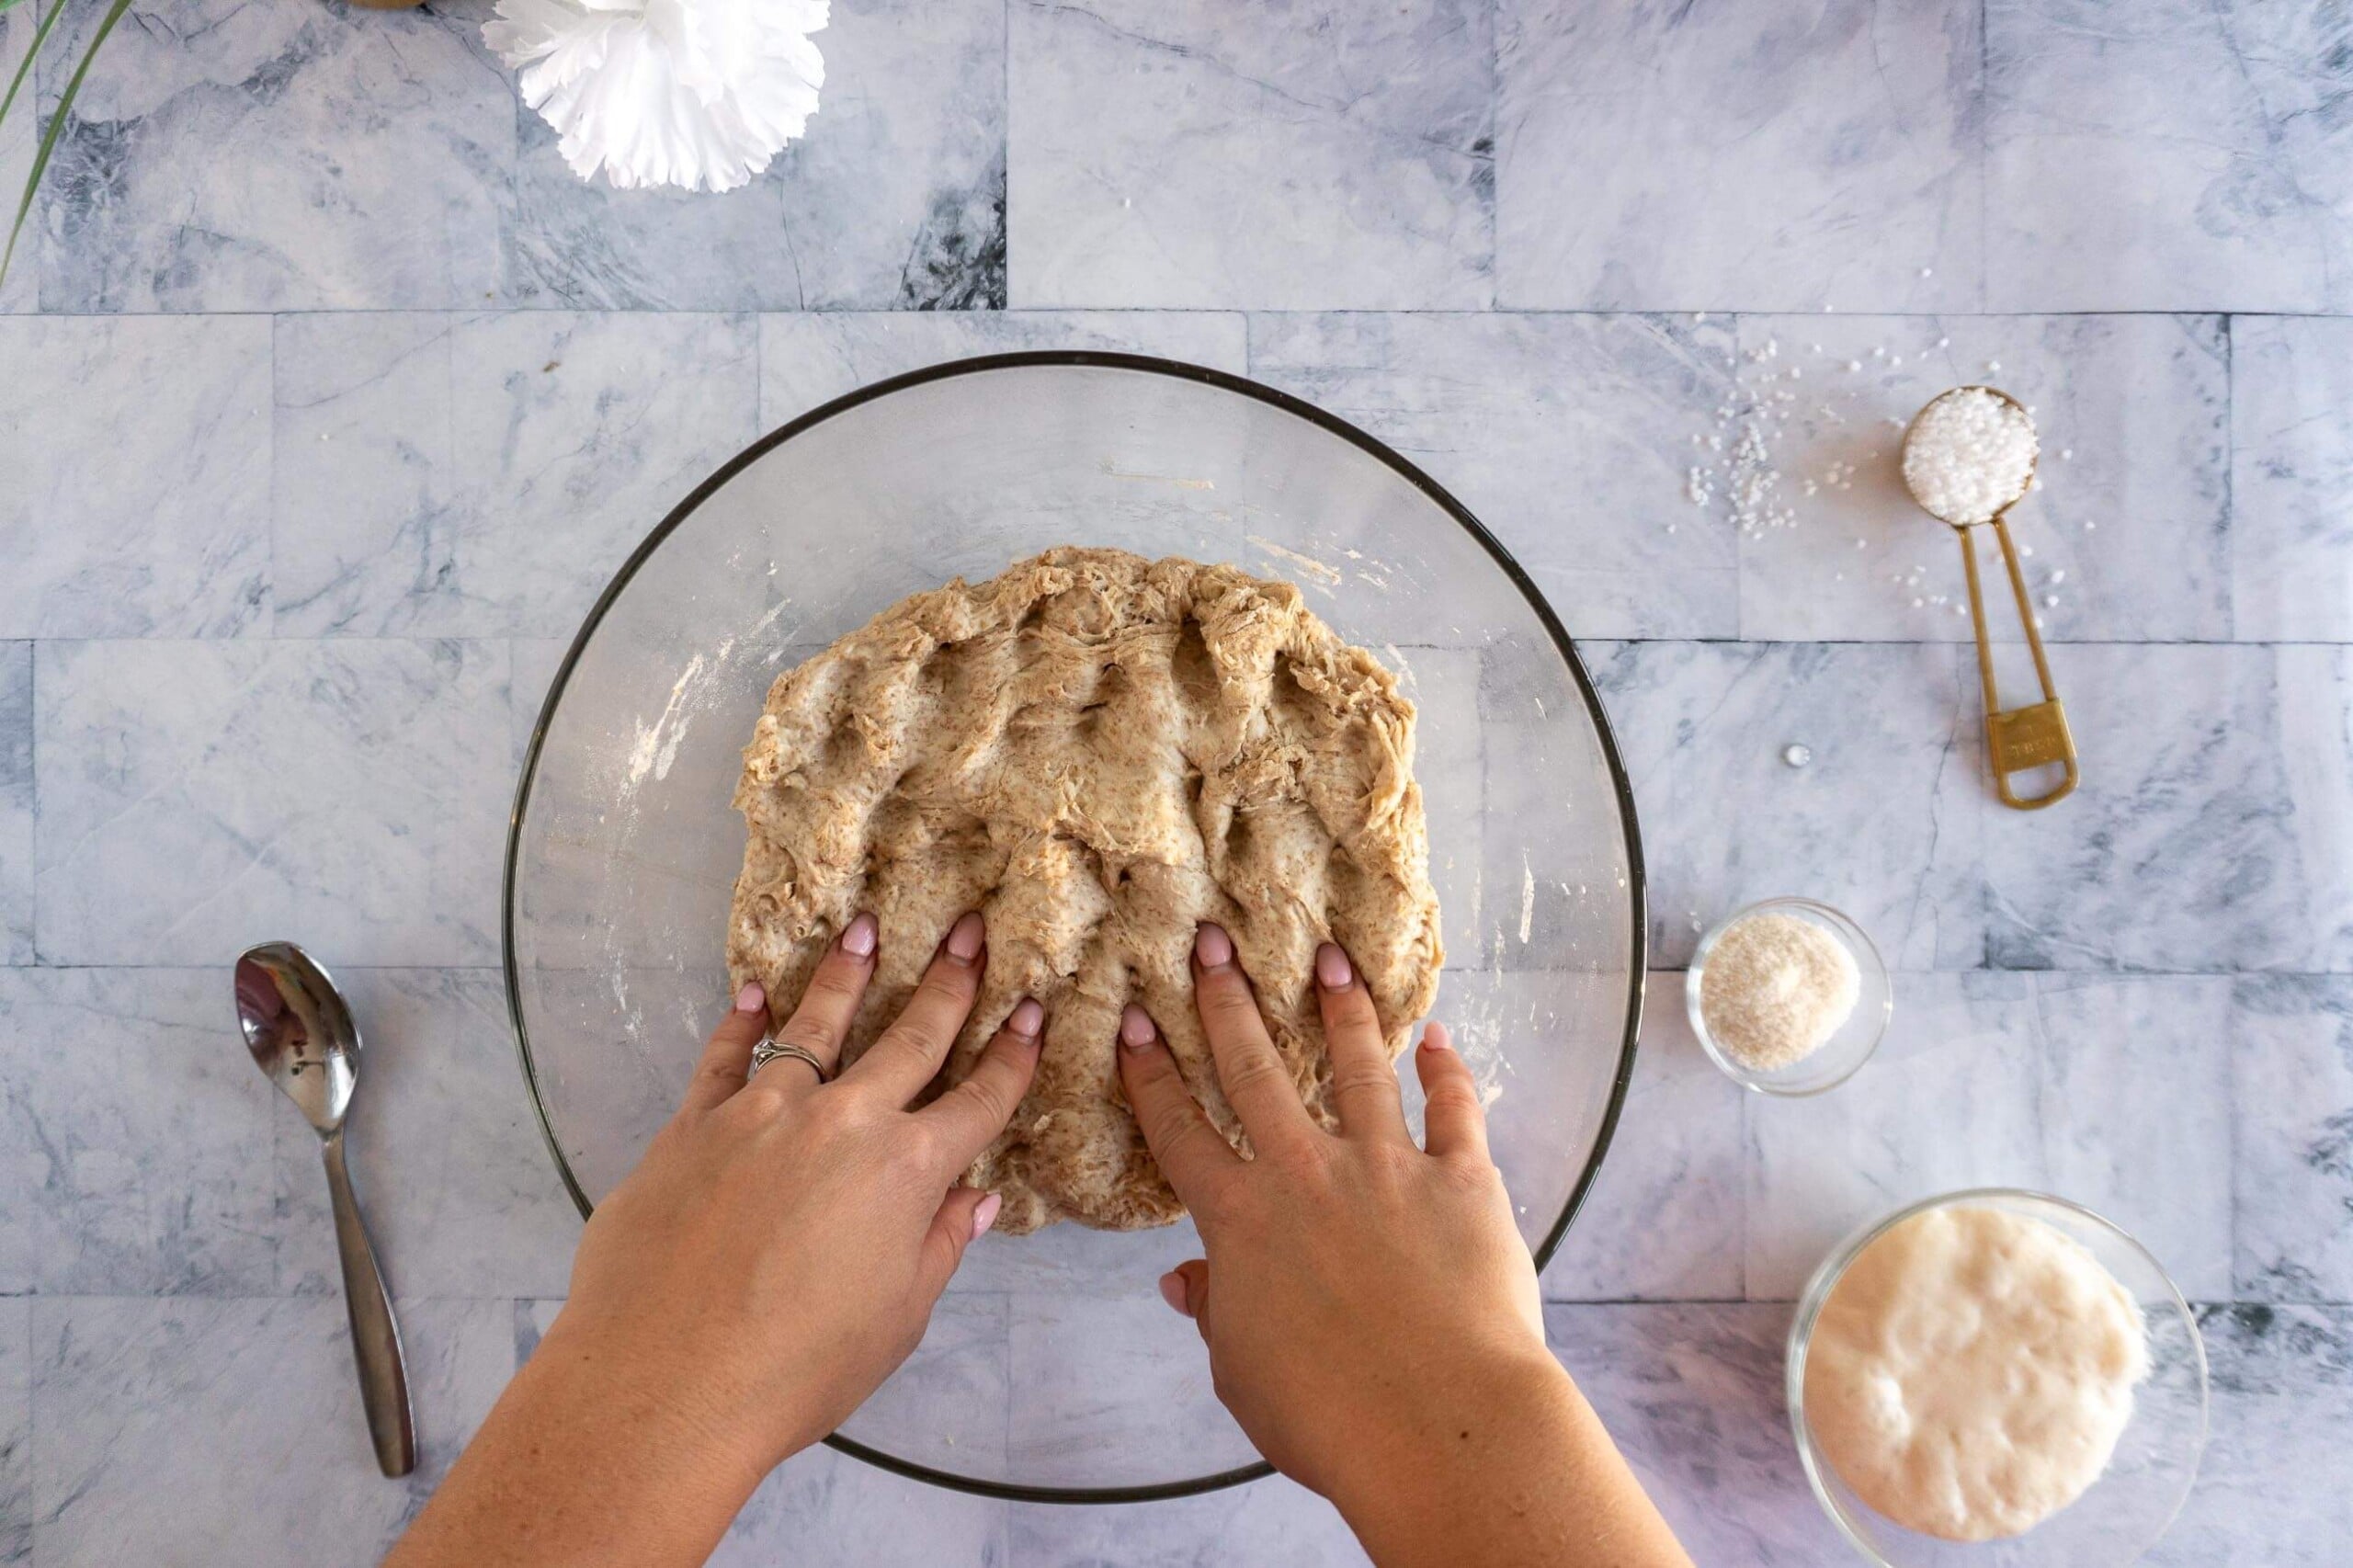
- Step 5: Uncover the bowl and spread the dough in the bowl, I just dimple it with damp fingers, and sprinkle 14g sea salt over the dough.

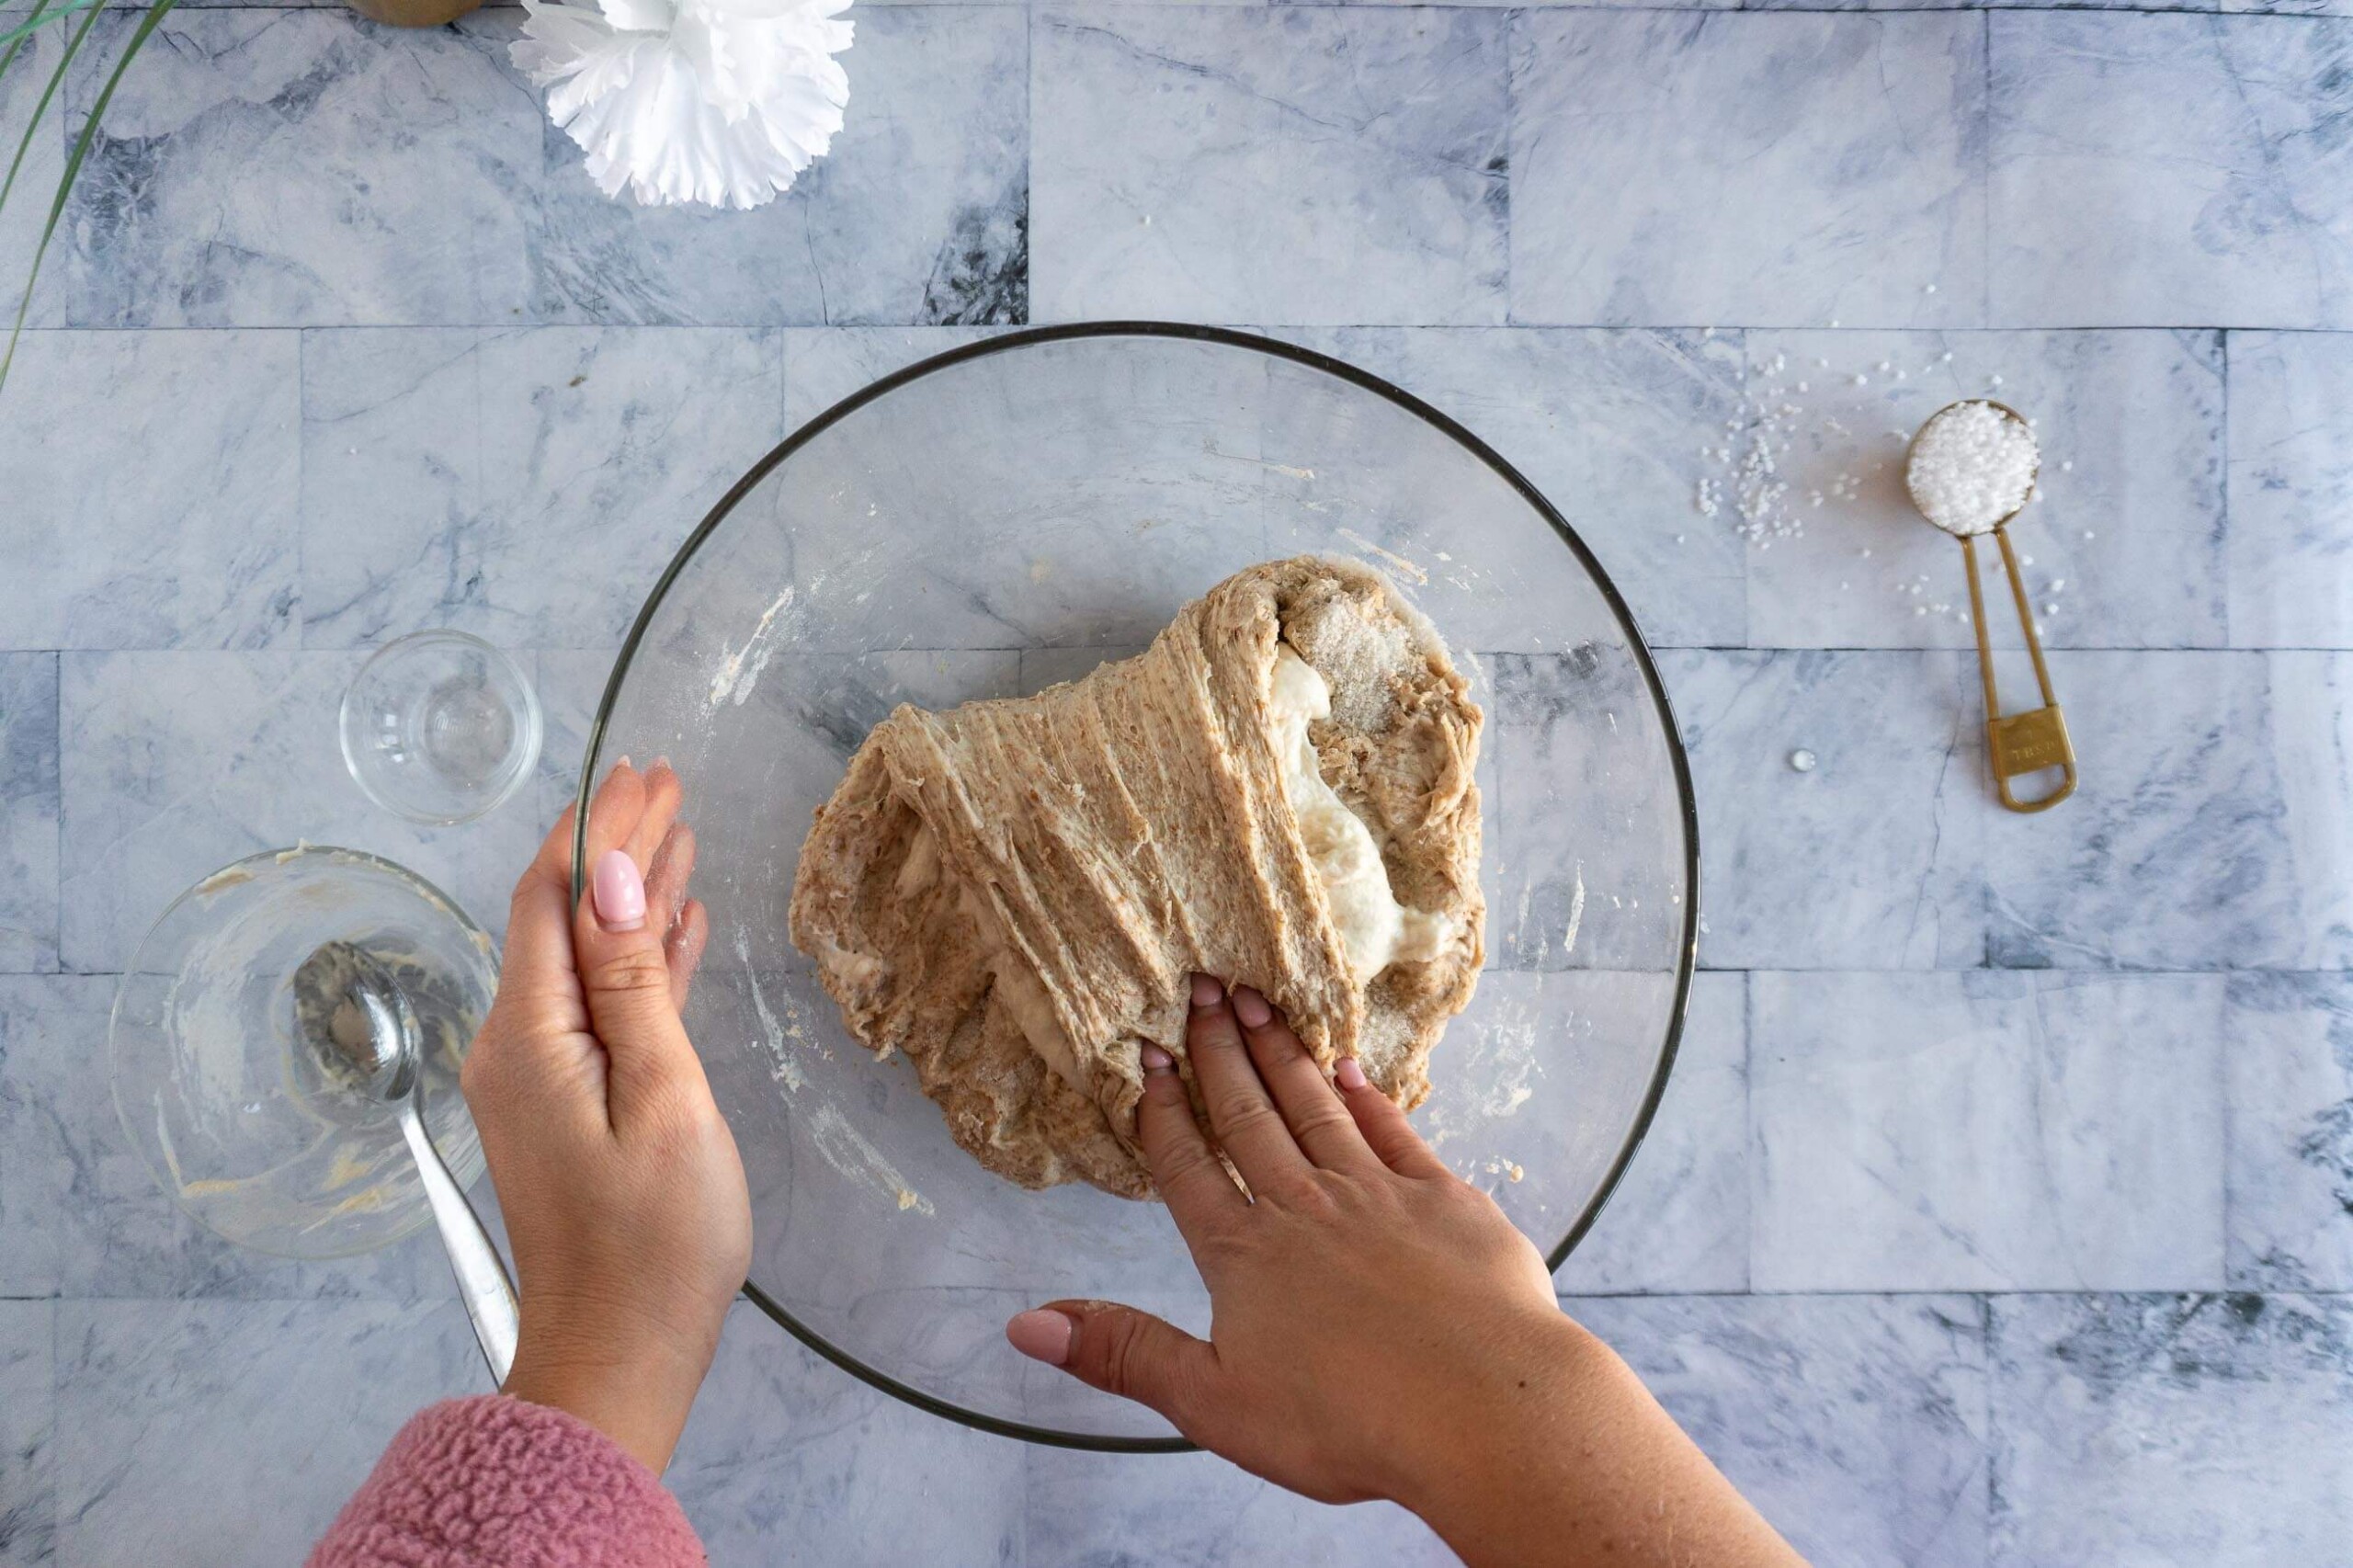
- Step 6: Spread 100g sourdough starter across the surface of the dough.

- Step 7: Then grab the dough and gently pull it until the flap is long enough to fold over itself, then fold the flap, rotate the bowl 90 degrees, and repeat 4 times to fold in the starter.
- Step 8: Recover and set aside for 1 hour.
Stretch + Fold:

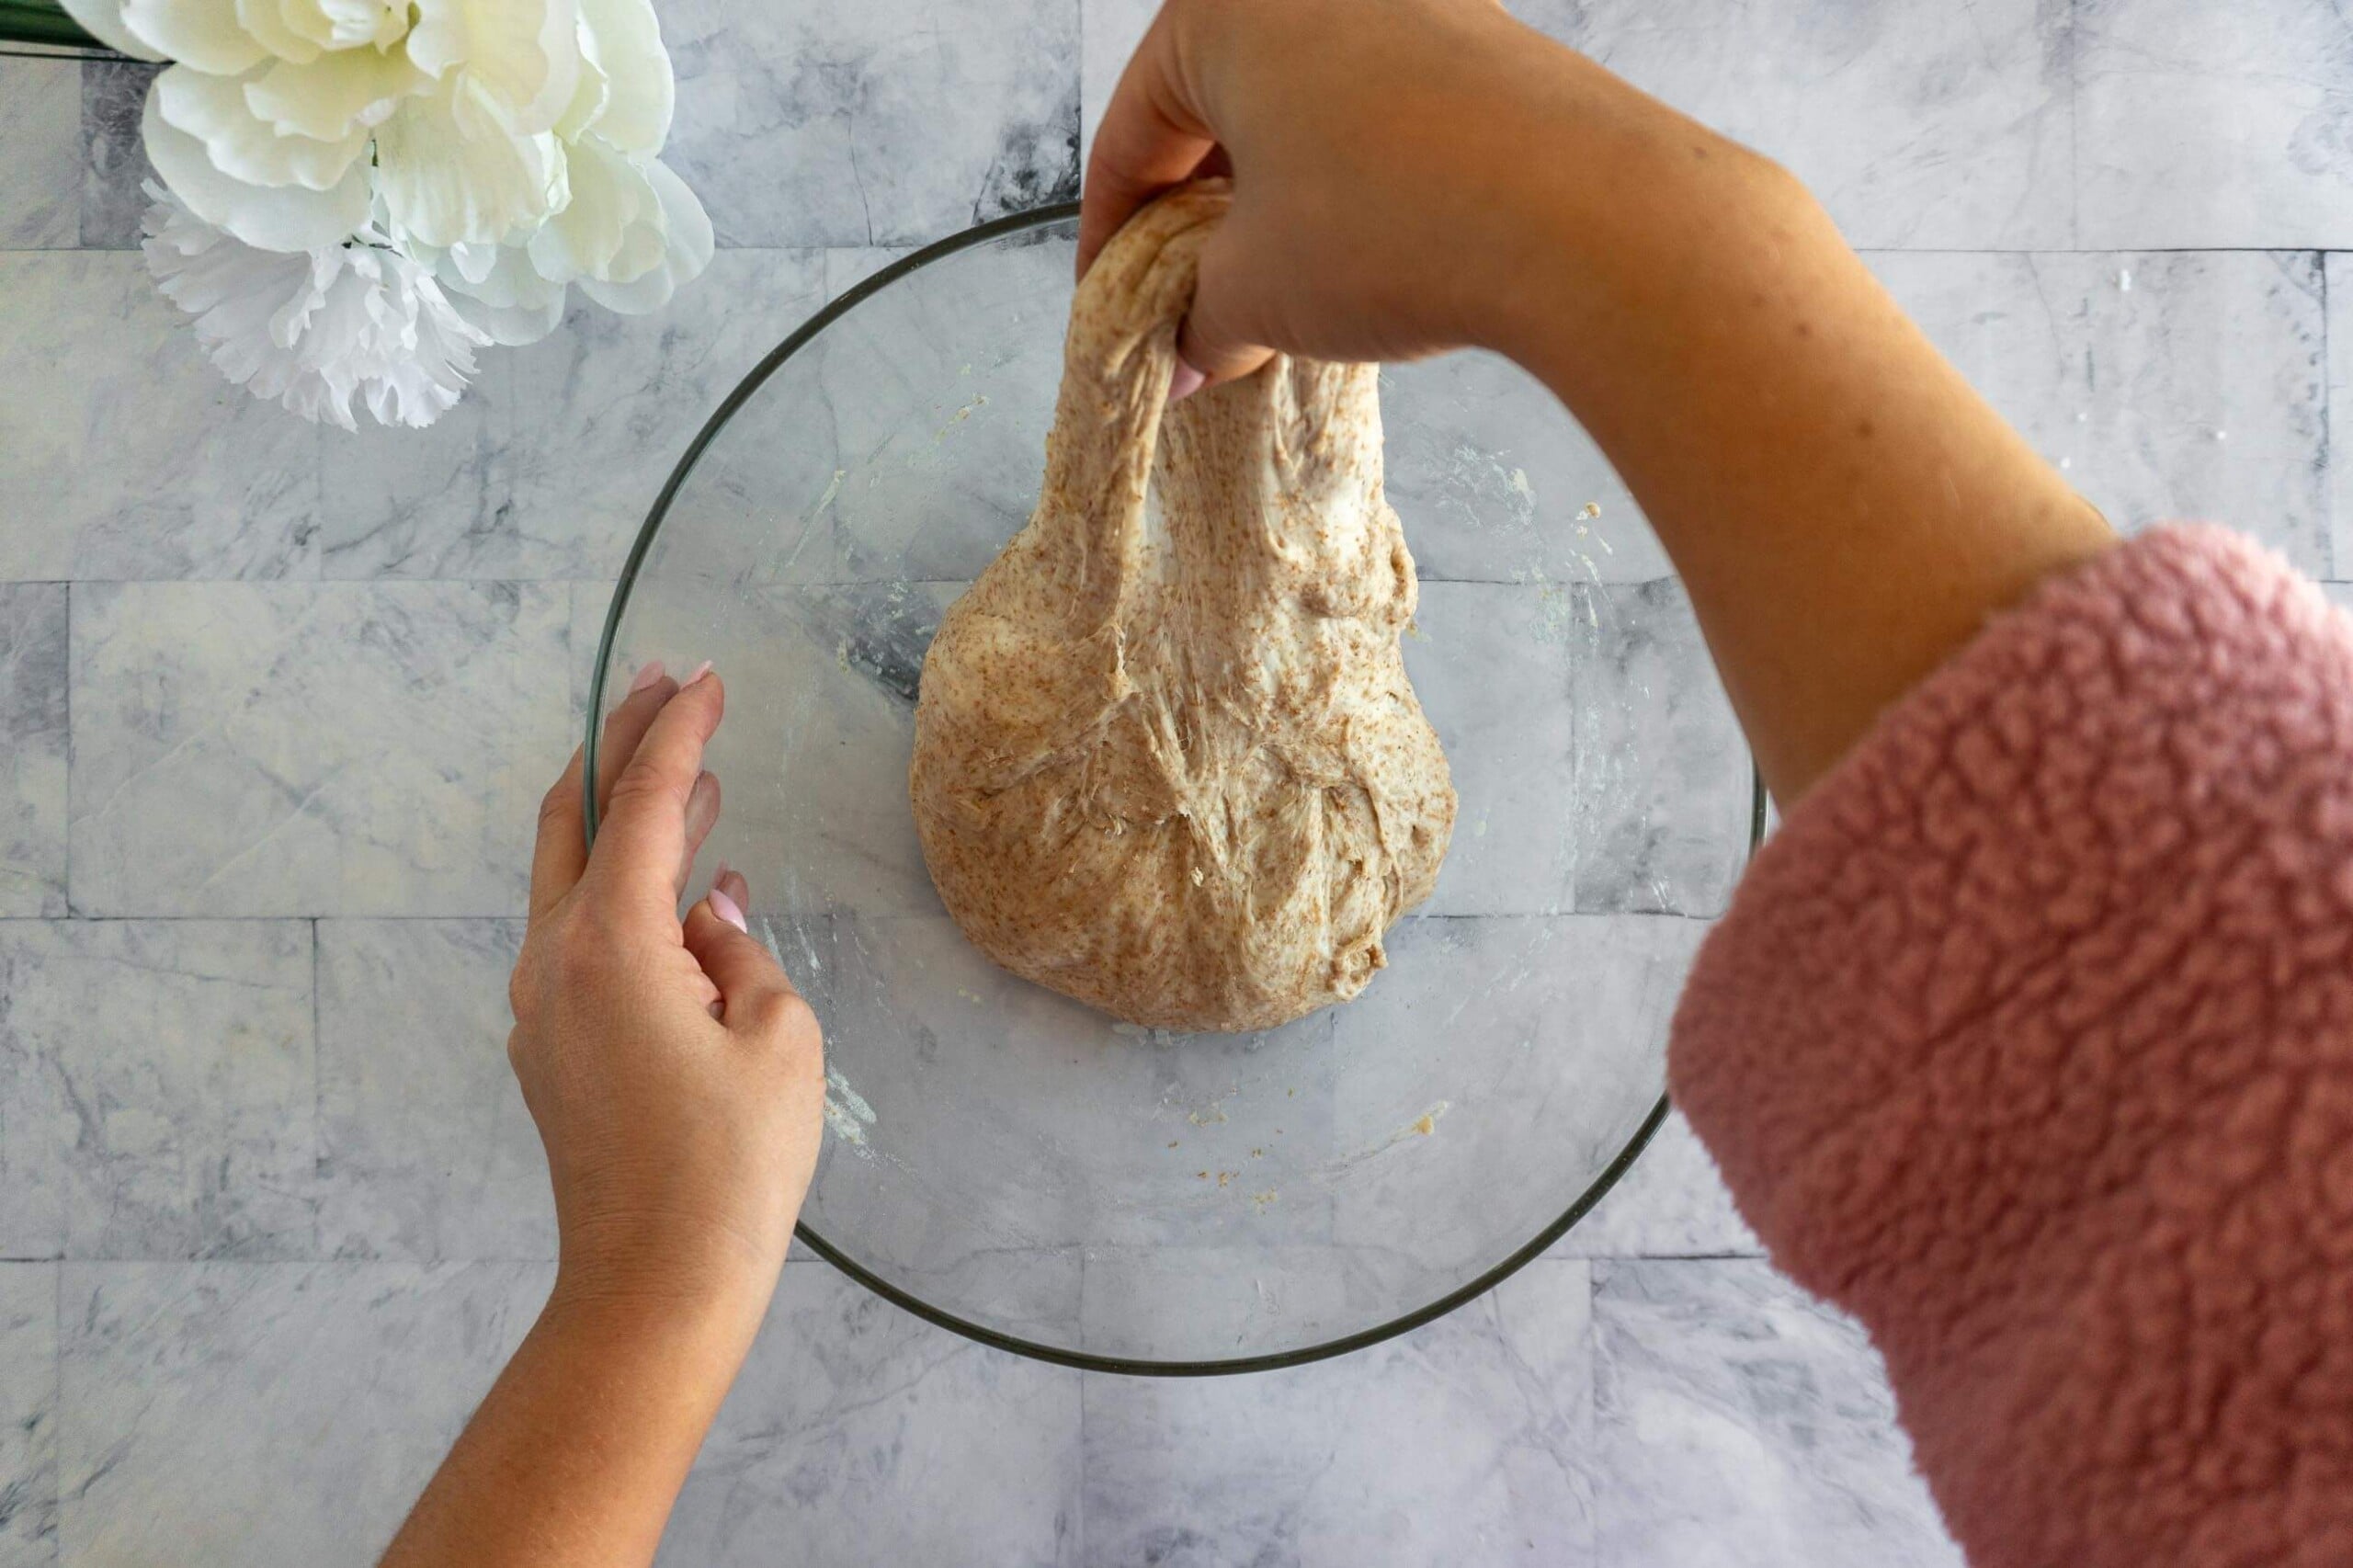
- Step 9: Using damp hands, grab the dough and gently pull it until the flap is long enough to fold over itself, then fold the flap, rotate the bowl 90 degrees, and repeat 4 times to fold in the starter. This makes 1 set of stretch and folds.
- Step 10: Recover and set aside for 1 hour before performing another set of stretch and folds before recovering and resting for 1 hour.
- Step 11: Repeat once more, for a total of 3 sets of stretch and folds. Then cover, and set aside for 2 hours to finish the bulk ferment.
Shape:

- Step 12: Uncover the dough and transfer to a lightly floured work surface or countertop. Gently press and spread the dough into a large rectangle.
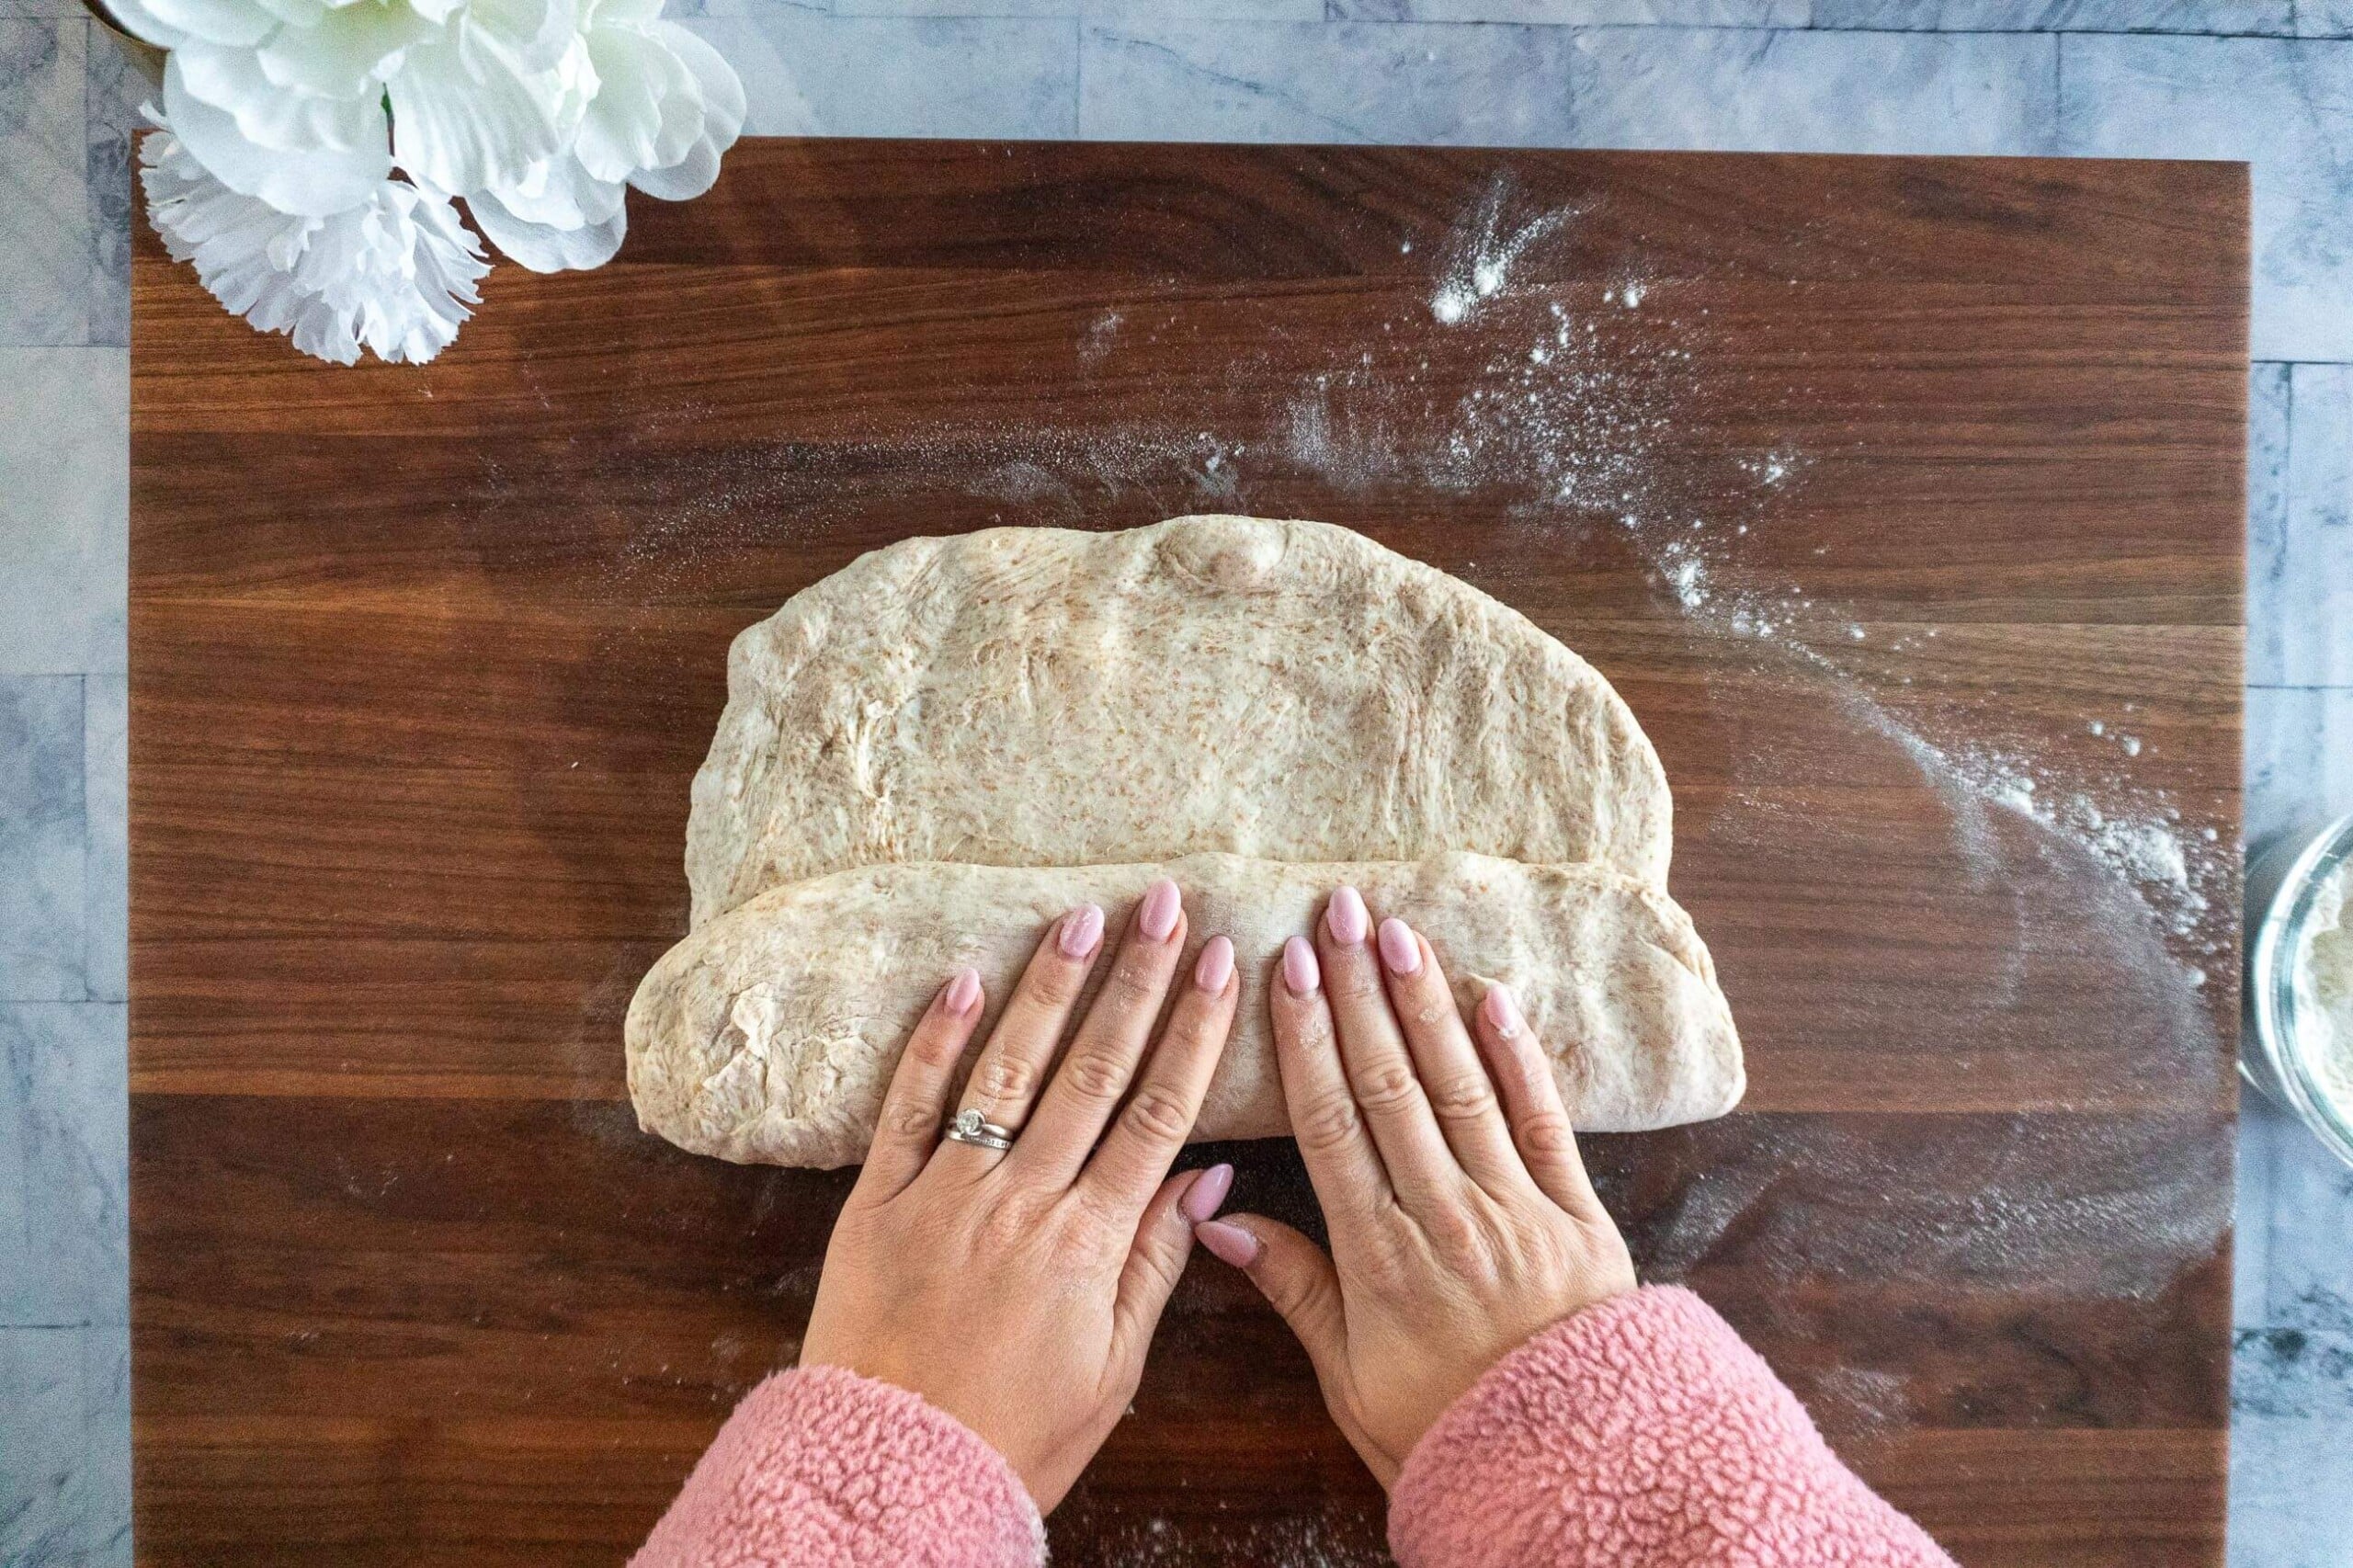
- Step 13: Fold up the bottom third of the dough as though you were folding a letter, and then fold the top down.
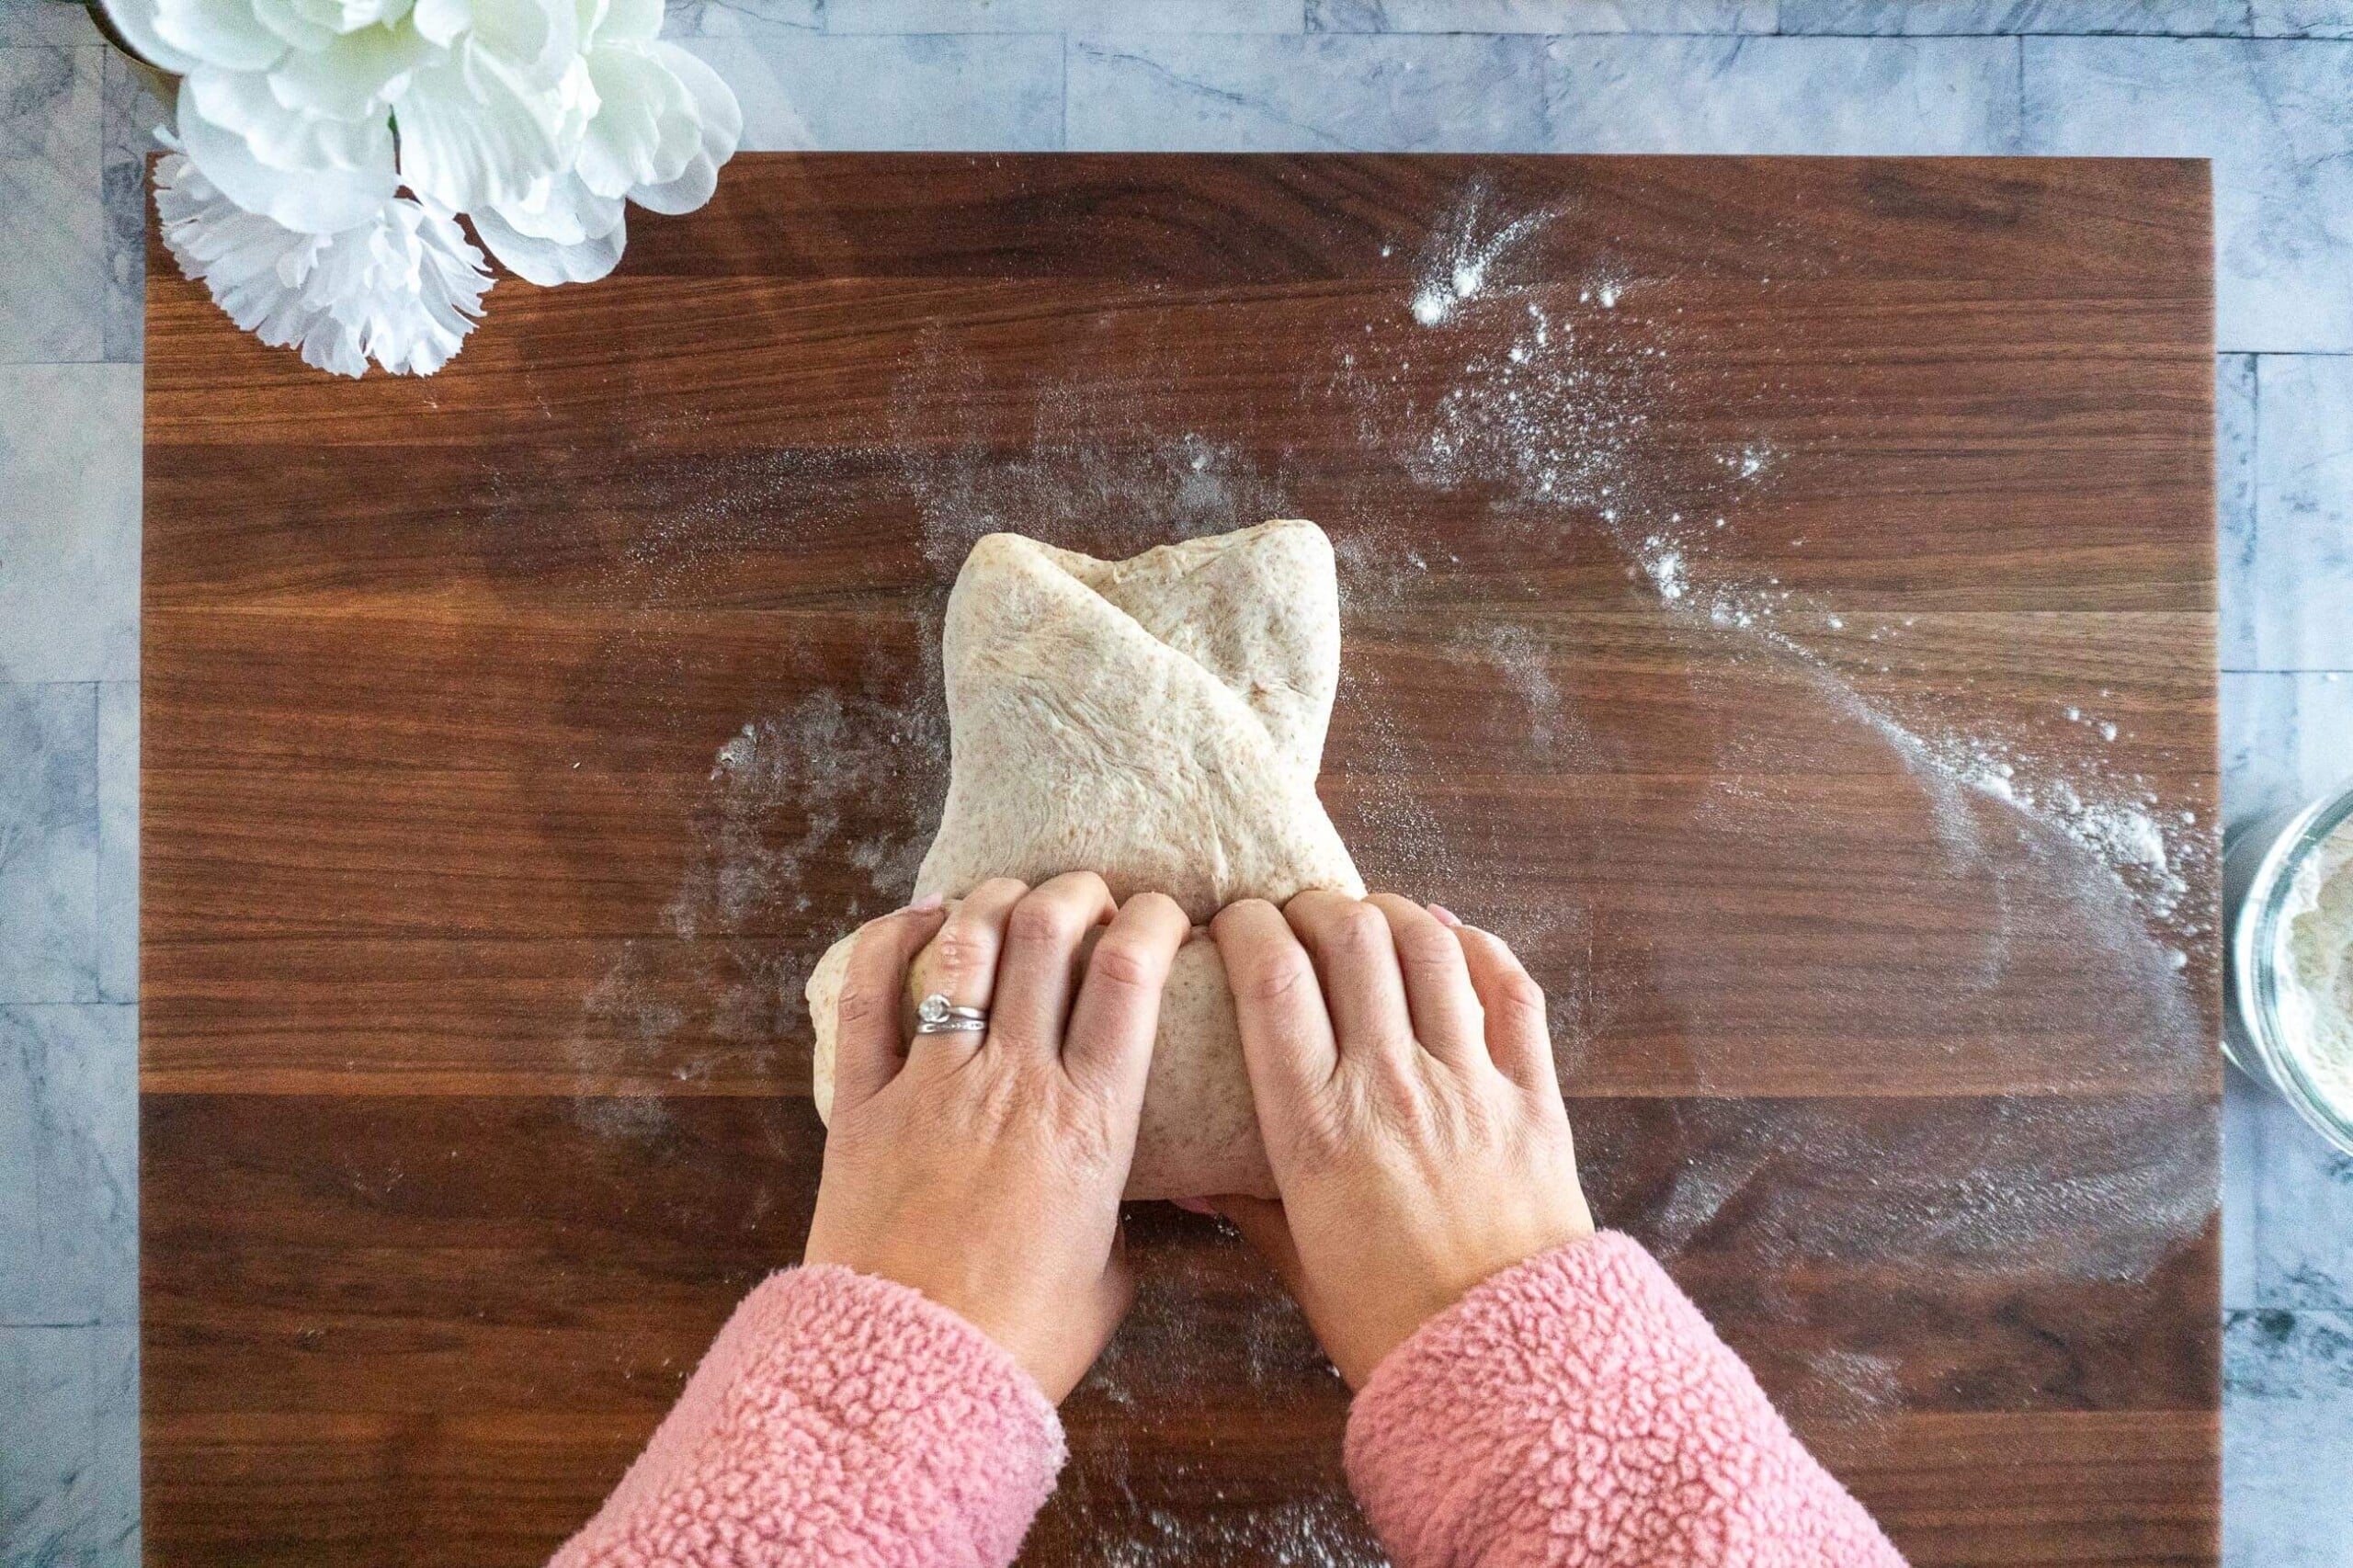
- Step 14: Rotate the dough 90 degrees and roll up into a large log. Cover with a kitchen or tea towel and let the dough rest for 30 minutes.
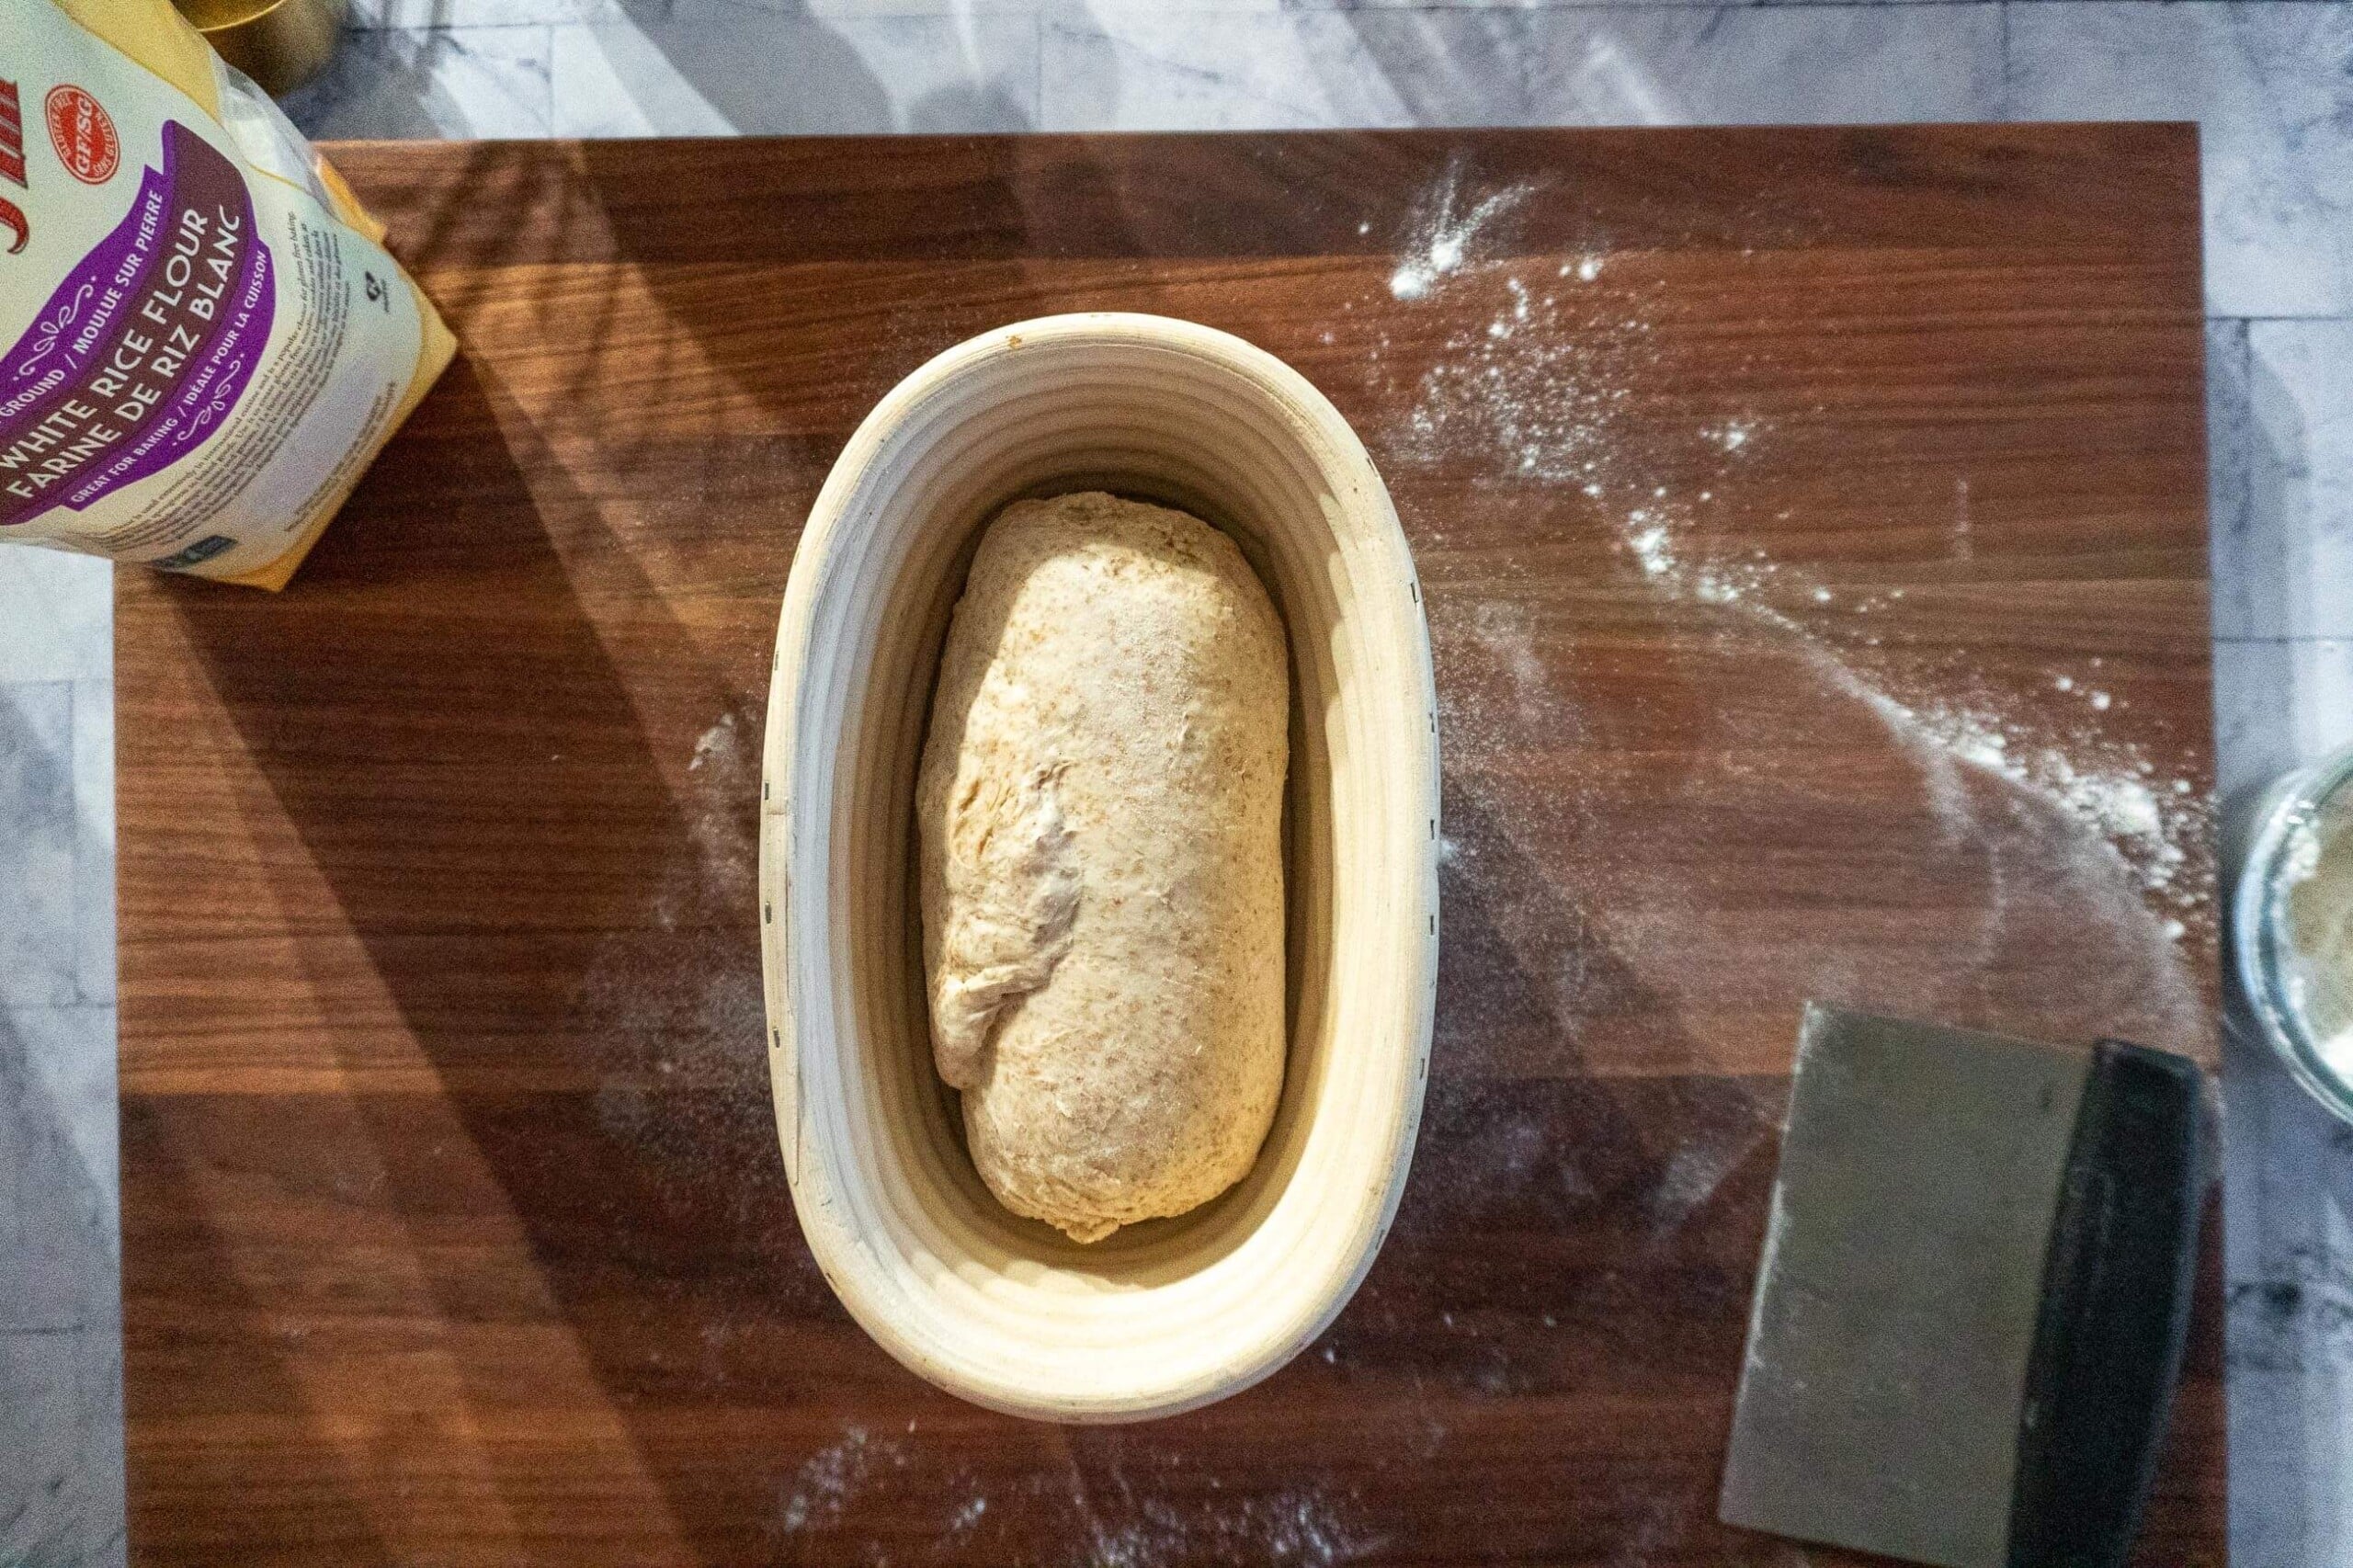
- Step 15: After the rest, flip the dough over, gently press the dough flat then roll it again. Pinch the ends if you’re making a batard or tuck them in if your making a boule. Dust the dough with rice flour then tuck seam side up into a banneton.
Don’t have a banneton? I have a guide on proofing basket alternatives!
Proof + Cold Retard:
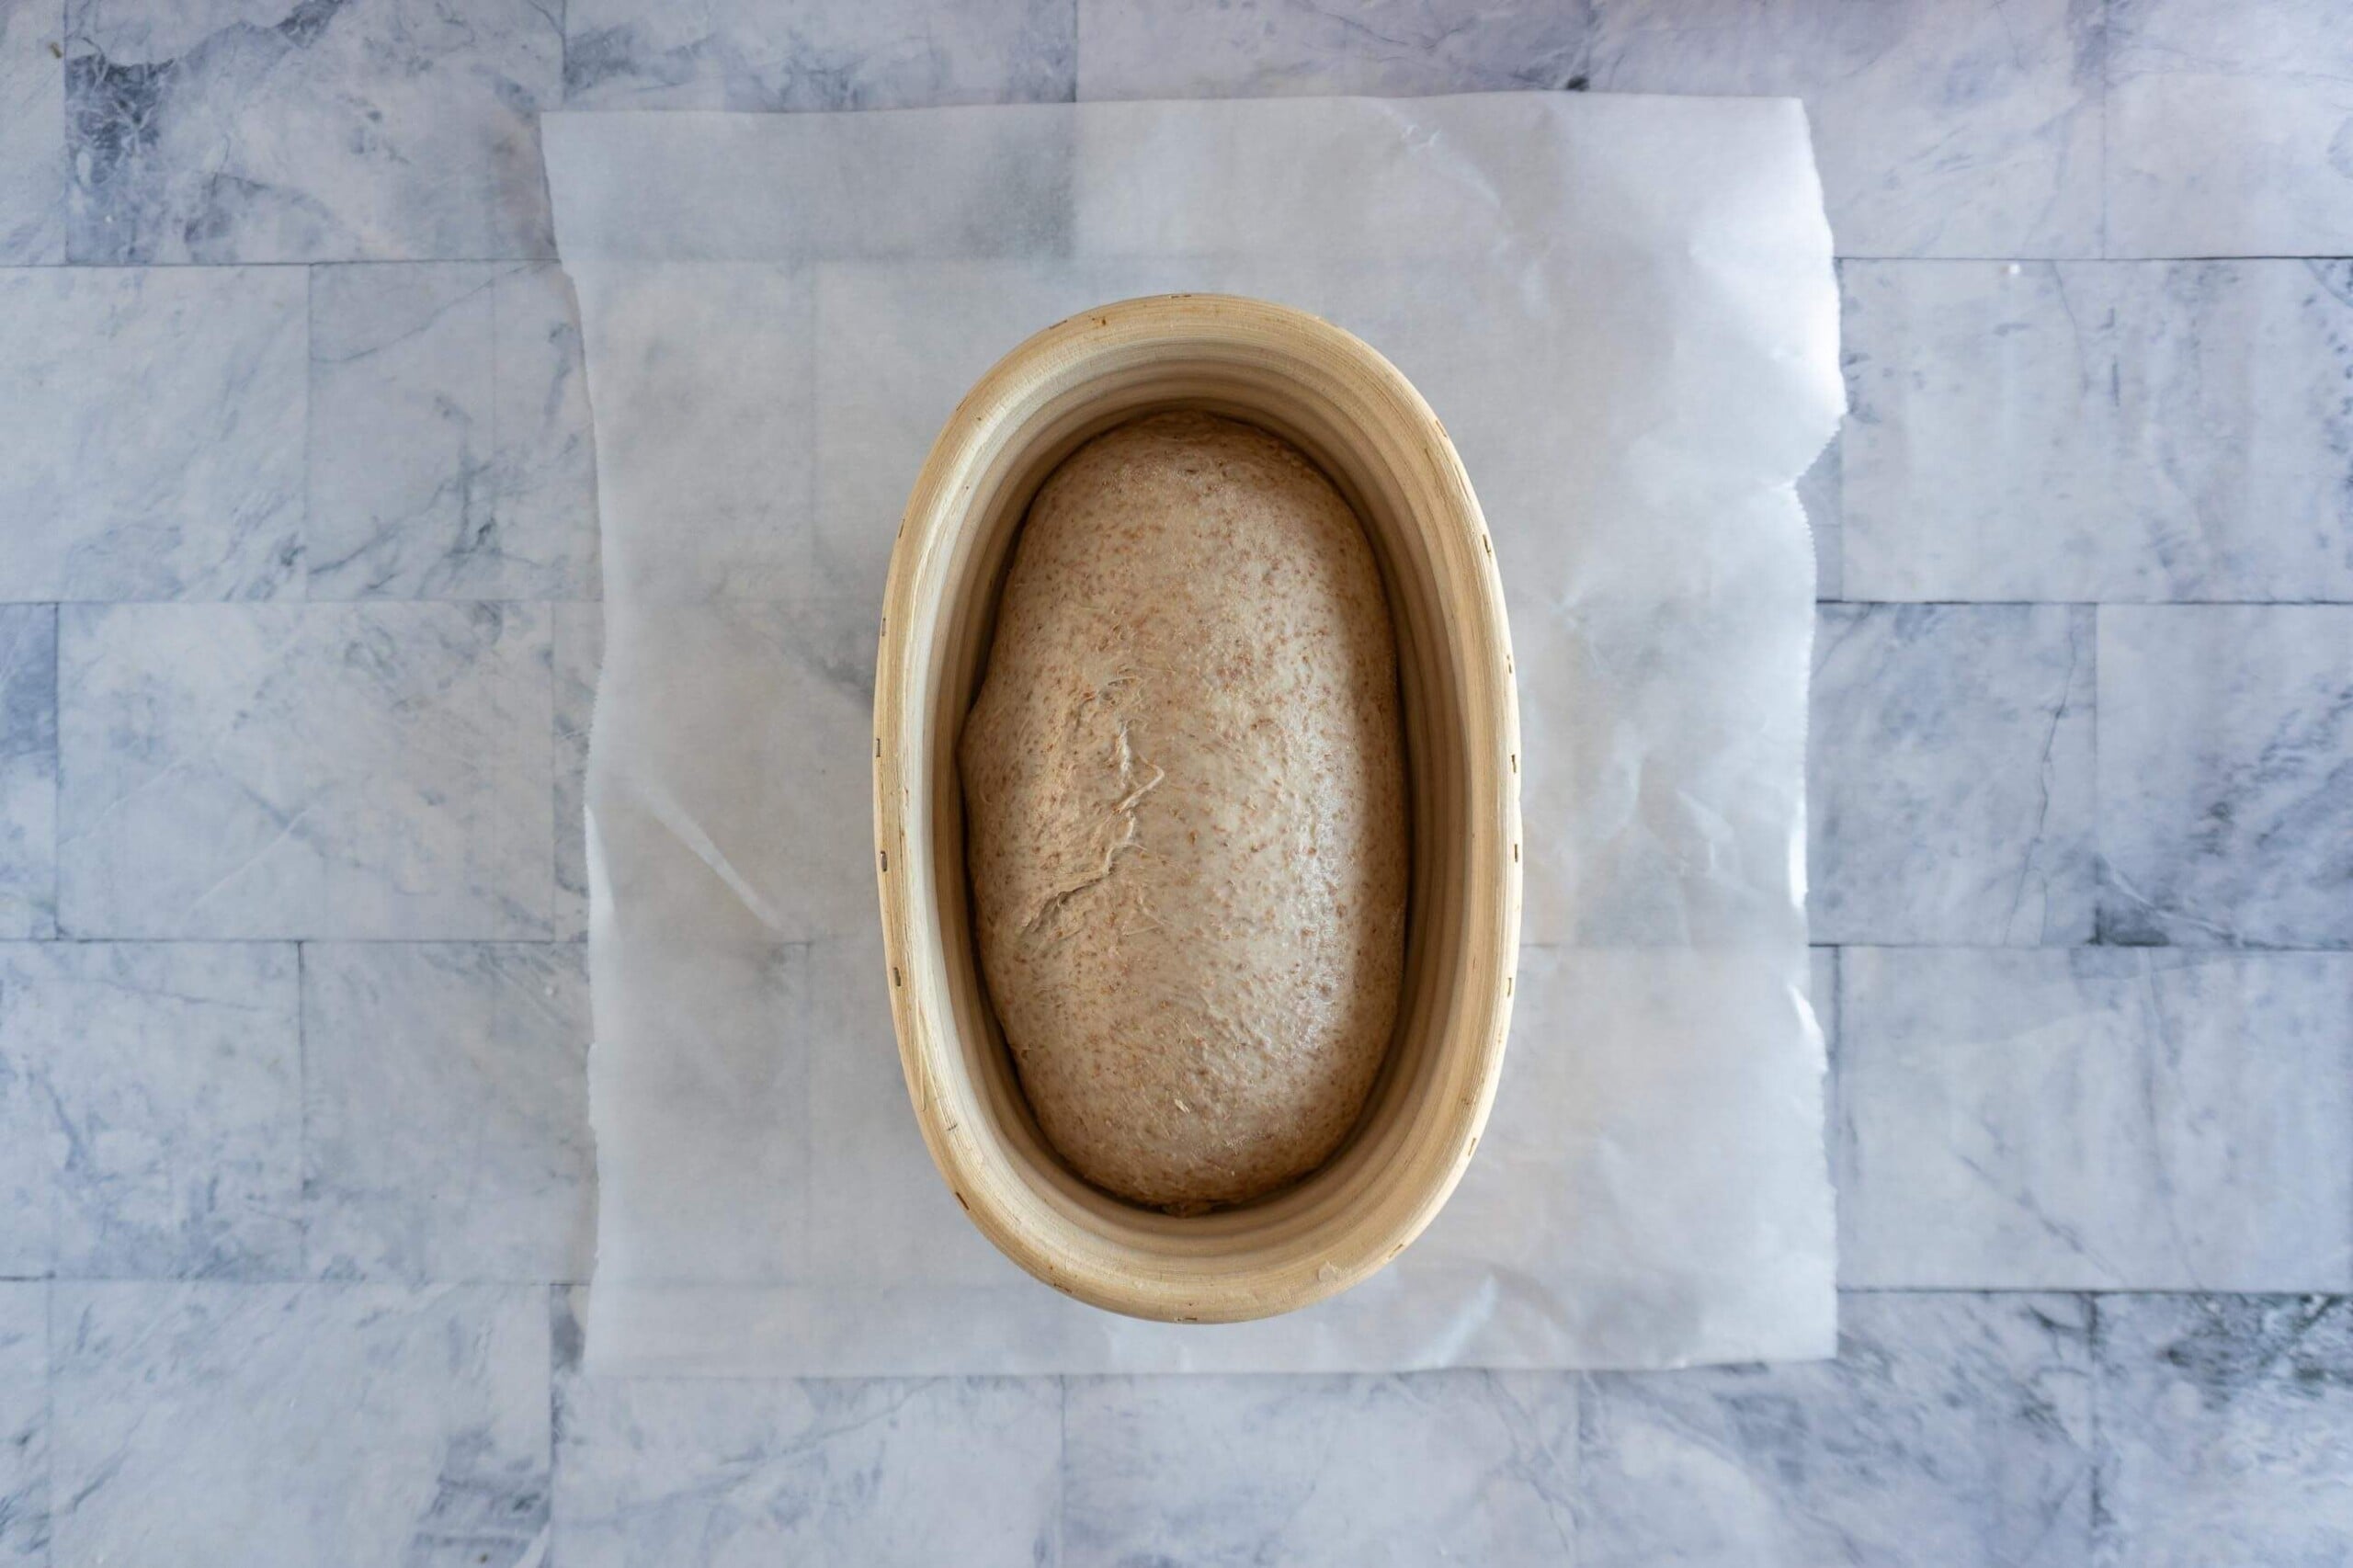
- Step 16: Prove your whole wheat sourdough loaf in the banneton for 2 hours before covering and placing in fridge to cold retard for up to 3 days. If you want to bake it right after proving, you’re welcome to, but I feel the taste is improved after resting in the fridge.
Bake:
- Step 17: Place your dutch oven, cloche, or desired baking dish in the oven and preheat to 450f. If you don’t have a dutch oven, I do have a guide on baking sourdough bread without a dutch oven.
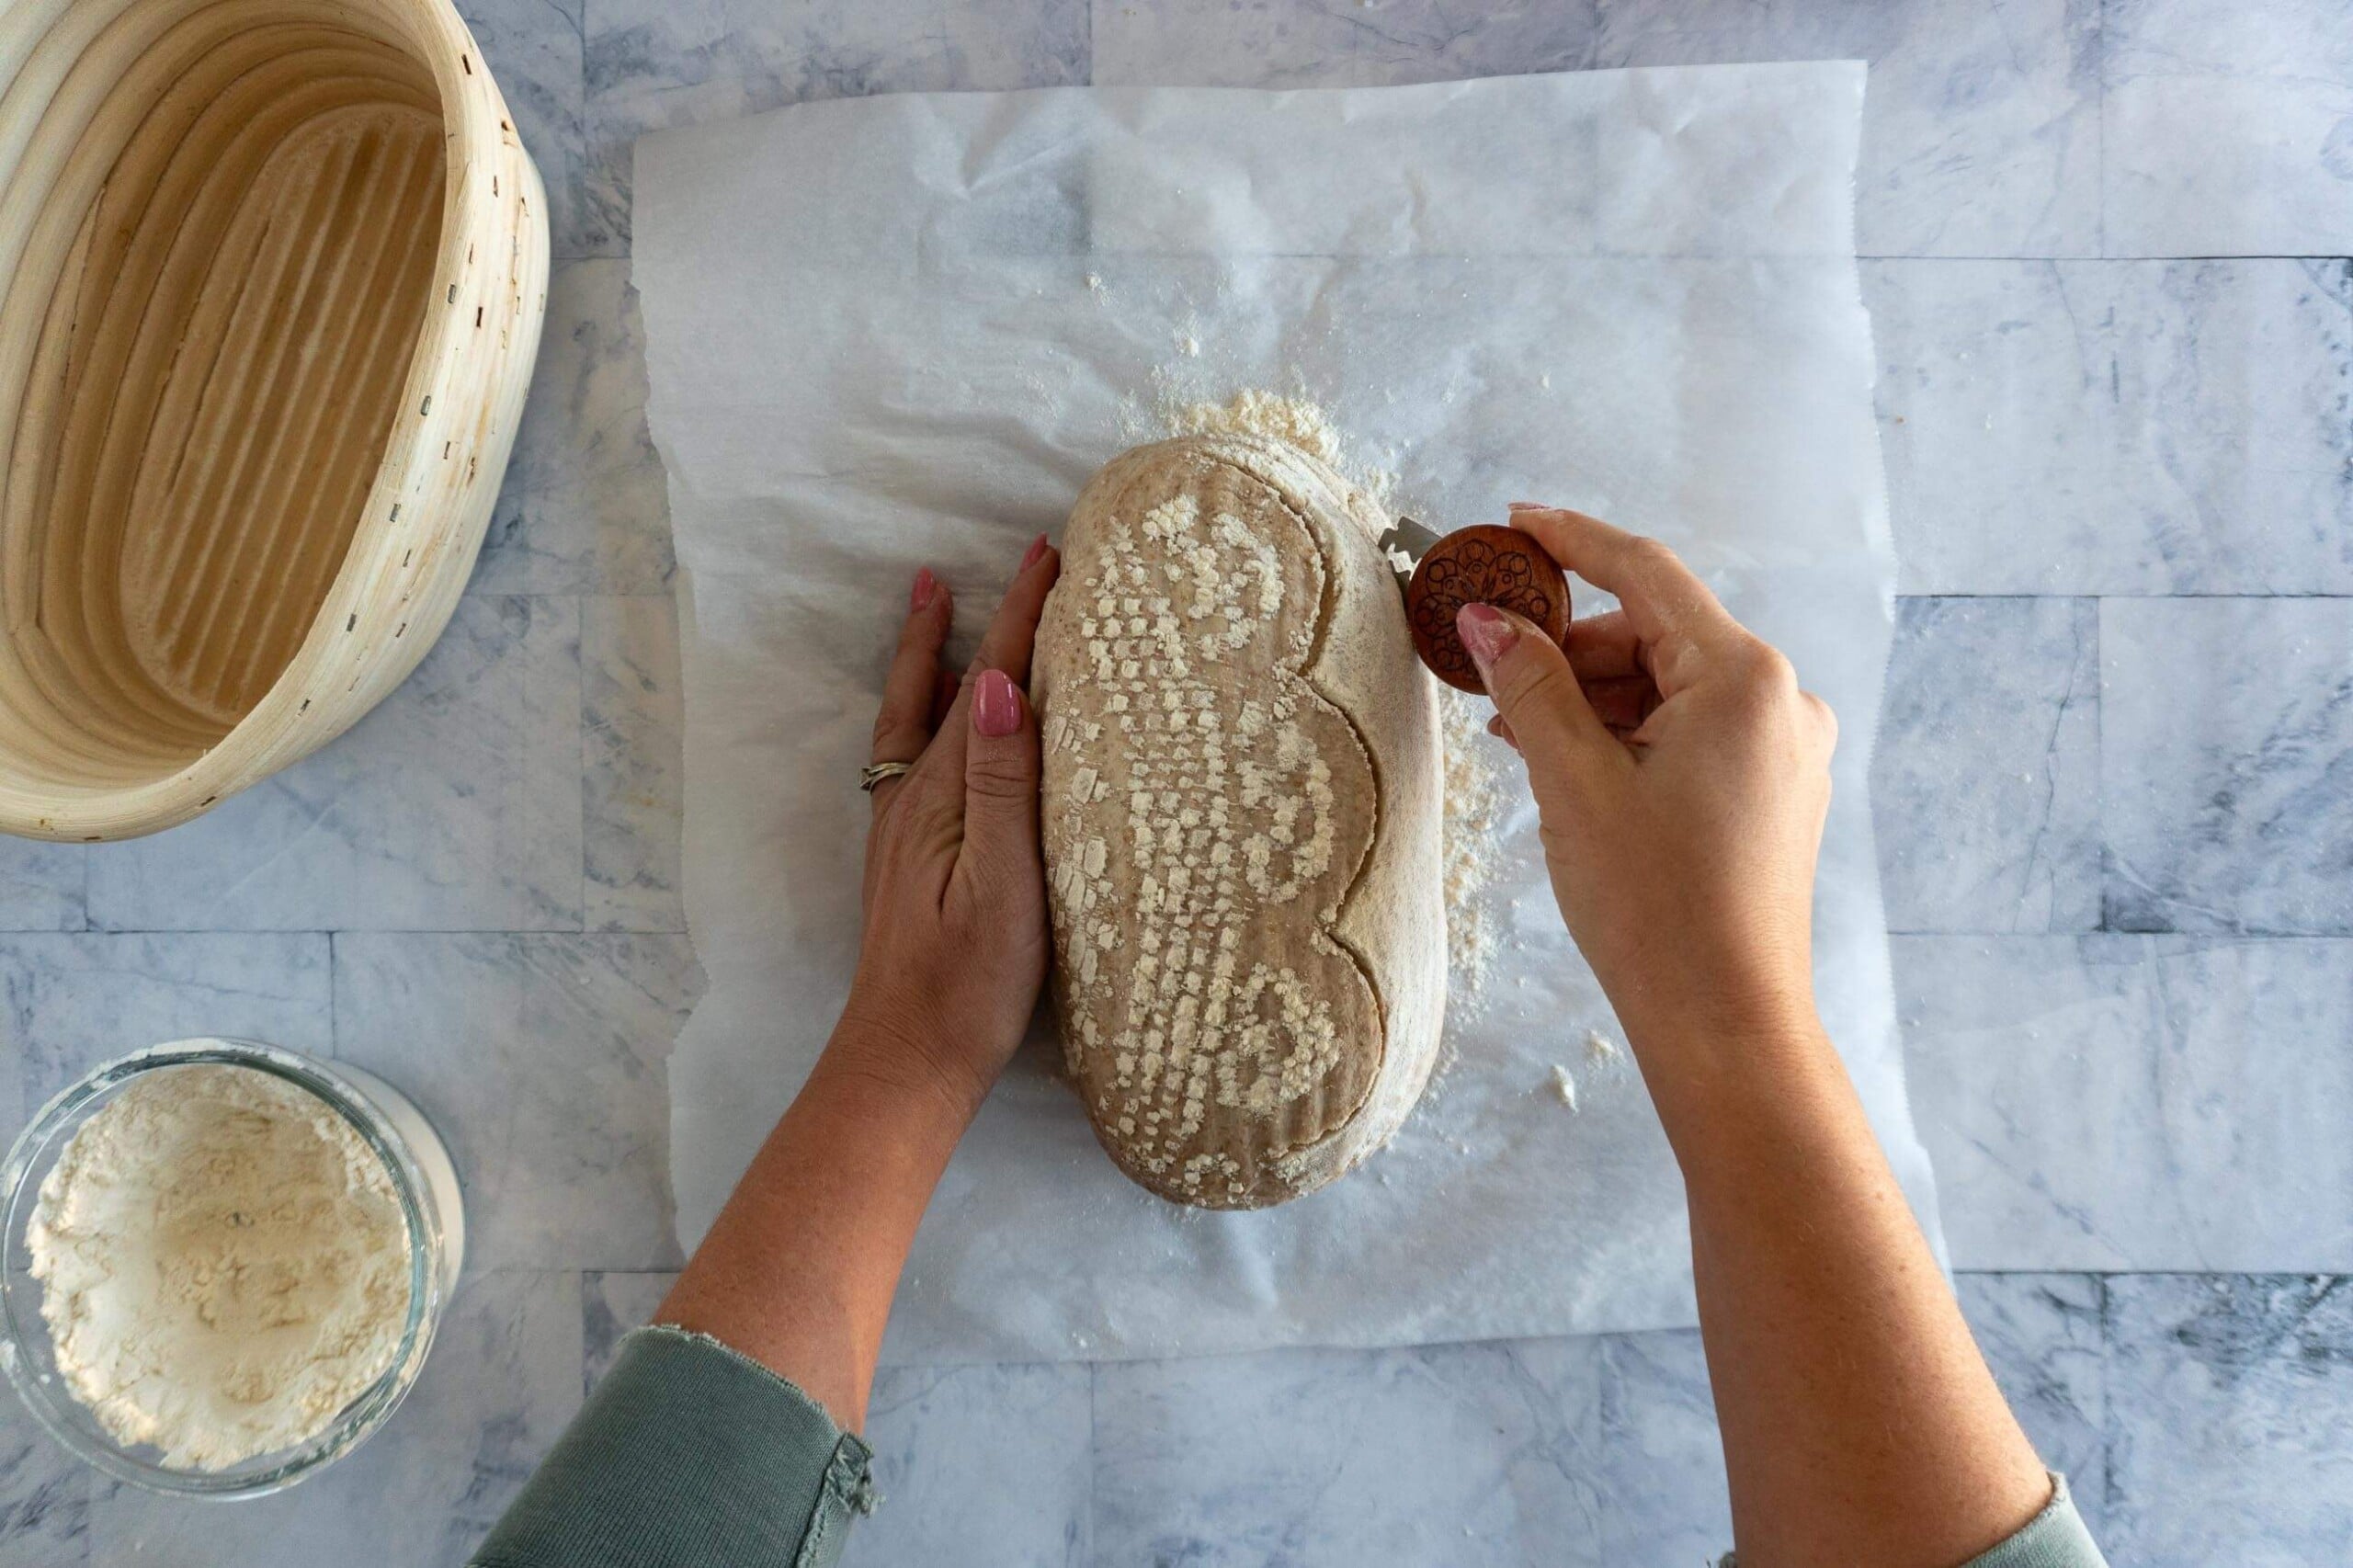
- Step 18: Once the oven is preheated, invert the banneton onto a piece of parchment paper. Use a lame, sharp knife, or clean razor blade to score the dough, I usually like to make one deep curved slash, but you can get as fancy as you like!
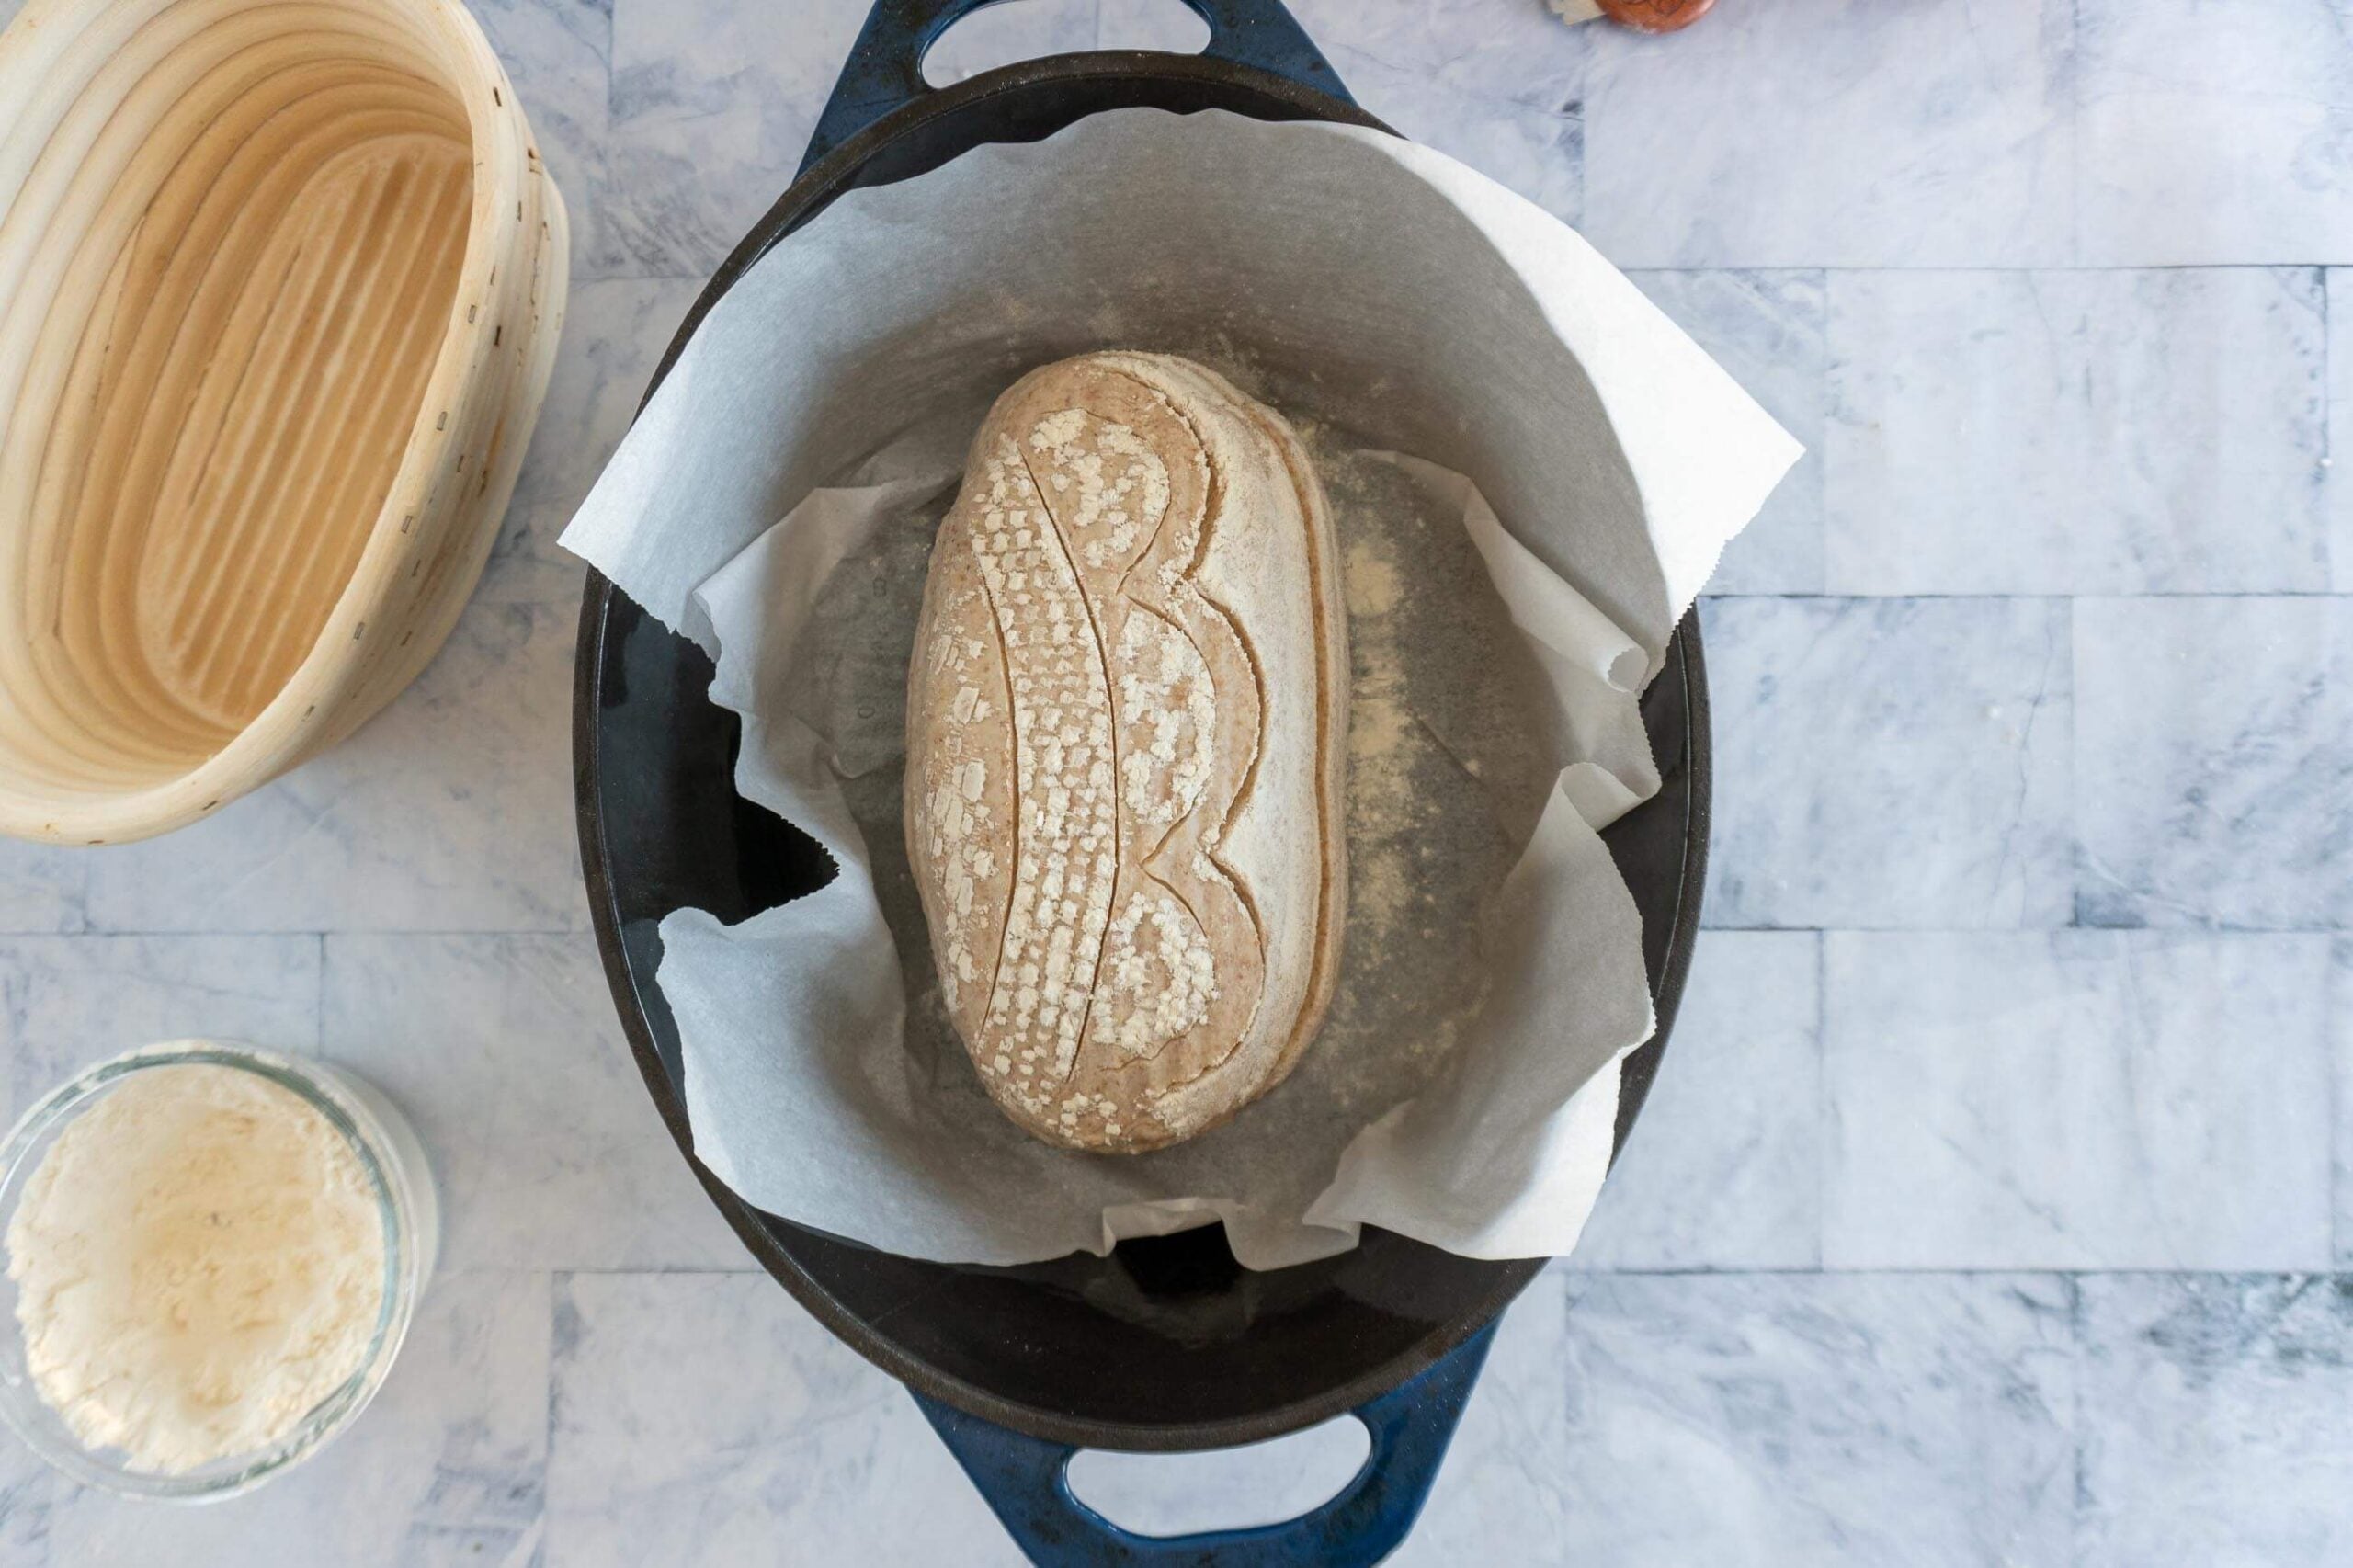
- Step 19: Carefully remove the dutch oven from the oven, and using the parchment paper as a sling, transfer the sourdough loaf from the counter into the dutch oven.
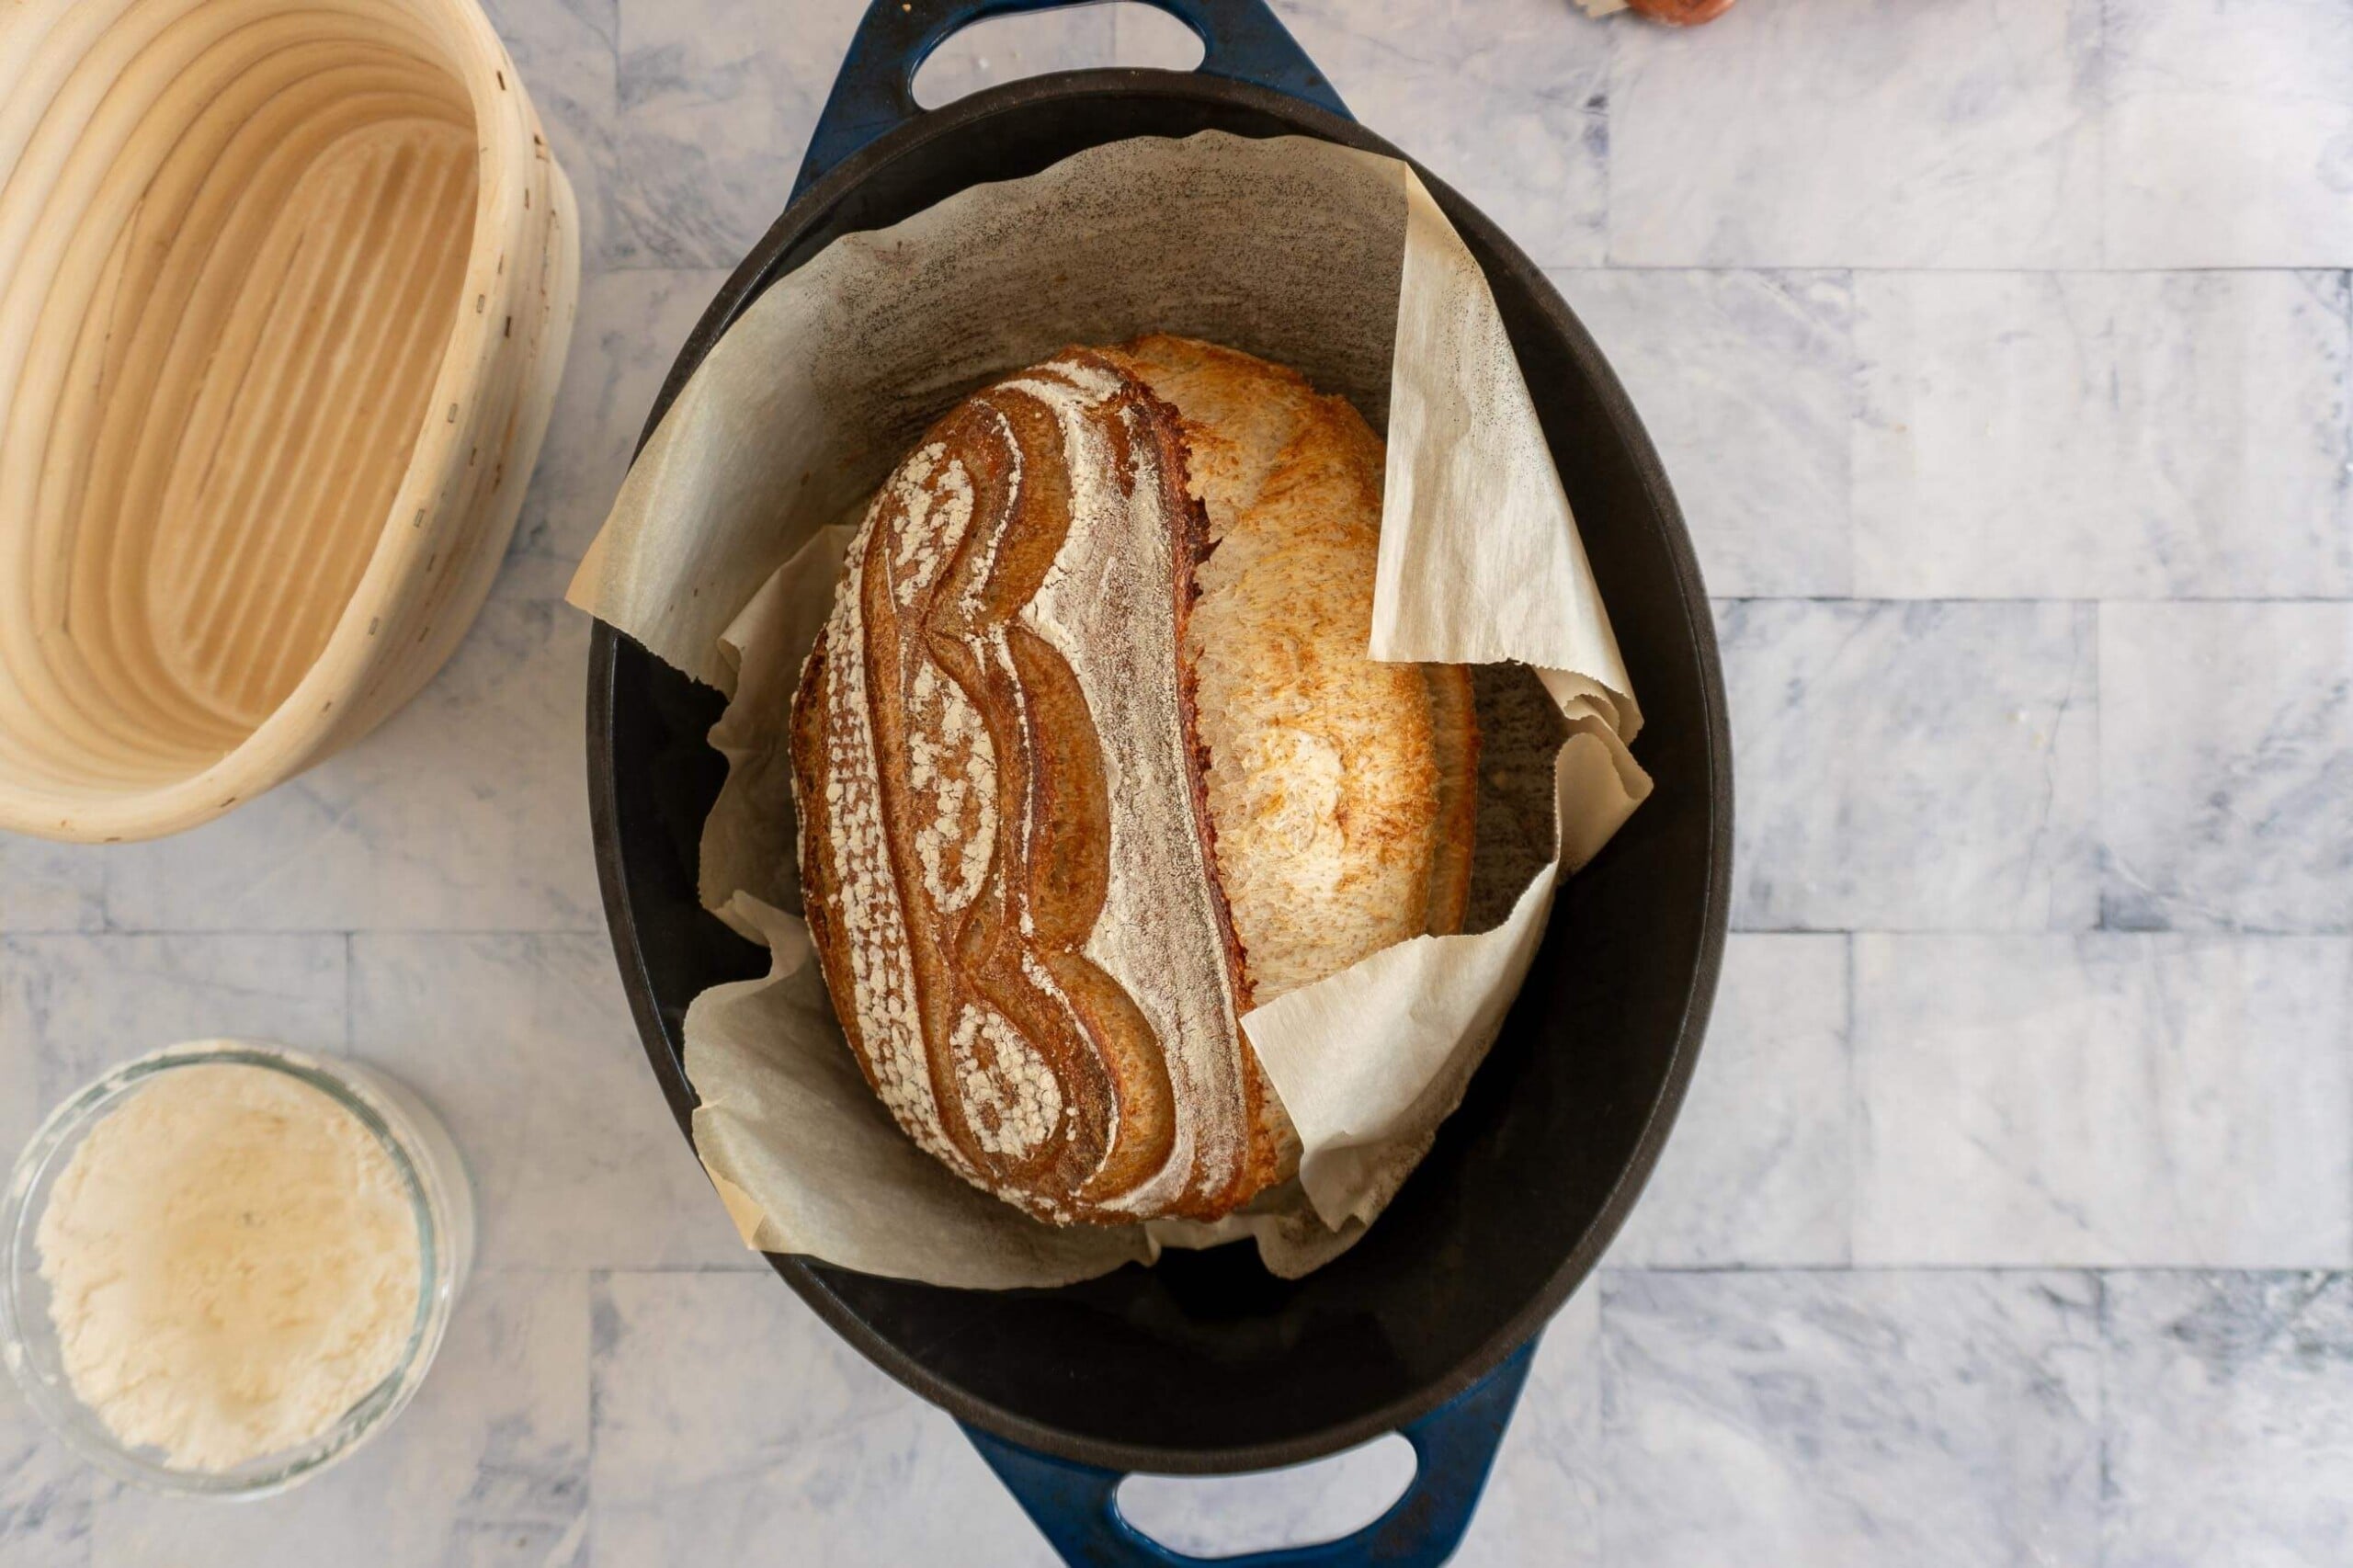
- Step 20: Bake the dough at 450f covered for 30 minutes and uncovered at 450f for 10-15 minutes, or until the loaf is cooked through and the crust is nicely browned. You can test the doneness of the loaf with an instant-read thermometer. Bread is cooked once it reaches 205 – 210 degrees Fahrenheit internal temperature.
Cool:
- Step 21: Remove baked bread from the dutch oven and transfer it to a wire mesh cooling rack to cool completely before slicing. I like to leave it for at least 2 hours before slicing, as slicing too soon can affect the crumb and texture of your loaf.
Expert Tips
- This recipe has a high proportion of whole grain flour, so we’ll be using a little bit of baking magic called autolyse. This easy process helps to improve the texture of the baked bread and improve gluten structure in the dough.
- I recommend using unbleached bread flour in conjunction with whole wheat in this recipe because whole wheat has the tendency to result in dense baked goods while white flour, with its high protein content, provides a lot of structure. In a pinch, you could use all purpose flour, but the dough might feel “wetter” to work with.
- If you love sourdough with whole wheat in the mix, consider trying my rustic sourdough bread – it’s got a little bit less whole wheat in proportion to bread flour, but it’s wonderful. My rosemary sourdough also has a decent amount of whole wheat flour in the mix and is full of rosemary flavor.
- If after the second stretch and fold the dough is looking a little ragged, don’t fret, that can happen when adding the starter after autolyse. Turn the dough onto a floured surface and knead it with a little bit of flour till it comes together then continue along with the recipe.
Why This Recipe Works
Autolyse softens whole wheat for better gluten development. Whole wheat flour absorbs more water and can feel dense, but allowing the flour and water to autolyse (rest) before adding salt and starter helps hydrate the bran and strengthens gluten formation, resulting in a lighter loaf.
Higher hydration balances whole wheat's absorption. Whole wheat flour drinks up more liquid than white flour, so increasing hydration a bit ensures the dough stays extensible and avoids a dry or tight crumb.
Stretch and folds gently build structure. Whole wheat dough can be more fragile once mixed due to the bran and germ, so using stretch and folds instead of aggressive kneading strengthens the dough without tearing the gluten.
Cold proofing enhances both flavor and handling. A fridge rest deepens the sourdough tang while firming the dough, making it easier to score and improving crust development during baking.
Whole Wheat Sourdough Bread FAQs
There are a couple of ways to store sourdough bread to help prolong its quality after cutting.
Your loaf can be kept cut side down on a cutting board for up to 12 hours before the crust becomes too crisp. This is our go-to. I recommend transferring it to a bread bag after 12 hours though.
Your sourdough loaf can also be frozen. To freeze sourdough bread, cool the loaf to room temperature, then tightly wrap it in plastic wrap, slide it into a bread bag, seal it up, and stick it in the freezer for 1-2 months. To use after freezing, remove the loaf from the freezer, unwrap, and allow it to come to room temperature (1 -2 hours) before slicing and enjoying.
You can, but the results will be noticeably different, and you’ll need to adjust the recipe.
A 100% whole wheat loaf will be denser and more compact than this 50/50 version. That’s not a failure; it’s just the nature of whole wheat. The bran in whole wheat flour has sharp edges that physically cut gluten strands as the dough develops, which limits how much structure the dough can build to trap fermentation gases. The result is a flatter, tighter crumb.
If you want to try it, increase the water by about 20-30g (whole wheat absorbs significantly more than bread flour), extend your bulk fermentation time slightly, and manage your expectations on oven spring, you won’t get the dramatic bloom you see in white or blended loaves.
The flavor, though, will be deep, nutty, and genuinely wholesome. Consider adding an extra tablespoon of honey to help with crumb tenderness.
For the lightest, most open crumb while still getting real whole wheat flavor, stick with the 50/50 blend in this recipe.
Dense whole wheat sourdough almost always comes down to one of three things: an underactive starter, under-fermentation, or the natural limits of high whole wheat flour percentages.
Start with your starter. Before you bake, your starter needs to be strong and should have at least doubled in size after feeding and be visibly bubbly and active. If it’s sluggish, your dough won’t ferment properly regardless of how long you wait.
Check your bulk fermentation. Under-fermented dough is the most common cause of dense bread across all sourdough recipes, and it’s even more critical with whole wheat because the gluten structure is already weaker. The dough should feel airy, jiggly, and noticeably increased in volume before you shape it. If your kitchen is cool, bulk fermentation will take longer than the recipe suggests; trust the dough, not the clock.
Baker’s Timeline
Day 1:
- 9:00 AM: Combine water, honey, bread flour, and whole wheat flour – autolyse
- 10:00 AM: Add sourdough starter and salt. First stretch and fold
- 11:00 AM: Second stretch and fold
- 12:00 PM: Third stretch and fold, bulk ferment
- 2:00 PM: Bulk ferment complete, pre shape
- 2:30 PM: Final shape, place dough into banneton, beginning of the proof
- 4:30 PM: Proofing complete, place banneton in fridge to cold retard
Day 2:
- 9:00 AM: Place dutch oven into oven and preheat oven
- 9:45 AM: Bake whole wheat sourdough bread
More Sourdough Starter Recipes


If you tried this Whole Wheat Sourdough Bread recipe or any other recipe on my blog, please leave a 🌟 star rating and let me know how it went in the comments below. Thanks for visiting!
📖 Printable Recipe
Whole Wheat Sourdough Bread
Ingredients
- 340 g warm water
- 45 g raw honey
- 250 g bread flour
- 250 g whole wheat flour
- 100 g active sourdough starter
- 14 g fine sea salt
Instructions
Autolyse:
- In a large mixing bowl, combine 340g warm water with 45g honey, stir until completely combined.
- Add 250g bread flour and 250g whole wheat flour and mix until a shaggy dough forms. Knead the dough with your hands until all the dry bits are incorporated.
- Cover the bowl and set aside to autolyse for 60 minutes.
Add Sourdough Starter:
- Uncover the bowl and spread the dough in the bowl, I just dimple it with damp fingers, and sprinkle 14g sea salt over the dough, then spread 100g sourdough starter across the surface of the dough.
- Then grab the dough and gently pull it until the flap is long enough to fold over itself, then fold the flap, rotate the bowl 90 degrees, and repeat 4 times to fold in the starter.
- Recover and set aside for 1 hour.
Stretch + Fold:
- Using damp hands, grab the dough and gently pull it until the flap is long enough to fold over itself, then fold the flap, rotate the bowl 90 degrees, and repeat 4 times to fold in the starter. This makes 1 set of stretch and folds.
- Recover and set aside for 1 hour before performing another set of stretch and folds before recovering and resting for 1 hour.
- Repeat once more, for a total of 3 sets of stretch and folds. Then cover, and set aside for 2 hours to finish the bulk ferment.
Pre-Shape + Shape:
- Uncover the dough and transfer to a lightly floured work surface or countertop. Gently press and spread the dough into a large rectangle.
- Fold up the bottom third of the dough as though you were folding a letter, and then fold the top down.
- Rotate the dough 90 degrees and roll up into a large log. Cover with a kitchen or tea towel and rest for 30 minutes.
- After the rest, flip the dough over, gently press the dough flat then roll it again. Pinch the ends if you're making a batard or tuck them in if your making a boule.
- Dust the dough with rice flour then tuck seam side up into a banneton.
Prove + Cold Retard:
- Prove the whole wheat sourdough loaf in the banneton for 2-3 hours before covering and placing in fridge to cold retard for up to 3 days. If you want to bake it right after proving, you're welcome to, but the flavor and rise is better after resting in the fridge.
Bake:
- Place your dutch oven, cloche, or desired baking dish in the oven and preheat to 450f.
- Once the oven is preheated, invert the banneton onto a sheet of parchment paper.
- Use a lame, sharp knife, or clean razor blade to score the dough, I usually like to make one deep curved slash, but you can get as fancy as you like!
- Carefully remove the dutch oven from the oven, and using the parchment paper as a sling, transfer the sourdough loaf from the counter into the dutch oven.
- Bake the dough at 450f covered for 30 minutes and uncovered at 450f for 10-15 minutes, or until the loaf is cooked through and the crust is nicely browned. You can test the doneness of the loaf with an instant-read thermometer. Bread is cooked once it reaches 205 – 210 degrees Fahrenheit internal temperature.
Cool:
- Remove baked bread from the dutch oven and transfer it to a wire mesh cooling rack to cool completely before slicing. I like to leave it for at least 2 hours before slicing, as slicing too soon can affect the crumb and texture of your loaf.
Notes
Expert Tips
- This recipe has a high proportion of whole grain flour, so we'll be using a little bit of baking magic called autolyse. This easy process helps to improve the texture of the baked bread and improve gluten structure in the dough.
- I recommend using unbleached bread flour in conjunction with whole wheat in this recipe because whole wheat has the tendency to result in dense baked goods while white flour, with its high protein content, provides a lot of structure. In a pinch, you could use all purpose flour, but the dough might feel "wetter" to work with.
- If you love sourdough with whole wheat in the mix, consider trying my rustic sourdough bread - it's got a little bit less whole wheat in proportion to bread flour, but it's wonderful. My rosemary sourdough also has a decent amount of whole wheat flour in the mix and is full of rosemary flavor.
- If after the second stretch and fold the dough is looking a little ragged, don't fret, that can happen when adding the starter after autolyse. Turn the dough onto a floured surface and knead it with a little bit of flour till it comes together then continue along with the recipe.


Just made this loaf. It’s amazing! Followed instructions to the T and it came out perfect. Will definitely make again!
Happy to hear this, Kelly!
Recipe looks delicious and I’m dying to try it. I’m still kinda new to sourdough. You say the started should be fed and active. How long between feeding and using should I wait?
Hey Jennifer, that really depends on your starter and its environment. If it has at least doubled, you’re good to go, though!
This recipe gives the most delicate, delicious whole wheat sourdough bread. We make it on repeat!
This is the best sourdough bread I have ever made!!!
PERFECTION!
I cant wait to try your other recipes.
One question…all my sourdoughs have kinda burned bottoms. The rest is good. any tricks up your sleeve?
It’s SOOOOO good! I’m thrilled to hear that you liked it!
As for the darker bottoms, can you tell me a bit more about your baking set up? Do you use a dutch oven? Where is it located in your oven; center, top third, bottom third? Can it be moved up? Can you put a baking sheet on a separate rack below the rack that holds your dutch oven to help diffuse the heat? Is your dutch oven cast iron or made of a lighter material? Have you placed an independent thermometer in your oven to ensure it’s baking at the right temp? We’ll get this figured!
This was really good. My husband said it was his favorite so far and to keep the recipe!
It was late at night and I didn’t finish all the roll and folds, so I put it in the refrigerator. Then in the morning I took it out and let it get to room temperature and finished the last fold. It worked perfect. I did not let it sit in the refrigerator overnight, but baked it after it rose in my banneton for a few hours ( but not too much so it still rose and was beautiful after the first 20 min in the oven). I did preheat my enameled Dutch oven and covered it for the first 20 min, then removed the lid for another 20 min. It was amazing and had that beautiful pop and ear. Thank you!
Yes Colleen! So happy to hear this! <3
Amazing recipe. Everything is explained beautifully. I’m new to baking sourdough and it’s all been a littl3 complicate for me. I’m kinda b & w. Baking sourdough makes me think a little. 😆
Happy to hear you loved it!
Just took it out of the oven, so I haven’t tasted it yet. This is one in about a half dozen attempts at sourdough loaf making and I just can’t get it to rise. I followed everything and left it in the fridge for 2 days. It looks and feels soft but it’s totally flat. 😞
I’ve made muffins and pancakes and both turned out great, but for the life of me, I cannot get a loaf to rise. I was hoping this recipe was going to be the one!
Hey Debbie, sorry to hear that. I have a few questions – how old is your starter and what is your feeding process? Does the starter reliably rise at least double in size between each feeding and is it fed once it deflates? How warm is your kitchen? It may be over proofing if it’s too warm or under proofing if its too cold?
I’ve tried a bunch of different bread recipes over the years and my absolute best bread has come out of using this recipe. 10/10 I only wish I had the time to make it more than once every few weeks.
This absolutely made my day! I am so happy to hear you love it.