
Canning Cherry Tomatoes

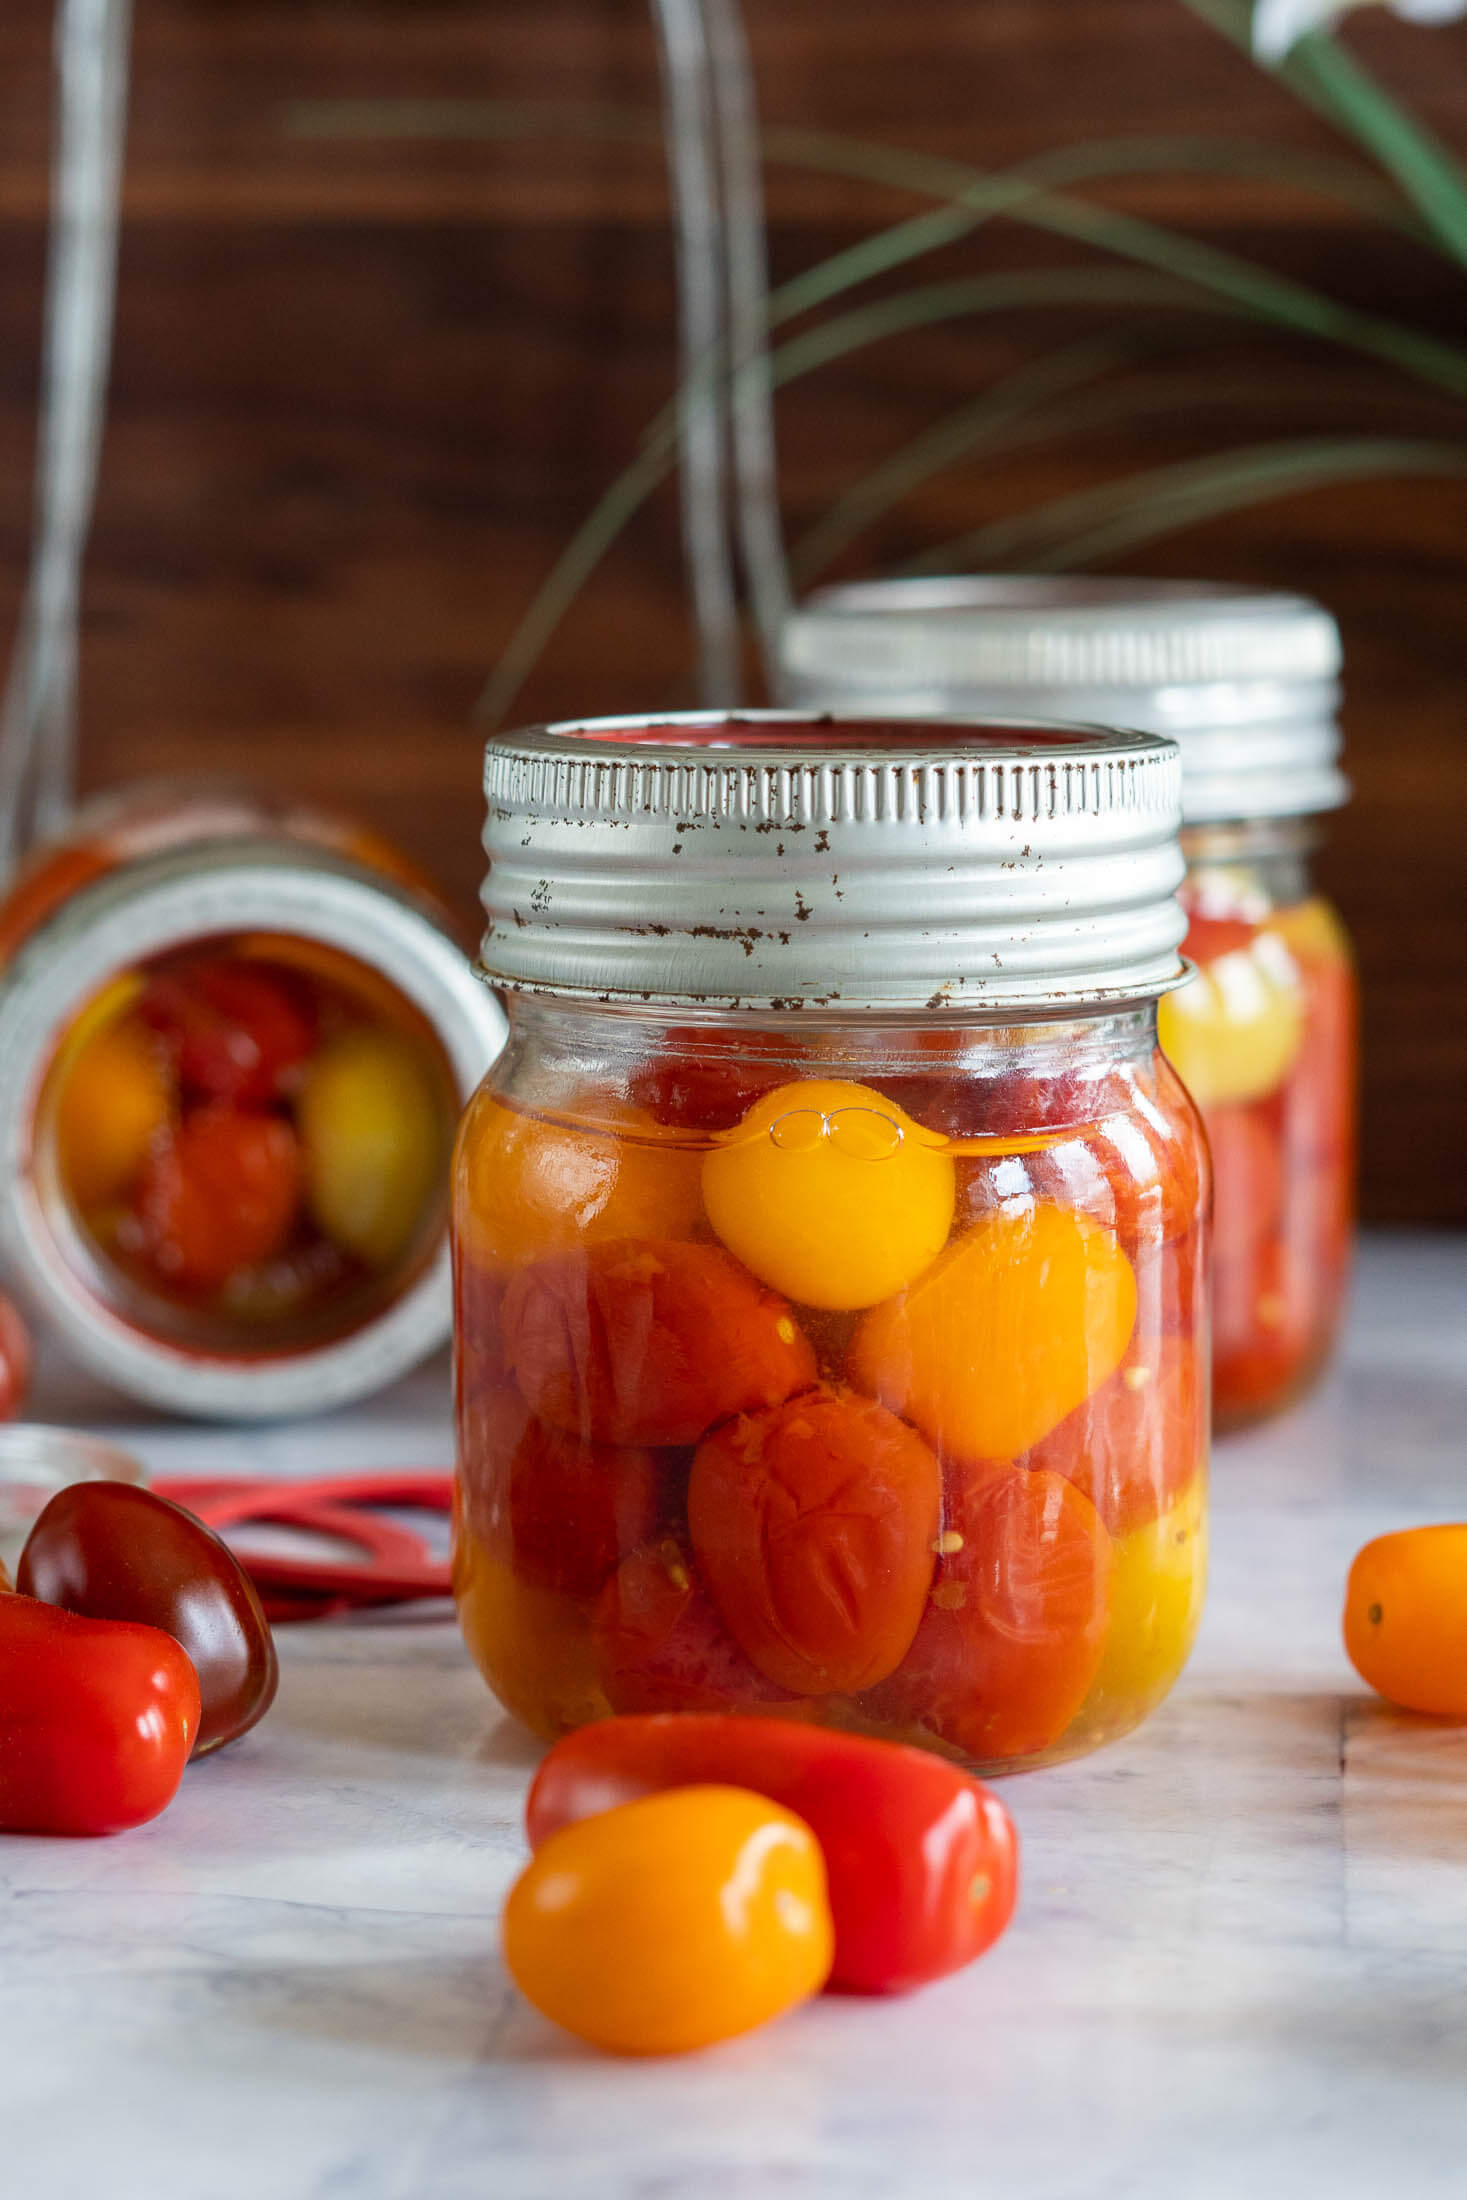
Canning cherry tomatoes is an easy way to preserve a garden surplus for soups, sauces, pasta, and more. This method uses a boiling water bath to can whole cherry tomatoes packed in water, including the required acidification and elevation-adjusted processing times.
Craving The Recipe Details?
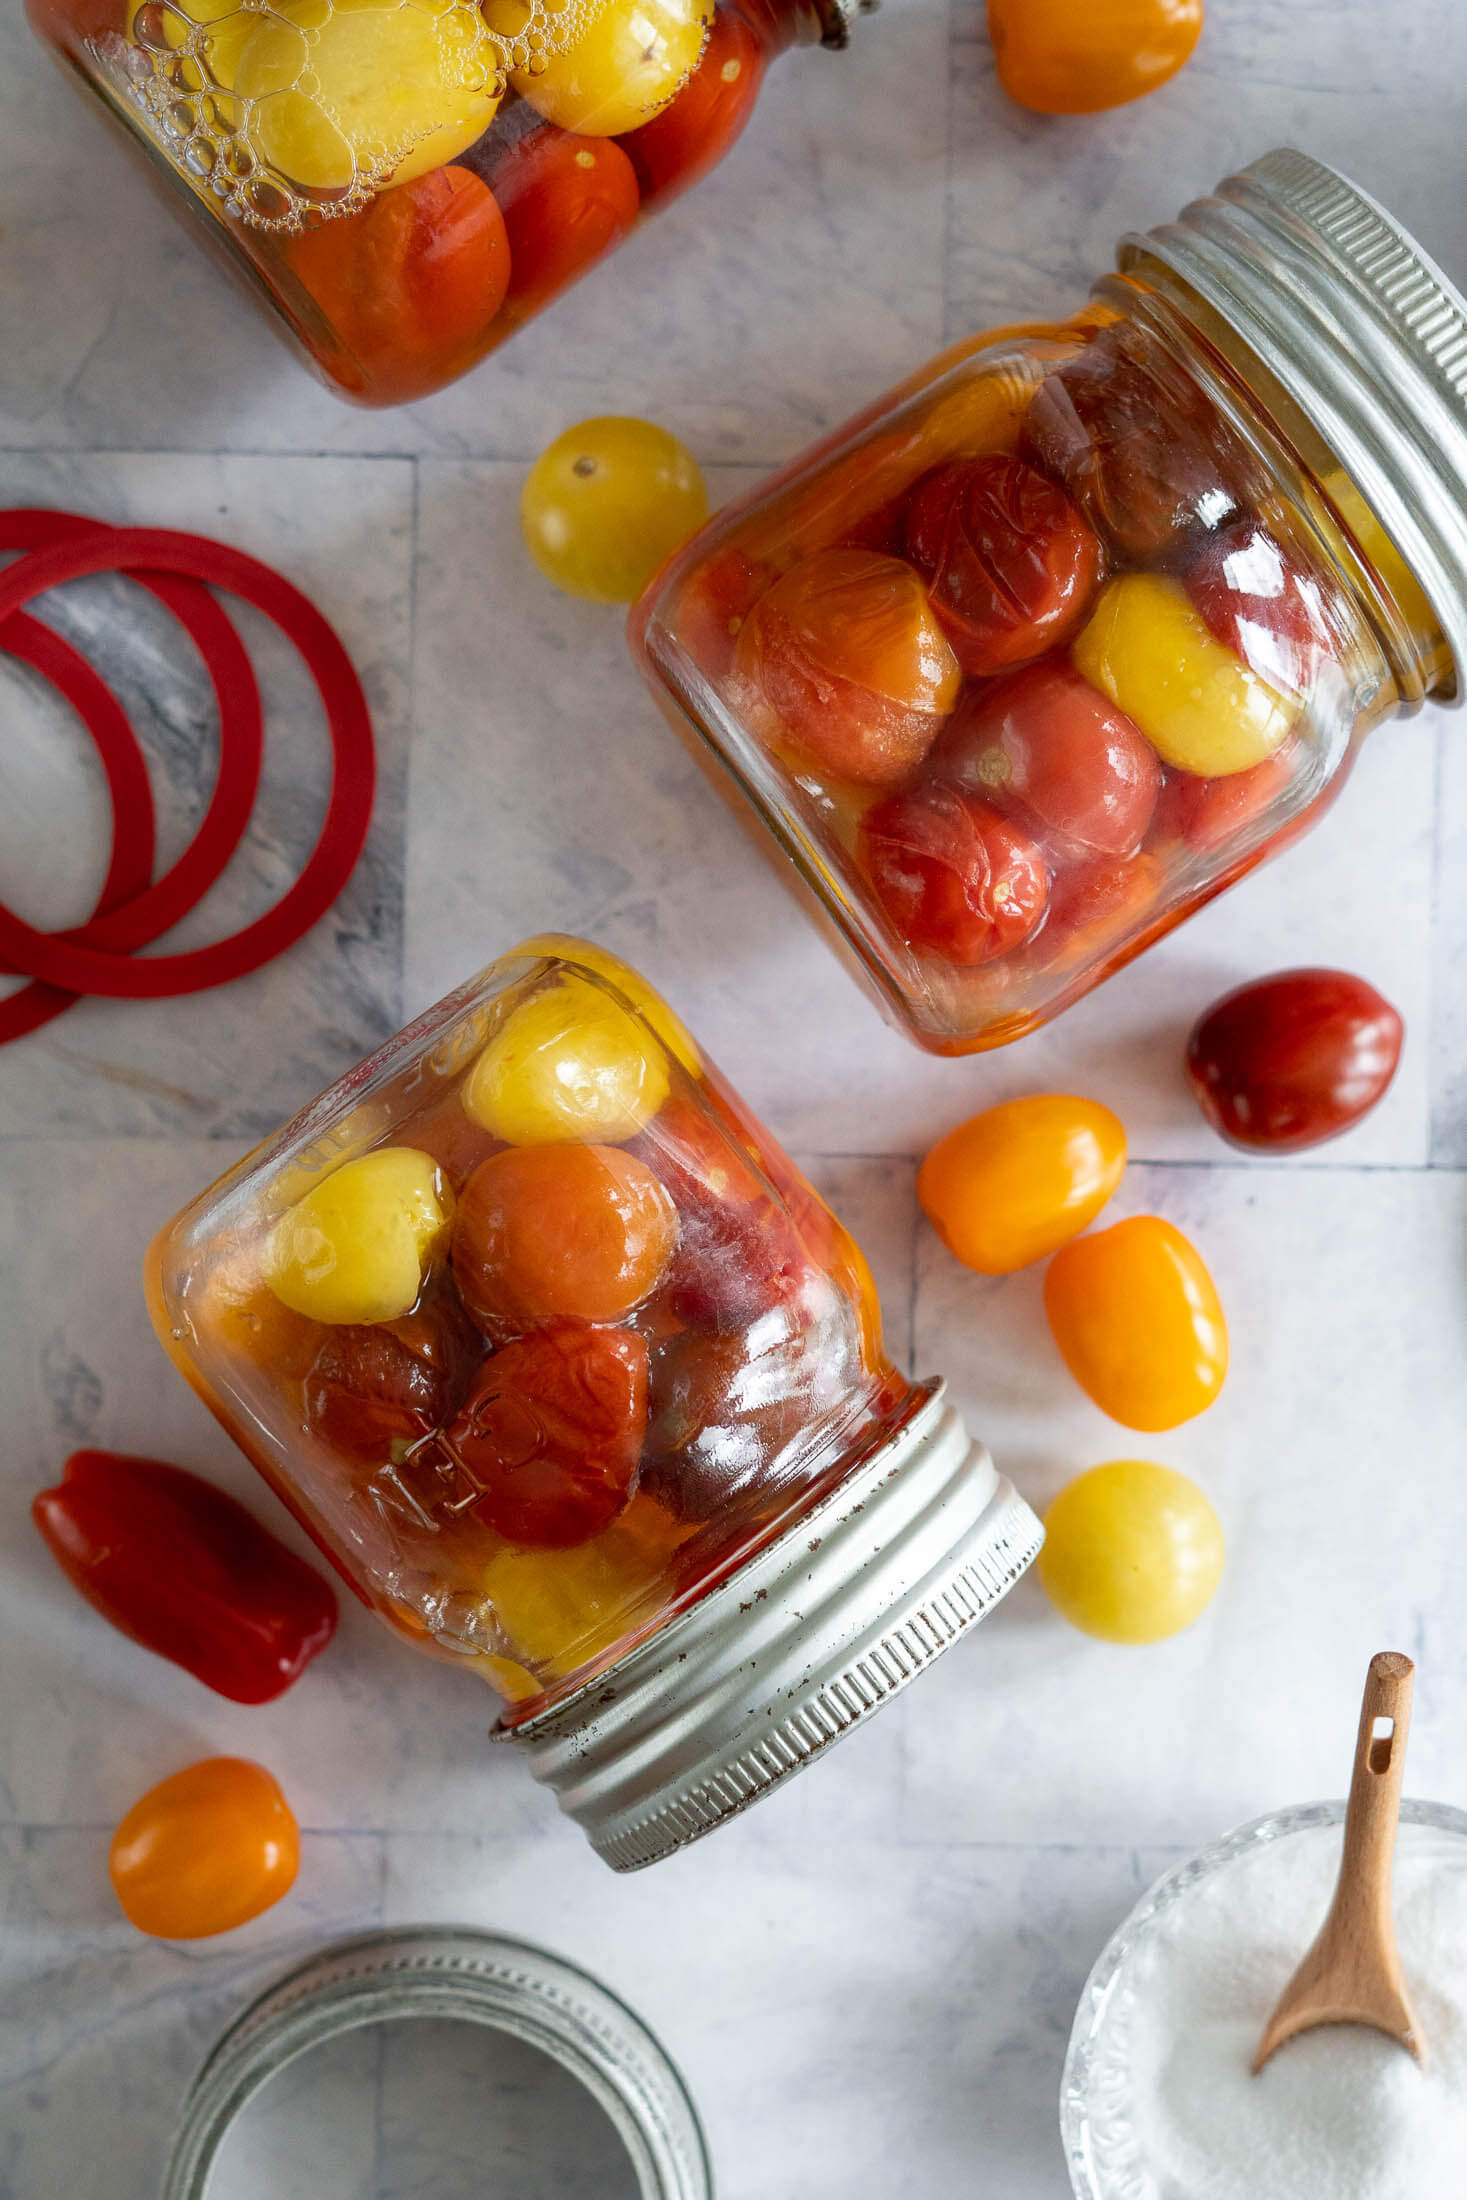
What it is: Fresh cherry tomatoes preserved in a water bath canner, sealed into shelf-stable jars bursting with vibrant, sun-ripened flavor.
Why you’ll love it: No pressure canner needed, choose raw pack or hot pack and turn an abundance of tomatoes into pantry stock you can enjoy throughout the year.
How to make it: Pack sterilized jars with tomatoes, add lemon juice or citric acid for safe acidity, top with water and process in a boiling water bath – timing depends on your elevation.
Every August, the same thing happens… your cherry tomato plants go from a “nice little harvest” to “an actual emergency”. If you’re drowning in tomatoes that you can’t eat, gift, dehydrate, or freeze fast enough, canning them is the answer!
These canned cherry tomatoes are a simple way to preserve that just-picked flavor in shelf stable jars you can pull out anytime, especially during the winter doldrums. Just a water bath, a bit of acid for safety, and your choice of raw pack or hot pack (I’ll walk you through both so you can pick whatever feels easier).
The result: jars of vibrant, ready to use tomatoes for soups, sauces, and pastas, long after the growing season.
This guide to canning cherry tomatoes is dedicated to vibrance.
Jump to:
Do You Need To Peel Cherry Tomatoes Before Canning?
Officially, yes, you need to peel canned cherry tomatoes. Every tested resource I found, including NCHFP, USDA, and University extension services recommend peeling tomatoes before canning, cherry tomatoes included. Their tested processing times were developed using peeled tomatoes, so they have no testing data for how peeling the tomatoes affect heat penetration during processing.
In practice, a lot of home canners, like me, skip this step. Cherry tomatoes are a pain to peel in bulk!
Here’s the bottom line: if you want to follow tested guidance exactly, blanch and peel your tomatoes before following the remainder of the recipe. If you’re choosing to can skin on, as in this recipe, just know that this recipe uses tested acidification and processing times for peeled whole tomatoes packed in water by the NCHFP.
Key Ingredients
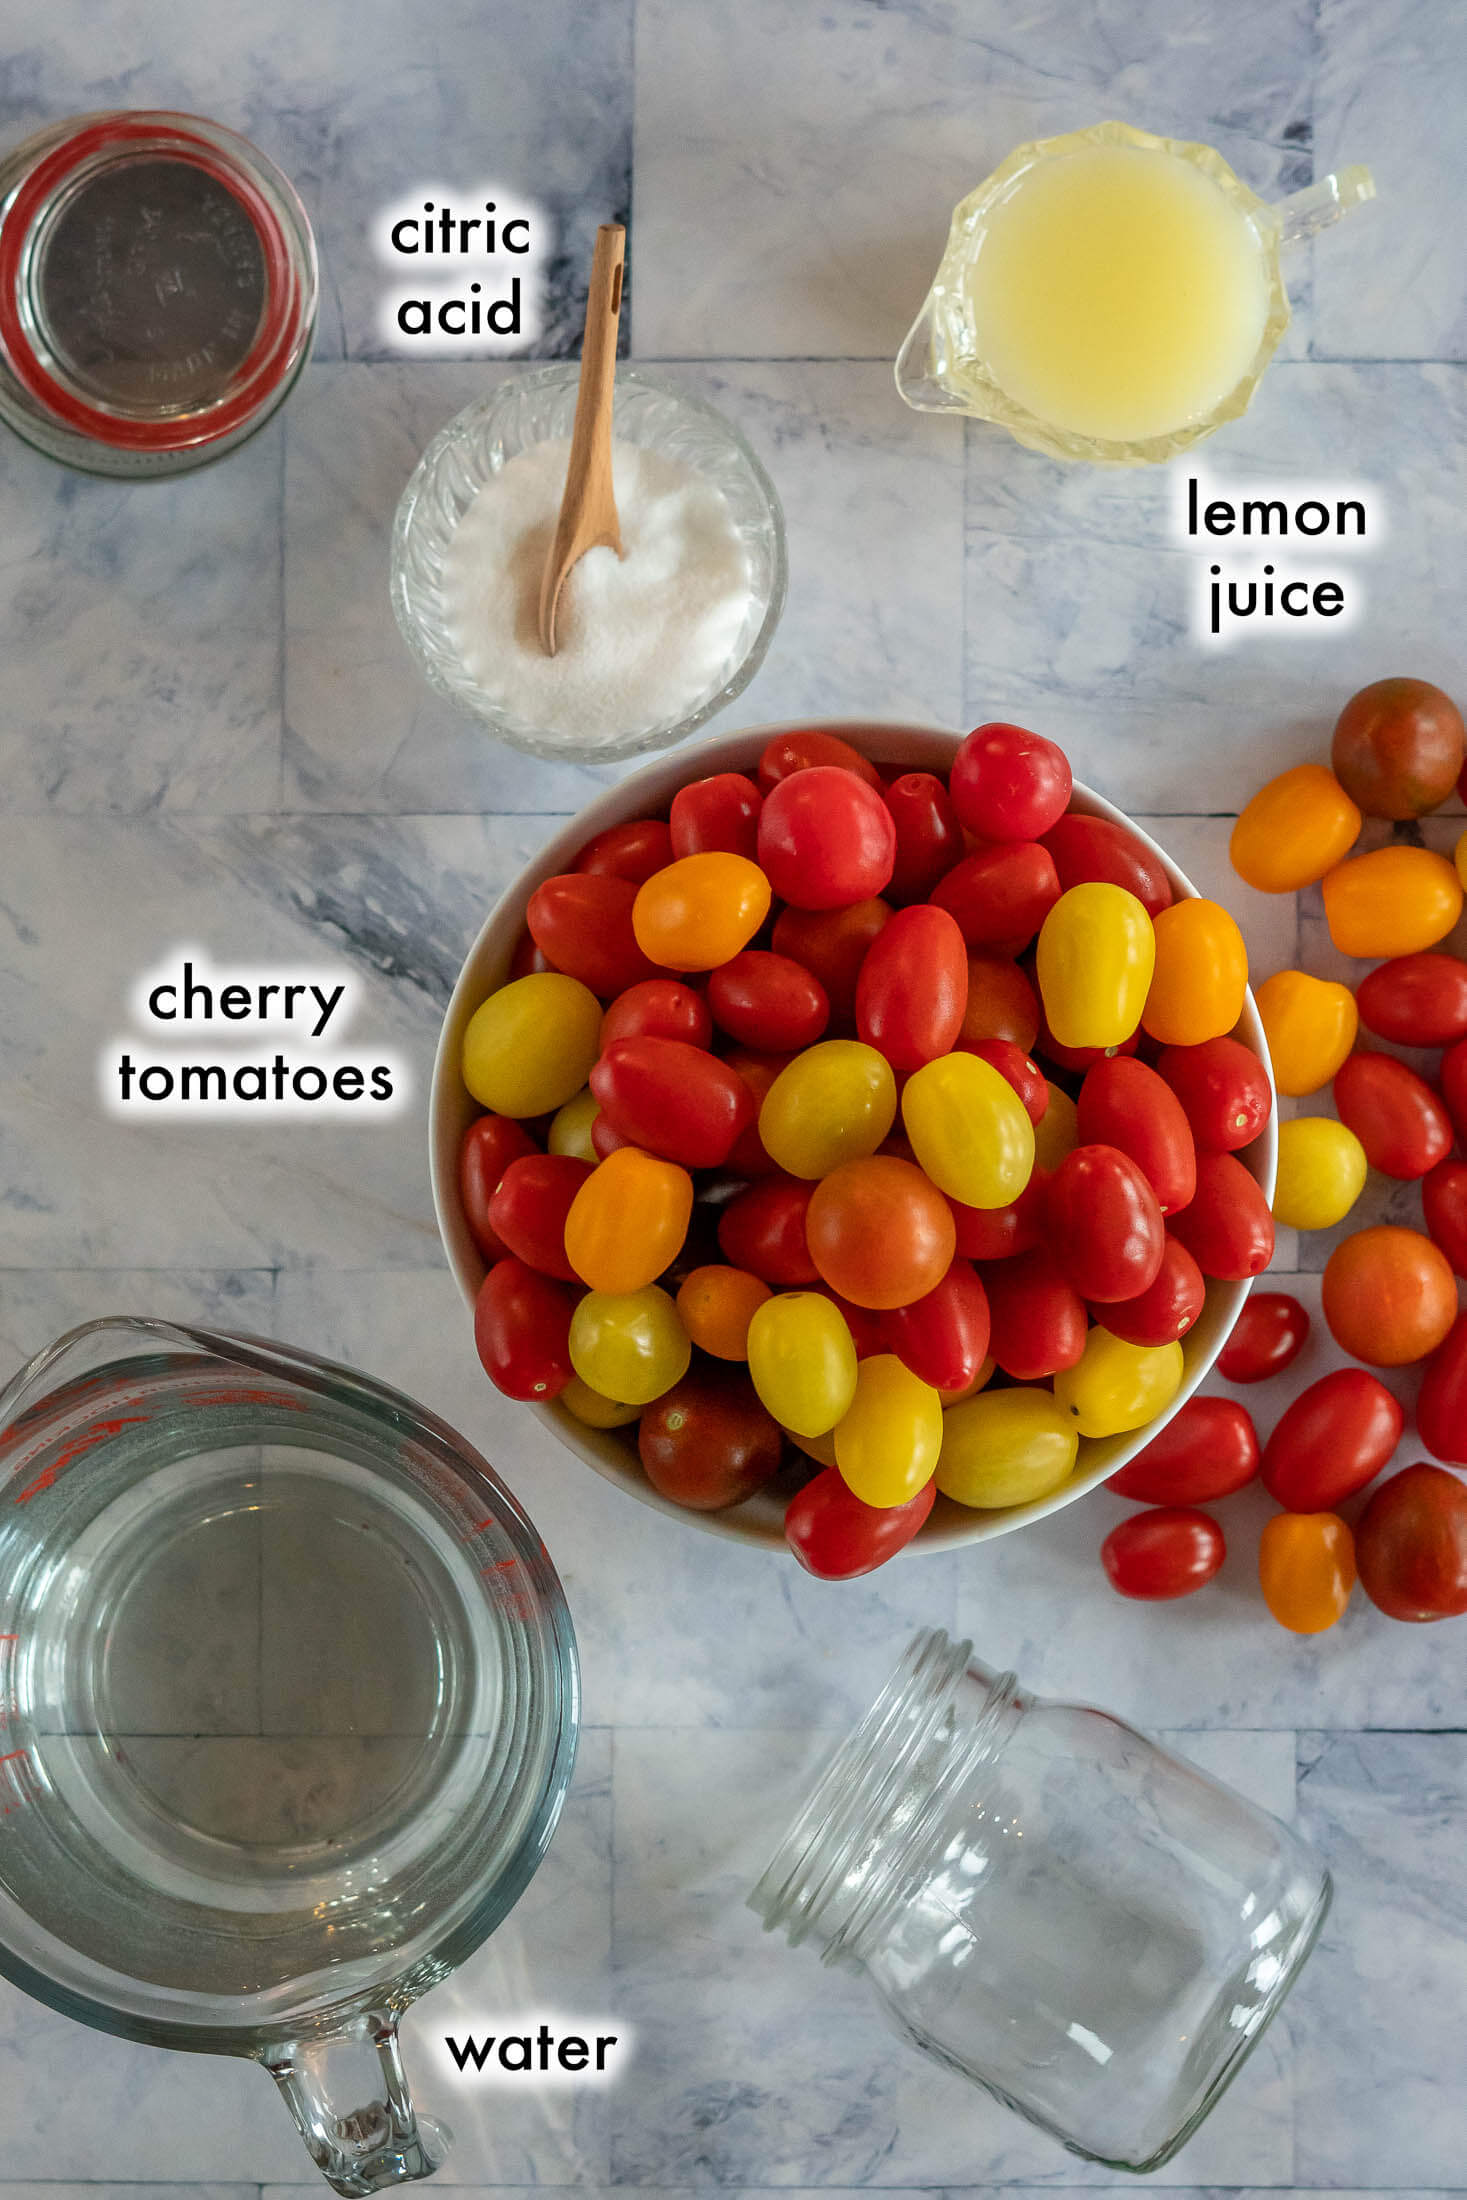
Tomatoes: Whenever possible, choose “just ripe” cherry tomatoes. Overly soft and ripe tomatoes are ok for the hot pack method, but will not stand up when raw packed. Under ripe tomatoes are harder as the pectin hasn’t begun to break down, and they can stand up to the canning process, but they lack the vibrant flavor that cherry tomatoes are known for.
Thicker skinned cherry tomato varieties like Black Cherry tend to hold up best when raw packing while thinner skinned cherry tomatoes are better for hot packing.
Plan on roughly 2/3 lb of cherry tomatoes per pint jar with the raw pack method and a bit more with hot pack as the tomatoes shrink and pack denser. Smaller tomatoes will fit more per jar by weight than larger ones.
Acid: When canning tomatoes in water, you must acidify the liquid. The pH of individual tomatoes can vary widely, so it’s important to add a bit of acidity to the jar to ensure safe pH level. Lemon juice, or citric acid may be used to acidify in this recipe.
Salt (optional and I skip it): Some recipes add salt for flavor, but I omit salt on purpose. These tomatoes usually get folded into soups, sauces, or other recipes that are already seasoned and pre-salted tomatoes can make it easy to accidentally over-salt your finished dish. If you want to add it, use 1/2 teaspoon per pint or 1 teaspoon per quart.
Raw Pack Vs Hot Pack
Raw Packing: Pack the jars with raw cherry tomatoes, add your acid, top with boiling water, and process. It’s the fastest option, requiring just a few minutes of prep before the jars hit the water bath.
Hot Packing: Simmer the tomatoes briefly before packing them into jars. It takes an extra few minutes and one more step, but since the tomatoes are “pre-shrunk” you can fit more in the jar resulting in a fuller looking jar.
The tradeoff: the hot pack method removes more air from the cells of the tomatoes prior to the canning process and reduces the amount of fruit float. Raw packed versions are more likely to have float, which is normal, but leads to the jars looking a bit less full.
I generally raw pack my cherry tomatoes becuase I find it easier, and we’ve never had a problem with reduced quality based on the packing method.
How To Can Cherry Tomatoes:
Raw Pack:
- Wash and sanitize pint jars with hot soapy water. Fill a large water bath canner with water and begin heating it over high heat. Meanwhile, wash fresh cherry tomatoes. Set aside.
- Heat fresh water to a boil either using a kettle or in a large pot. While water is coming to a boil, prepare sterilized jars by placing them on a heat-proof surface.
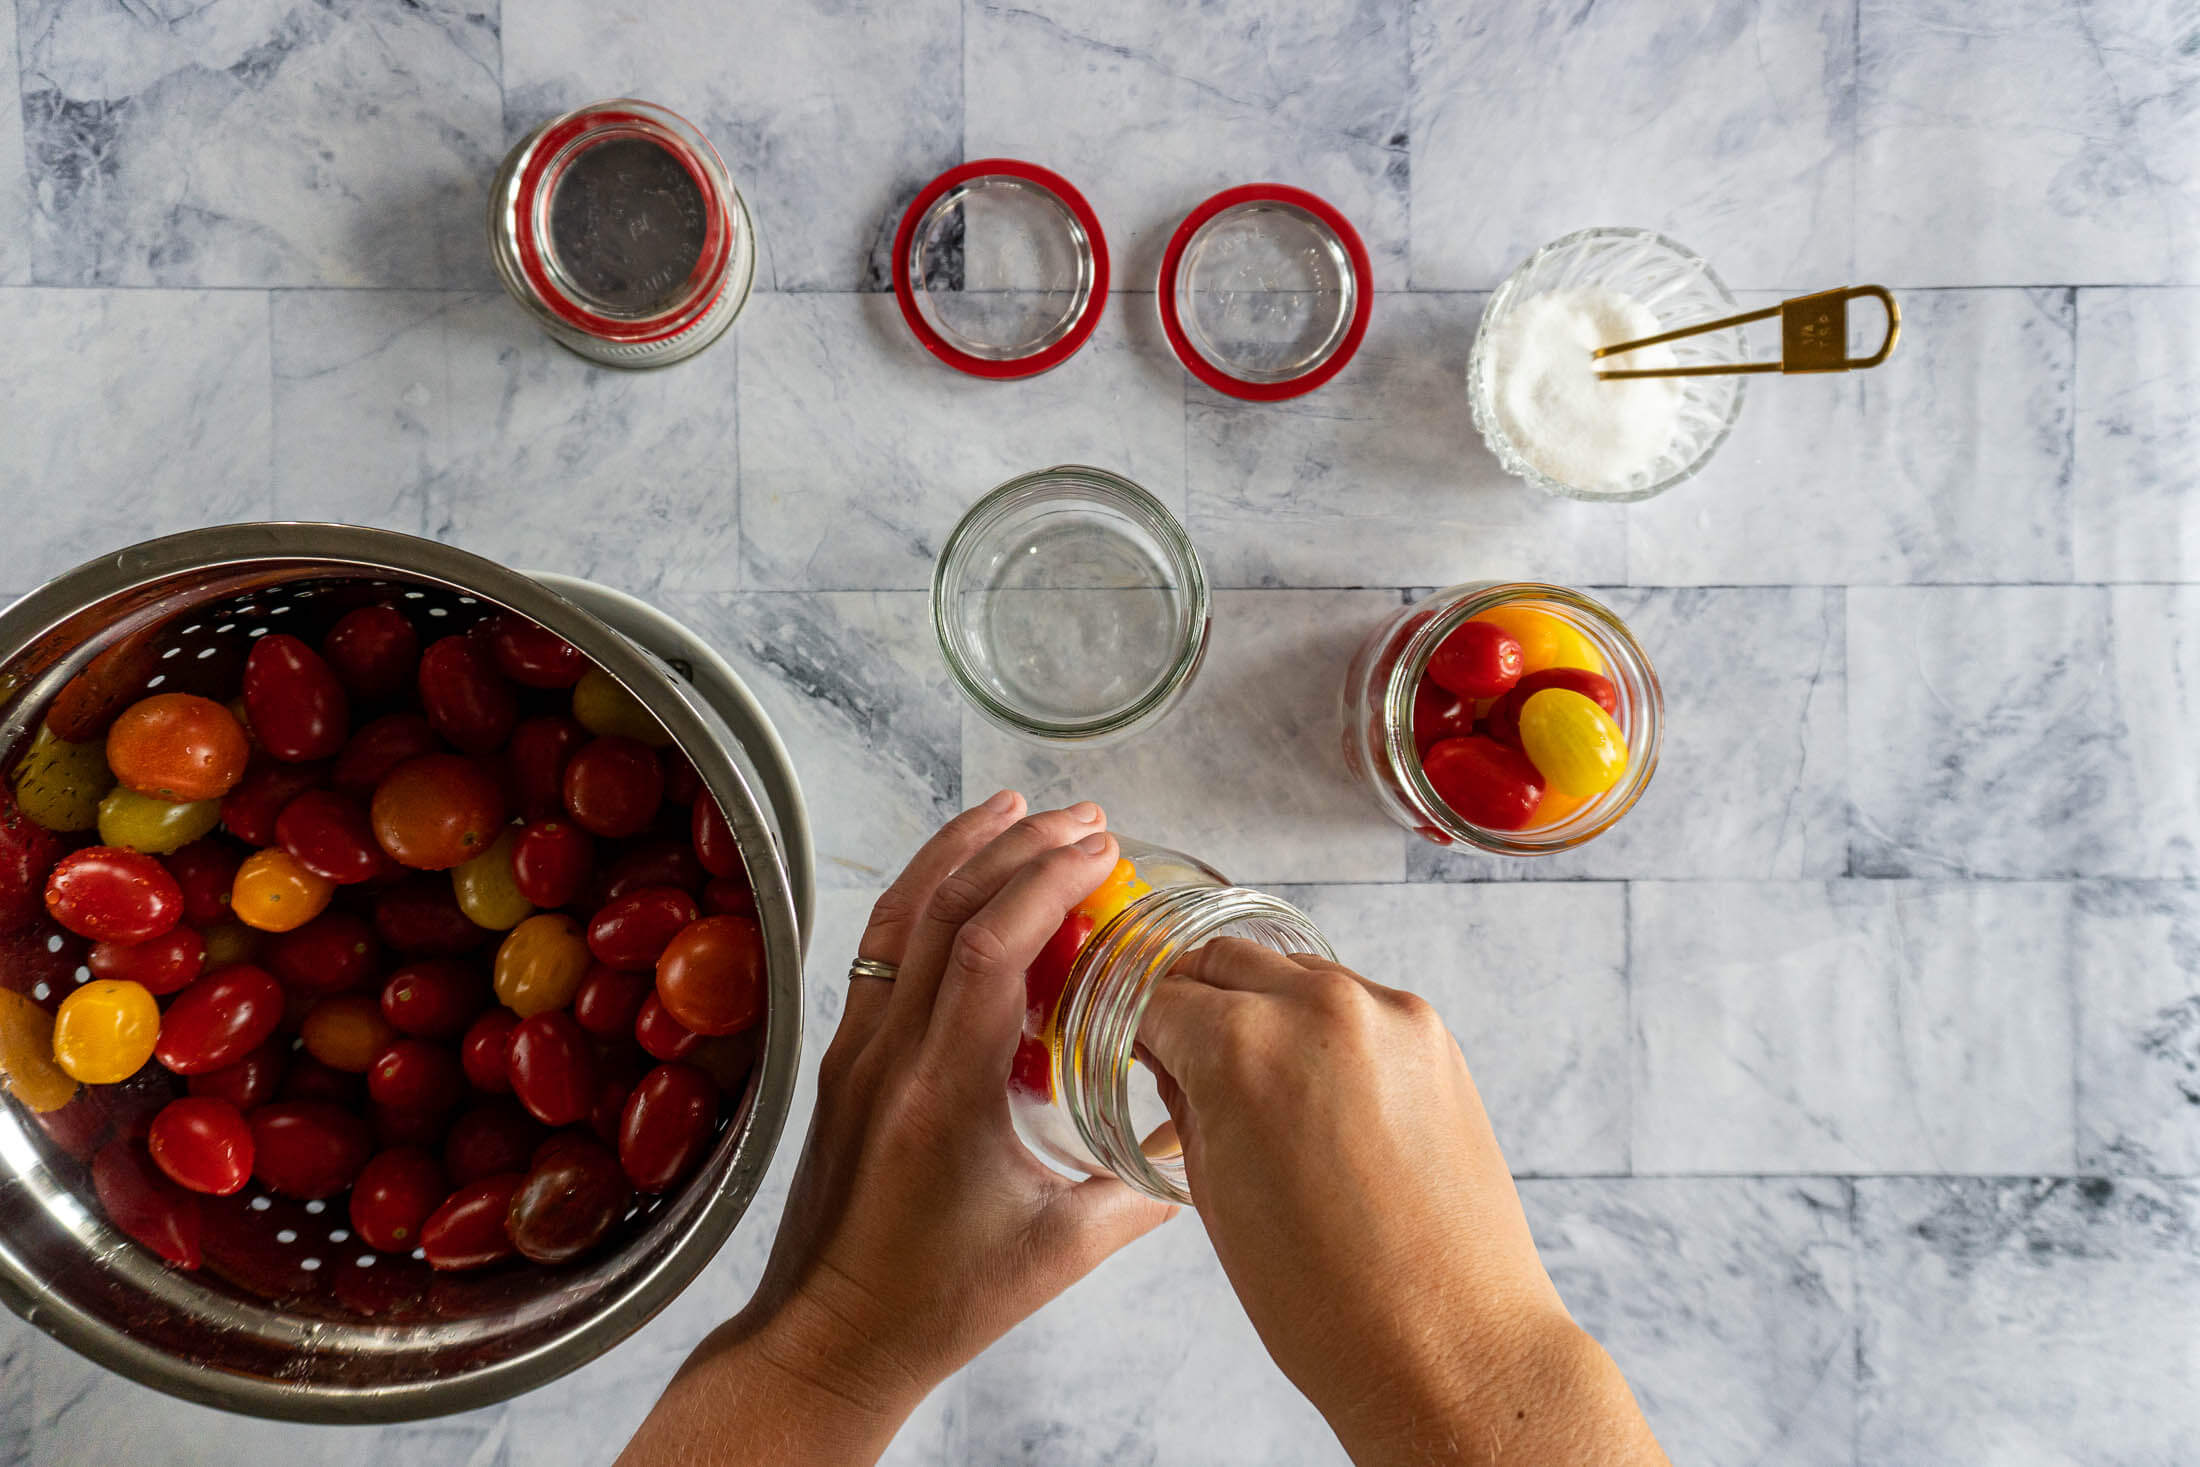
- Pack the jars with tomatoes, leaving 1/2 inch headspace.
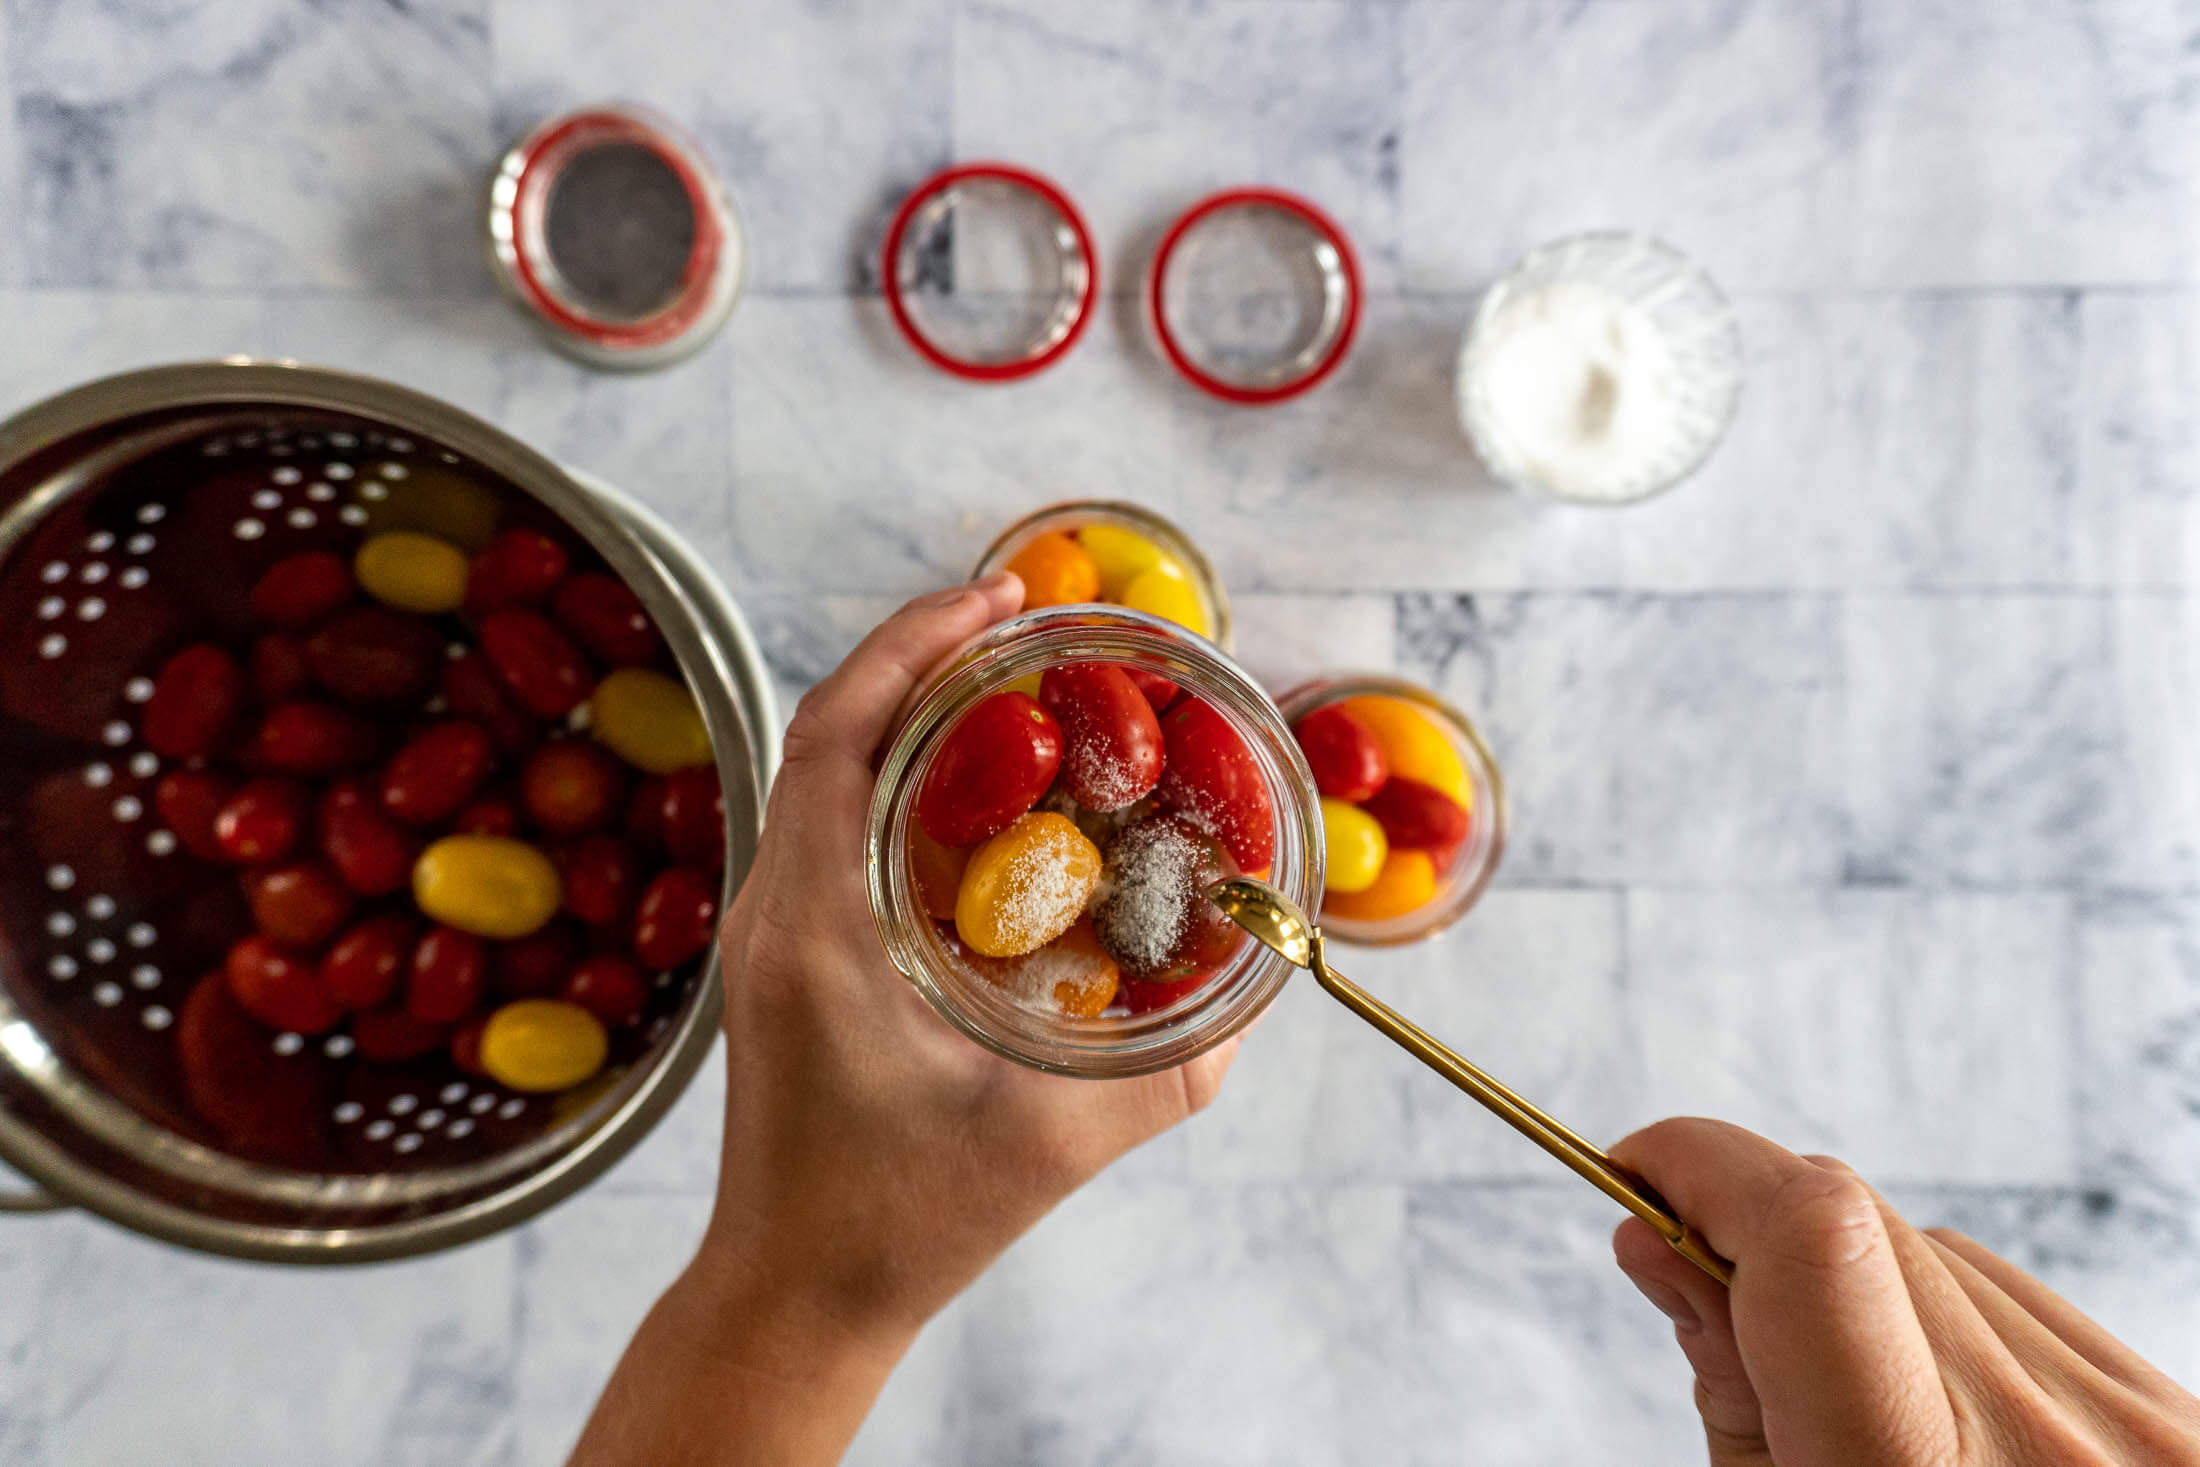
- Add either 1 tablespoon lemon juice or 1/4 teaspoon citric acid per pint jar.

- Fill the jars with hot water, leaving 1/2 inch of headspace.

- Wipe rims and cover with a lid. Tighten the rings finger tight.
- Carefully lower the jars into the boiling water bath and process at a rolling boil. See chart below for timing depending on elevation.
- Once done, remove jars from water bath canner using a jar lifter and place on a heat resistance surface and allow to rest untouched for 24 hours before checking seal and transferring to long term storage.
Hot Pack:
- Wash and sanitize pint jars with hot soapy water. Fill a large water bath canner with water and begin heating it over high heat.
- Meanwhile, wash cherry tomatoes. Then add to a saucepan with enough water to cover and bring to a boil over medium heat, reduce heat and simmer for 5 minutes.
- Prepare sterilized jars by placing them on a heat-proof surface.
- Fill the jars with the hot tomatoes, leaving 1/2 headspace. Add extra liquid if required to cover tomatoes maintaining 1/2 headspace and add either 1 tablespoon lemon juice or 1/4 teaspoon citric acid per pint jar.
- Wipe rims and cover with a lid. Tighten the rings finger tight.
- Carefully lower the jars into the boiling water bath and process at a rolling boil. See chart below for timing depending on elevation.
- Once done, remove jars from water bath canner using a jar lifter and place on a heat resistance surface and allow to rest untouched for 24 hours before checking seal and transferring to long term storage.
Processing Times
Processing time depends on your elevation. As elevation increases, water boils at a lower temperature, so longer processing times are required.
Canning Science 101: Pasteurization depends on both time and temperature. When the processing temperature is lower, as it is in higher elevations, a longer exposure time to heat is needed to achieve microbial reduction.
Water Bath Canning Time By Elevation :
| Jar Size | 0-1,000 feet | 1,001 – 3,000 feet | 3,001 – 6,000 feet | 6,001 + Feet |
|---|---|---|---|---|
| Pint | 40 minutes | 45 minutes | 50 minutes | 55 minutes |
| Quart | 45 minutes | 50 minutes | 55 minutes | 60 minutes |
Expert Tips
- Keep em cool. Store your ripe tomatoes in the fridge and avoid washing them until just before you’re ready to process. No, it won’t ruin them, it will actually help them last longer.
- Adjust your time! Don’t forget to adjust your processing time based on your elevation and jar choice. There are tables below to explain!
- No pressure. This recipe does not require a pressure canner, it can be made in a boiling water canner. If you have a large pressure canner, like I do, you can certainly use it as a water bath canner!
- No seal? No deal. If you have any jars that don’t seal, don’t despair, just stash them in the refrigerator and use them within a few days, or toss them into a freezer friendly container and pop them in the freezer indefinitely.
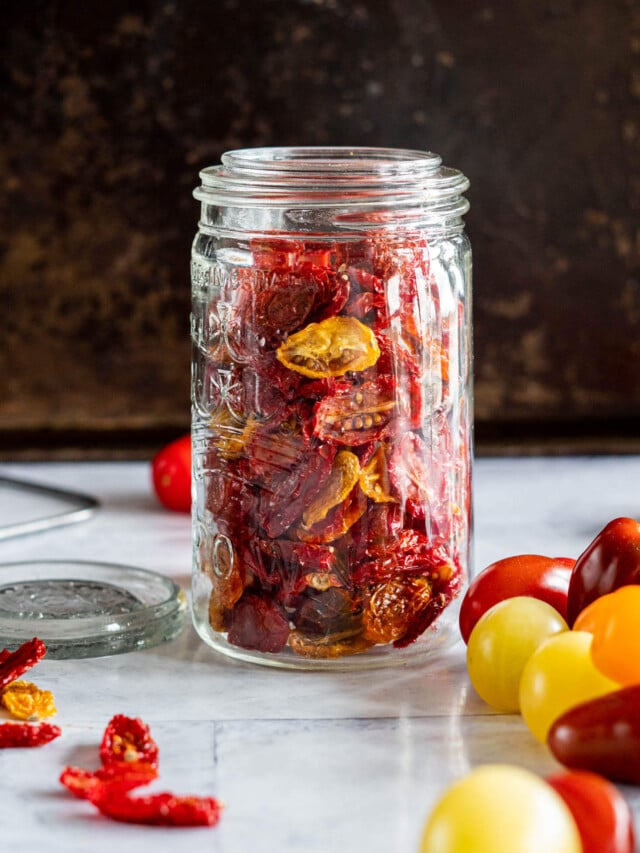
- Too many tomatoes. If you’ve canned and still can’t see the end of the tunnel (or bottom of the bucket) try fermenting cherry tomatoes for a tangy garlicky version that lives in your fridge, or try dehydrating cherry tomatoes for shelf stable, intensely flavored tomato bites.
Canning Whole Cherry Tomatoes FAQs
If you’re over run by tomotoes, you should check out my other tomato preservation methods! I’ve got recipes for dehydrated cherry tomatoes, fermented salsa, fermented cherry tomatoes, and sun dried tomatoes, too.
The tested NCHFP method for canned whole tomatoes calls for blanching and peeling before packing the jars and canning.
For this recipe, I leave the skins on because peeling dozens or hundreds of them is tedious! The skin on version of this recipe has not been tested or approved by the NCHFP or USDA, if you want to follow their tested method exactly, blanch and peel the tomatoes before following the remainder of the recipe.
Whole cherry tomatoes can be packed into jars and processed in a boiling water bath canner after properly acidifying each jar. Keeping them whole is convenient as it saves the step of chopping or crushing them.
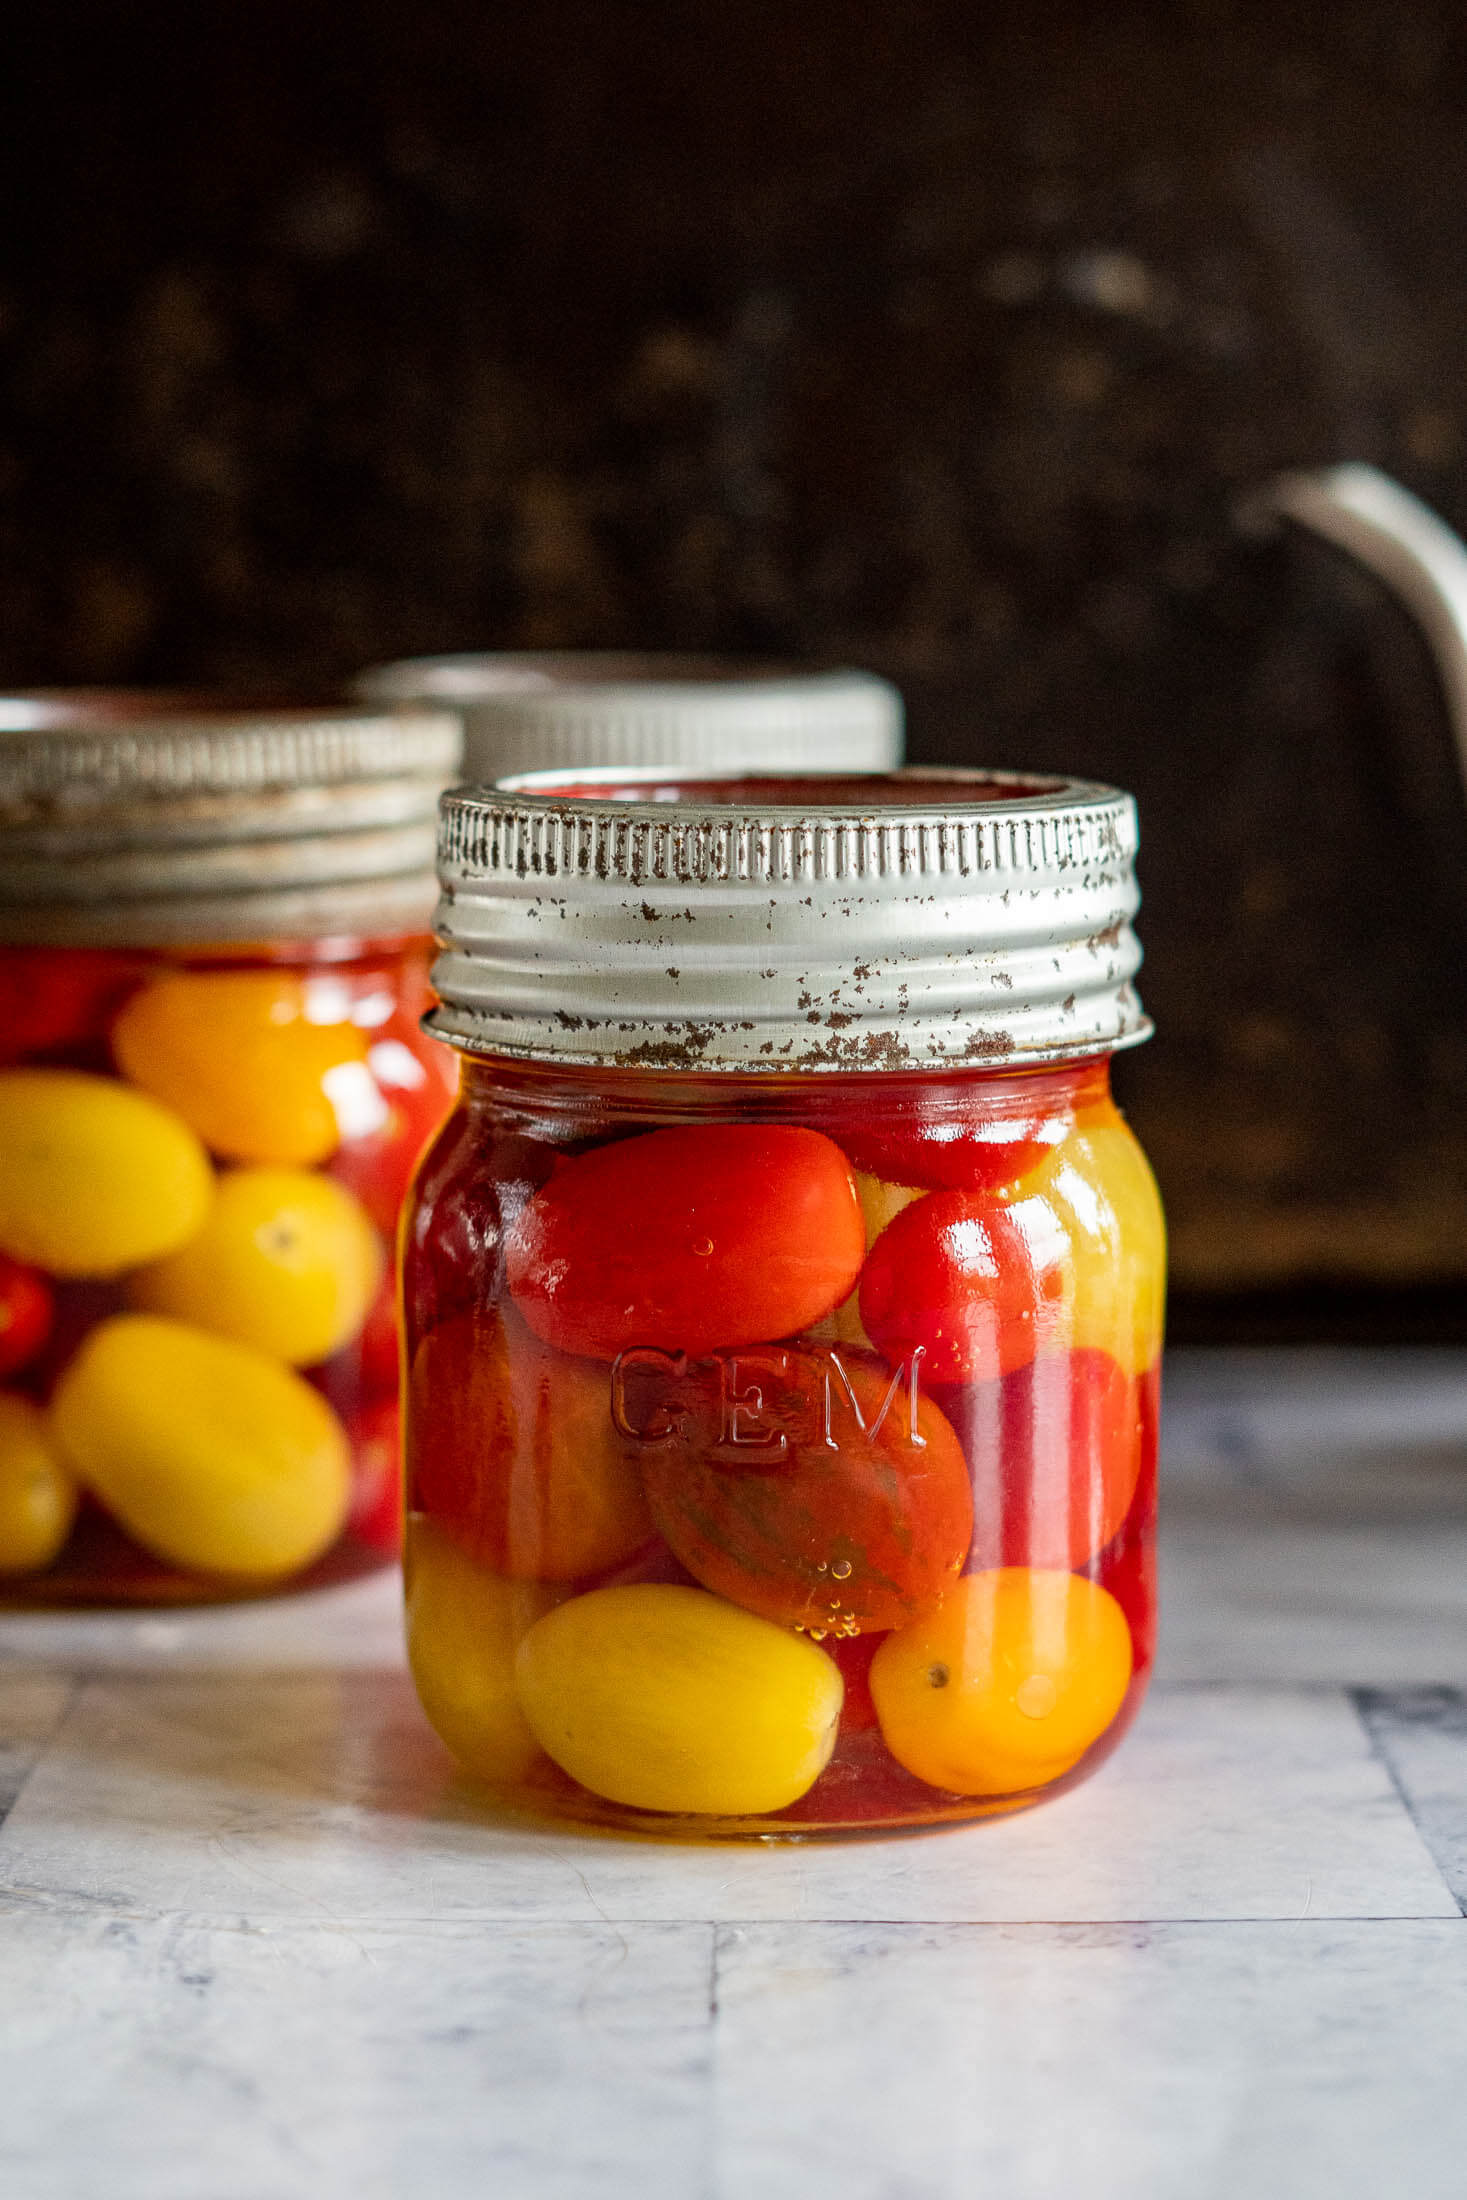
For the most consistent results, choose ripe, firm cherry tomatoes and leave 1/2 inch headspace in your jars. Raw packed tomatoes may float during or after processing and this is totally normal as the air trapped in their cells slowly dissipates.
Properly water-bathed tomatoes have a long shelf life and should be kept in a cool, dark place, for up to 18 months. While the lids may seal for longer, flavor, texture, and color can change in an undesirable way.
Even properly processed and stored foods can lose their quality over time, so it’s important to cycle the stock of your canned goods. The degradation occurs more quickly in temperatures above 70°f or 21c.
Raw-packed cherry tomatoes may float in the jar after processing, this is normal. This happens because raw tomatoes contain trapped air and can shrink slightly as they heat
Why This Recipe Works
The tomatoes are properly acidified. Tomatoes are on the borderline when it comes to acidity, so bottled lemon juice or citric acid is added to each jar to ensure the acidity is in the range needed for safe boiling water bath canning.
The processing time accounts for elevation. Water boils at a lower temperature the higher you get from sea level so the processing time needs to be adjusted accordingly. Follow the processing times listed below for your elevation rather than using a one-size-fits-all approach.
You get really useful little jars of tomatoes. Canned cherry tomatoes are ready to toss into pasta, soups, sauces, casseroles or anything else that needs a dash of tomato flavor.
Adding Acidity
Foods must have a pH of 4.6 or lower to be safely water bath canned and while tomatoes are acidic, their acidity can vary, which is why tested tomato-canning recipes call for additional acidification. There are 2 common ingredients that canners use to acidify their canned goods; lemon juice and citric acid.
Lemon Juice:
Always use bottled lemon juice when canning, as opposed to fresh. Bottled lemon juice has a standard acidity, dictated by the FDA, while fresh lemons can have variable acidity – just like fresh tomatoes!
If you’re using lemon juice in this recipe, you’ll need to add 2 tablespoons per quart or 1 tablespoon per pint.
Citric Acid:
Is a long lasting, white powdered canning additive perfect for acidifying tomatoes and salsas.
If you’re using citric acid, make sure to use 1/2 teaspoon per quart or 1/4 teaspoon per pint.
Personally, I like to use lemon juice or citric acid to bring my tomatoes to a safe acidity when canning whole tomatoes in water. Regardless of which ingredient you use, make sure to use the correct amount!
More Tomato Recipes To Try



If you tried this Canning Cherry Tomatoes recipe or any other recipe on my blog, please leave a 🌟 star rating and let me know how it went in the comments below. Thanks for visiting!
📖 Printable Recipe
Canning Cherry Tomatoes
Ingredients
- 2 lbs cherry tomatoes, fresh
- 4 tablespoons lemon juice, divided OR 1/2 teaspoon citric acid, divided
Instructions
raw pack:
- Wash and sanitize pint jars with hot soapy water. Fill a large water bath canner with water and begin heating it over high heat.
- Meanwhile, wash fresh cherry tomatoes. Set aside.
- Heat fresh water to a boil either using a kettle or in a large pot.
- While water is coming to a boil, prepare sterilized jars by placing them on a heat-proof surface.
- Pack the jars with tomatoes, leaving 1/2" headspace, add either 1 tablespoon lemon juice or 1/4 teaspoon citric acid per pint jar.
- Fill the jars with hot water, leaving 1/2" headspace. Wipe rims and cover with a lid. Tighten the rings finger tight.
- Carefully lower the jars into the boiling water bath and process at a rolling boil. See chart in recipe notes for timing depending on your elevation. Don't forget: Only start your timer once the water returns to a full rolling boil after adding your jars.
- Once done, remove jars from water bath canner using a jar lifter and place on a heat resistance surface and allow to rest untouched for 24 hours before checking seal and transferring to long term storage.
hot pack:
- Wash and sterilize pint jars with hot soapy water. Fill a large water bath canner with water and begin heating it over high heat.
- Meanwhile, wash cherry tomatoes. Then add to a saucepan with enough water to cover and bring to a boil over medium heat, reduce heat and simmer for 5 minutes.
- Prepare sterilized jars by placing them on a heat-proof surface.
- Fill the jars with the hot tomatoes, leaving 1/2" headspace. Add extra liquid if required to cover tomatoes maintaining 1/2" headspace and add either 1 tablespoon lemon juice or 1/4 teaspoon citric acid per pint jar.
- Wipe rims and cover with a lid. Tighten the rings finger tight.
- Carefully lower the jars into the boiling water bath and process at a rolling boil. See chart in recipe notes for timing depending on your elevation.Don't forget: Only start your timer once the water returns to a full rolling boil after adding your jars.
- Once done, remove jars from water bath canner using a jar lifter and place on a heat resistance surface and allow to rest untouched for 24 hours before checking seal and transferring to long term storage.
Notes
Note:
This recipe is written for skin-on cherry tomatoes, which is a common practice but hasn’t been specifically tested by the NCHFP or USDA.To follow the official tested guidance exactly, simply blanch the tomatoes in boiling water for 30-60 seconds, transfer to ice water, and slip off skins before proceeding with the recipe as written.



Super easy. I used the hot method since my tomatoes were so ripe. The result looks more like stewed tomatoes, but I’m sure they will be great in soups this winter. Thanks for sharing. I’m now to canning so I really appreciated the simplicity of your methodology.
Awesome to hear Elaine! It really does make short work of a ton of cherry tomatoes!