
How To Dehydrate Cherry Tomatoes

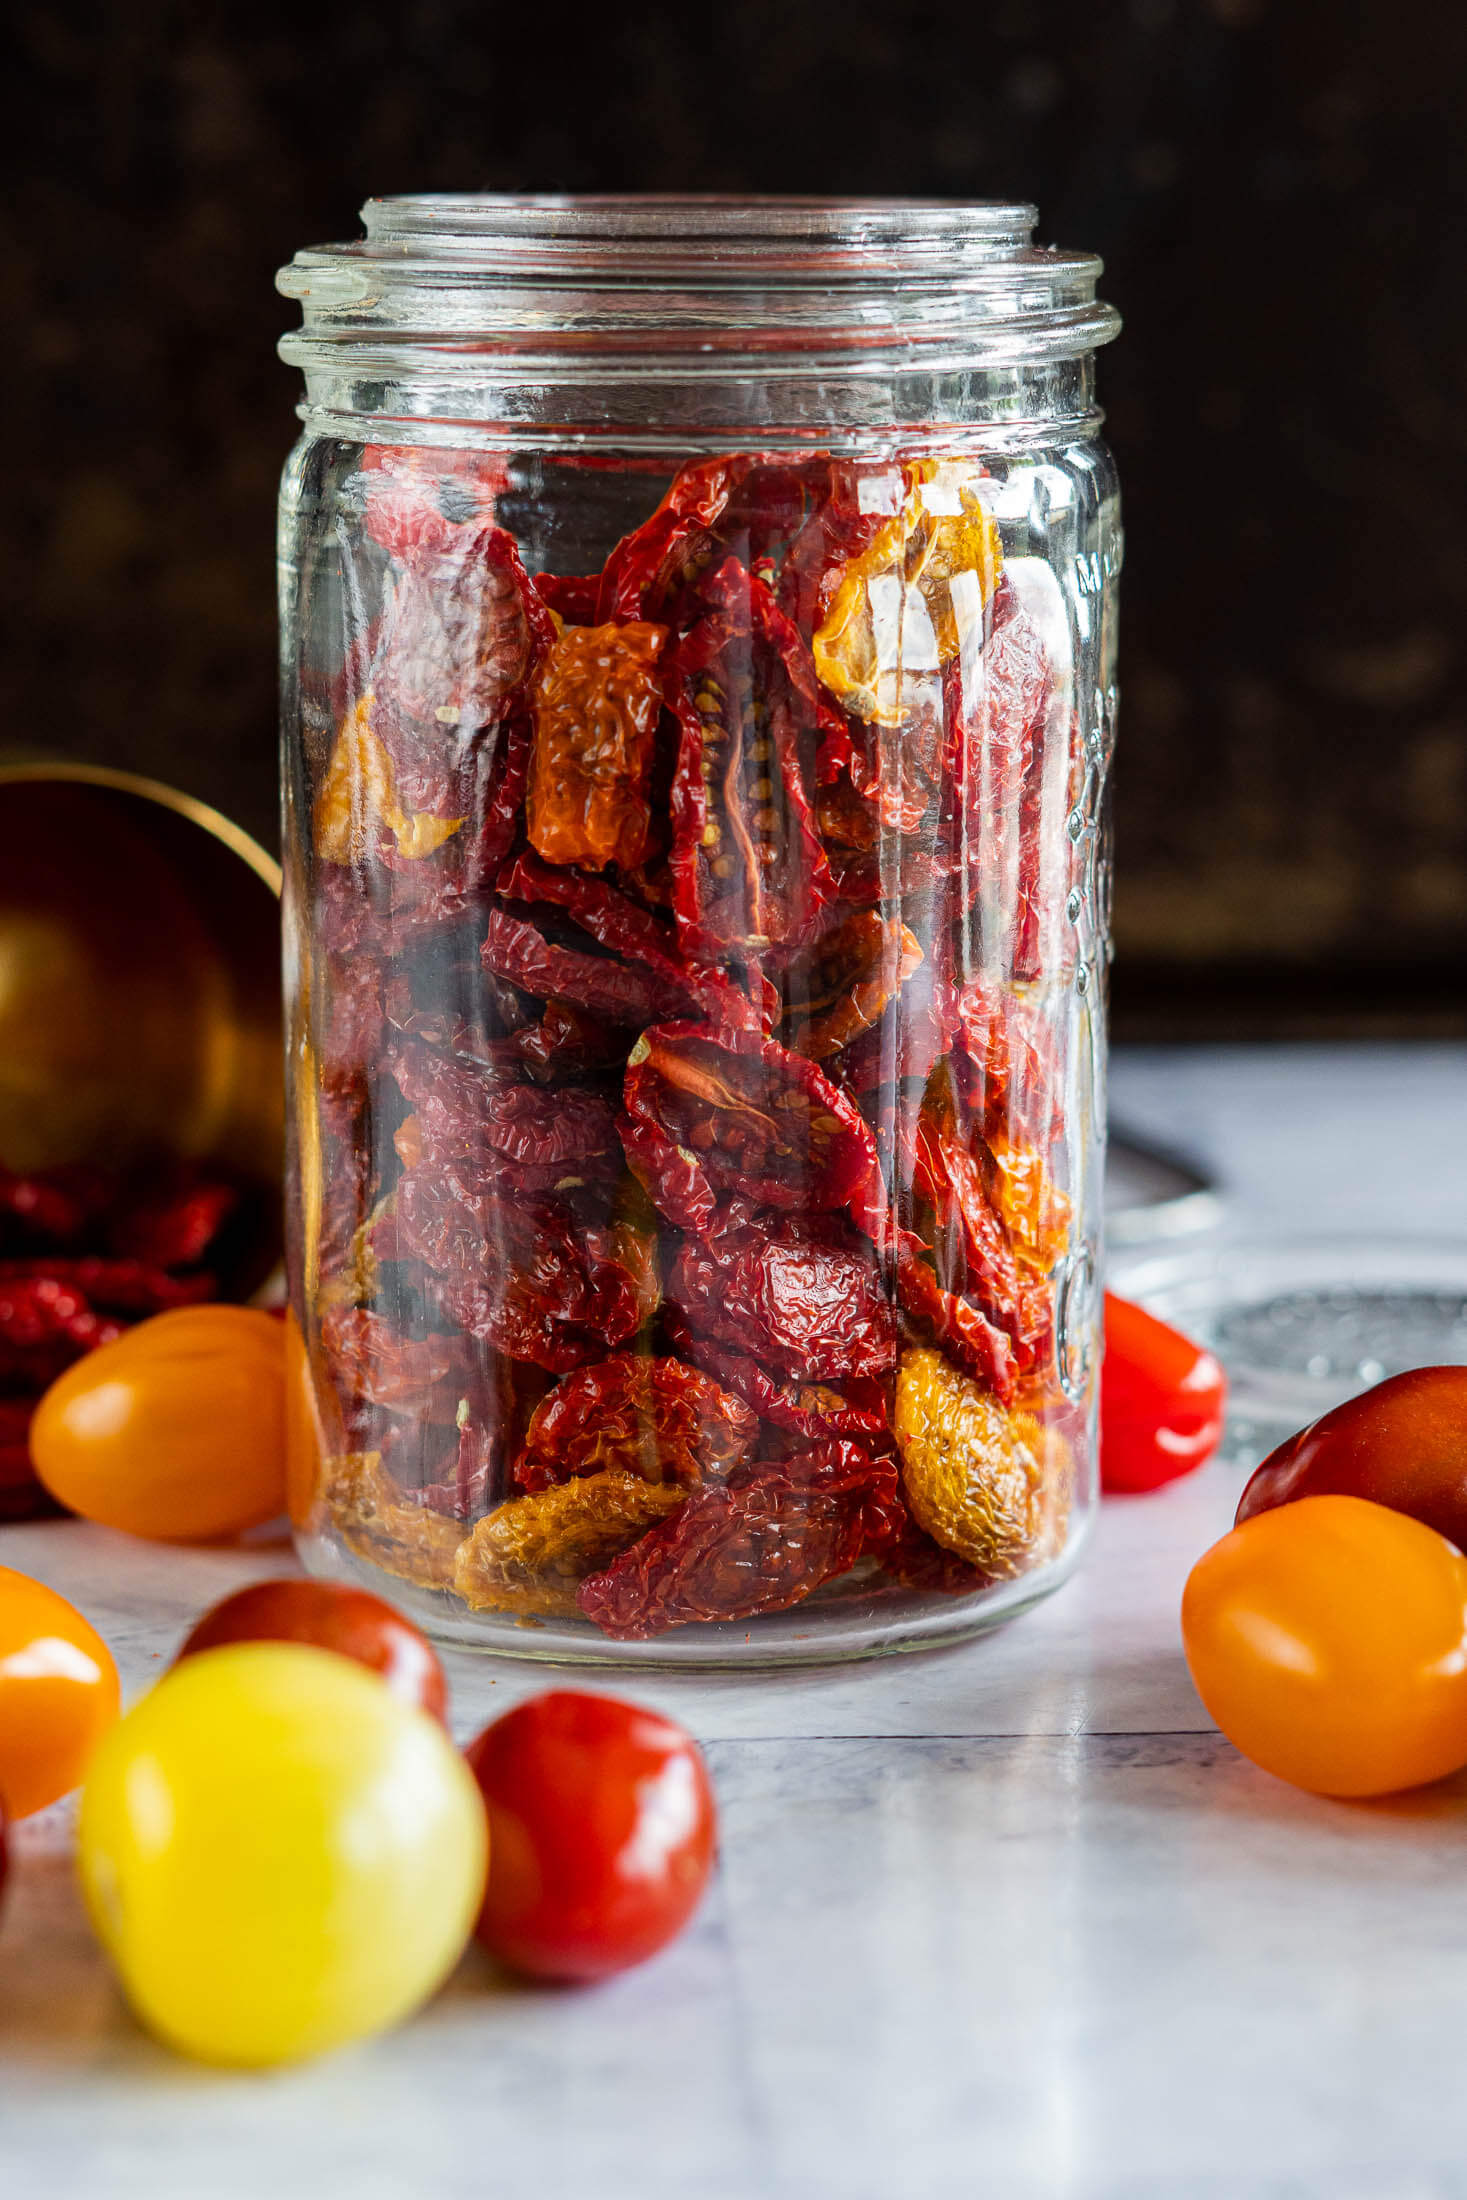
Dehydrating cherry tomatoes is one of the easiest ways to preserve your summer harvest. The result is intensely concentrated tomato flavor that is perfect for adding to soups, stews, sauces, and tossed in your next loaf of sun dried tomato sourdough.
Up next: fermented cherry tomatoes
Craving The Recipe Details?
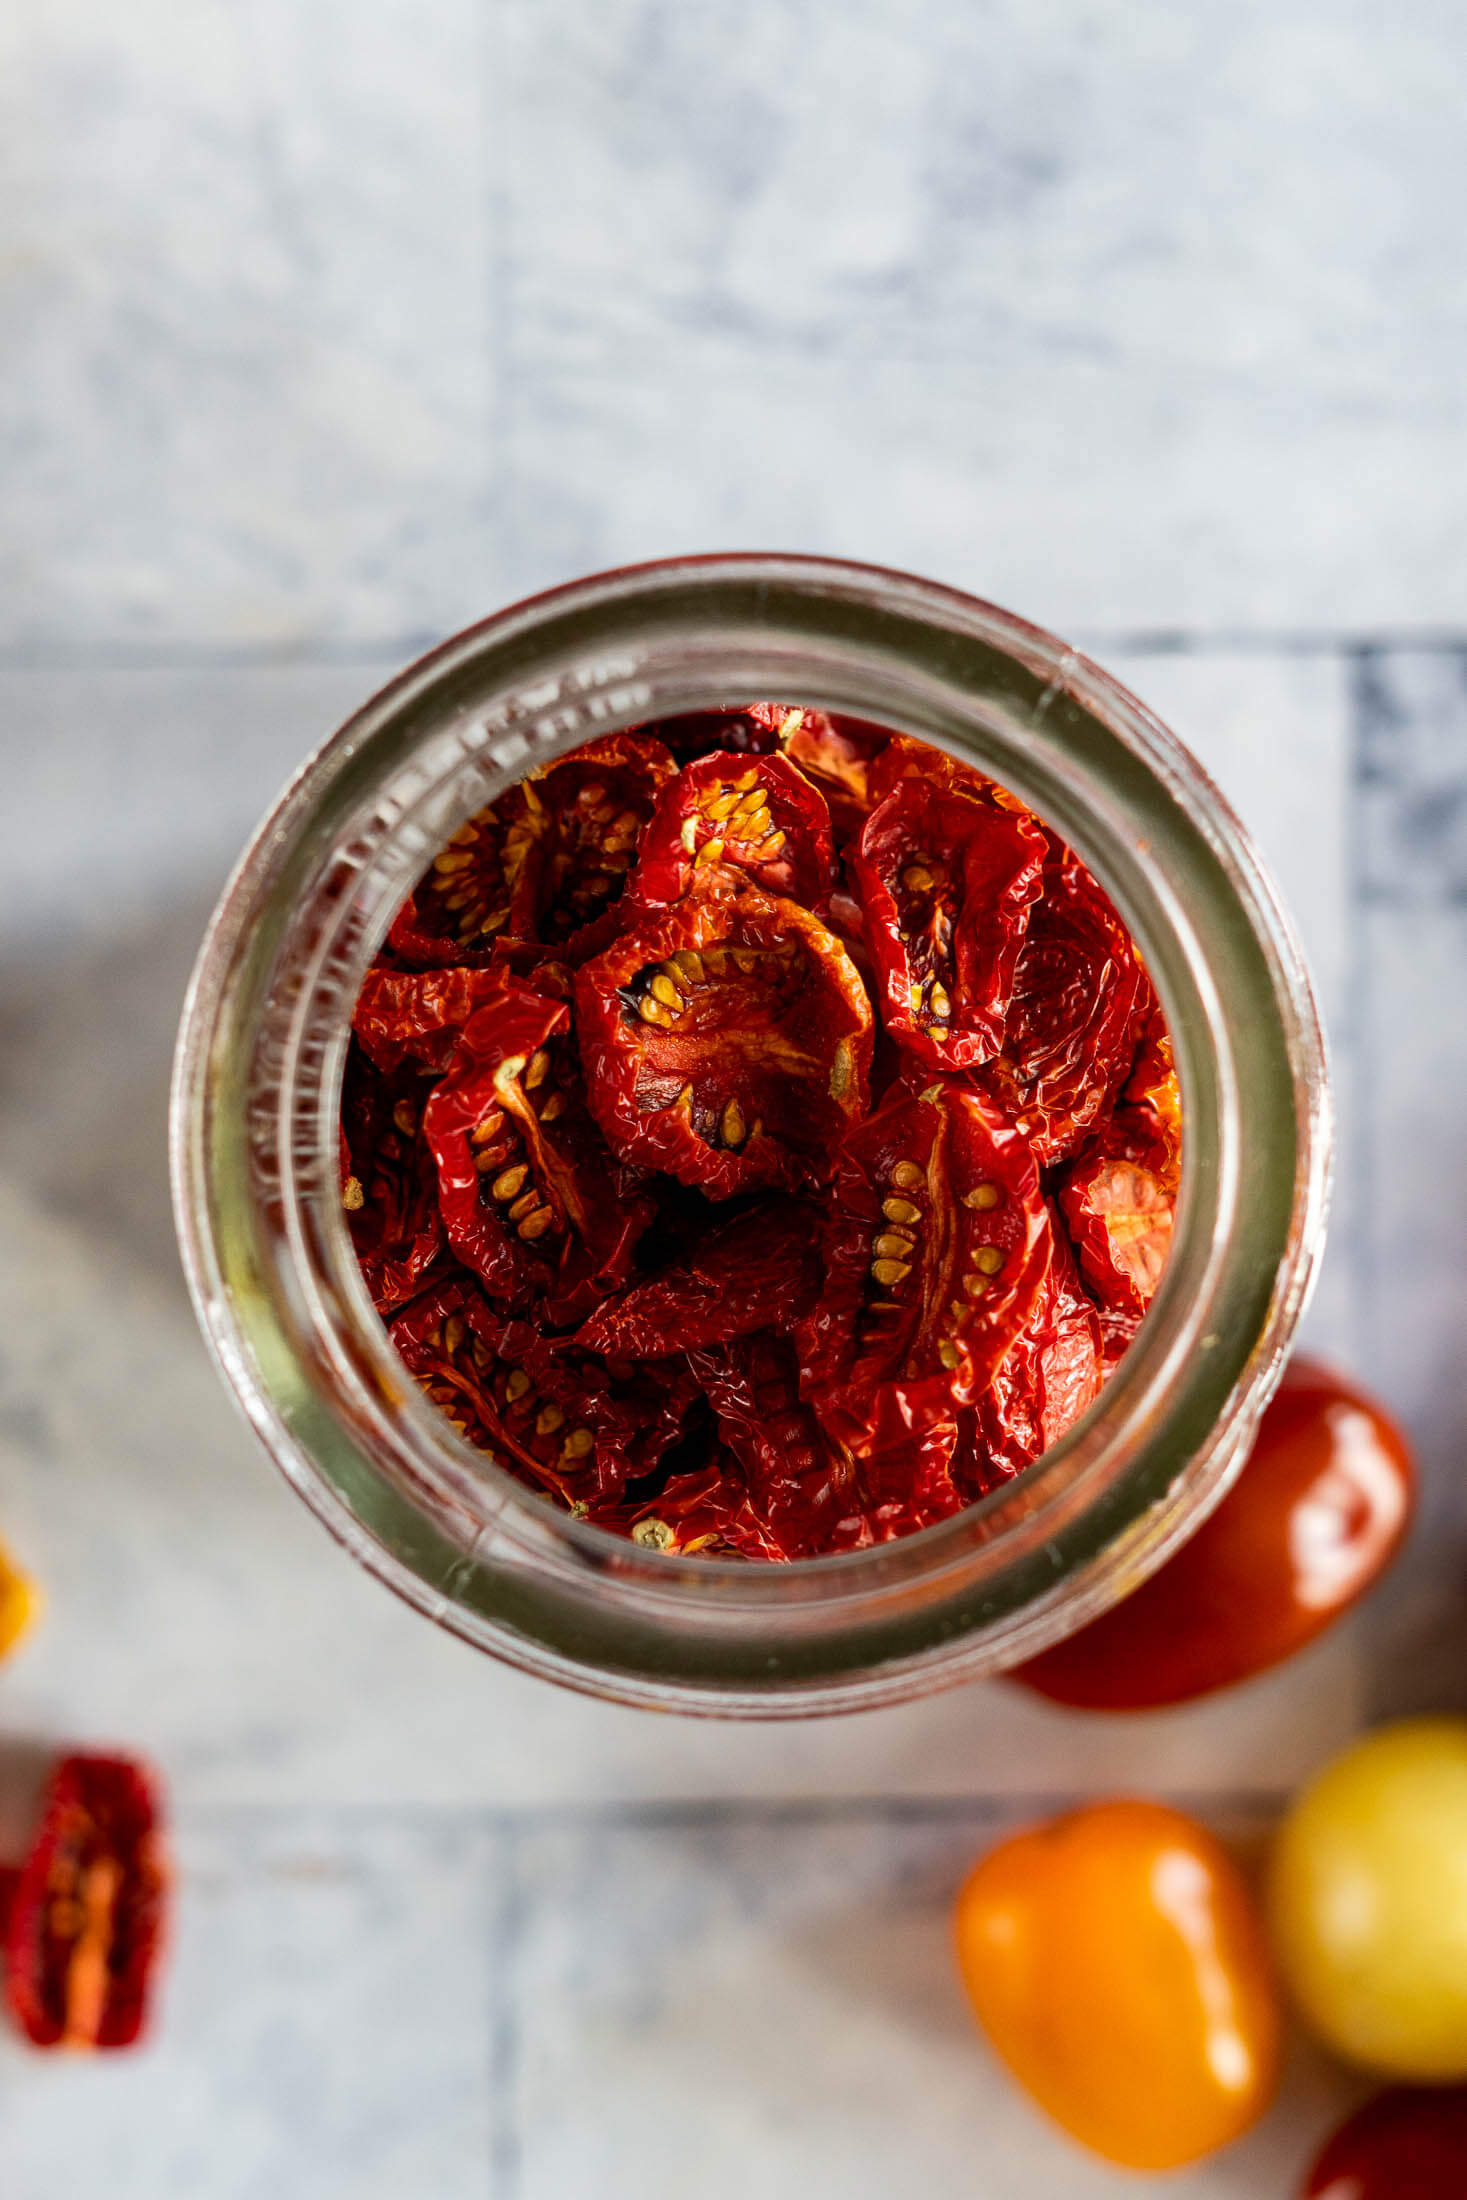
What it is: Sweet, chewy dehydrated cherry tomatoes with concentrated sun-dried flavor in every bite!
Why you’ll love it: Dehydrating cherry tomatoes is the easiest way to preserve your summer harvest with no canning required, and they’ll keep in your pantry for up to a year.
How to make it: Halve the tomatoes, arrange skin side down on your trays and dehydrate cherry tomatoes until leathery but still slightly flexible.
Tomatoes here, there, and everywhere!
Don’t despair if your cherry tomato plants are poppin’ off and you’ve eaten so many cherry tomatoes in the past few weeks that you’re about to tap out. I have a simple solution – dehydrate them for later use!
Tomatoes are one of my favorite foods to dehydrate because they take almost NO prep. You’ll love this easy way to preserve tomatoes too, but if you’d rather keep your cherry tomatoes whole and shelf-stable, try my canned cherry tomatoes!
This dehydrated cherry tomato recipe is dedicated to tapping out!
Jump to:
Key Ingredients
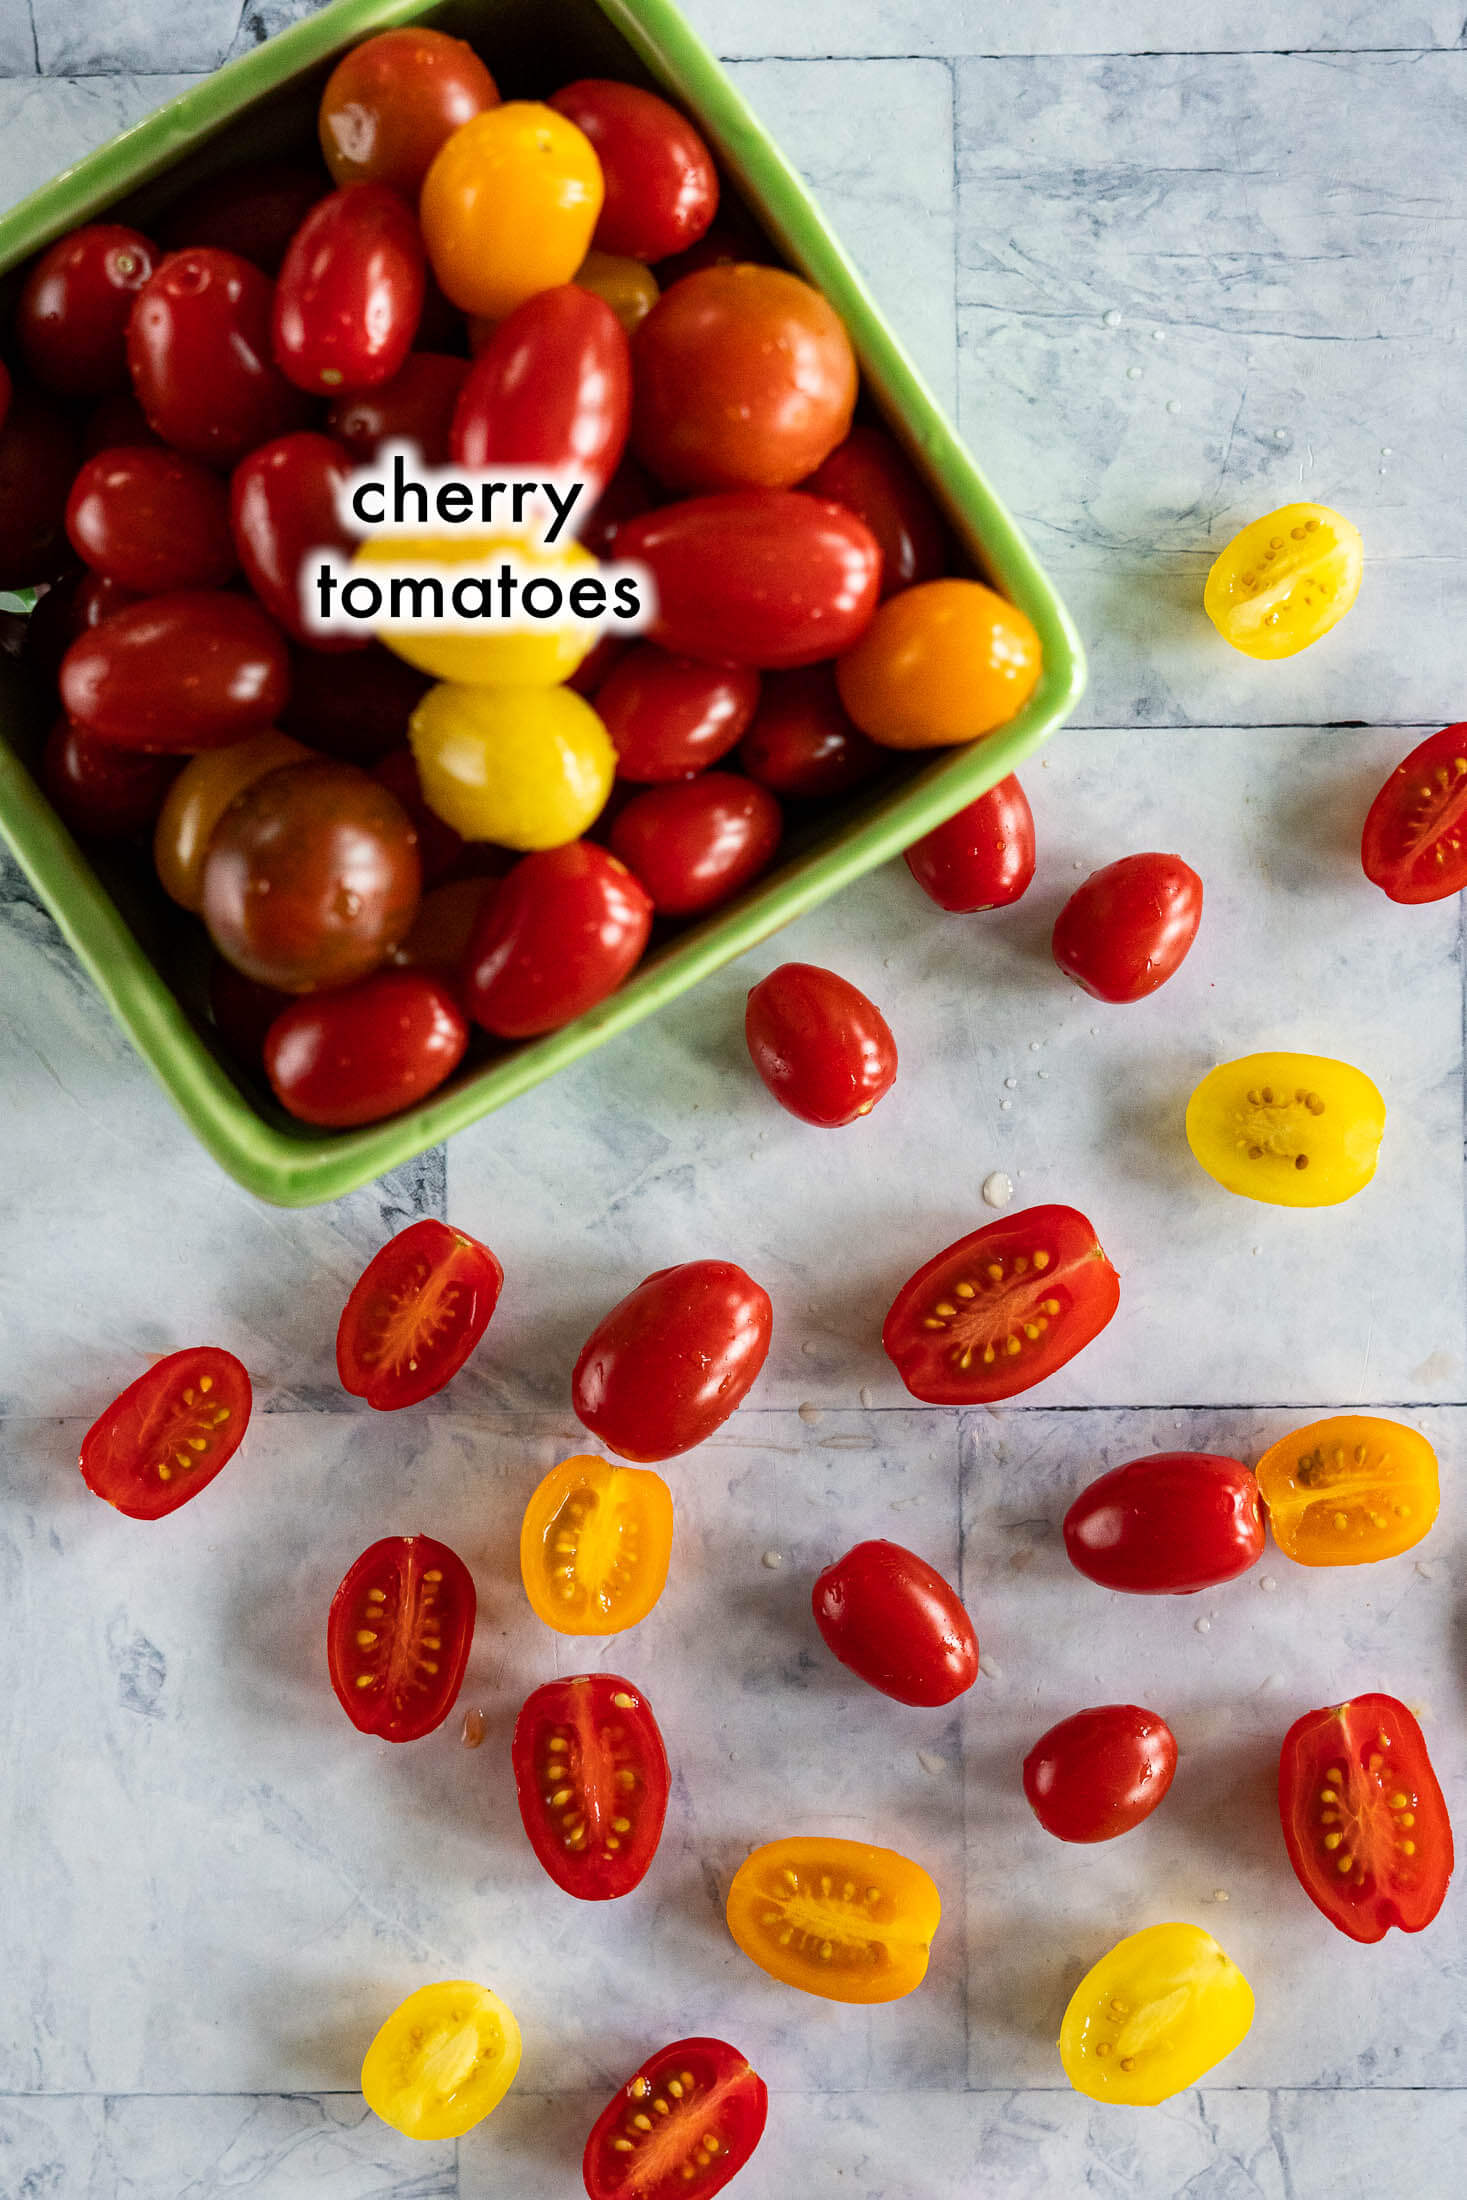
Cherry Tomatoes: Use any type of cherry tomato for this recipe, they all work. I’ve tested this method with Sun Gold, Chocolate Cherry, Sweet 100s and everything in between! For best results, use tomatoes that are ripe but still slightly firm. On the other hand, if they’re not ripe enough, they won’t have the same rich tomato flavor – simply set them aside to ripen before drying.
You can also make dehydrated grape tomatoes using this recipe, you may want to slice them into quarters rather than halves to reduce drying time, but the guide is the same!
Dehydrating Cherry Tomatoes
Prepare Cherry Tomatoes:
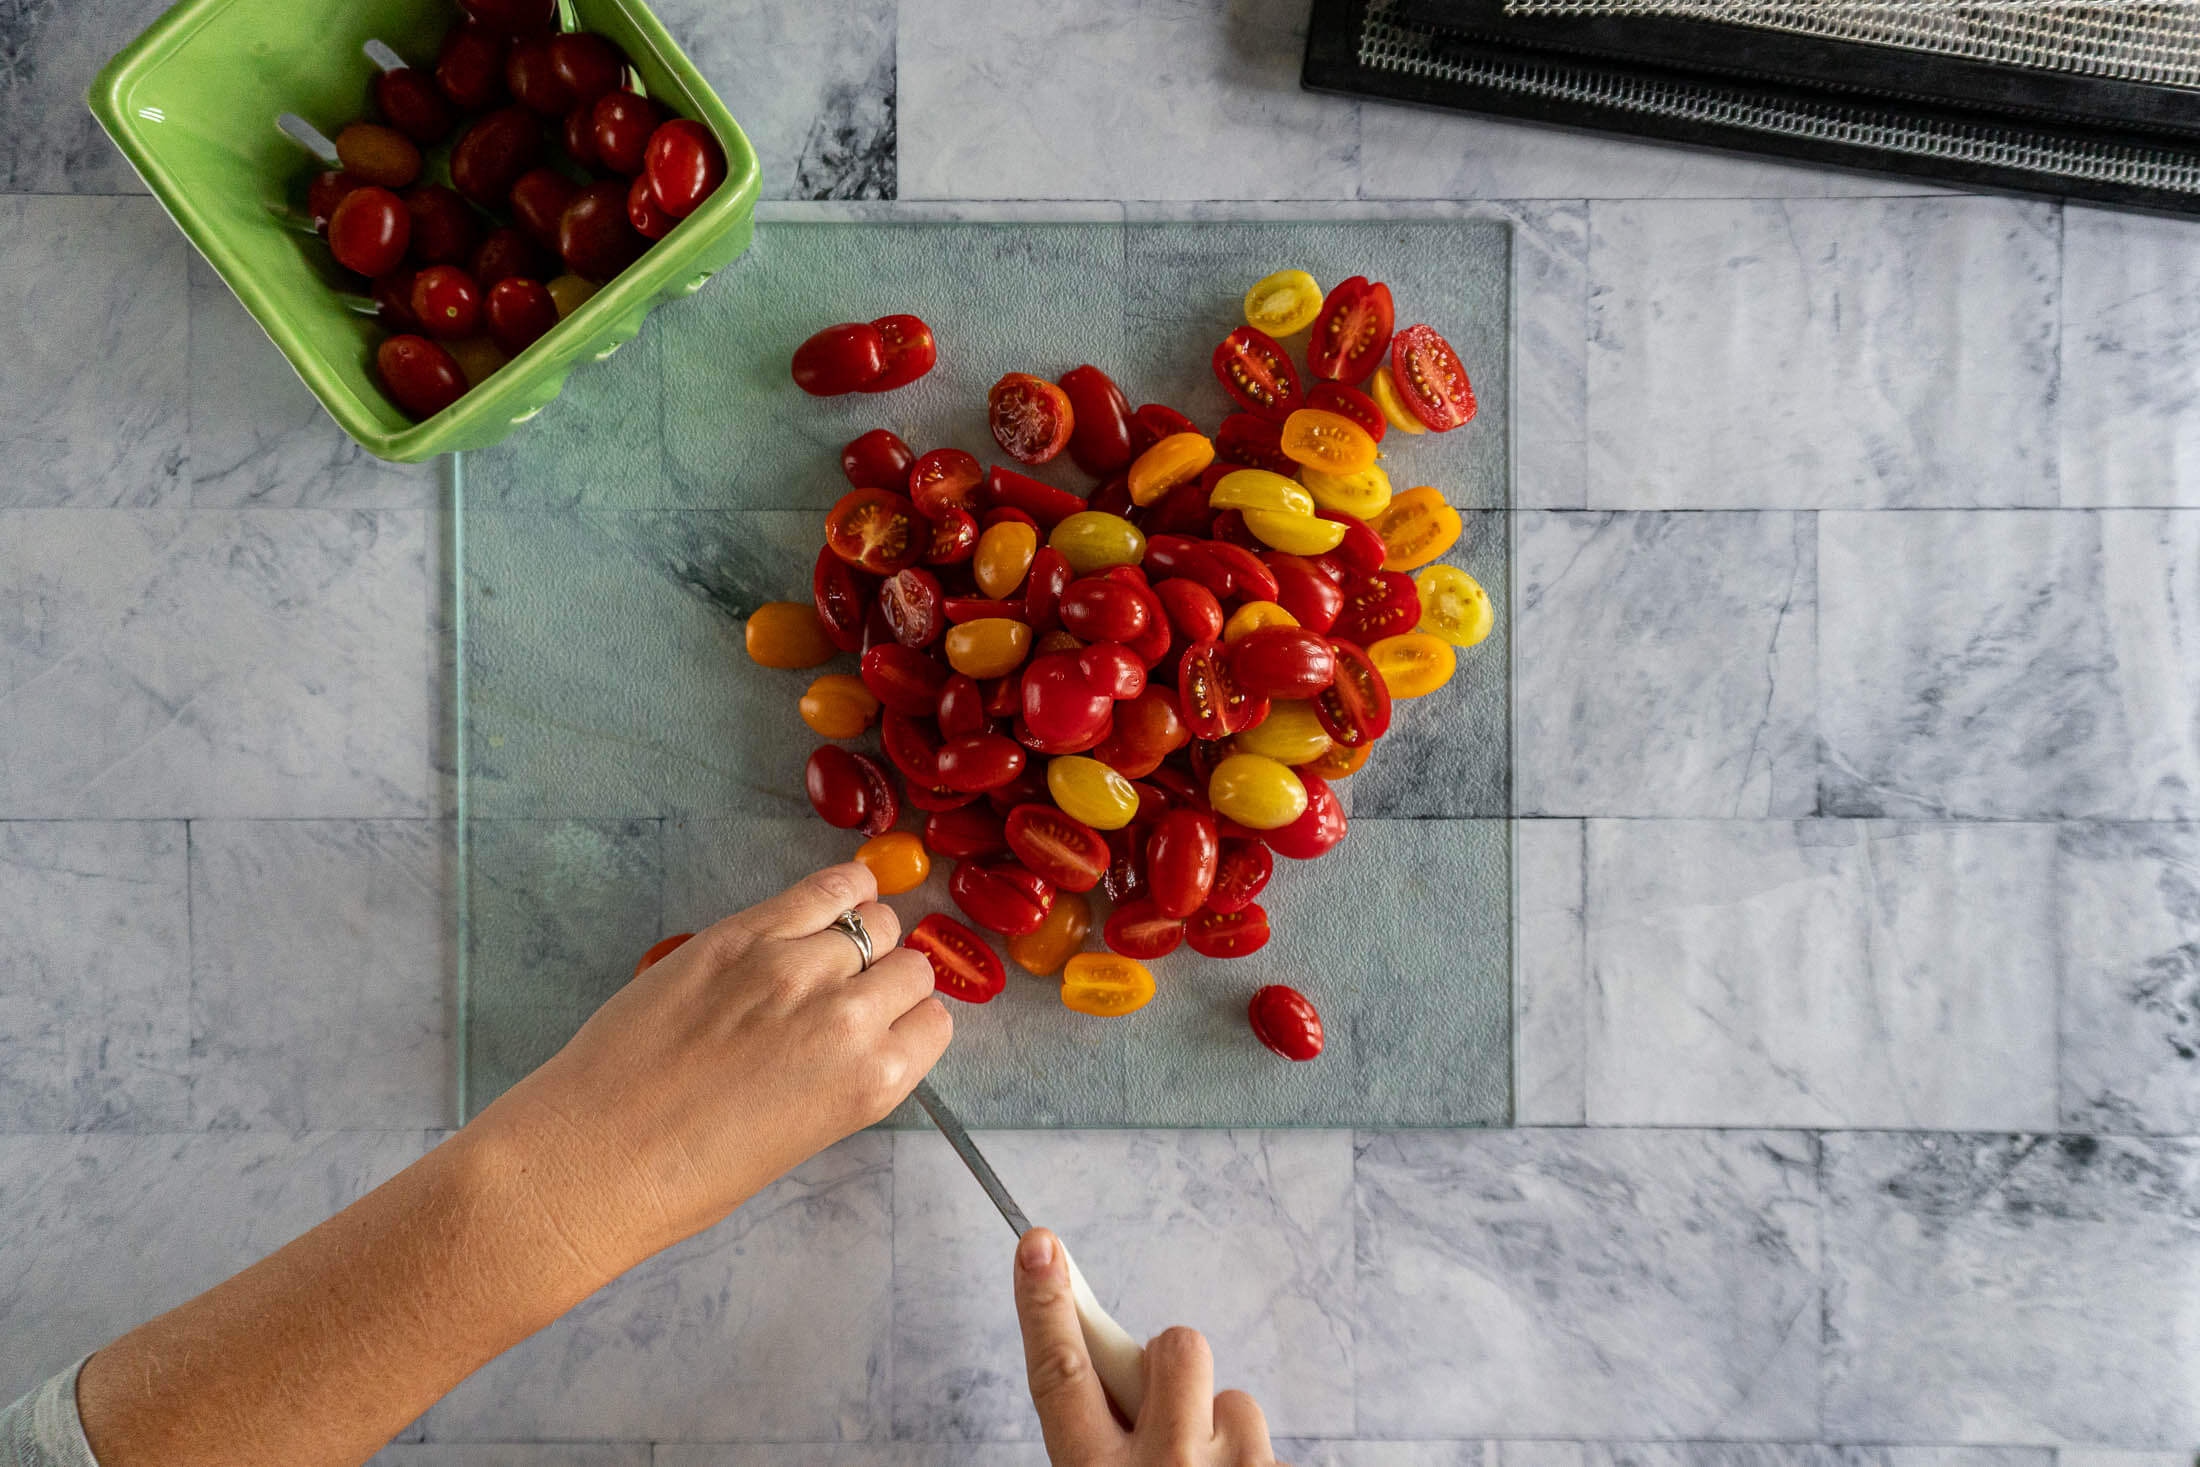
- Step 1: Remove any stems or leaves and wash tomatoes under cool running water, making sure to remove any dirt or soil from the tomatoes. Remove any over-ripe tomatoes as they should not be dehydrated, and set aside any tomatoes that aren’t quite ripe and allow them to ripen further before dehydrating.

- Step 2: Slice the cherry tomatoes in half then place them on the dehydrator tray in a single layer, skin side down. It only takes a second to ensure they are skin side down, but makes a large difference in drying time.
Dehydrating Cherry Tomatoes:
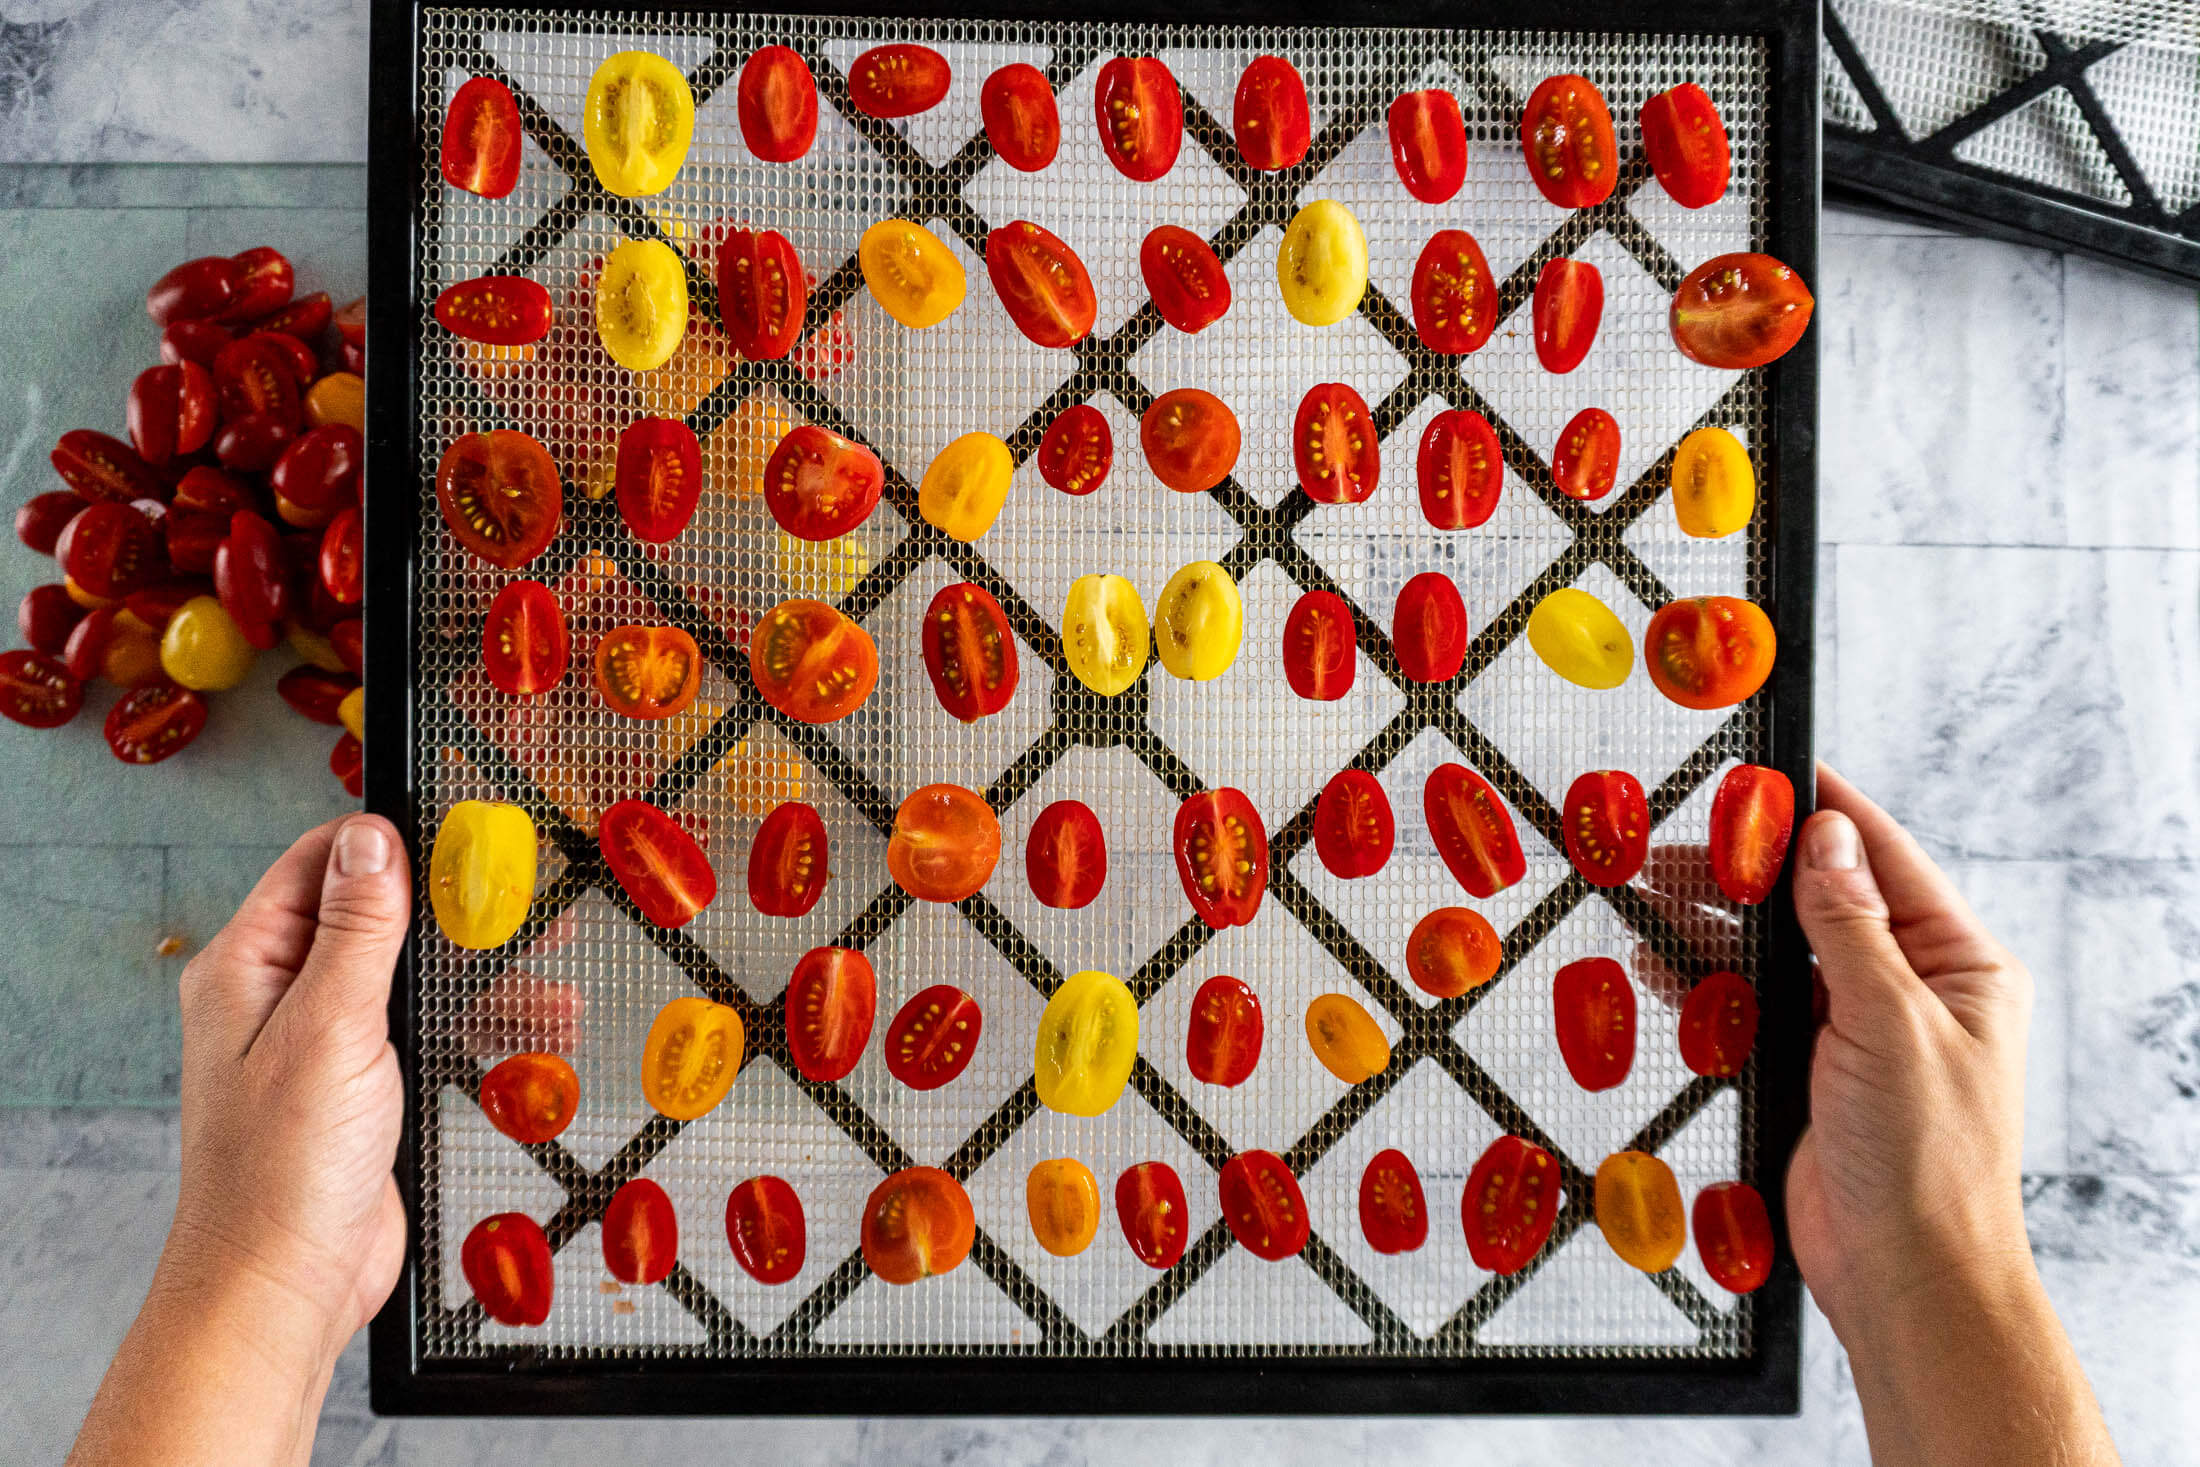
- Step 3: Place filled trays into the dehydrator and dry at 135°F for 12-14 hours.
Note: I dehydrate cherry tomatoes for 12-14 hours, but don’t use the clock to determine doneness. Drying time varies with tomato size, variety, humidity, dehydrator airflow and even how you load the trays!
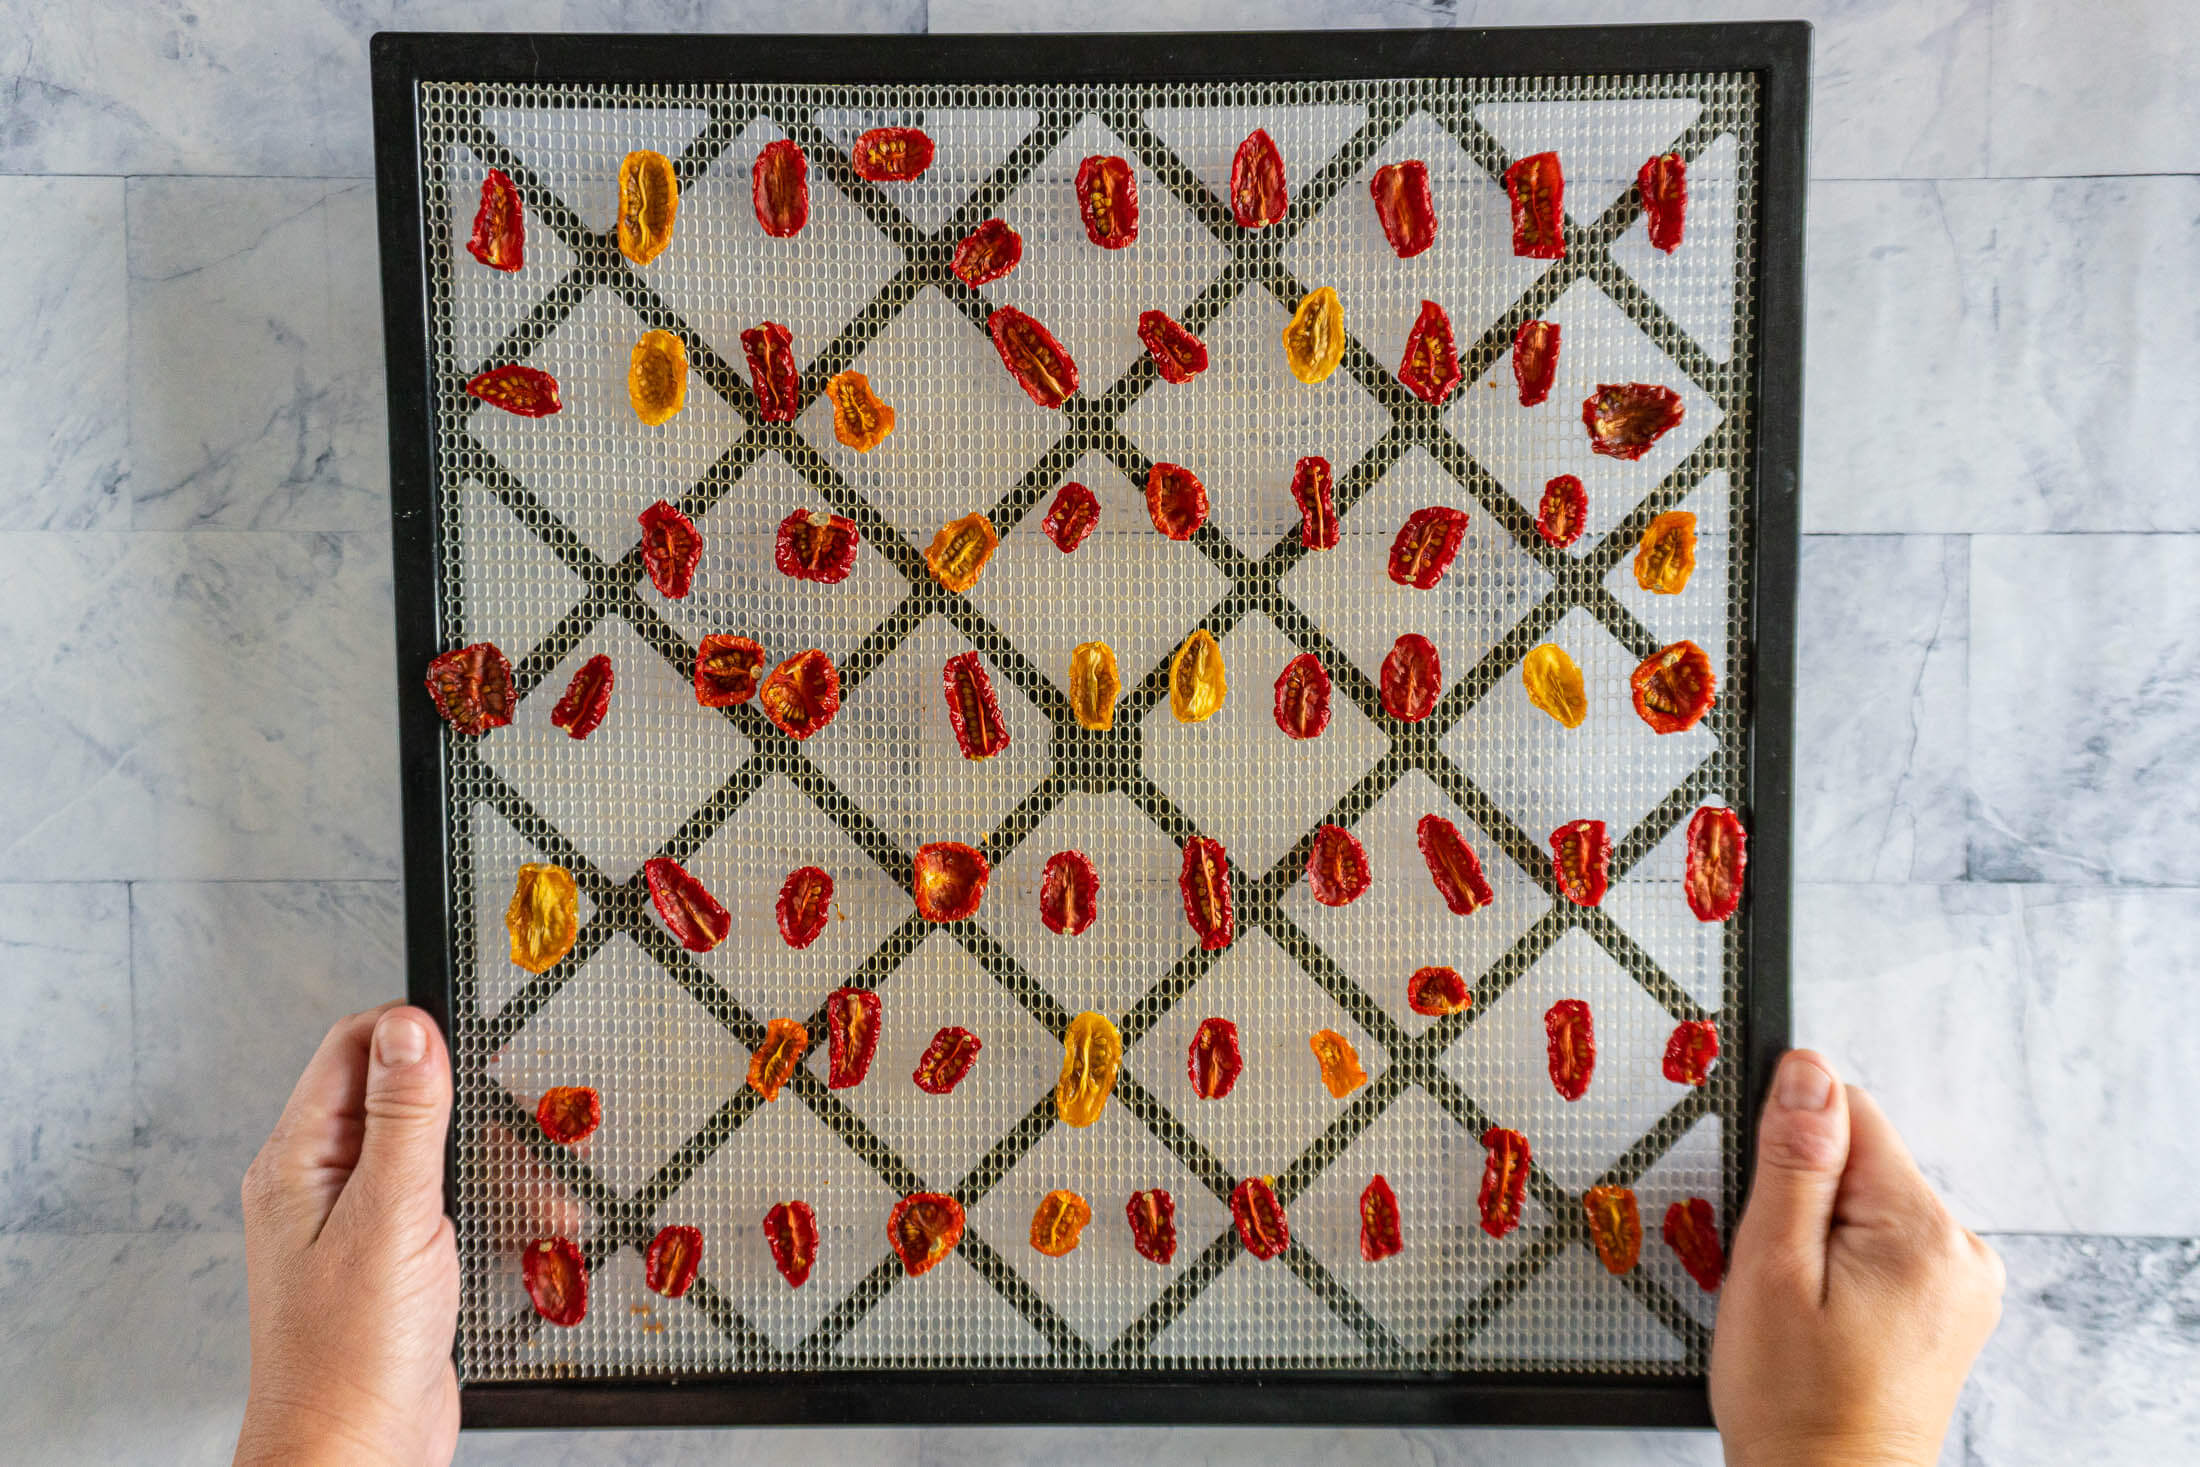
- Step 4: Check tomatoes every hour or so near the end of the drying time for doneness. Tomatoes are done when they are leathery, slightly pliable, and a bit sticky (without being wet or glossy). If they still feel damp or you see actual moisture on them, they'll need more time in the dehydrator.
Store + Condition:
- Step 5: Once the tomatoes are completely dried, allow the racks to cool in the dehydrator for 30-45 minutes before transferring to an airtight, long-term storage container. This allows the heat to dissipate and reduces the chances of condensation forming in your storage container.
- Step 6: Loosely fill an airtight jar and shake it once a day for about a week. Check for condensation or other signs of moisture.
If you see moisture return the tomatoes to the dehydrator and dry them longer. Repeat the conditioning process.
Once the tomatoes pass the conditioning test, they are ready for long term storage.
Expert Tips
- Think small. It’s a bit more hassle at fill up time, but storing the dry cherry tomatoes in smaller jars or containers is better – because we are removing so much volume, a lot of them fit in one jar. Large jars mean more opening and closing the jar and exposing your dehydrated tomatoes to the air which can degrade the quality.
- Stay sharp. This might sound silly, but my favorite knife when working with tomatoes is one with a thin, serrated blade. A sharp, straight blade also works, but I always reach for my yellow-handled “tomato knife”. A clean cut makes the process much smoother and easier.
- Double up. Chances are your dehydrator’s already running, and if that’s the case, feel free to load your tomatoes in with other mild veggies. Avoid drying with garlic, onions, bell peppers, hot peppers and other very fragrant veggies or herbs as they can affect the flavor and aroma of your tomatoes.
- No dehydrator? If you don’t have a dehydrator, don’t despair! You can follow the steps in my sun dried tomatoes recipe.
Why This Recipe Works
Slicing allows moisture to escape. Cherry tomatoes have a relatively tough skin that, by design, slows moisture from escaping. Halving them exposes the juicy interior to warm, moving air in the dehydrator, drying them more efficiently and evenly.
Low heat concentrates the flavors. Gentle heat and airflow evaporate water from the tomatoes, concentrating natural sugars, acids, and flavor compounds creating intense flavor.
Complete drying improve shelf stability. Removing enough available water from tomatoes reduces microbial activity helping to prevent spoilage. Conditioning helps to prevent pockets of moisture from contaminating the whole batch.
Dehydrating Cherry Tomatoes FAQs
For best quality, use dried cherry tomatoes wihin 6-12 months. Store in an airtight container and keep in a cool, dark location, away from light that can degrade the quality during long term storage.
I personally like to store my dehydrated cherry tomatoes in mason jars and vacuum seal them in my Avid Armor USV32 chamber vacuum sealer! It works amazing for removing the air from mason jars.
From there, they go into our storage room in the basement, where they are protected from sunlight, heat, and temperature swings.
A little tackiness is normal. Cherry tomatoes contain natural sugars and pectin that can leave the cut surface slightly sticky, even after the tomatoes are properly dried. Sticky is ok. Wet, glossy, or visibly moist means they need more drying time.
You can, but I don’t. If you choose to salt your tomatoes before dehydrating, you can enhance the flavor (let’s be honest, salt could make a birch leaf taste good) and help extract moisture more quickly as the salt pulls it from the cells.
On the other hand, by not salting I am left with pure, more versatile tomato flavor and no risk of over-salting whatever final dish or recipe I end up using these tomatoes in.
Not quite, they are both moisture removal methods but the heat source and timeline is different, which impacts the final flavor. The sun is the OG here and it has been used for numerous years – it’s a slower process that imparts a deeper, more complex flavor profile in the tomatoes. While dehydrating tomatoes uses heat and airflow to rapidly remove moisture resulting in a more tomato forward flavor that lacks a bit of the nuance of a sun dried tomato. That said, they can often be substituted for one another in cooked recipes.
I do have a “sun-dried tomato recipe” that actually uses the oven’s radiant heat to make homemade dried roma tomatoes!
Tomato skin is particularly good at holding in moisture which makes tomatoes a poor choice for dehydrating whole. The reason we slice them is to allow the moisture to escape.
Extension guidance for drying cherry and grape tomatoes is to halve or quarter them. I have always used halves because they dry more evenly and give me a more reliable end point.
I haven’t personally dehydrated whole cherry tomatoes, so the method and timing in this recipe is based on halved tomatoes. If you’re looking for shelf stable whole tomatoes, I suggest canning cherry tomatoes.

Reducing Drying Time
When it comes to tomatoes, drying time is crucial. The longer the drying time, the less tender and flavorful the rehydrated pieces become.
It’s important to prepare your tomatoes in somewhat uniform pieces, which may mean slicing cherry tomatoes in half and grape tomatoes into quarters. This ensures that most of the pieces are sufficiently dried within the same timeframe.
Leaving space between the pieces on the trays is another way to help reduce drying time. Sounds simple, but it allows airflow around all sides of the tomato pieces, ensuring even drying. Don’t forget to place the tomatoes skin side down!
Some hurdles are harder to overcome than consistent knife skills and spreading the tomato bits. Drying time can fluctuate a lot, for a number of reasons, including ripeness, size of pieces, tray load, and probably most importantly, humidity. Rainy or humid days can absolutely extend your drying times, if at all possible, I try to avoid dehydrating on rain days!
More Ways To Preserve Tomatoes


Converting Fresh To Dried
I usually find that 2 lbs fresh cherry tomatoes = 2 cups halved dried tomatoes. Your yield will vary depending on tomato size, variety, and ripeness.
Dehydrating removes around most of the moisture in the tomatoes which dramatically drops their weight and the tomato pieces themselves will also shrink in size.
The conversion from fresh to dried tomatoes is going to be different for each size of cherry tomato used.
My favorite way to determine the conversion is to fill the top rack of my dehydrator with a pre-determined measurement, for example 4 cups whole cherry tomatoes, halved, and then measure the resulting volume after dehydrating and divide by 4. Then I write the conversion for that batch on a strip of painters tape and stick it to the side of my jar.

Rehydrating Dried Tomatoes
The steps to rehydrate dried cherry tomatoes are the same as most dehydrated foods – add an equal amount of dehydrated tomato and water – by volume – and allow to soak.
The dehydrated cherry tomatoes can be reconstituted using hot water or cold water, hot water will begin cooking the tomatoes while cool water will take longer to rehydrate. Avoid soaking for longer than 2 hours – it can get a little gross!
Here’s a little cheatsheet:
- Soup: Toss them in to the boiling pot, the soup will do all the work for you
- Sauce: Soak in hot water until softened and add to sauce
- Breads: Soak in cold water until mostly softened, blot dry with paper towel, then chop and add to recipe.
Pro Tip: You’ll know the tomato pieces are rehydrated when they are nearly the same size as they were before going into the dehydrator.
Limitations
Listen dehydrated foods are wonderful. They’re work up front but they save time and effort on the back end, but they do have limitations!
You won’t be able to rehydrate a cherry tomato and toss it on a sandwich for a BLT.
BUT, that doesn’t mean tomatoes aren’t a valuable food to dehydrate and store. Dehydrated tomatoes are excellent in cooked dishes that need tomato flavor or a hint of acid, like soups, stews, stocks, and sauces. Dehydrated and powdered tomatoes are excellent to thicken and add tomato flavor.
Any time you need tomato flavor and not the texture or structure, you can use dehydrated tomatoes!

More Great Dehydrating Guides!


If you tried this Dehydrating Cherry Tomatoes recipe or any other recipe on my blog, please leave a 🌟 star rating and let me know how it went in the comments below. Thanks for visiting!
📖 Printable Recipe

Dehydrating Cherry Tomatoes
Ingredients
- 2 lbs cherry tomatoes, fresh
Instructions
Prepare Cherry Tomatoes:
- Remove any stems or leaves and wash tomatoes under cool running water, making sure to remove any dirt or soil from the tomatoes. Remove any over-ripe tomatoes as they should not be dehydrated, and set aside any tomatoes that aren't quite ripe and allow them to ripen further before dehydrating.
- Slice the cherry tomatoes in half then place them on the dehydrator tray in a single layer, skin side down. It only takes a second to ensure they are skin side down, but makes a large difference in drying time.
Dehydrate The Tomatoes:
- Place filled trays into the dehydrator and dry at 135°F for 12-14 hours.Note: I dehydrate cherry tomatoes for 12-14 hours, but don't use the clock to determine doneness. Drying time varies with tomato size, variety, humidity, dehydrator airflow and even how you load the trays!
- Check tomatoes every hour or so near the end of the drying time for doneness. Tomatoes are done when they are leathery, slightly pliable, and a bit sticky (without being wet or glossy). If they still feel damp or you see actual moisture on them, they'll need more time in the dehydrator.
Store + Condition:
- Once the tomatoes are completely dried, allow the racks to cool in the dehydrator for 30-45 minutes before transferring to an airtight, long-term storage container. This allows the heat to dissipate and reduces the chances of condensation forming in your storage container.
- Loosely fill an airtight jar and shake it once a day for about a week. Check for condensation or other signs of moisture.If you see moisture return the tomatoes to the dehydrator and dry them longer. Repeat the conditioning process. Once the tomatoes pass the conditioning test, they are ready for long term storage.
Notes
Expert Tips
- Think small. It’s a bit more hassle at fill up time, but storing the dry cherry tomatoes in smaller jars or containers is better – because we are removing so much volume, a lot of them fit in one jar. Large jars mean more opening and closing the jar and exposing your dehydrated tomatoes to the air which can degrade the quality.
- Stay sharp. This might sound silly, but my favorite knife when working with tomatoes is on with a thin, serrated blade. A sharp, straight blade also works, but I always reach for my yellow-handled “tomato knife”. A clean cut makes the process much smoother and easier.
- Double up. Chances are your dehydrator’s already running, and if that’s the case, feel free to load your tomatoes in with other mild veggies. Avoid drying with garlic, onions, bell peppers, hot peppers and other very fragrant veggies or herbs as they can affect the flavor and aroma of your tomatoes.
- No dehydrator? If you don’t have a dehydrator, don’t despair! You can follow the steps in my sun dried tomatoes recipe.



I dehydrated mine for at least 18 hours, and the cut side was still a little sticky. Is this okay.
Yup you bet! There’s a lot of sugar in tomatoes, sometimes they get a bit sticky!
Thanks for a lot of great info. I am about to try dehydrating my chocolate cherry tomatoes and you answered all my questions. God Bless.
Happy to hear this! Enjoy!