
Creamed Honey
Smooth, spoonable, and naturally sweet, this creamed honey recipe shows you exactly how to turn crystallized honey into a soft, whipped spread with a luxurious texture. Made with just one ingredient, it's easy to make, naturally shelf-stable, and far more affordable than store-bought creamed honey.

Craving The Recipe Details?
What it is: Silky, spreadable honey with a creamy texture that's easy to enjoy straight from the jar.
Why you’ll love it: No more hard, crystallized honey. Creamed honey that melts on your tongue, with just a few minutes of hands on time with no special equipment.
How to make it: Whip equal parts crystallized and liquid honey in a stand mixer, resting and re-whipping until silky smooth, then jar and enjoy at room temperature.
We fell in love with beekeeping almost by accident, I woke up one morning and declared I wanted bees. 5 years later, we started with two hives that quickly grew into eight thriving colonies on our homestead. Each season, we find ourselves blessed with an abundance of raw honey, far more than our family could ever drizzle over toasted whole wheat sourdough, stirred into homemade kombucha, or tossed over smoked pork belly burnt ends.
While we love raw honey, we’ve discovered that creamed honey has become a favorite among our family and friends. Its incredible texture and delicate mouthfeel make it completely irresistible. After much experimentation (and yes, quite a few sticky failures), I’ve perfected my way of making creamed honey at home.
This method is how we consistently turn our own raw, homestead-harvested honey into creamed honey year after year, without specialty equipment or commercial processing.
This creamed honey recipe is dedicated to good problems.
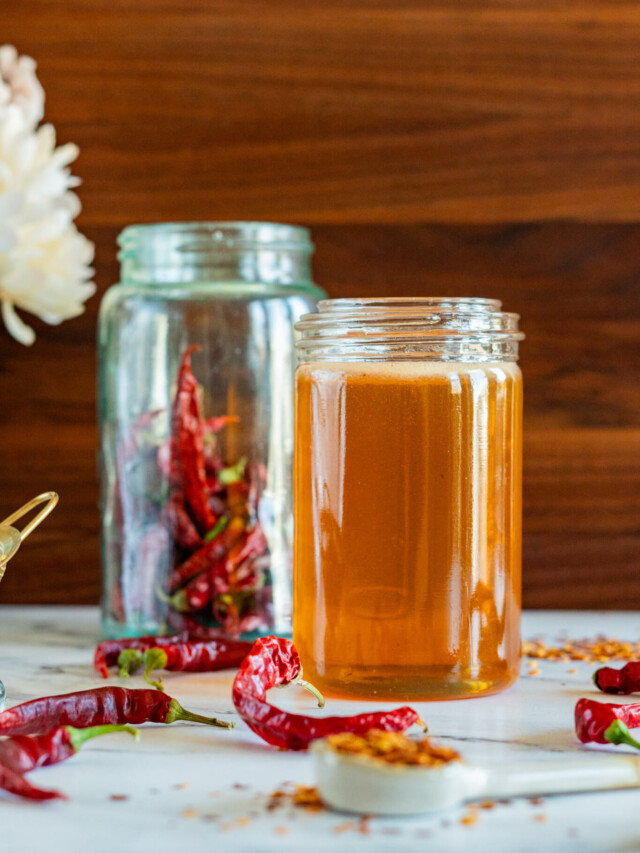
You’ll also love these recipes: Hot Honey and Homemade Vanilla Syrup
Jump to:
What Is Creamed Honey?
Creamed honey, also known as whipped honey, spun honey, or set honey, isn't a different kind of honey at all. The difference isn't the honey itself, but how the sugar crystals are encouraged to form.
Through a controlled process, liquid raw honey is guided into forming ultra-fine crystals, resulting in a thick, silky spread. Unlike regular liquid honey, which can crystallize unpredictably and develop large, gritty crystals, creamed honey is intentionally made by combining raw honey with a small amount of "seed honey." Seed honey is finely crystallized honey that acts as a template, guiding the entire batch to set with tiny, uniform crystals and a perfectly smooth texture.
Many people prefer creamed honey over liquid honey because it's less messy, easier to spread, and maintains a stable consistency over time. My husband prefers to stir whipped honey into his coffee every morning because he finds it mixes and dissolves more easily than liquid honey.
Key Ingredients
Raw Honey: Honey is the only ingredient in this recipe. Choose raw, unfiltered honey whenever possible. Local honey not only supports nearby beekeepers, but it also tends to have better flavor.
Seed Honey (Crystallized or Creamed Honey): Seed honey provides the fine crystal structure needed to guide the rest of the honey as it sets. This can be crystallized honey or already-creamed honey with a smooth texture.
Variations + Substitutions
- Creamed Honey: If you already have creamed honey on hand, you can use it as your seed honey and skip the step of breaking down crystallized honey. This is the easiest option.
- Crystallized Honey: If your honey has already crystallized, it can be used as seed honey once the crystals are broken down into a fine texture as directed in the recipe.
How To Make Creamed Honey
Make The Seed Honey:
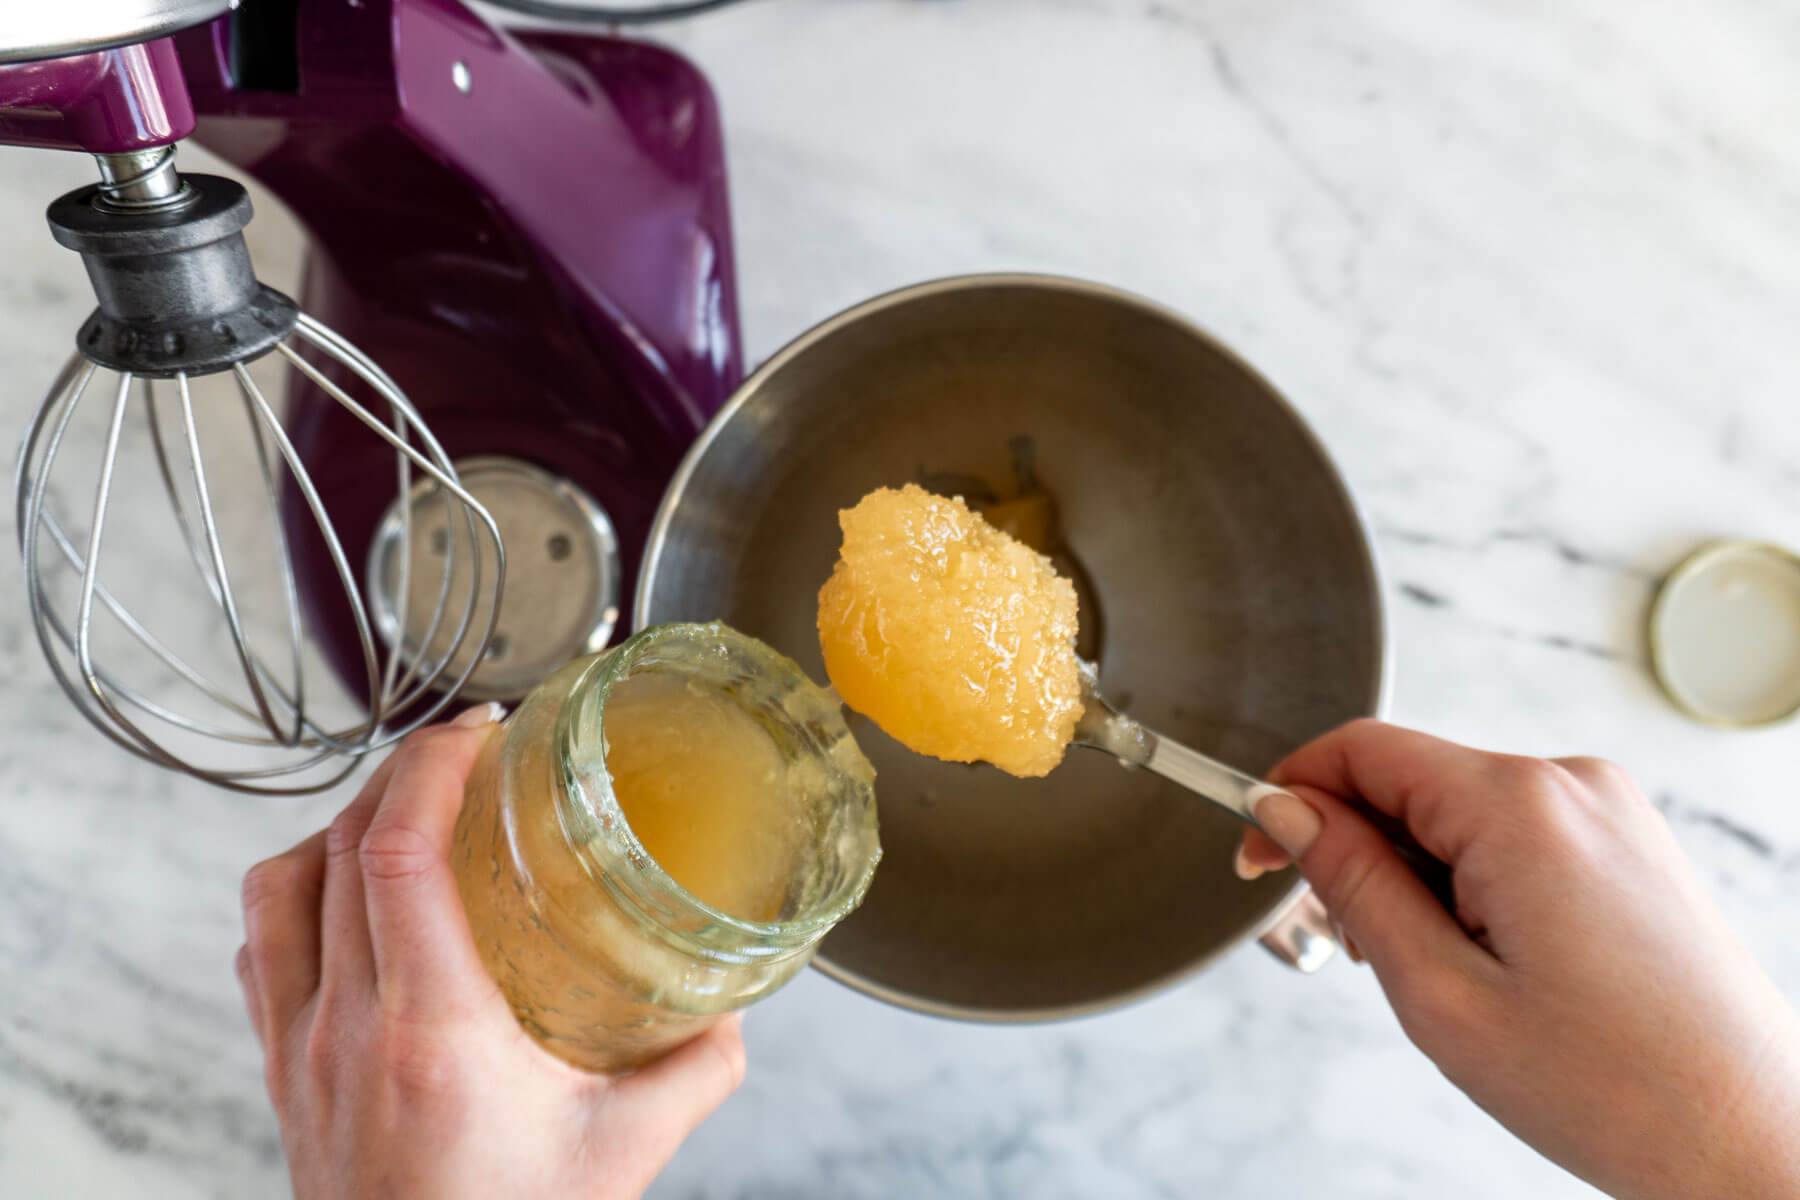
- Step 1: You’ll need equal parts of crystallized honey and raw liquid honey for this recipe. For the batch in these photos, I am using a 1kg jar of crystallized honey and a 1kg jar of liquid honey.
Add the crystallized honey to the bowl of your stand mixer.
- Step 2: Using the whisk attachment, mix the honey on medium-low speed (4 on a KitchenAid) for 5-7 minutes, or until the texture has changed and the crystals are smaller and smoother. Stop to scrape the sides from time to time.
Add Liquid Honey:
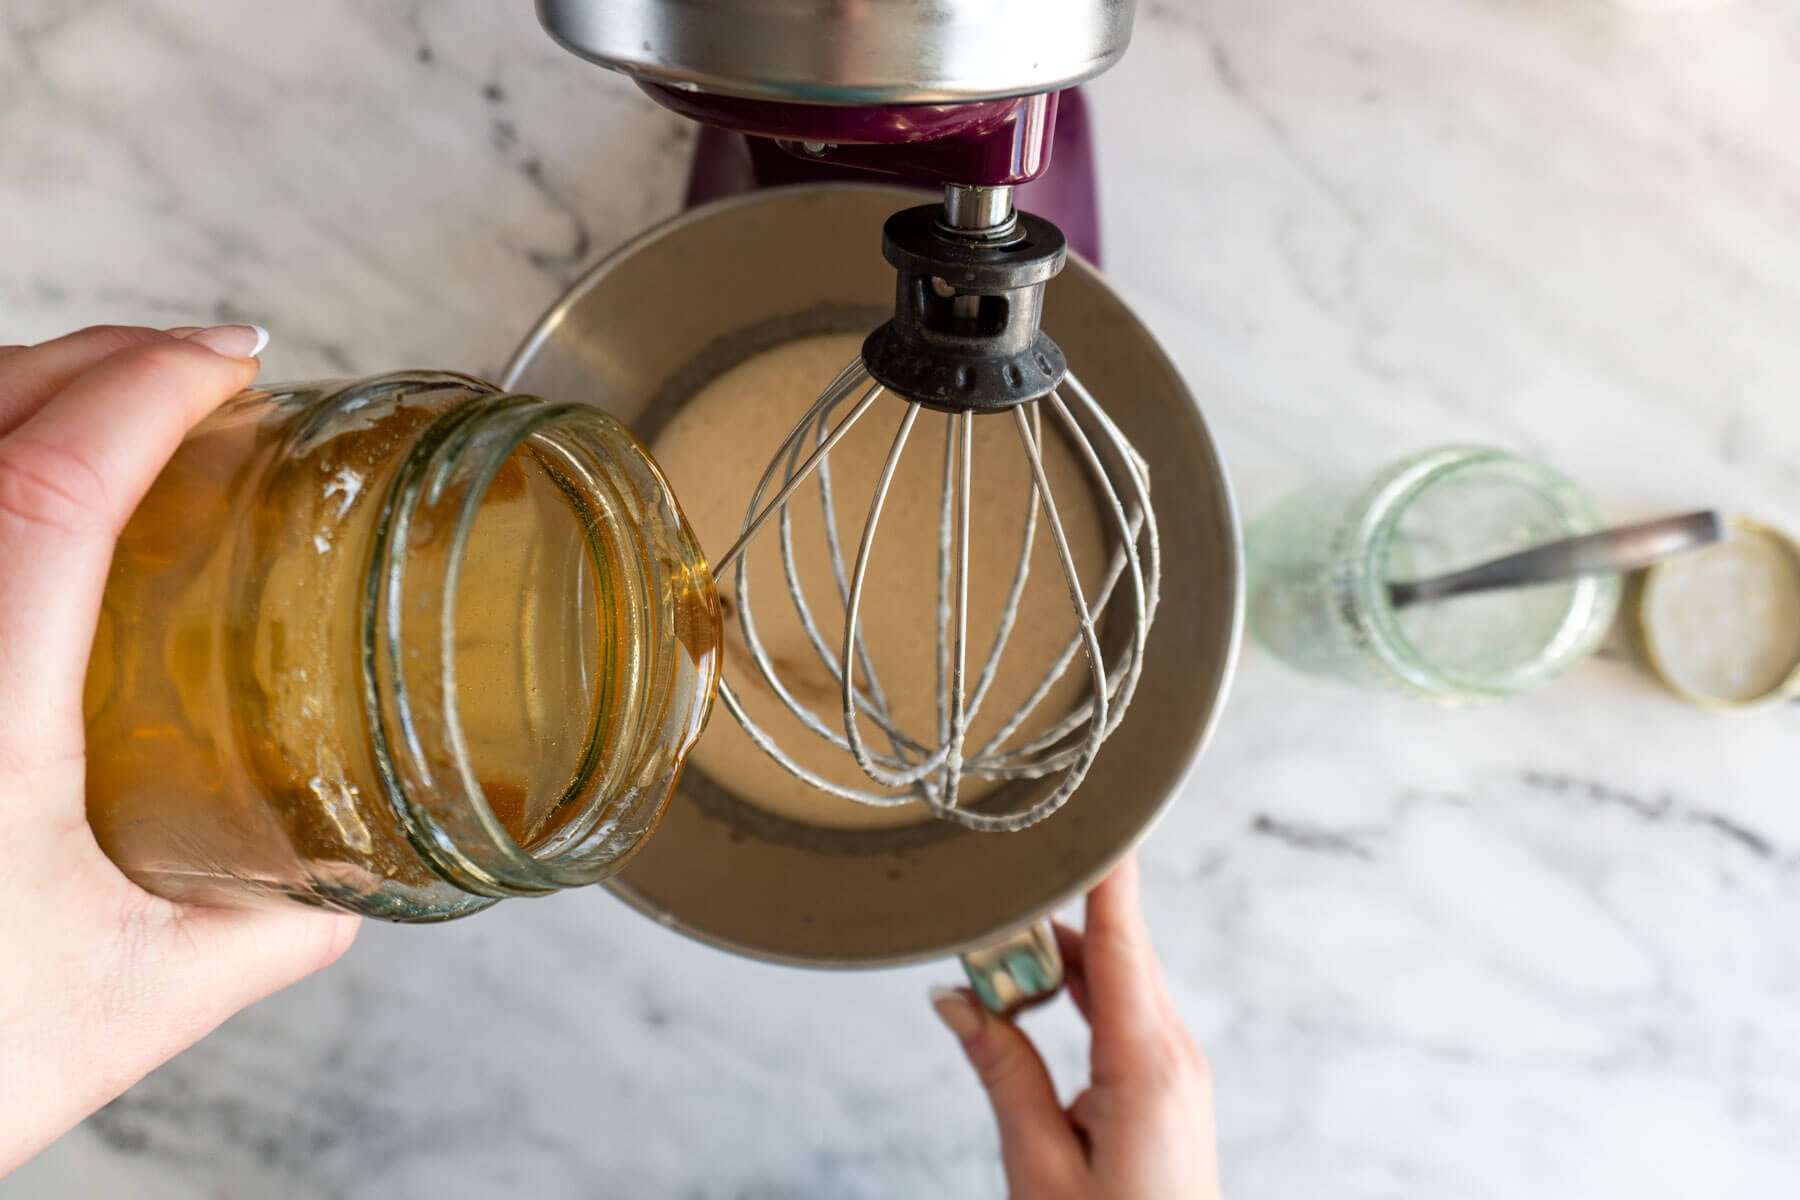
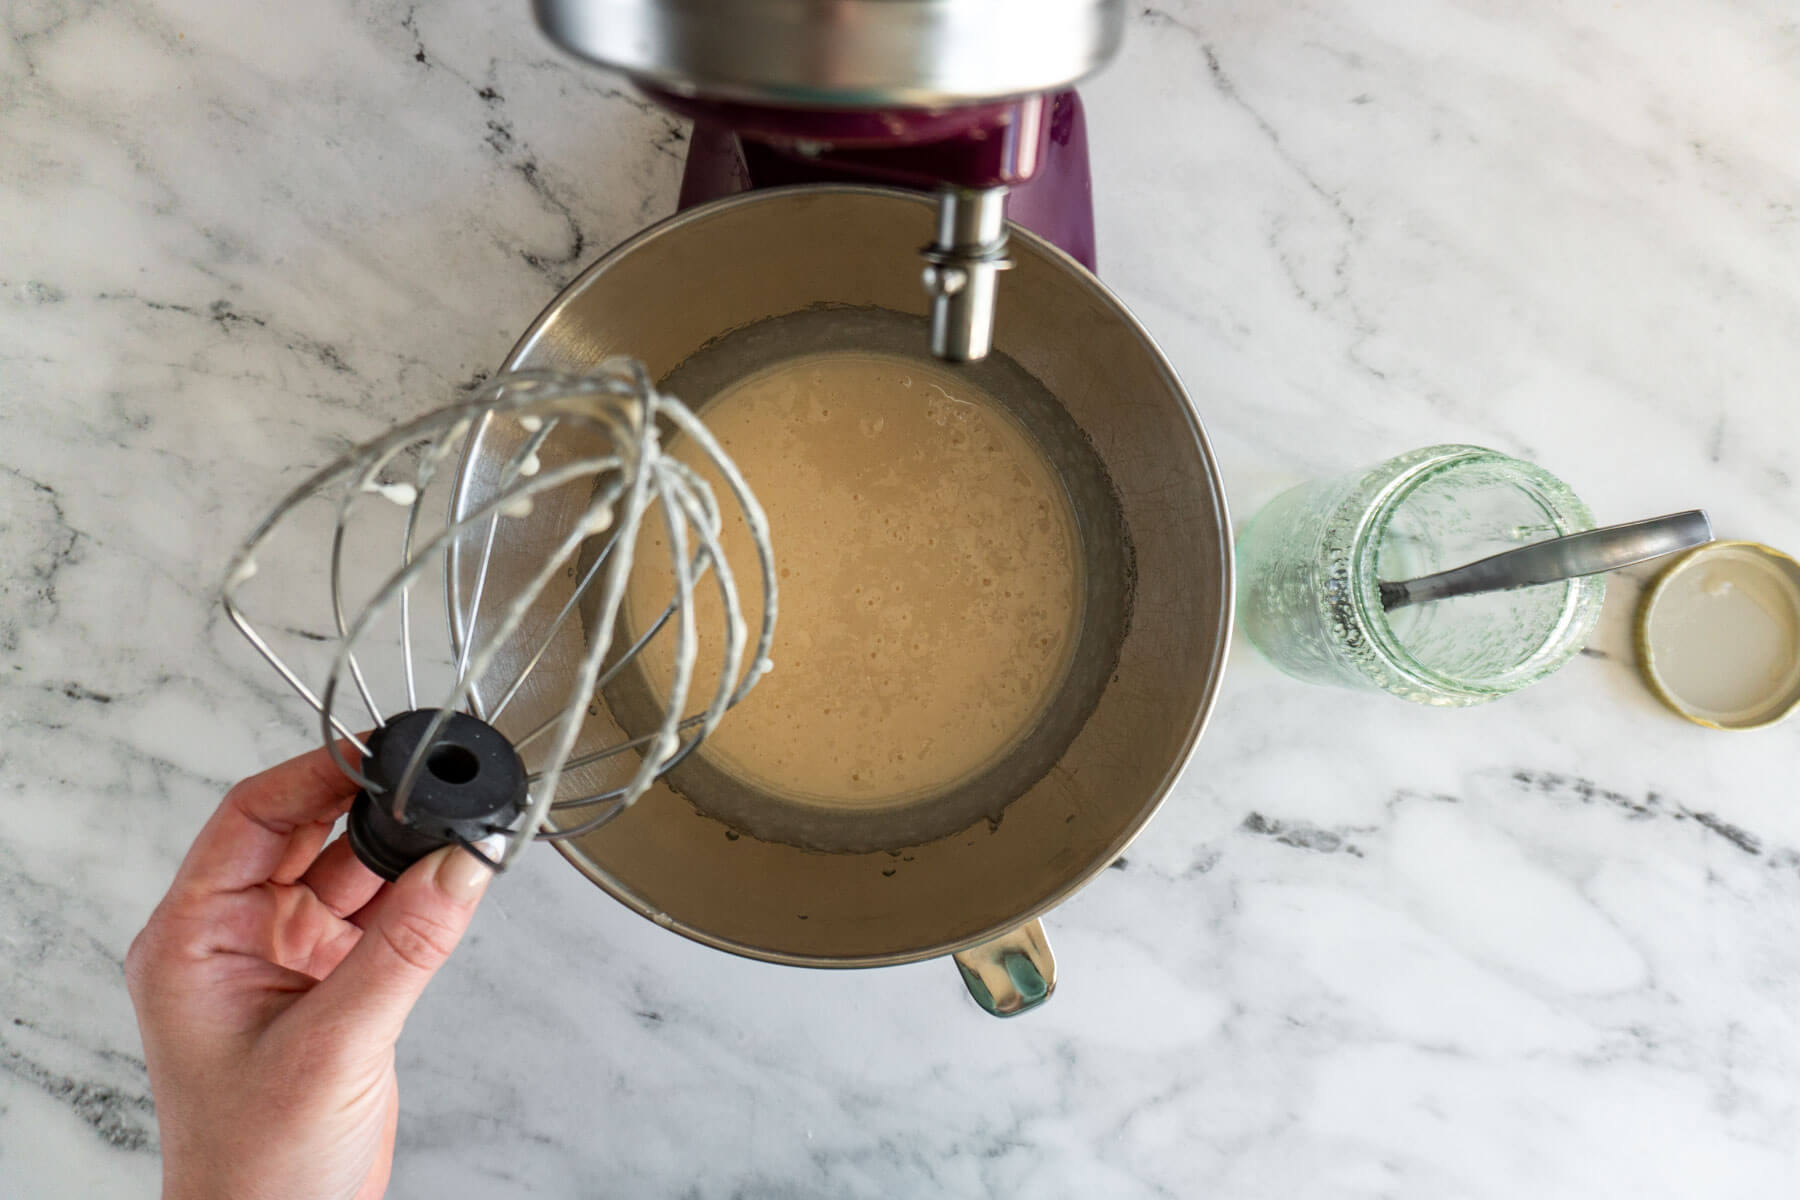
- Step 3: Pour in the liquid honey and continue whipping, gradually increasing the speed to full speed as they honey turns creamy in color and takes on a smooth texture. This stage should take about 10-15 minutes.
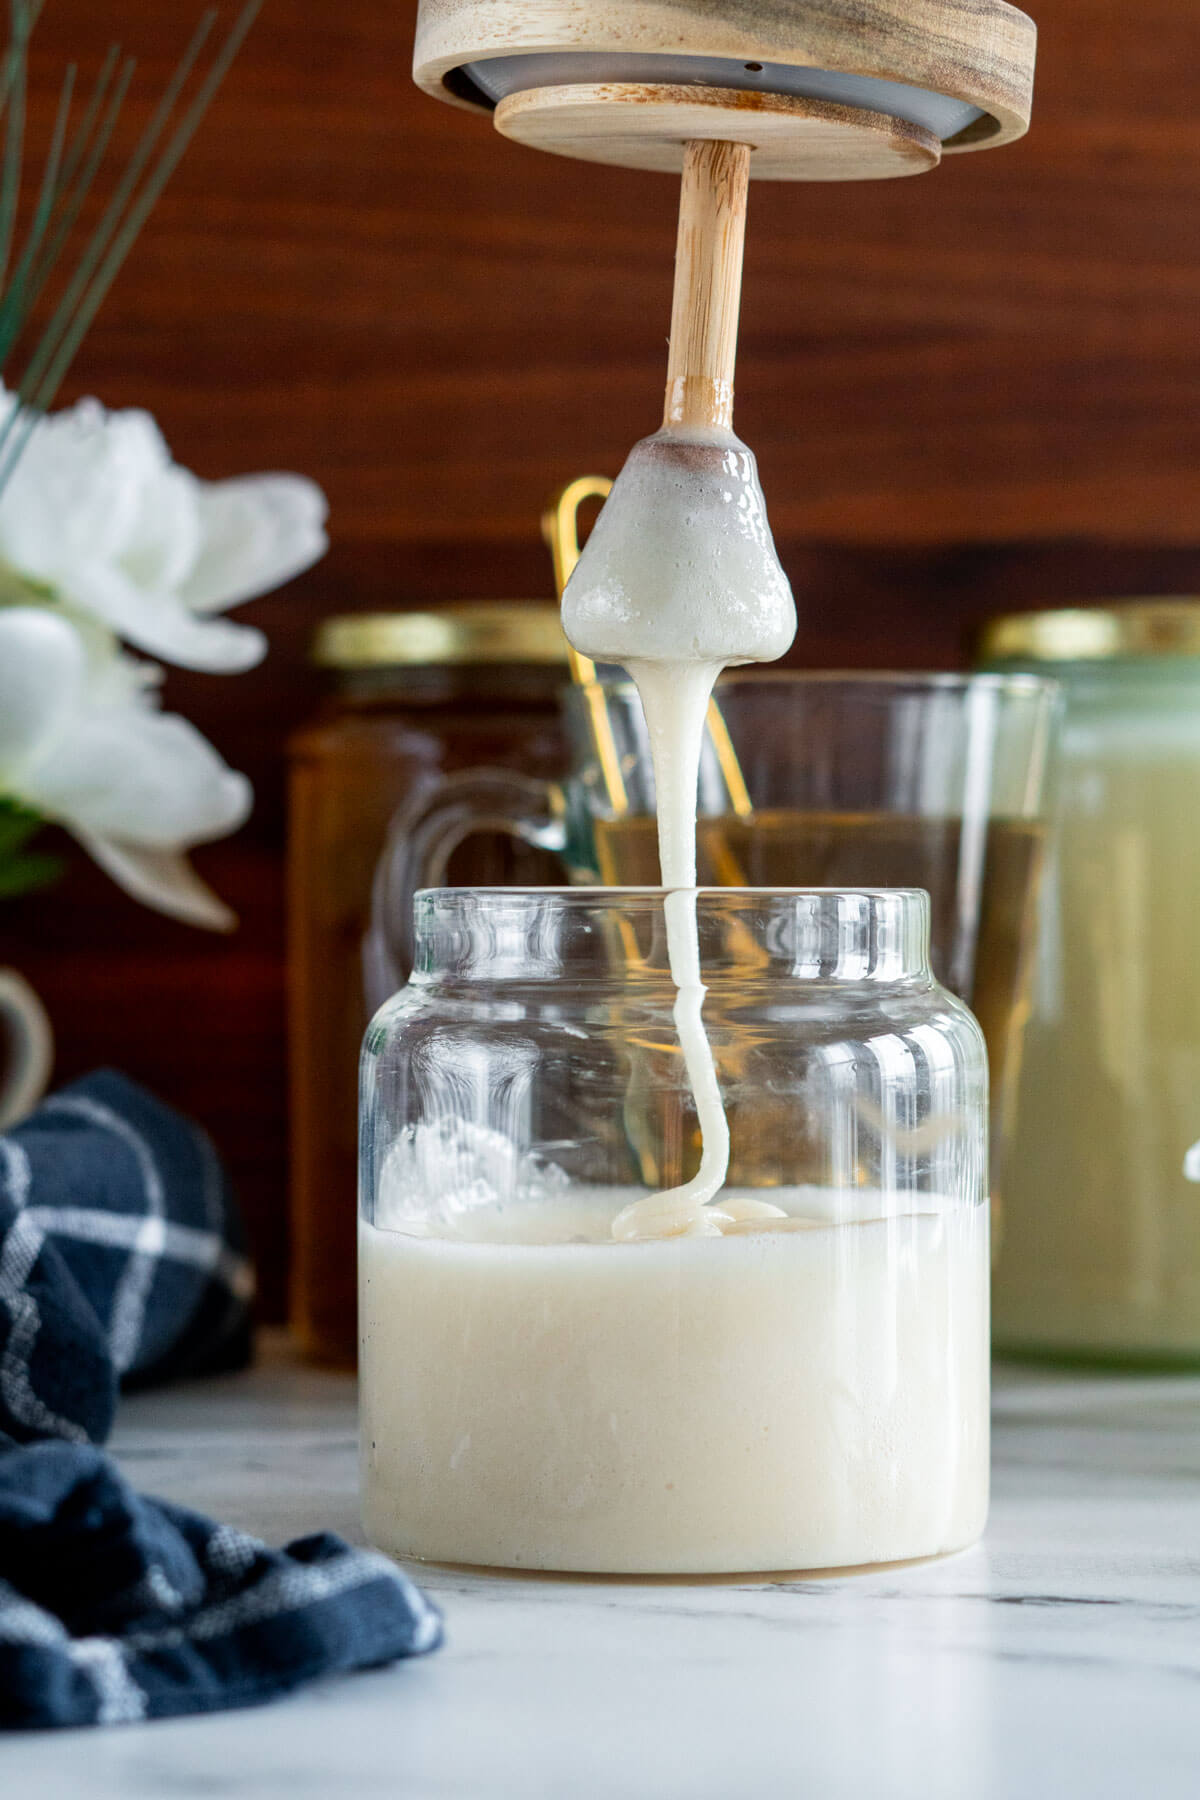
- Step 4: Rest the honey 1 hour. Cream the honey again, for about 20 minutes. I find it usually takes 2-3 cycles before the honey is completely smooth. The creamed honey is ready when it’s pale cream in color, has a silky smooth mouthfeel, and melts on your tongue in seconds.
Jar The Honey
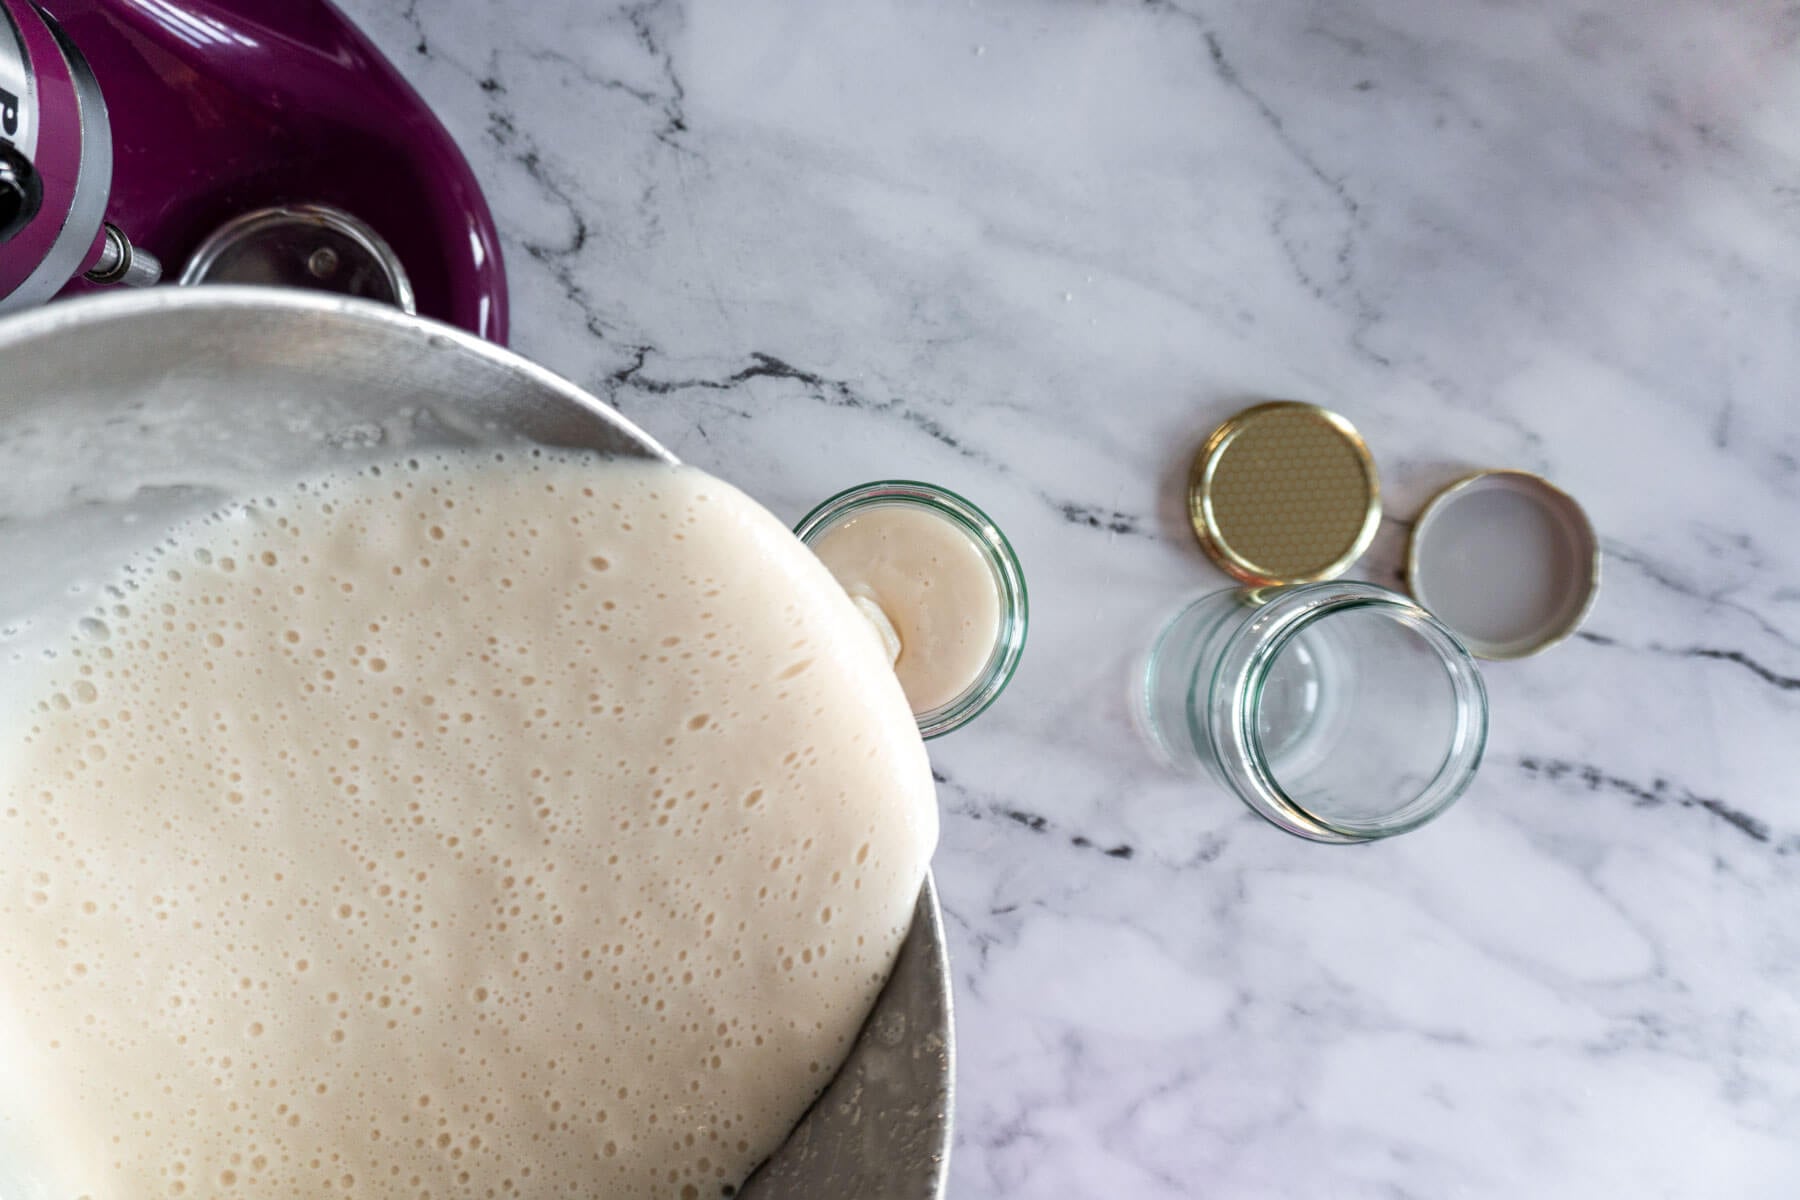
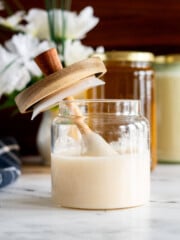
- Step 5: While the honey is still warm from the mixing process, pour it into a glass jar or jars. I like to use wide mouth jars because it’s easier to get the last little bit out of the bottom of the jar, but use what you’ve got!

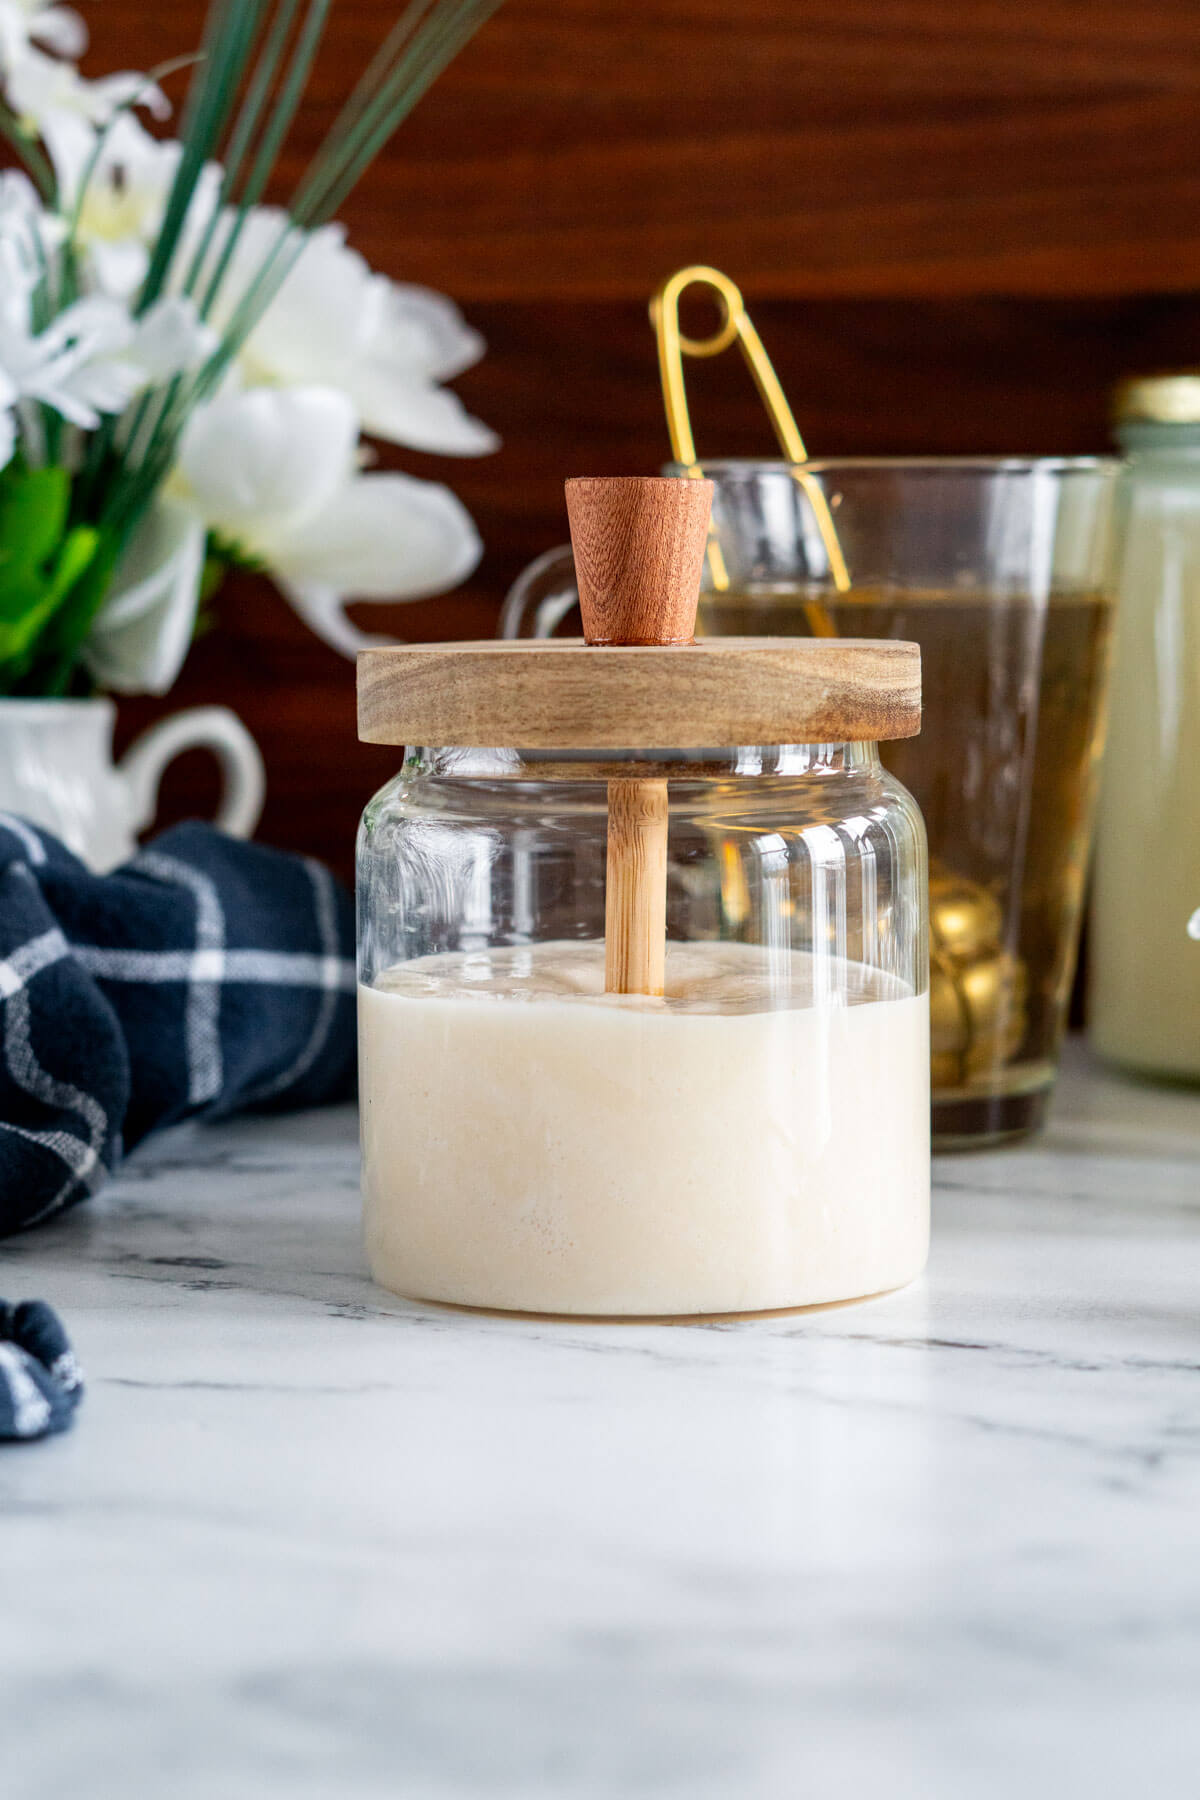
- Step 6: You can use the honey right away, but I recommend allowing the honey to set for up to 7 days for best texture before using. The honey will firm up and take on a more butter like consistency as it cools and sets in the storage container.
If you notice bubbles or foam on the top of the jars after the honey has set, you can scoop it off and discard, or just eat it – it’s so good!
Expert Tips
- If all of your honey has crystallized, gently melting half of it creates the liquid portion needed to maintain the proper ratio for smooth creamed honey. Warm your honey in a glass jar in a water bath set between 95 -100f to melt the sugar crystals and return the honey to liquid form. This temperature is no hotter than the bees in the hive, so the melted honey is still considered raw.
- I always recommend using local raw honey whenever possible. You can source high quality local honey at farmers markets or from beekeepers in the area.
- It’s a good idea to ensure that you’ve serviced your stand mixer before making whipped honey, as it will be running at a high speed for an extended period of time.
- The whipping and resting process helps to dissolve sugar crystals as well as keep your mixer happy! I prefer to whip and wait than to whip for a long duration.
- If you’re not 100% satisfied with your whipped honey after the resting process, you can repeat the whipping process, using smaller batches, or melt it down into liquid honey.
Why This Recipe Works
Seed honey controls crystallization
Adding finely crystallized "seed honey" to your liquid honey ensures that the sugar crystals form small and uniform, giving you that smooth, spreadable texture instead of a gritty, coarse honey.
Whipping evenly distributes seed crystals
Mechanical mixing breaks down larger crystals and disperses fine seed crystals throughout the honey, ensuring a consistently smooth texture from top to bottom.
Small batch method = consistent results
Making smaller batches helps maintain control over the crystallization process and protects your equipment from overheating.
Flexible and flavorful
Once you understand the process, you can flavor your creamed honey with cinnamon, vanilla, or other spices without affecting its texture!
Creamed Honey FAQs
Your homemade creamed honey can be stored at room temperature or in a cool place – because the honey is already crystallized it should maintain its consistency well in long term storage or your cold room.
We always keep a jar of creamed honey in the pantry for easy access to that whipped deliciousness!
I enjoy the process of making creamed honey, so I usually only whip up a couple jars at a time, though you could whip up as much as your mixer can handle. Larger batches take longer to whip and are harder on your mixer.
Yes, you absolutely can. A stand mixer or hand mixer makes the process faster and easier, but creamed honey can be made by hand if you're willing to put in a bit of elbow grease.
Start with finely crystallized honey or already-creamed honey to use as your seed. Using a sturdy spoon or spatula, mix the seed honey thoroughly into the liquid honey until fully incorporated. Let it rest, then stir again. Repeat this process two to three times to ensure even distribution.
Even mixing is key, unevenly mixed honey can crystallize inconsistently and develop a patchy or grainy texture. Once mixed, set the honey aside in a cool place and allow it to crystallize for at least two weeks. It will take longer to set than mixer-made creamed honey, but it will still work.
Graininess doesn't mean the honey is ruined, it simply means the sugar crystals formed too large.
This can happen if the seed honey was too coarse to begin with, if the honey wasn't mixed thoroughly, or if it set too quickly. Using finely textured seed honey and mixing it evenly into the raw honey helps prevent this. If your honey does turn grainy, it's still perfectly safe to eat, it just didn't crystallize as smoothly as intended.
Often times, it just takes another round of whipping to improve the texture.
Serving Suggestions
I’m sure you won’t run out of ways to enjoy the creamy consistency of your honey, but here’s some ideas just in case!
- Spread on fresh homemade bread machine bread or whole wheat sourdough
- Stirred into a homemade latte
- As a topping for pancakes or pumpkin waffles
- Whisked into your sous vide yogurt
- Spread on sourdough bagels
How Is Creamed Honey Made?
The process is simple in principle: small, uniform sugar crystals create a silky consistency, while large, unpredictable crystals make honey gritty.
Commercial Production with Seed Honey
Large-scale apiaries often use a method called the Dyce Method to make creamed honey consistently across large batches. The raw honey is gently heated to dissolve any existing crystals, cooled, and then mixed with 10% seed honey. The mixture is stirred at regular intervals, then stored at a steady, cool temperature to allow tiny crystals to form over several days, resulting in perfectly smooth, spreadable honey.
Home Production Through Whipping
At home, you can achieve the same silky texture using a stand mixer or a strong hand mixer. Crystallized honey (your seed honey) is whipped until smooth, then combined with liquid honey. The mechanical action breaks down any large crystals and incorporates tiny air bubbles, giving the honey its signature creamy, spreadable consistency.
The method used in this recipe borrows the same principle as commercial production, using seed honey to guide crystallization, but adapts it for home kitchens using a mixer instead of expensive specialized equipment.
More Elevated Ingredients


If you tried this Creamed Honey recipe or any other recipe on my blog, please leave a 🌟 star rating and let me know how it went in the comments below. Thanks for visiting!
📖 Printable Recipe
Creamed Honey Recipe
Ingredients
- 2 cups crystallized raw honey
- 2 cups liquid raw honey
Instructions
- Add the crystallized honey to the bowl of your stand mixer. Using the whisk attachment, mix the honey on medium-low speed (4 on a KitchenAid) for 5-7 minutes, or until the texture has changed and the crystals are smaller and smoother. Stop to scrape the sides from time to time.
- Pour in the liquid honey and continue whipping, gradually increasing the speed to full speed as they honey turns creamy in color and takes on a smooth texture. This stage should take about 10-15 minutes.
- Rest the honey 1 hour. Cream the honey again, for about 20 minutes. I find it usually takes 2-3 cycles before the honey is completely smooth. The creamed honey is ready when it's pale cream in color, has a silky smooth mouthfeel, and melts on your tongue in seconds.
- While the honey is still warm from the mixing process, pour it into a glass jar or jars. I like to use wide mouth jars because it's easier to get the last little bit out of the bottom of the jar, but use what you've got!
- You can use the honey right away, but I recommend allowing the honey to set for up to 7 days for best texture before using. The honey will firm up and take on a more butter like consistency as it cools and sets in the storage container.
- If you notice bubbles or foam on the top of the jars after the honey has set, you can scoop it off and discard, or just eat it - it's so good!
Notes
- If all of your honey has crystallized, gently melting half of it creates the liquid portion needed to maintain the proper ratio for smooth creamed honey. Warm your honey in a glass jar in a water bath set between 95 -100f to melt the sugar crystals and return the honey to liquid form. This temperature is no hotter than the bees in the hive, so the melted honey is still considered raw.
- I always recommend using local raw honey whenever possible. You can source high quality local honey at farmers markets or from beekeepers in the area.
- It's a good idea to ensure that you've serviced your stand mixer before making whipped honey, as it will be running at a high speed for an extended period of time.
- The whipping and resting process helps to dissolve sugar crystals as well as keep your mixer happy! I prefer to whip and wait than to whip for a long duration.
- If you're not 100% satisfied with your whipped honey after the resting process, you can repeat the whipping process, using smaller batches, or melt it down into liquid honey.


I love how this creamed honey melts on the tongue, it’s got a delicate texture, and somehow tastes even better than raw honey. I love to spread it on freshly toasted sourdough or stir it into teas!