
Fermented Cherry Tomatoes

This fermented cherry tomatoes recipe transforms sweet summer tomatoes into tangy, juicy little flavor bombs through natural lacto-fermentation. Made with only tomatoes, salt, water, garlic, dill, and a few pantry spices, these probiotic-rich fermented tomatoes are ready in 4-6 days and are delicious on salads, grain bowls, sandwiches, charcuterie boards, or straight from the jar.

Craving The Recipe Details?
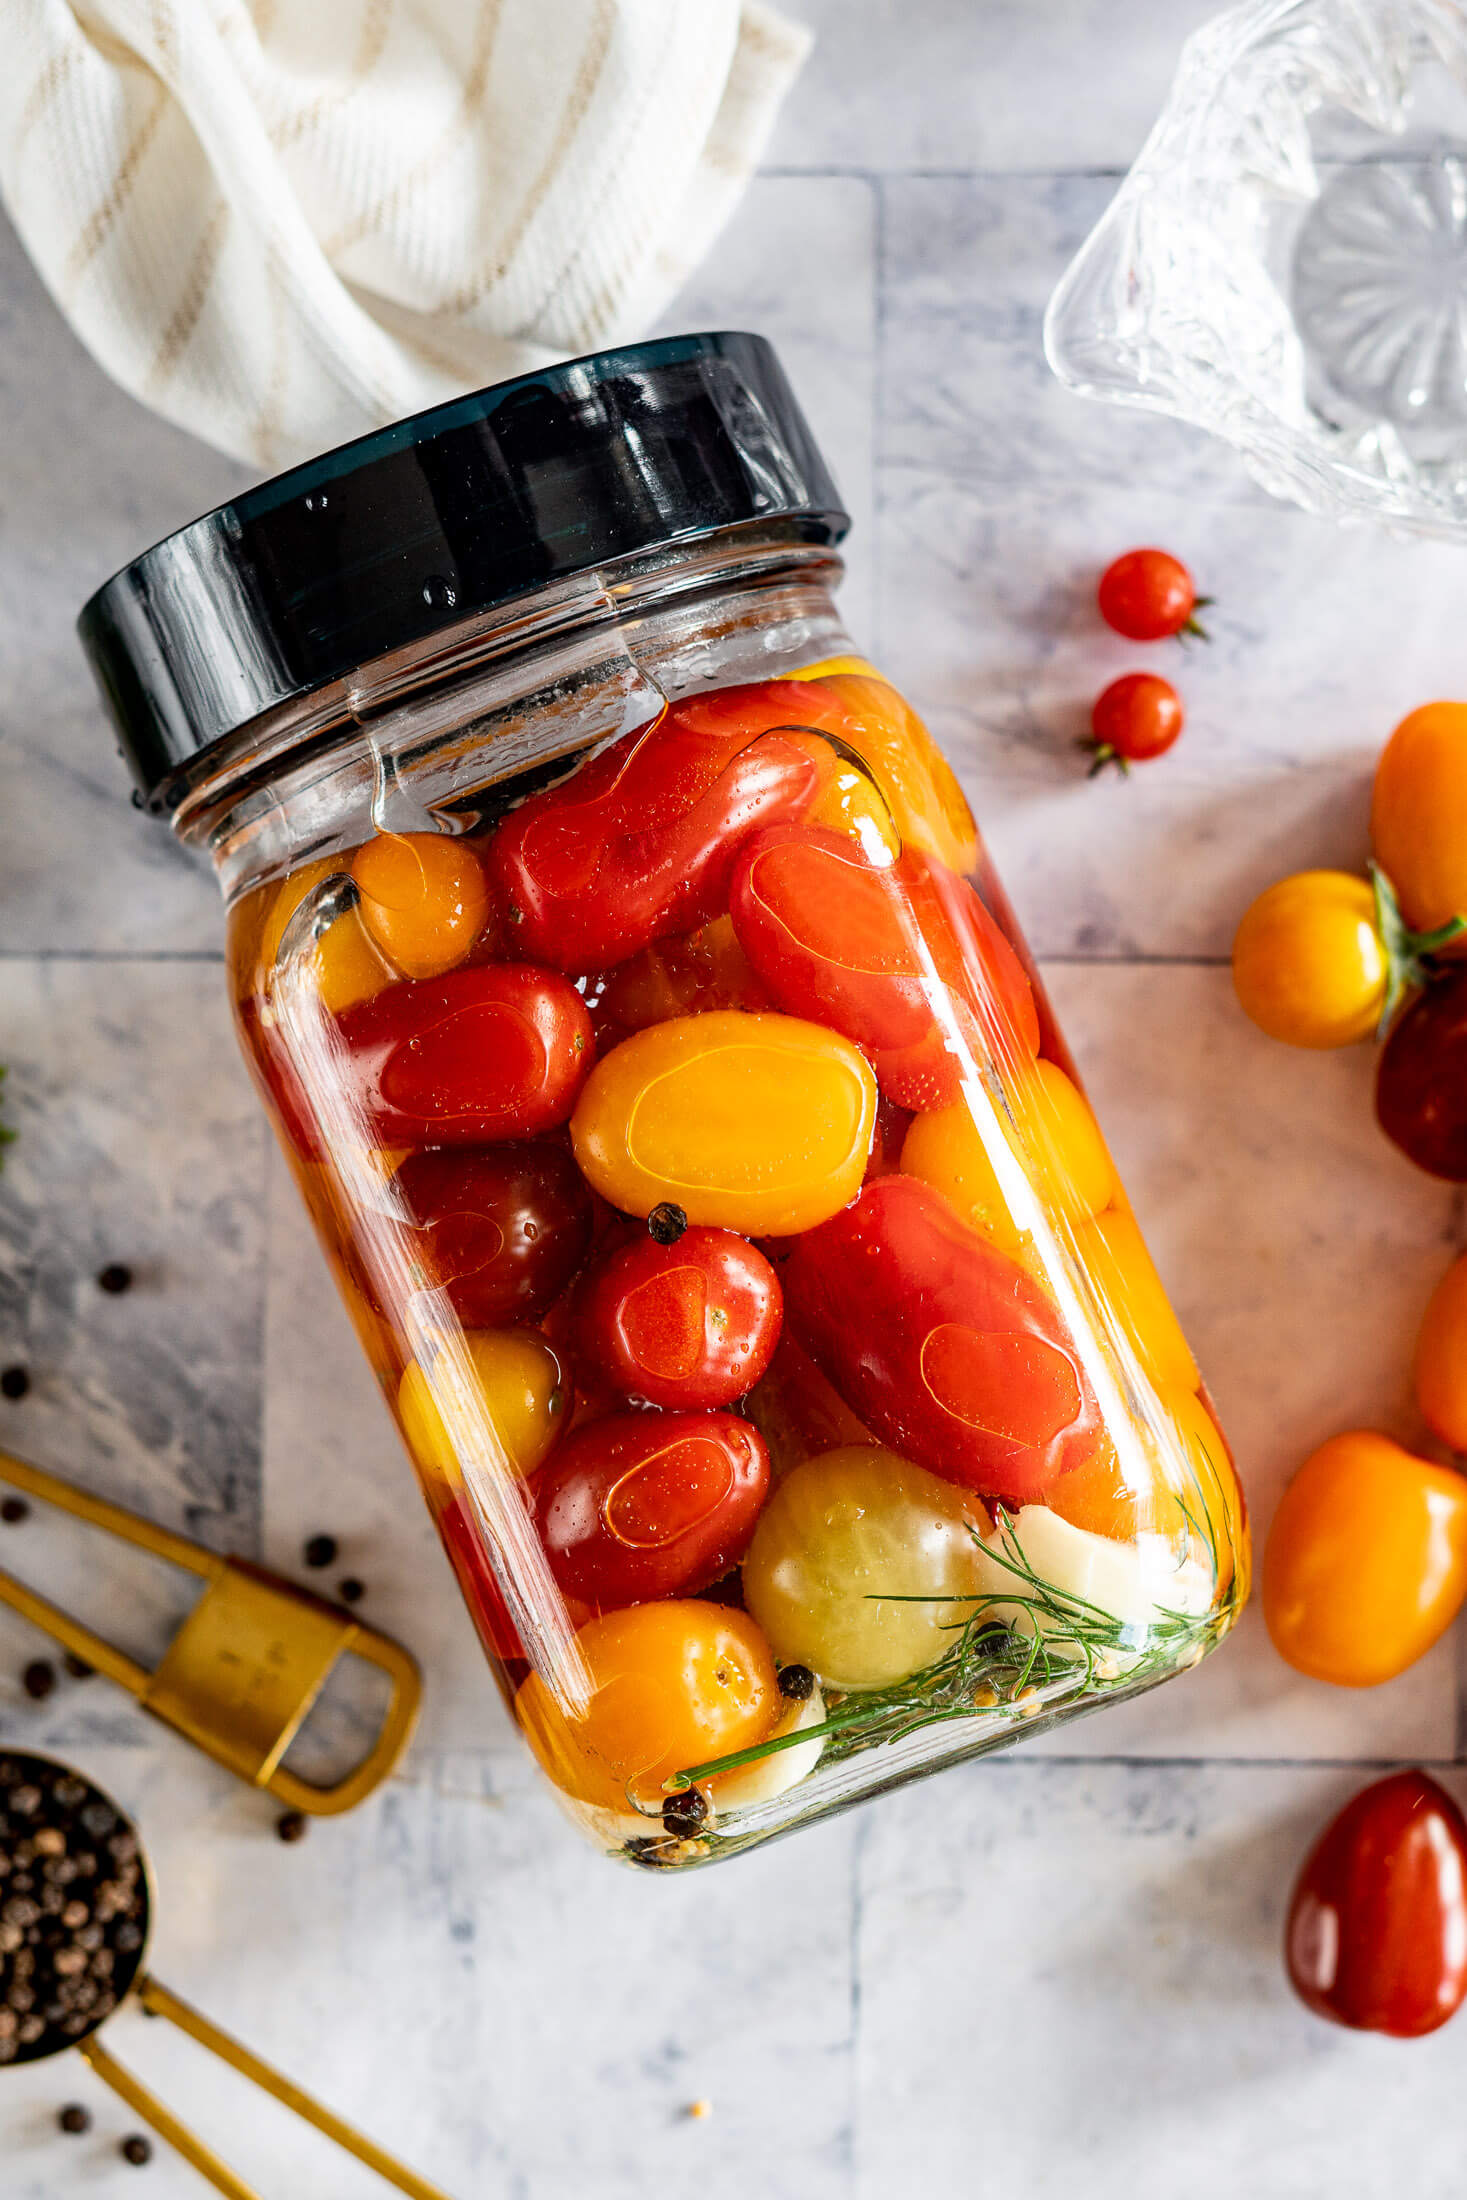
What it is: Whole cherry tomatoes lacto-fermented in a salt-and-vinegar brine with garlic, dill, and spices, developing a tangy, effervescent flavor over several days at room temperature.
Why you’ll love it: It’s a low-effort way to preserve tomatoes; just pack, brine, and wait, and it rewards you with probiotic-rich, deeply savory-tangy tomatoes that outlast fresh ones by months in the fridge.
How to make it: Layer garlic, dill, and spices in a jar, pack in whole cherry tomatoes, and cover completely with a salted-vinegar brine, weighing everything down so nothing floats above the liquid. Ferment at room temperature for 4-6 days until cloudy and bubbly.
I’ll never forget the first time I had a lacto-fermented cherry tomato.
Kevin and I were at a charcuterie place for lunch with friends and the huge share board was adorned with little cherry tomatoes.
I popped one in my mouth not thinking anything of it, but I was greeted with an absolute flavor bomb. I could literally feel my eyes widen and my mind racing – trying to understand what was happening in my mouth.
I have spent the last year trying to replicate that feeling. I think I’ve finally nailed it. The finished tomatoes stay intact on the outside but become juicy and tender inside. Each bite starts with bright tomato sweetness before giving way to tangy acidity, mellow garlic, fresh dill, and tiny champagne-like bubbles that make them almost pop in your mouth.
This fermented cherry tomato recipe is dedicated to that feeling.
Jump to:
- Craving The Recipe Details?
- What Is Lacto-Fermentation?
- Key Ingredients
- Why Use Vinegar In A Lacto-Ferment?
- How To Ferment Cherry Tomatoes
- Expert Tips
- Why This Recipe Works
- Lacto-Fermented Cherry Tomato FAQs
- More Great Fermented Recipes
- Don’t Pour Out The Brine
- Fermentation Equipment
- More Great Ways To Preserve Tomatoes
- 📖 Printable Recipe
What Is Lacto-Fermentation?
Lacto-fermentation is a preservation method that transforms and enhances food. The process is simple: submerge fresh ingredients in salt brine and let lactobacillus bacteria do the work. As fermentation occurs, rising acidity naturally eliminates harmful pathogens while intensifying flavors.
Don’t be afraid, because lacto fermentation is a safe, traditional way to preserve food without heat! Let’s see your vinegar pickles do that!
Key Ingredients
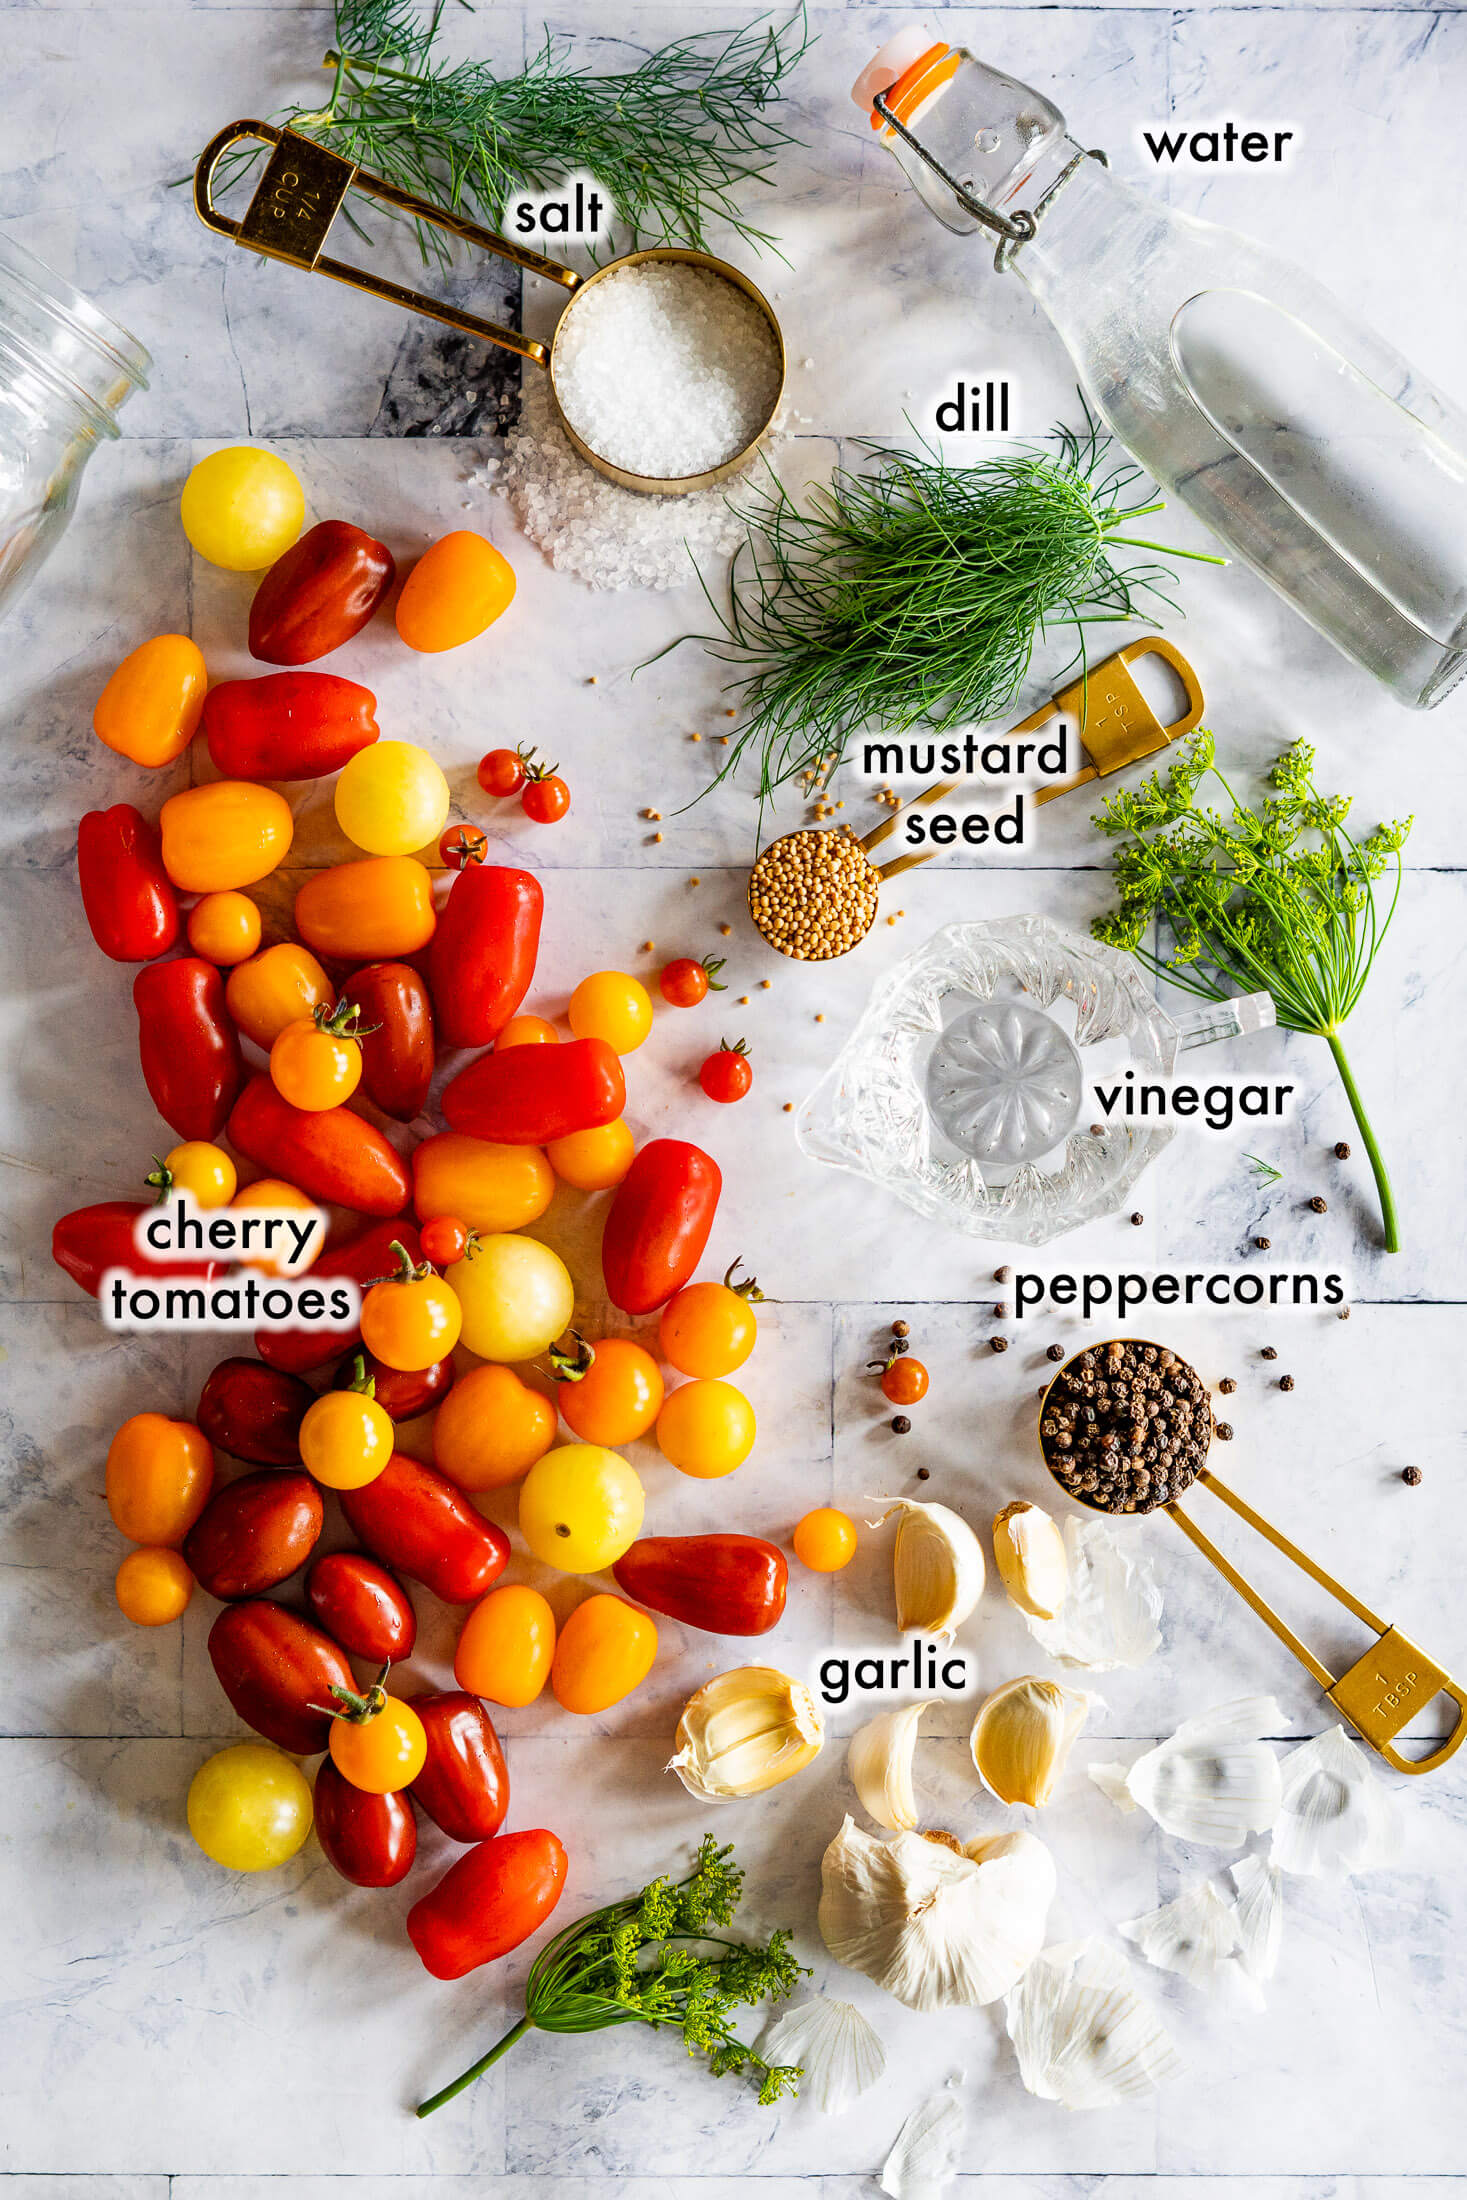
Cherry Tomatoes: Use any type of cherry tomato for this recipe, they all work. I’ve used a mix of sun gold, chocolate cherry, sweet 100s and everything in between! For best results, use tomatoes that are ripe but still slightly firm.
If they’re too ripe, they’ll be too soft and won’t hold up well during the fermentation process. On the other hand, if they’re not ripe enough, they won’t have the same rich tomato flavor.
Salt: Choose coarse sea salt for the best flavor profile or coarse pickling salt for the most neutral salt flavor.
Water: Spring water or well water works great in fermenting recipes. Avoid chlorinated water wherever possible as chlorine can affect microbial activity. I use straight well water or well water run through my RO system for all my ferments.
Why Use Vinegar In A Lacto-Ferment?
While testing this recipe, I tried a straight salt brine, a vinegar-forward quick-pickle style, and a Polish-style ferment with just a splash of vinegar added to the brine. The hybrid version, a full lacto-ferment with a small amount of vinegar, was the clear winner for flavor.
This isn’t just a personal preference, it’s backed by fermentation science! In The Art of Fermentation, Sandor Katz notes that a small proportion of vinegar added at room temperature won’t prevent fermentation from happening; instead, it acts mainly as a flavoring agent while helping create a slightly more acidic environment that favors lactic acid bacteria [p. 119]. That matches what I found in testing: the vinegar here is too small an amount to turn this into a vinegar pickle, but it gives the lactic acid bacteria a bit of a head start over less acid-tolerant spoilage bacteria in those first day or two, plus it rounds out the flavor.
How To Ferment Cherry Tomatoes
Prepare Ingredients:

- Step 1: Prepare for fermenting by washing a fermentation vessel, which can be as simple as a 1 quart mason jar and lid. It does not have to be sanitized or sterilized but should be washed well with hot soapy water. Set aside to dry. Wash tomatoes and fresh dill under warm running water and set aside to dry.
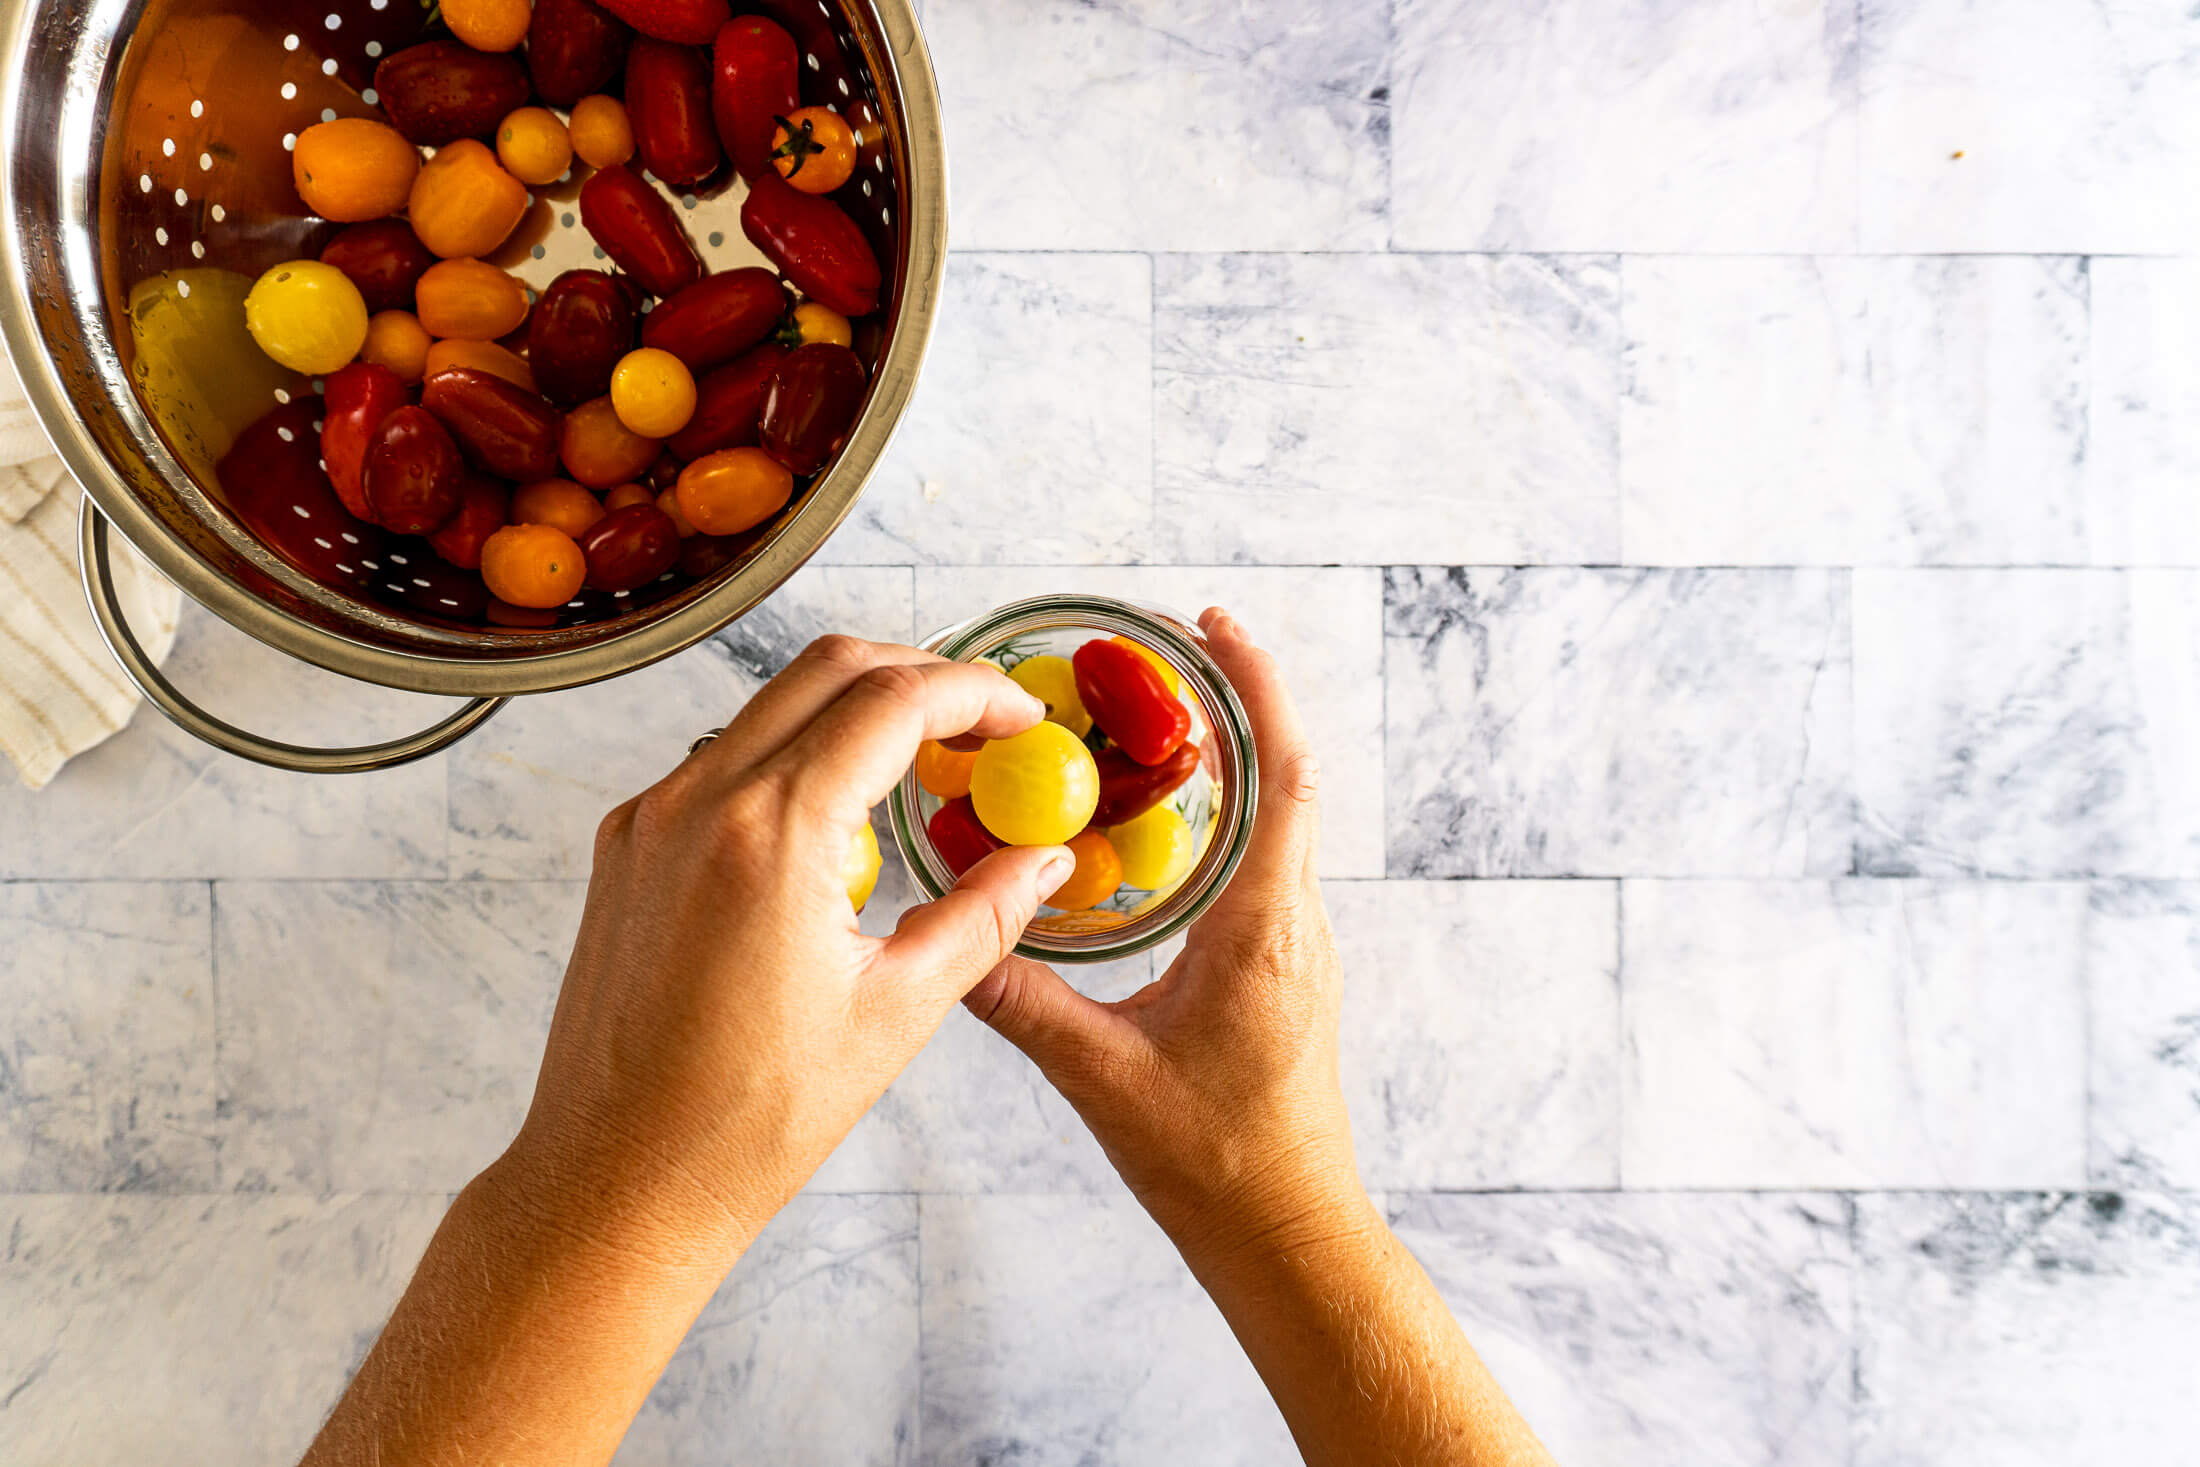
- Step 2: Slice 4 garlic cloves and add to the bottom of a quart mason jar. Add 2 sprigs fresh dill, 5 whole black peppercorn, and 1/4 tsp mustard seed. Pack in fresh cherry tomatoes, leaving about 1 inch head space.
Prepare The Brine:
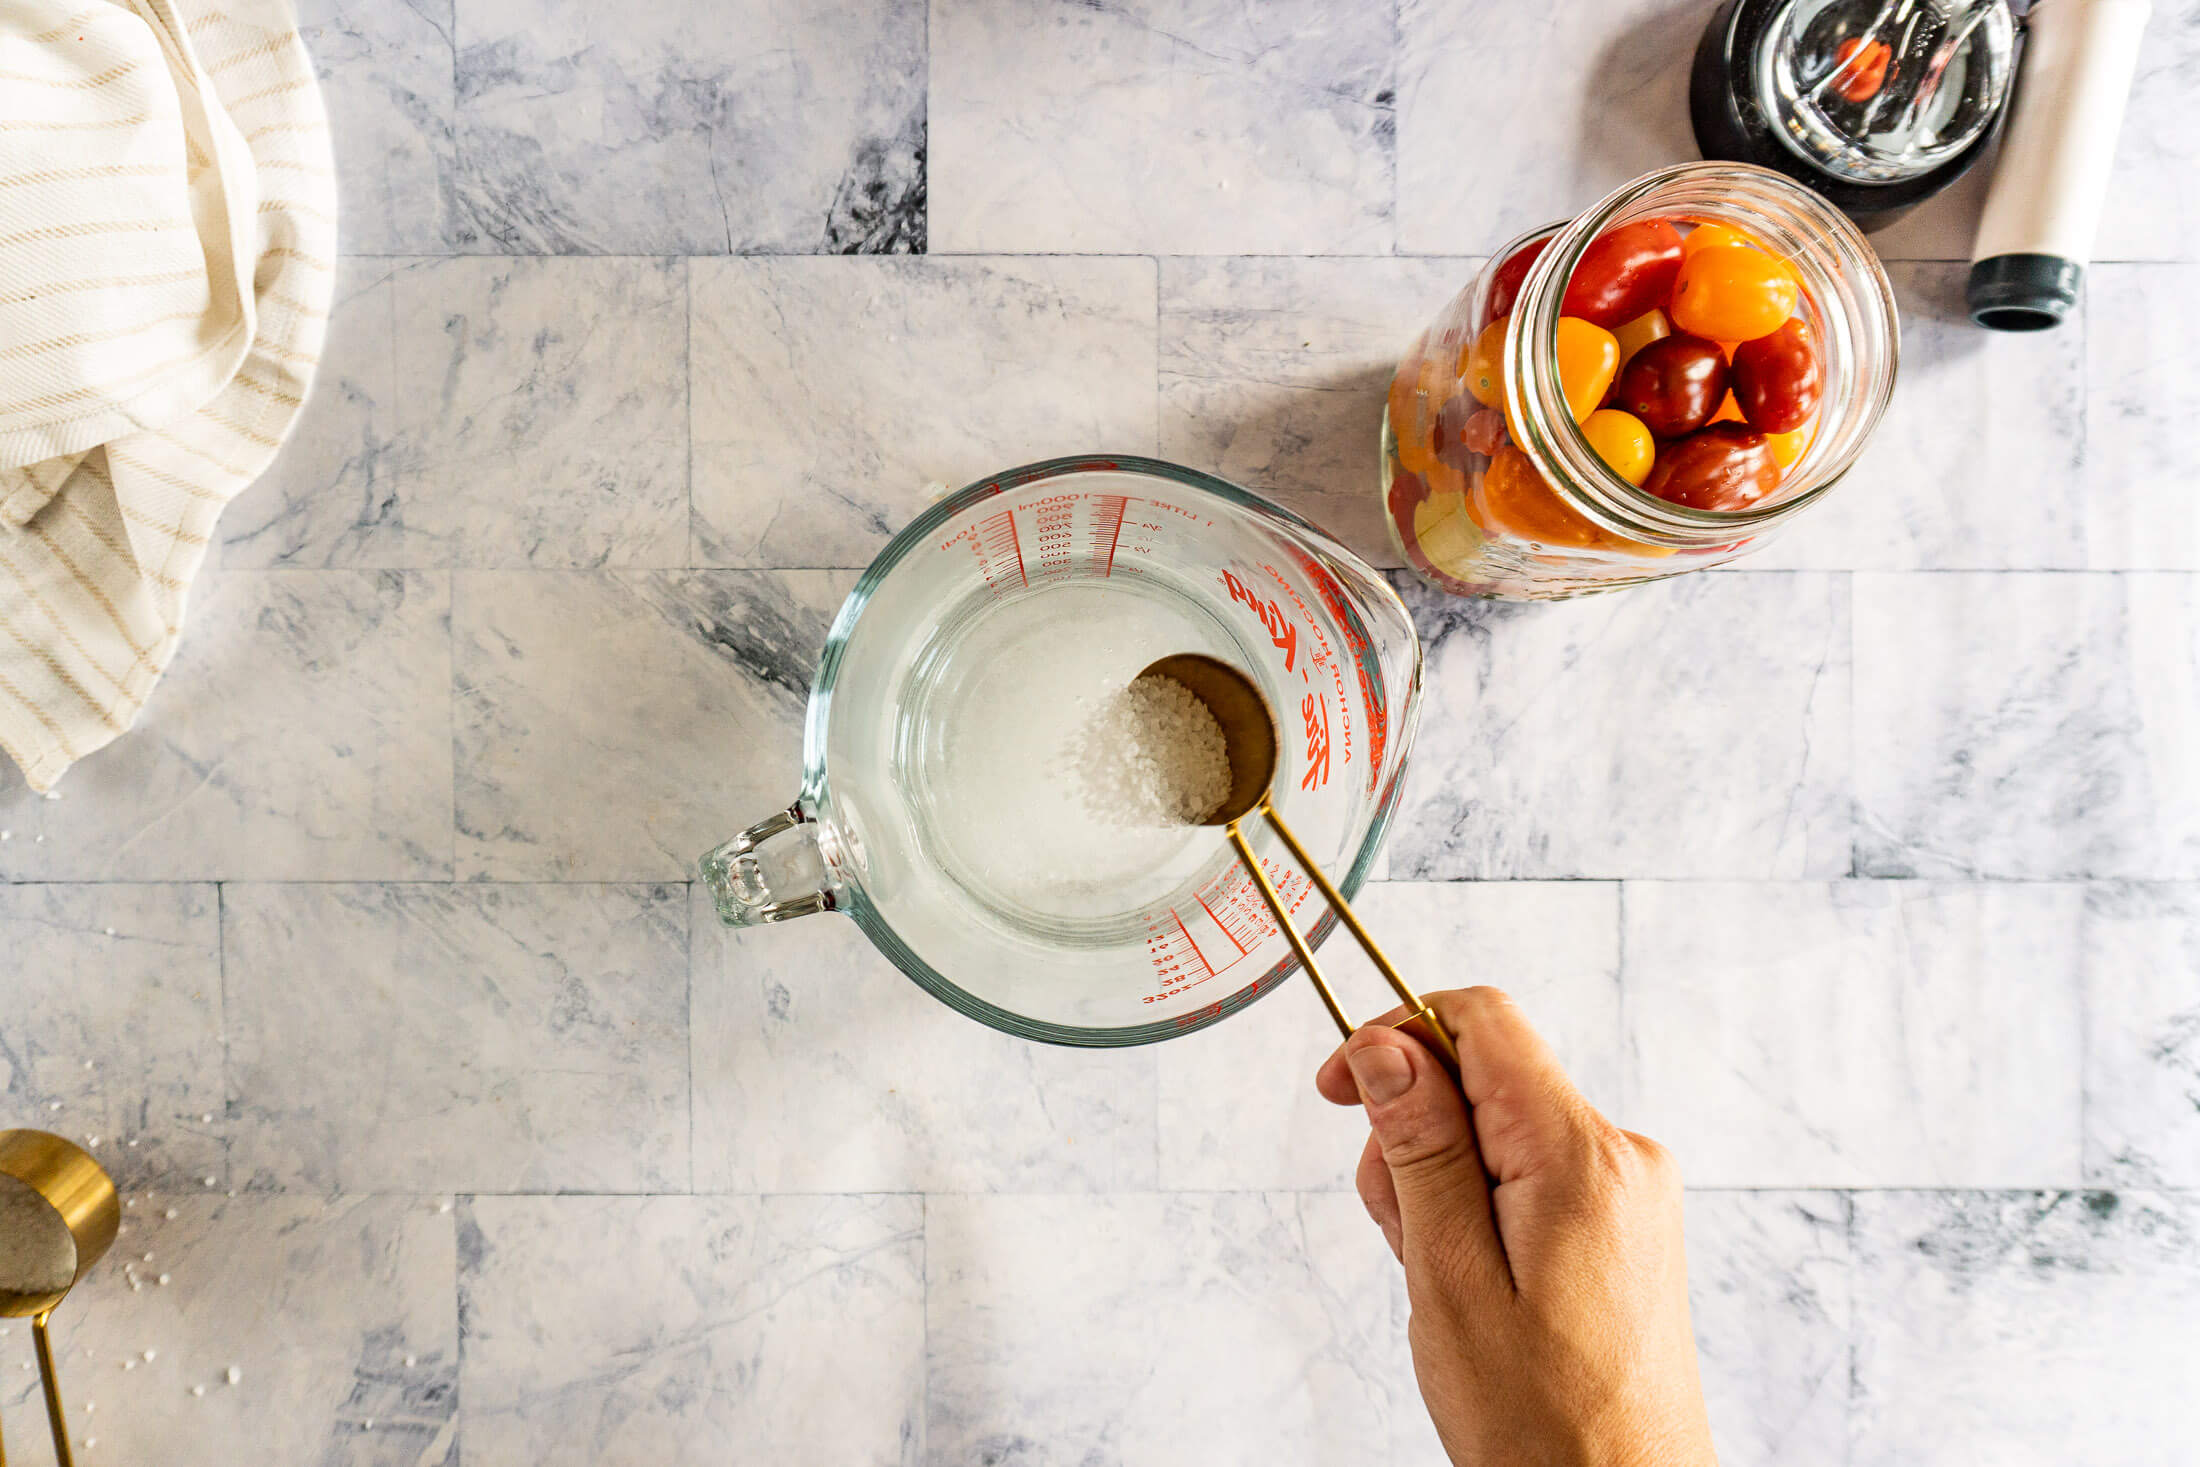
- Step 3: Combine 4 cups (1000g) of room temperature water with 2 tablespoons (32g) of coarse sea salt and 1 tablespoon vinegar.
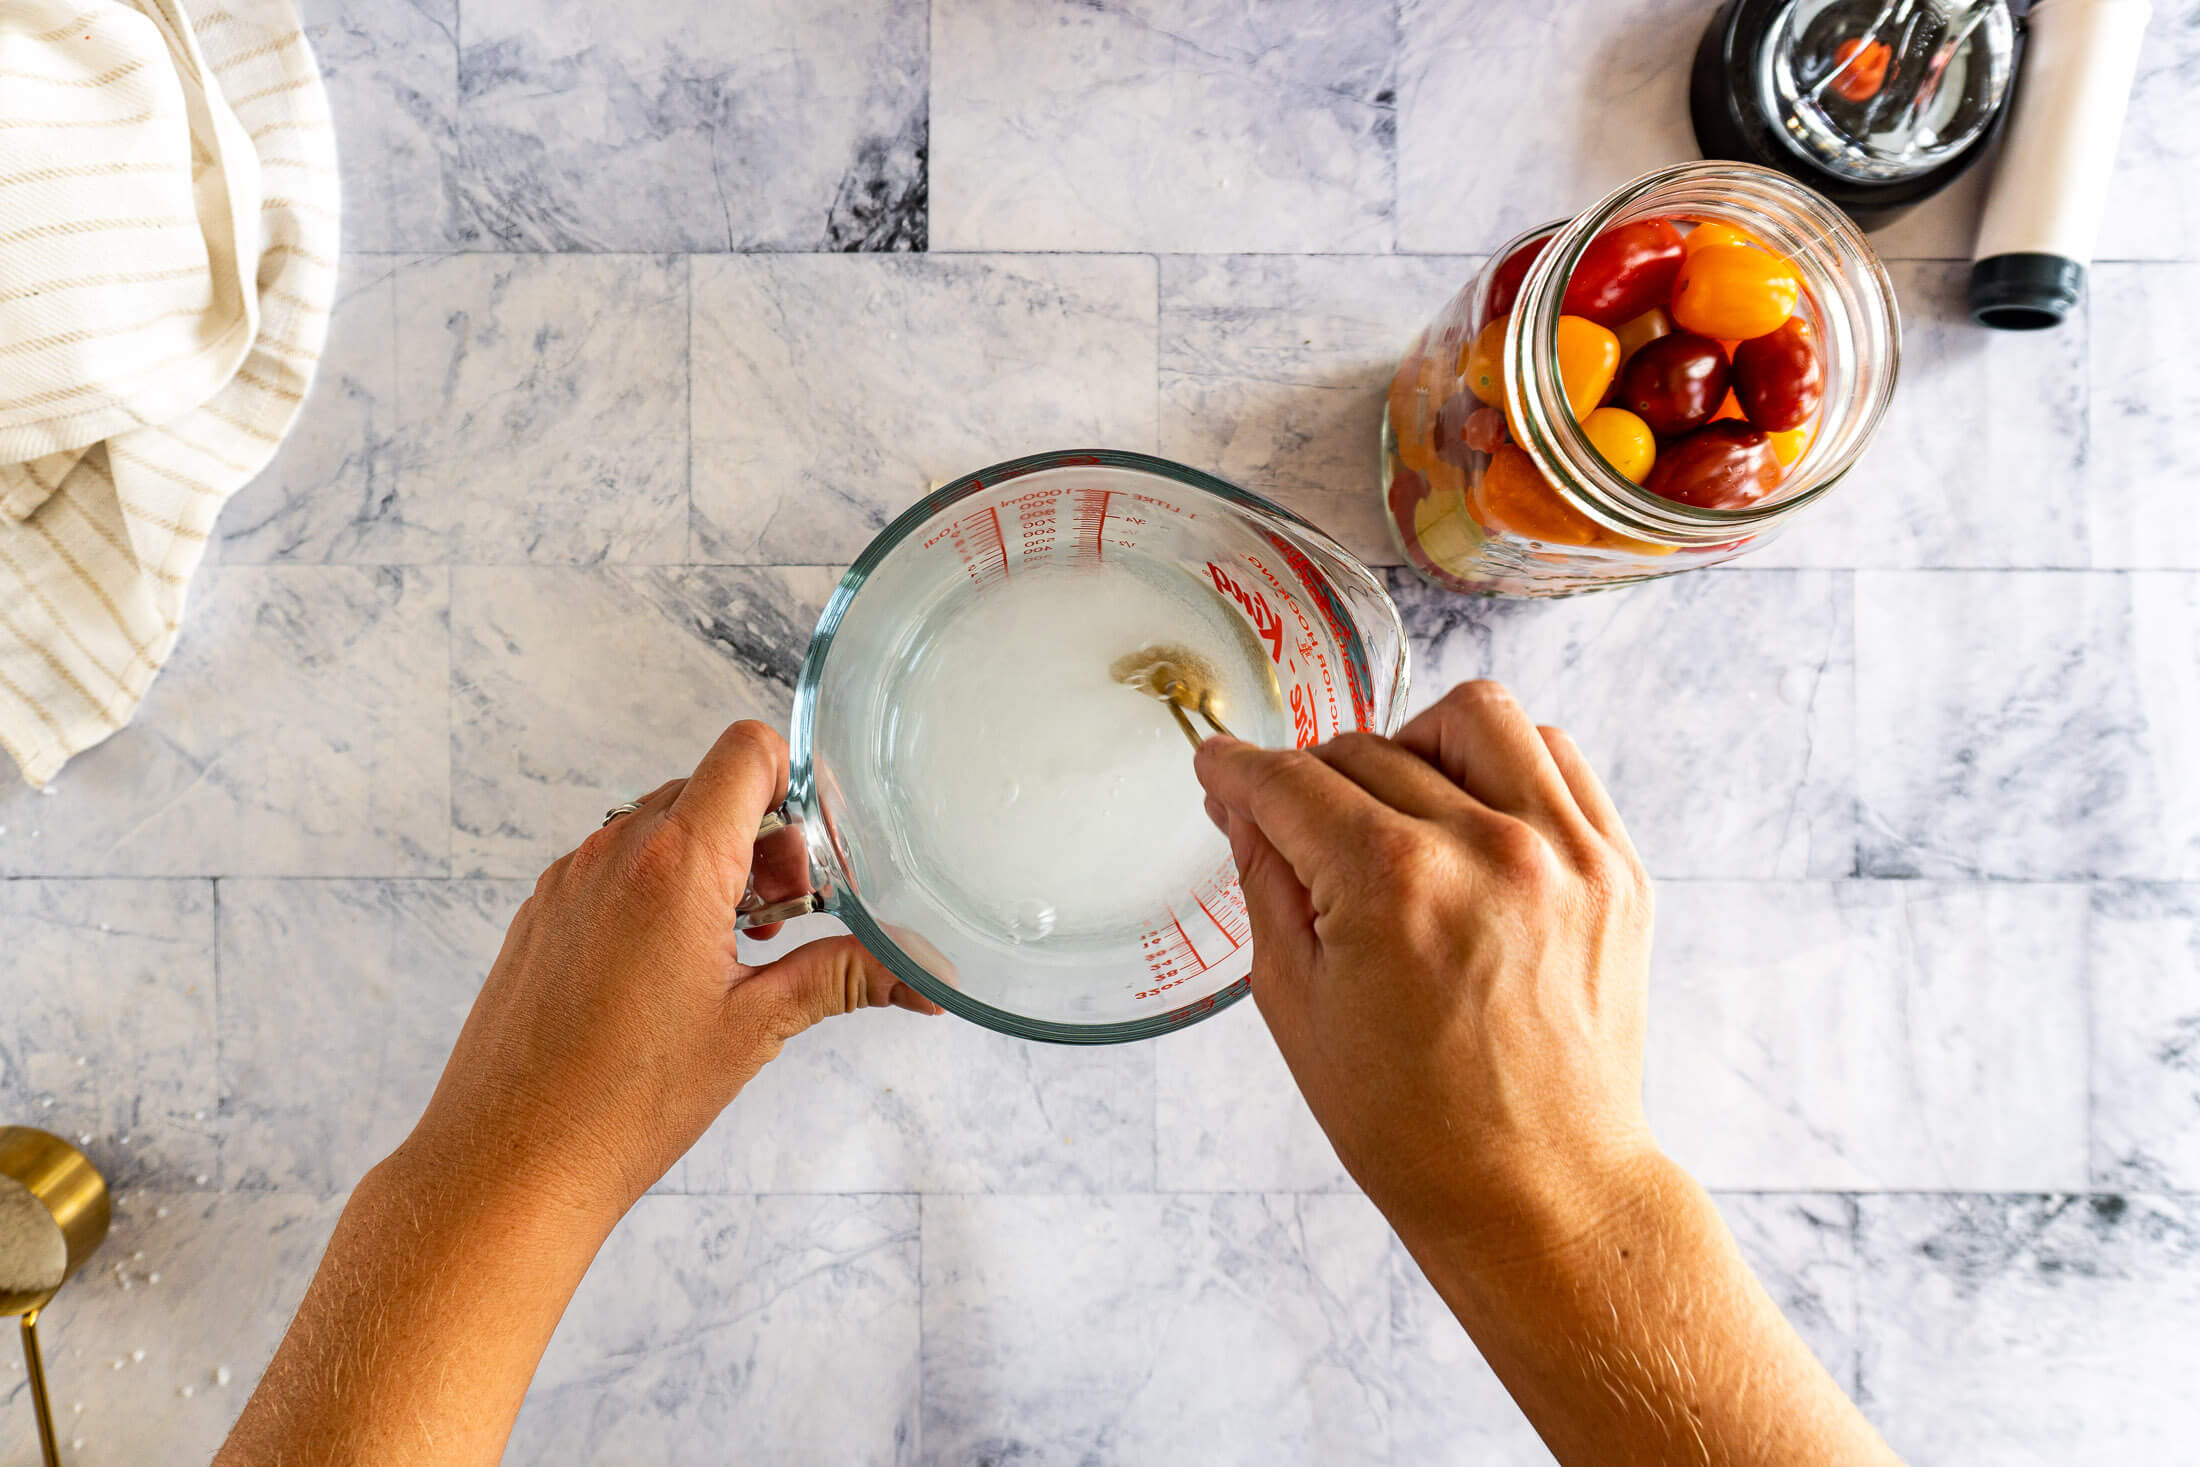
- Step 4: Stir until completely dissolved.
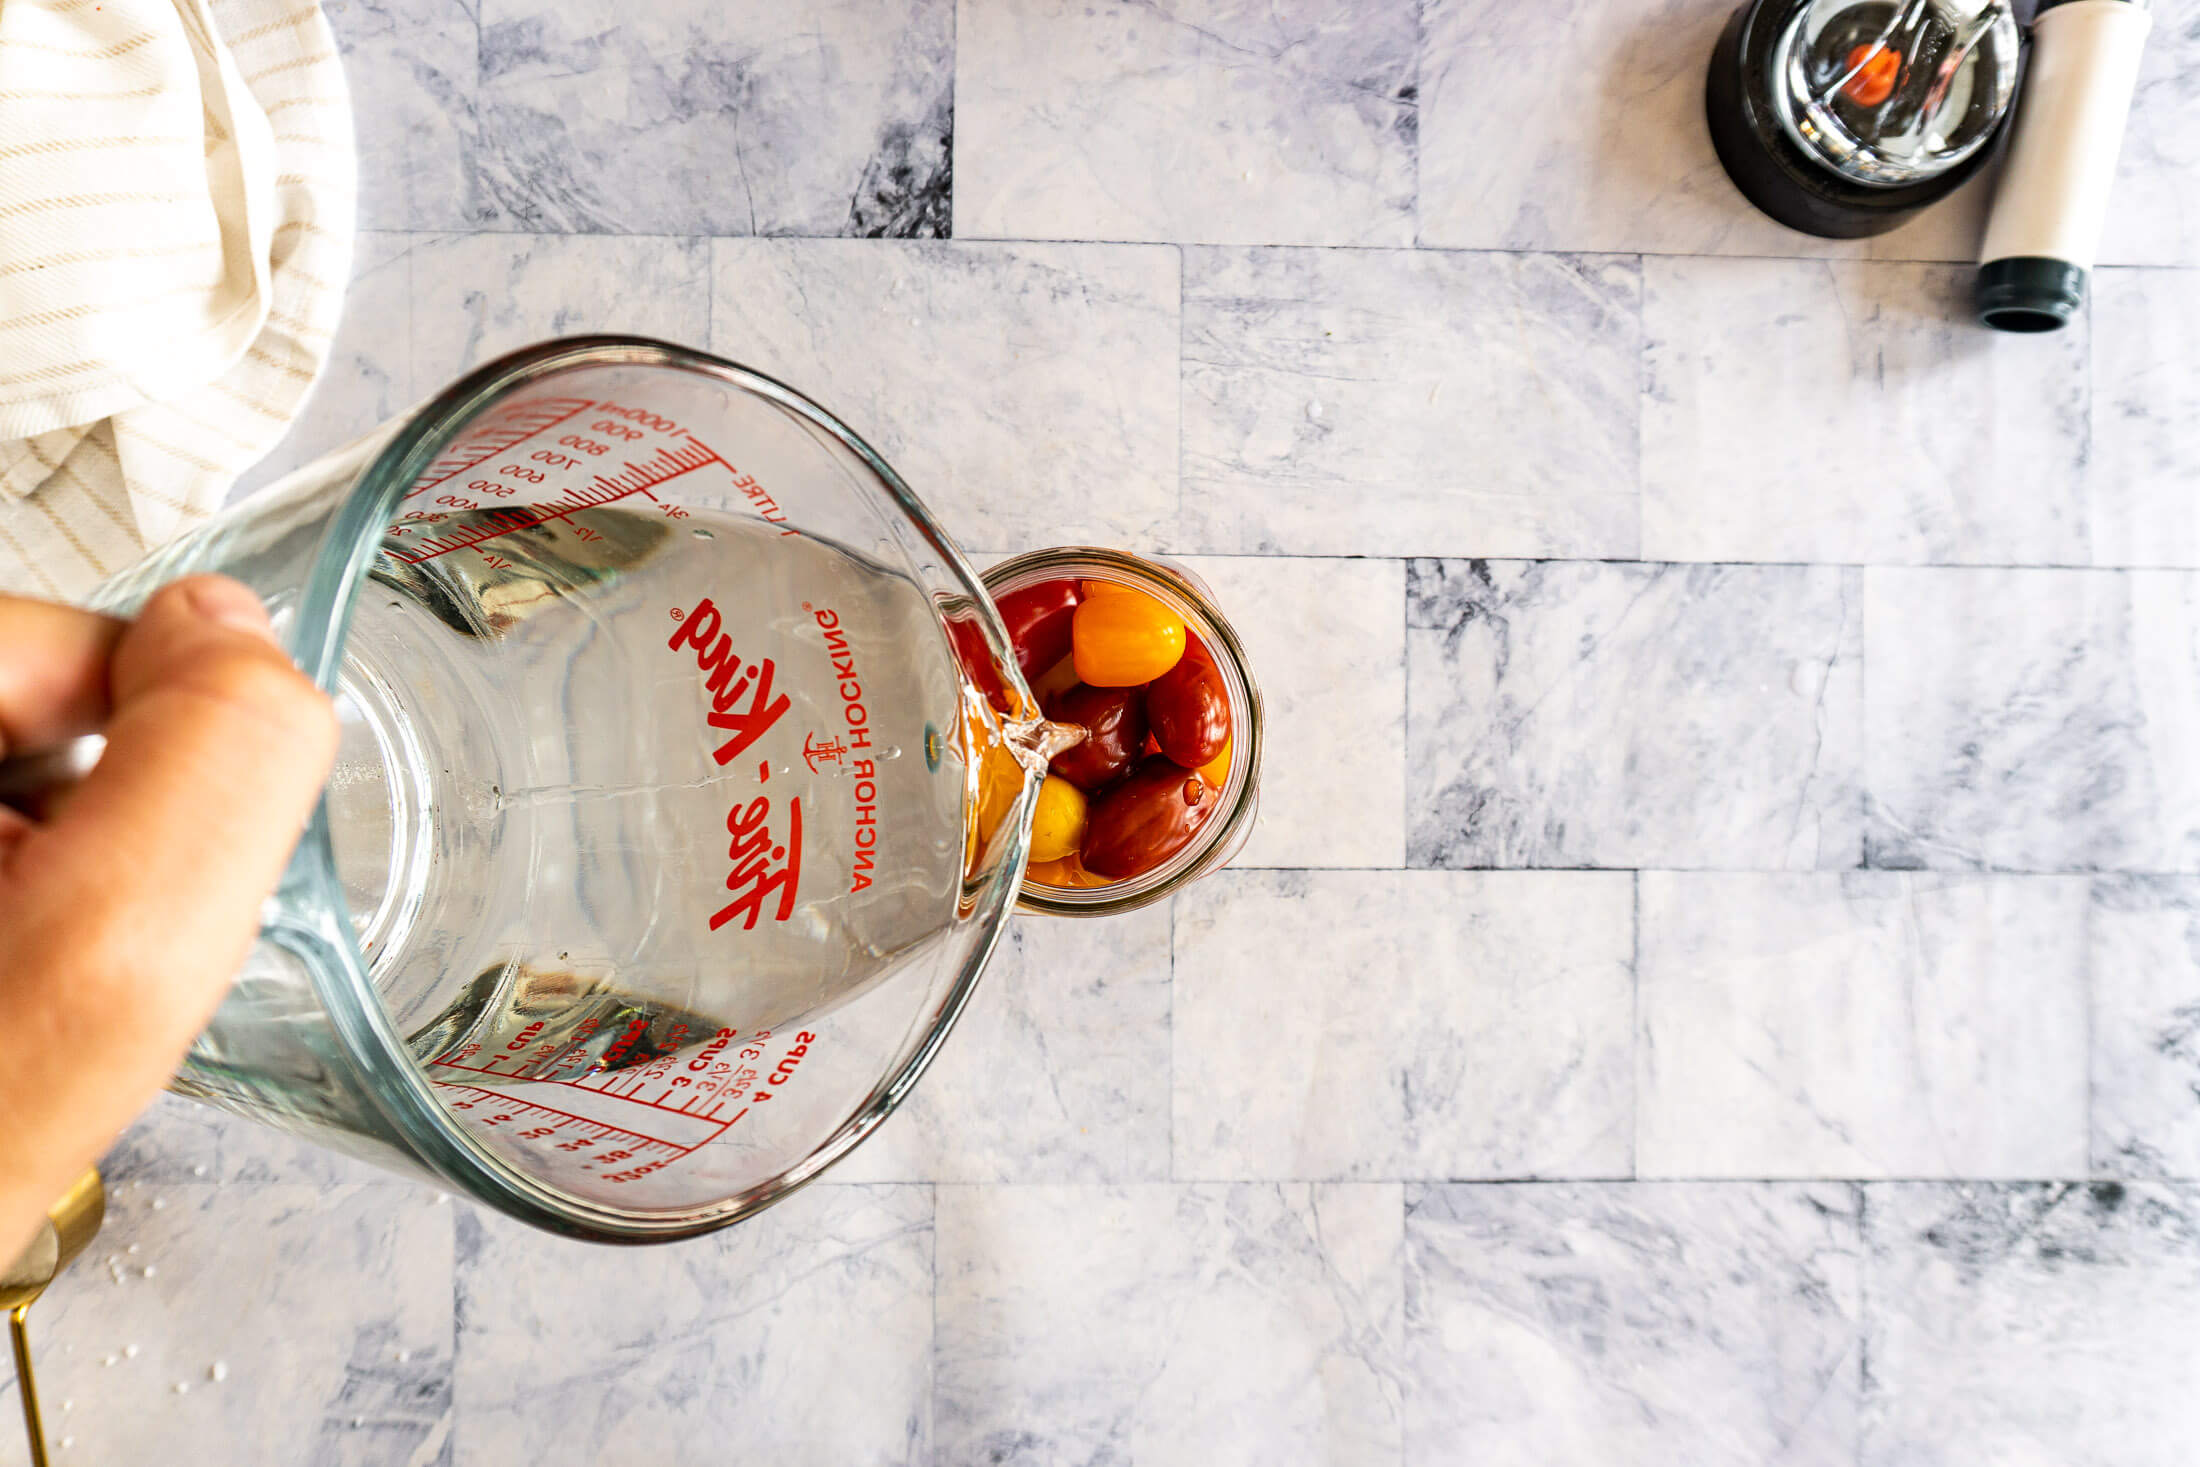
- Step 5: Pour salt brine into the jar, ensuring everything is covered.
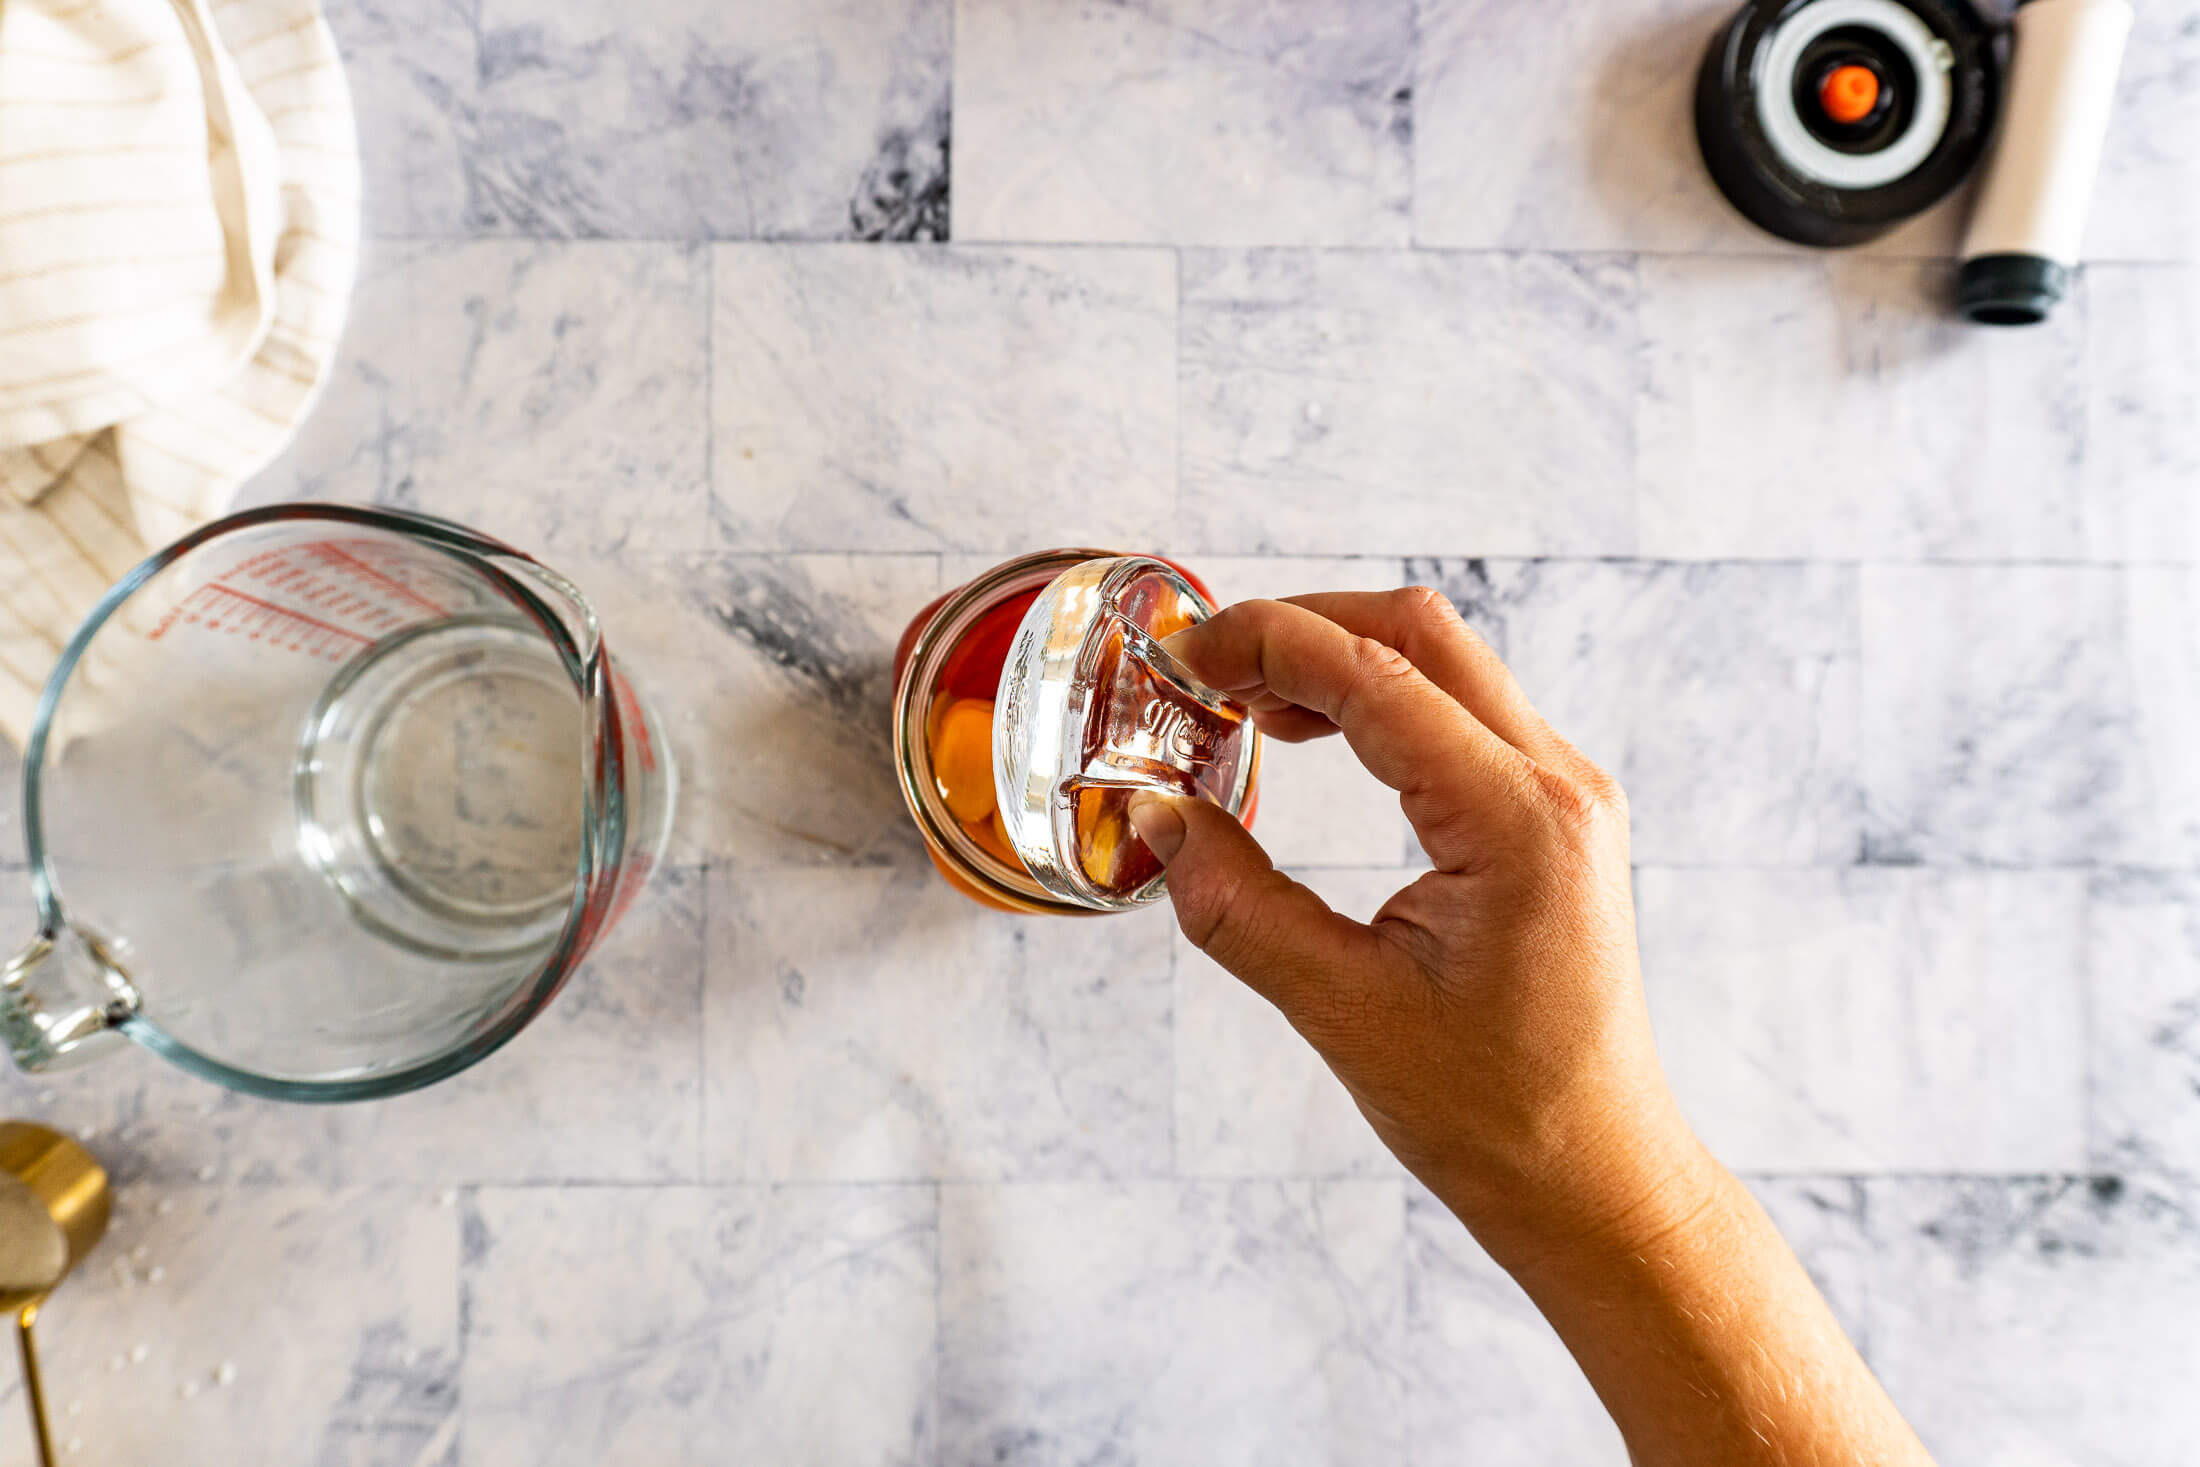
- Step 6: Weigh down the ingredients before securing the lid tightly.
Ferment The Tomatoes:
- Step 7: Keep your ferment somewhere where you’ll see it daily to observe and open the lid and burp it but keep it away from direct sunlight. If you’re using an airlock lid or pickle pipe, you won’t need to burp your fermented tomatoes.
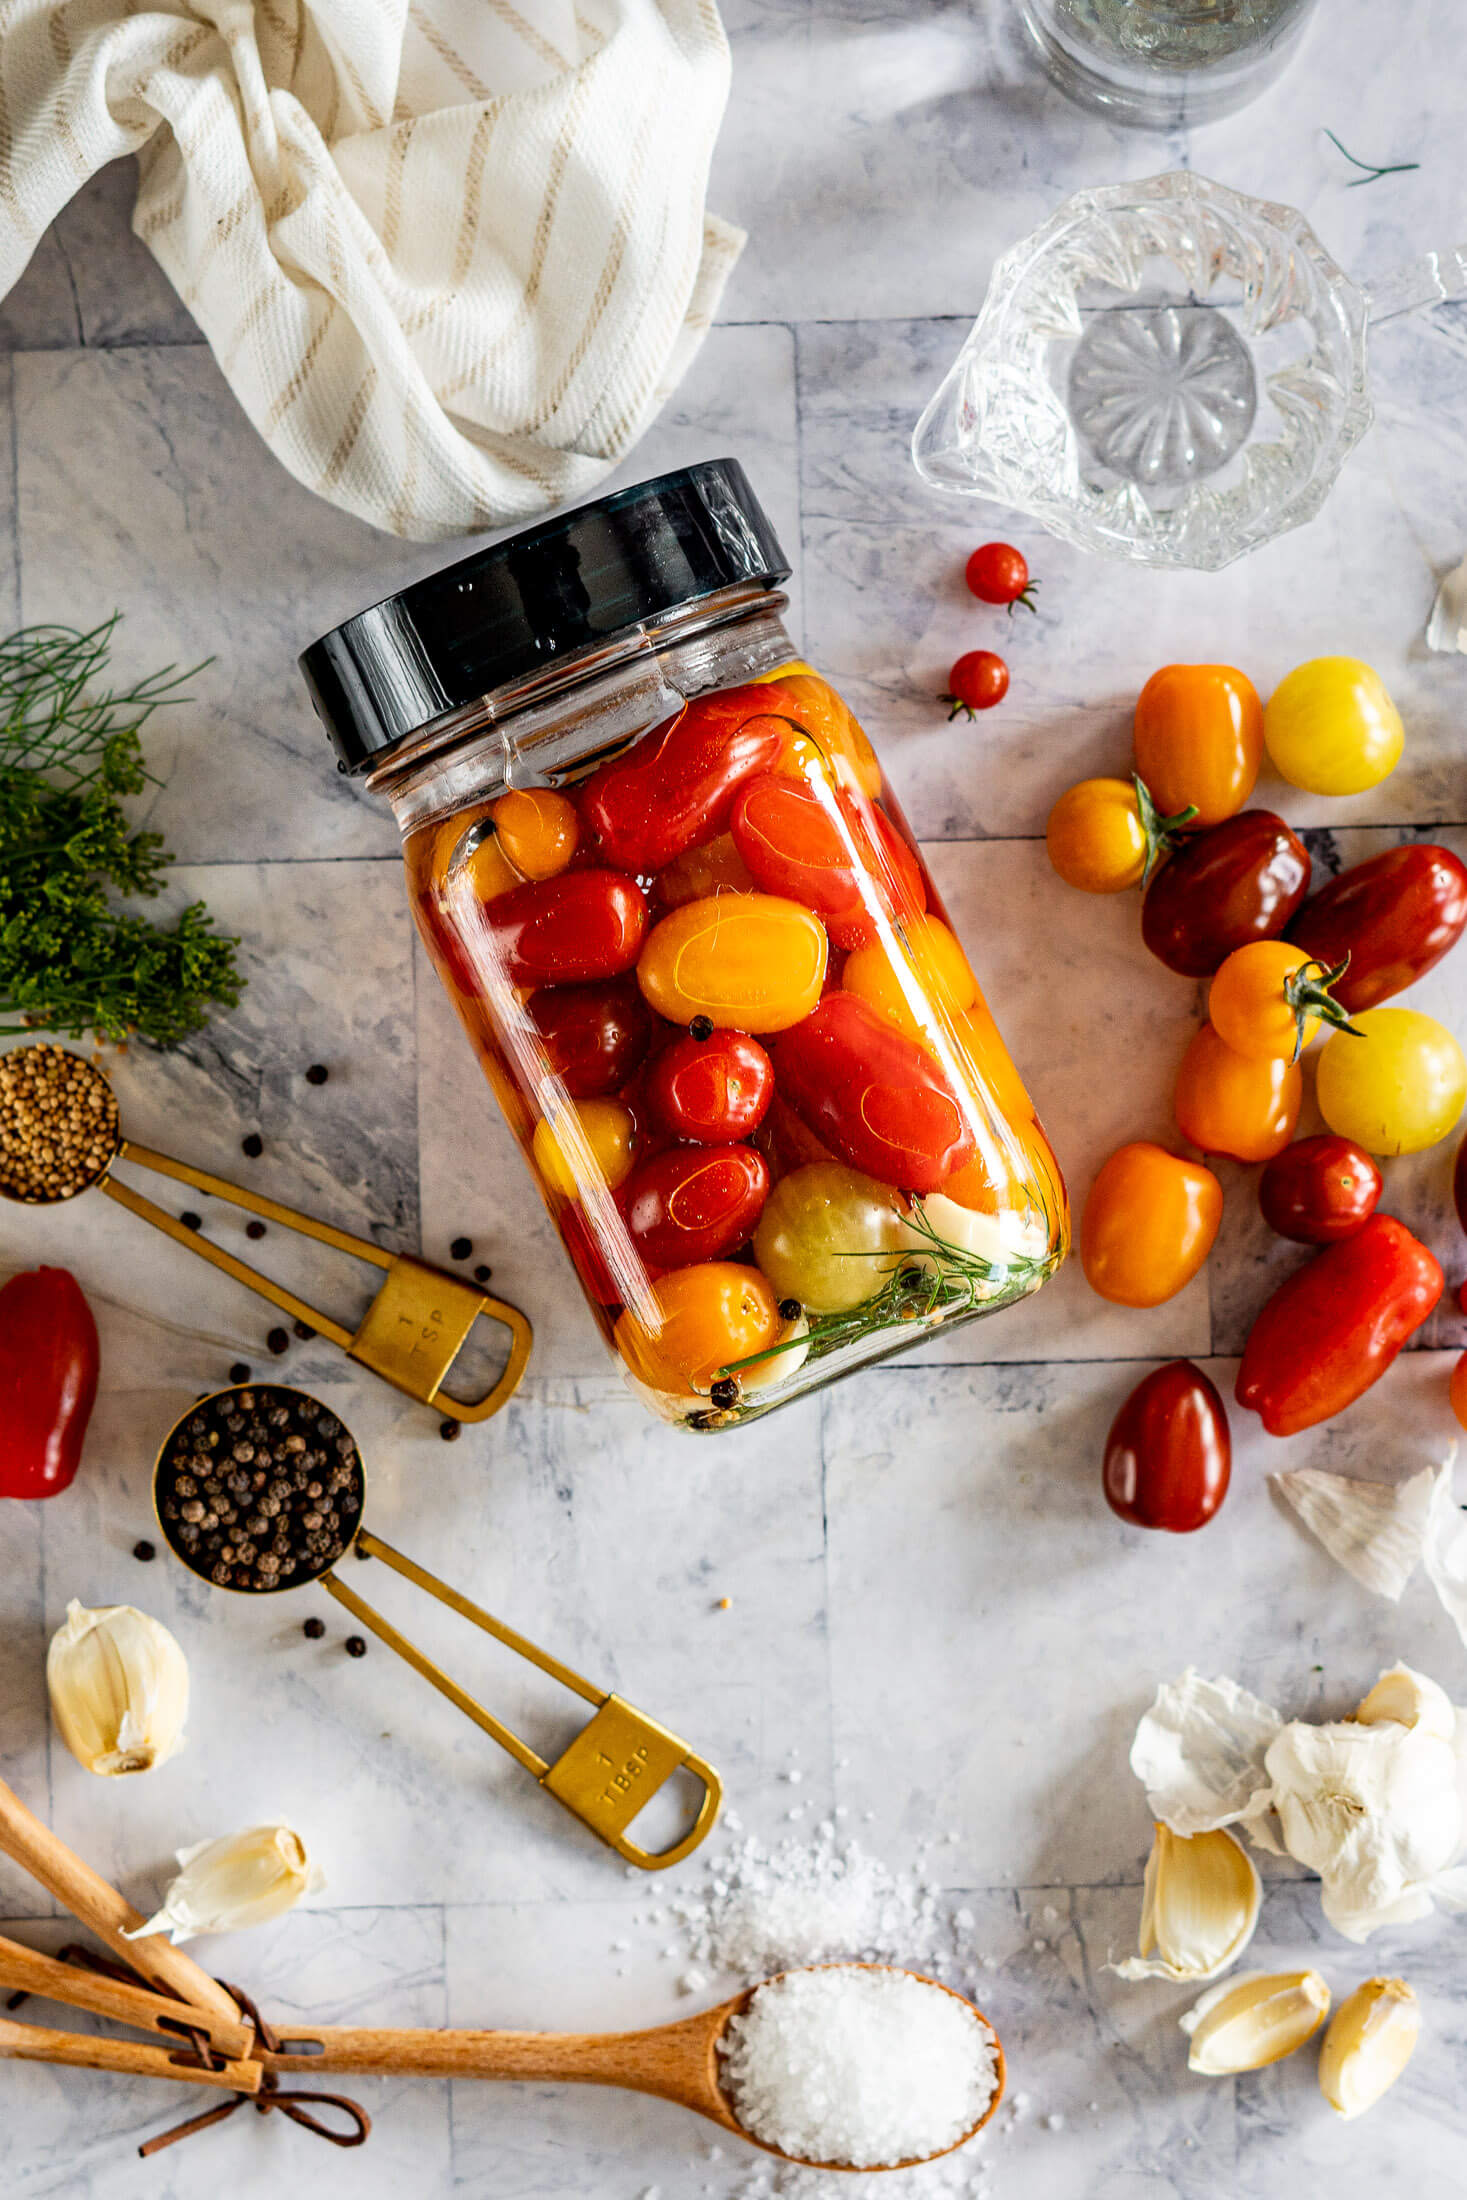
- Step 8: After a few days, you should start to notice fermenting activity. There will be small bubbles that rush to the top of the jar when you tap it, the jar may hiss slightly when opened, the color of the tomatoes will dull, the brine will be cloudy, and the brine may leak over the top of the jar and run down the sides.
- Step 9: Allow the tomatoes to ferment for 4-6 days. The tomatoes are done when the brine is soured, the tomatoes themselves are nicely sour and soft inside with a hint of effervescence.
Expert Tips
- Burp your jar daily if you’re using a solid lid. As the live cultures ferment the tomatoes, they release carbon dioxide, which builds pressure inside the jar. Opening the lid briefly once a day lets that gas escape, skip it and the pressure can crack the jar or force brine out.
- Good things come to those who wait. These wild fermented cherry tomatoes are ready to eat between days 4 and 6, but if you can wait, letting them rest in the fridge for another 1-2 weeks allows the flavors time to mature and mellow out at the same time.
- Keep every ingredient below the brine, no exceptions. This is the single best way to keep unwanted mold at bay. Anything exposed to air above the brine line is a risk, while everything fully submerged ferments safely.
- Adjust your timeline for kitchen temperature. The 4-6 day window assumes room temp around 68-72°F. In a warmer kitchen (75°F+), tomatoes can be ready closer to day 3; in a cooler spot, give it an extra day or two before checking.
- Look for a color shift and bubbles. Like most ferments, these cherry tomatoes will carbonate a bit, the brine will turn cloudy ,and tomatoes will go from bright, vibrant colors to deeper, muted shades..
- While you’ve got everything out, keep the momentum going. Try fermented garlic or fermented salsa next! Same basic method, completely different flavor payoff!
Why This Recipe Works
A 3% salt brine creates the ideal fermentation environment. Salt slows the growth of spoilage organisms while allowing beneficial lactic acid bacteria to thrive. The sweet spot for firm vegetables like tomatoes is between 1.5 and 3% brine.
Keeping the tomatoes submerged prevents spoilage. Fermentation is an anaerobic process, meaning the beneficial bacteria work best without oxygen. Weighing the tomatoes below the surface of the brine encourages a safe, successful ferment.
Refrigeration locks in the flavor. Once the tomatoes reach your preferred level of tanginess, moving them to the refrigerator dramatically slows fermentation. This helps preserve both their texture and flavor while extending their storage life.
Lacto-Fermented Cherry Tomato FAQs
A simple, reliable shortcut is 2 tablespoons of salt per liter (about 4 cups) of water, this gets you close enough to a 3% brine for safe, successful home fermentation with most fine, kosher, or coarse sea salts. (The one exception is Diamond Crystal kosher salt, which is lighter per tablespoon than other brands, if that’s what you’re using, add slightly more to compensate.)
If you want to be precise, this recipe uses roughly a 3% brine by weight (salt weight ÷ total brine weight). To scale it up, scale down, or use a different container size, weigh your water and multiply by 0.03 to get the exact amount of salt needed. This is more reliable than measuring by tablespoon alone, since salt density does vary between fine, kosher, and coarse varieties.
Cloudy or milky brine is a normal sign that fermentation is actively happening. It’s caused by the lactic acid bacteria multiplying. It’s not a sign of spoilage.
The one distinction worth knowing: cloudiness throughout the liquid itself is normal fermentation activity. A distinct, separate white film sitting on the surface is a different thing entirely. That’s kahm yeast (see below), not cloudy brine.
There’s no single right answer here. Fermentation time is entirely down to personal taste. Most people ferment their cherry tomatoes for 4-6 days, but you can go longer if you want a deeper, more sour, more complex flavor. I currently have a jar at 10 days that I haven’t tried yet, but I suspect it’ll be incredible as a base for homemade BBQ sauce.
The practical signs to look for: the brine turns cloudy, small bubbles rise when you tap the jar, and the tomatoes taste tangy and slightly fizzy rather than just salty. Those are signs fermentation is active but they’re not a deadline, just an indicator you’re in the zone where you need to start tasting.
If you’re new to fermenting, start on the shorter end and taste a tomato daily from day 4 onward. The moment they taste good to you, move the jar to the fridge to slow things down. If you want more tang next time, just let the next batch go a day or two longer. There’s genuinely no wrong answer. Just experiment until you land on your own perfect flavor profile.
If you notice a thin white film on the surface of your ferment, it’s most likely a wild yeast, called kahm, that’s harmless to eat but gives the ferment an unpleasant, bitter flavor if left alone or mixed in.
Some fermenters scrape it off and continue fermenting underneath. I don’t recommend that here: kahm yeast can affect the flavor of the whole batch even after scraping, and it also makes it harder to keep an eye out for actual mold underneath. If you see it, it’s safest to discard the batch and start fresh rather than risk an off-tasting or unsafe result.
Kahm yeast vs. mold and how to tell the difference: Kahm yeast is thin, white or cream-colored, sometimes with a slightly wrinkled or lacy (like ramen noodles) texture, and it stays on the surface. Mold is fuzzy, raised, and often shows blue, green, black, or pink spots. If you see anything fuzzy or colored rather than a flat white film, that’s mold. Discard the entire batch immediately; don’t scrape and taste to check.
Store your fermented cherry tomatoes in the refrigerator for up to 6 months. Once they’re chilled, fermentation slows dramatically, helping preserve their tangy flavor and firm texture.
Keep in mind that refrigeration doesn’t stop fermentation completely, it only slows it down. The beneficial bacteria remain alive, so the tomatoes will continue to produce small amounts of carbon dioxide over time. For that reason, always store fermented tomatoes in the fridge or another consistently cold location rather than at room temperature. Leaving them on the counter after fermentation can cause pressure to build inside the jar, increasing the risk of leaks or even a messy “tomato explosion.”
As long as the tomatoes stay submerged in the brine and develop a pleasantly tangy aroma, they’re generally good to enjoy throughout their refrigerated storage life.
More Great Fermented Recipes
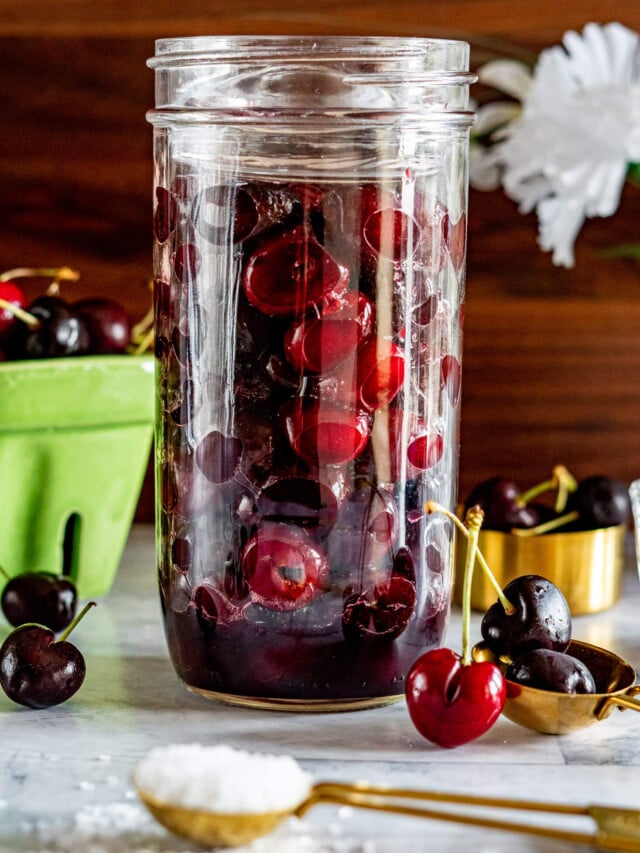


Don’t Pour Out The Brine
Once your tomatoes are gone, save the brine! It’s essentially a tangy, salty, probiotic-rich seasoning in its own right. A few ways I use mine:
- Whisked into vinaigrette in place of some of the vinegar
- A splash in a Bloody Mary (or Caeser if you’re Canadian)
- Deglazing a pan for a tangy pan sauce
It’ll keep in the fridge for several weeks, just give it a smell and taste before using; if it smells off rather than sharp and tangy, toss it.
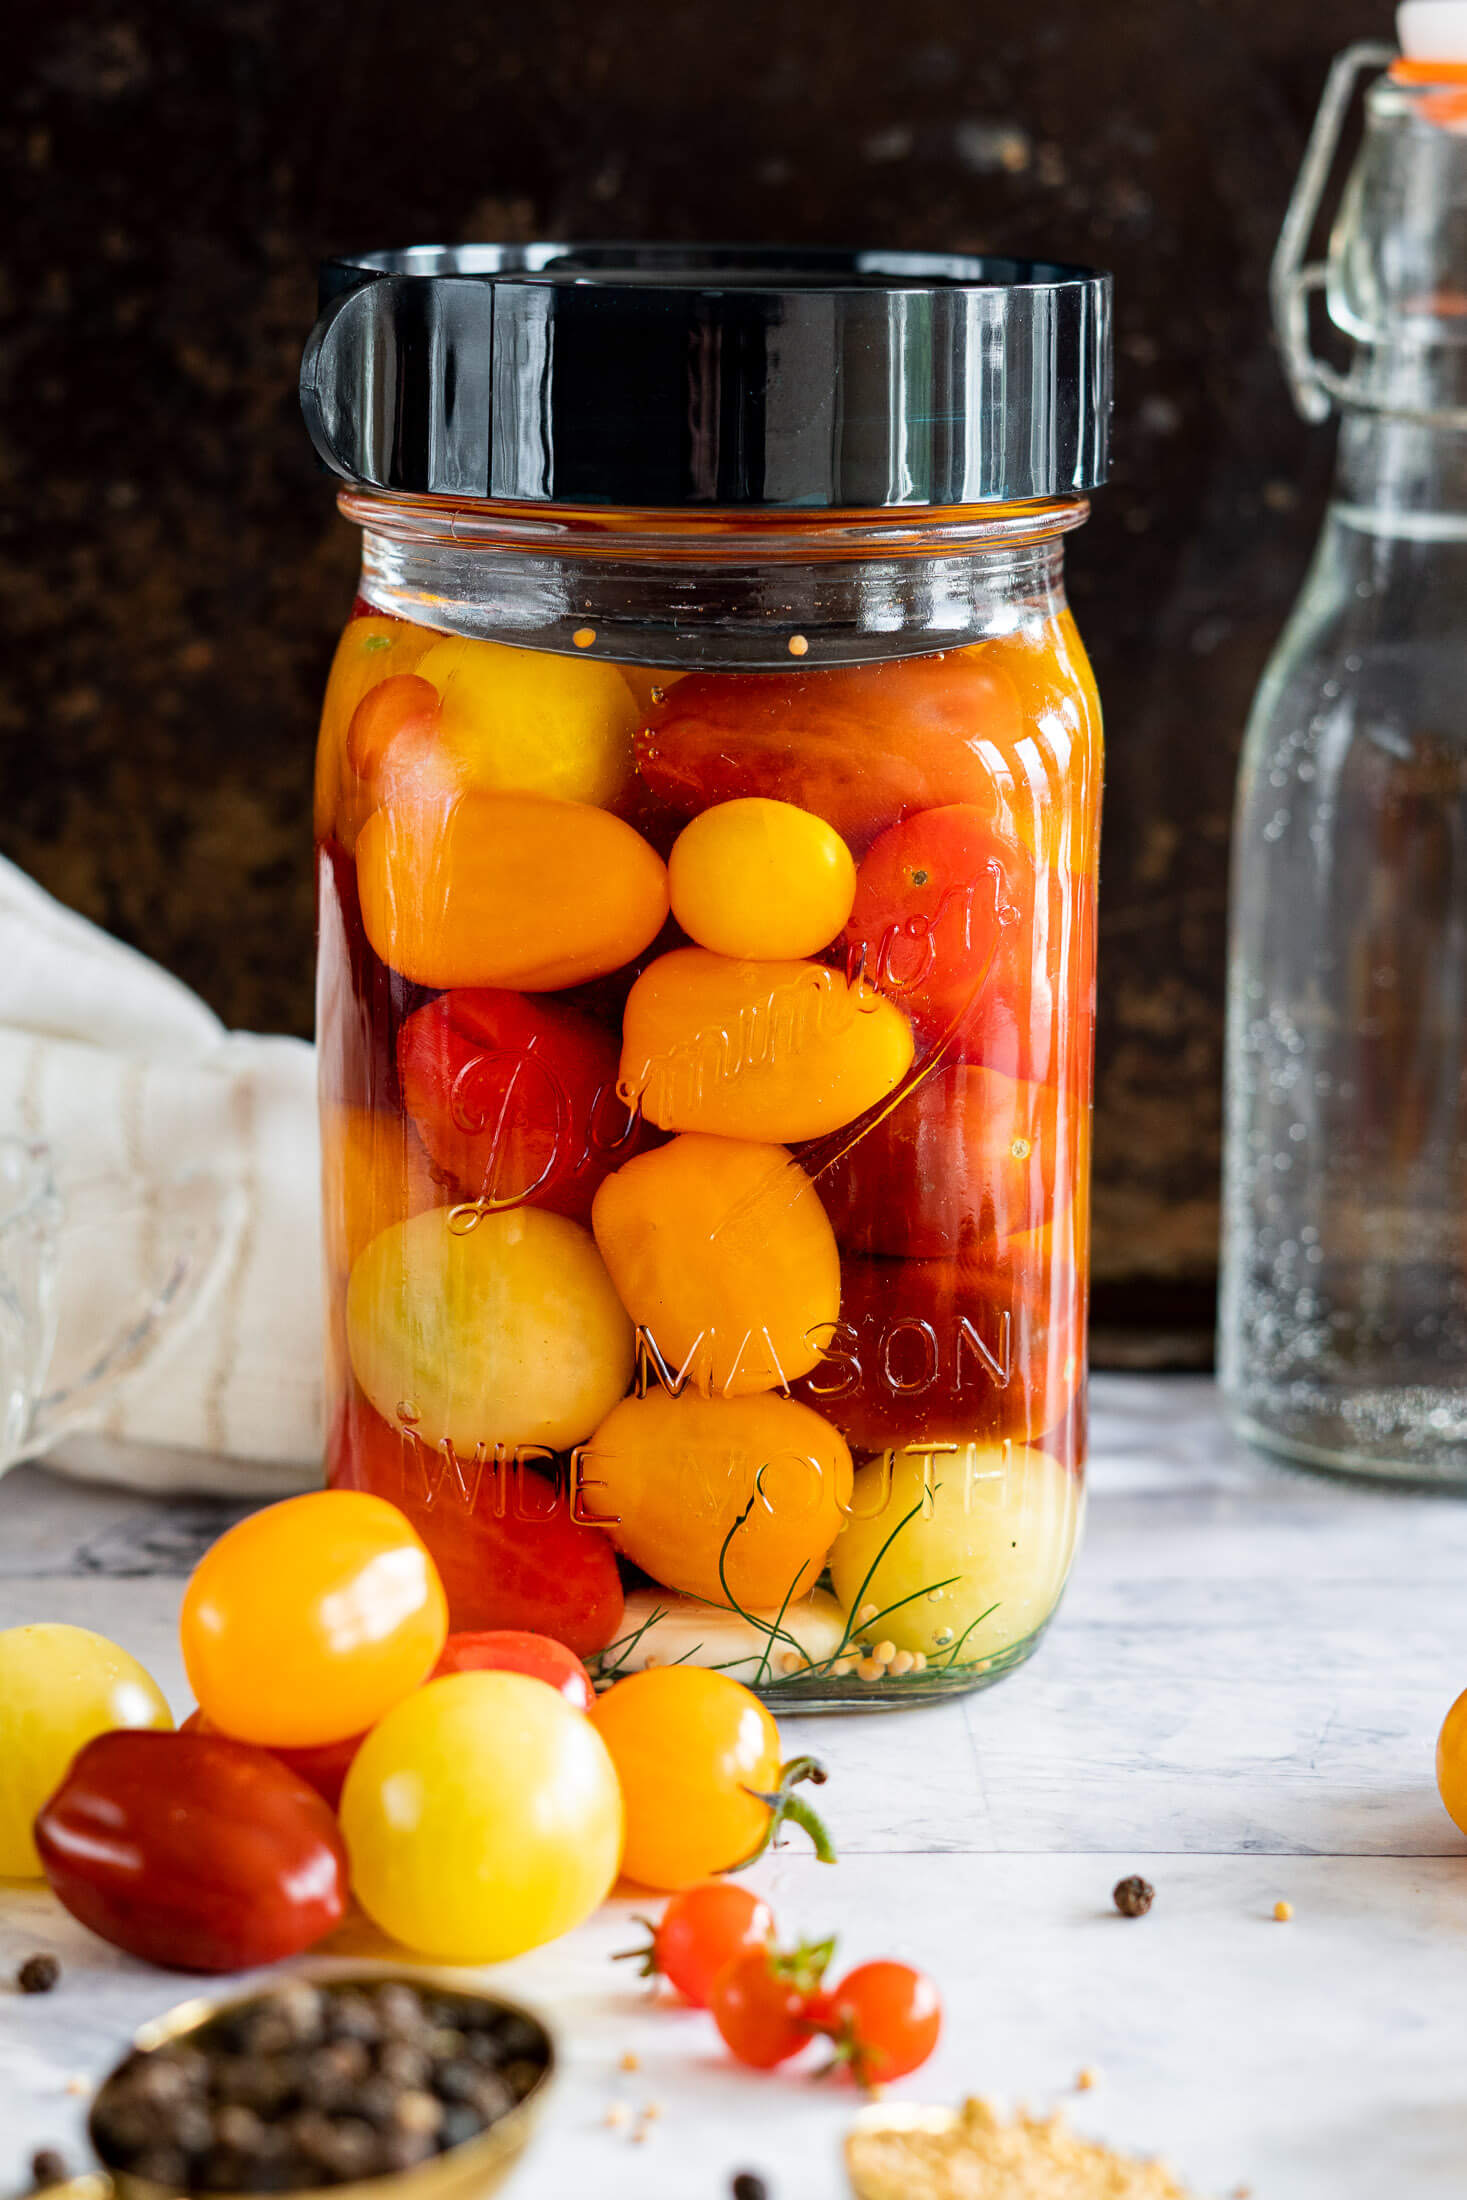
Fermentation Equipment
As previously mentioned, fermentation is very accessible – it doesn’t require any specialized equipment.
Fermentation vessel: This can be any glass jars that have airtight lids. A mason jar, an old pickle jar, an old kombucha bottle. Anything you have around will certainly work! It just needs to be airtight and glass. Non-glass materials can be porous and difficult to clean, and/or harbor bad microbes.
Fermentation weight: While there are specific glass fermentation weights or pickle pebbles, you can use a few different things. A ziplock-style bag half filled with brine placed on top of the ingredients works great. A crumpled piece of parchment paper placed on top of the ingredients also works.
I have airlock lids and pickle pipes as well as glass fermentation weights here in the Crave kitchen, but I also don’t have enough of them to keep me in the ferments, SO I often end up using other things from around the house and they work just fine!

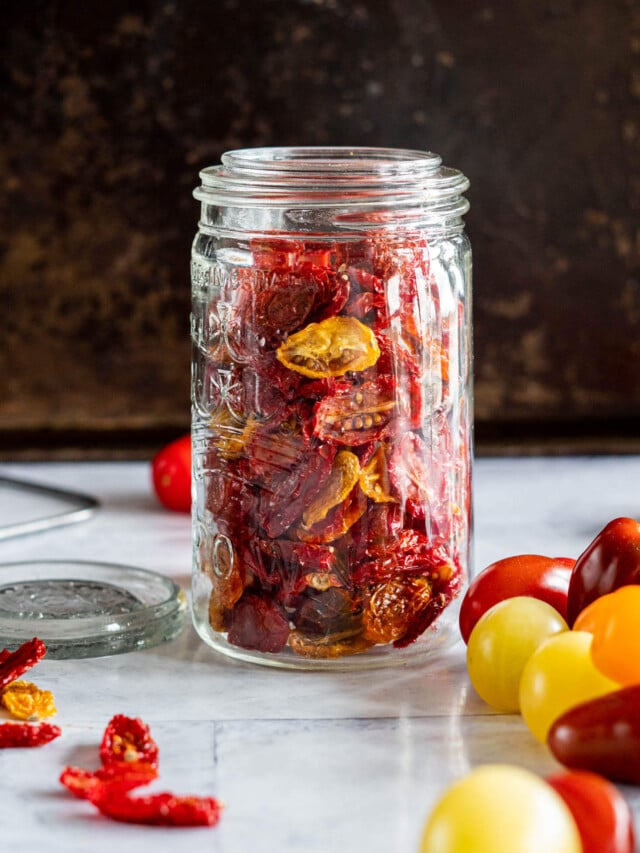
More Great Ways To Preserve Tomatoes


If you tried this Lacto-Fermented Cherry Tomato recipe or any other recipe on my blog, please leave a 🌟 star rating and let me know how it went in the comments below. Thanks for visiting!
📖 Printable Recipe
Fermented Cherry Tomatoes
Ingredients
- 1 ½ to 2 lbs cherry tomatoes, fresh
- 2 sprigs fresh dill
- 4 cloves garlic
- 5 black peppercorn
- ¼ teaspoon mustard seed
- 4 cups water, 1000g
- 2 tablespoons coarse sea salt, 32g
- 1 tablespoon white vinegar
Instructions
Prepare Ingredients:
- Prepare for fermenting by washing a fermentation vessel, which can be as simple as a quart mason jar and lid. It does not have to be sanitized or sterilized but should be washed well with hot soapy water. Set aside to dry. Wash tomatoes and fresh dill under warm running water and set aside to dry.
- Slice 4 garlic cloves and add to the bottom of your fermentation vessel. Add 2 sprigs fresh dill, 5 whole black peppercorn, and 1/4 tsp mustard seed.
- Pack in fresh tomatoes, leaving about 1 inch head space.
Prepare The Brine:
- Combine 4 cups of room temperature water with 2 tablespoons of sea salt and 1 tablespoon vinegar. Stir until completely dissolved.
- Pour salt brine into the jar, ensuring everything is covered.
- Weigh down the ingredients before securing the lid tightly.
- Set it aside to ferment.
Ferment The Tomatoes:
- Keep your ferment somewhere where you'll see it daily to observe and open the lid and burp it but keep it away from direct sunlight. If you're using an airlock lid or pickle pipe, you won't need to burp your fermented tomatoes.
- After a few days, you should start to notice fermenting activity. There will be small bubbles that rush to the top of the jar when you tap it, the jar may hiss slightly when opened, the color of the tomatoes will dull, the brine will be cloudy, and the brine may leak over the top of the jar and run down the sides.
- Allow the tomatoes to ferment for 4-6 days. The tomatoes are done when the brine is soured, the tomatoes themselves are nicely sour and soft inside with a hint of effervescence.
Notes
Expert Tips
- Burp your jar daily if you’re using a solid lid. As the live cultures ferment the tomatoes, they release carbon dioxide, which builds pressure inside the jar. Opening the lid briefly once a day lets that gas escape, skip it and the pressure can crack the jar or force brine out.
- Good things come to those who wait. These wild fermented cherry tomatoes are ready to eat between days 4 and 6, but if you can wait, letting them rest in the fridge for another 1-2 weeks allows the flavors time to mature and mellow out at the same time.
- Keep every ingredient below the brine, no exceptions. This is the single best way to keep unwanted mold at bay. Anything exposed to air above the brine line is a risk, while everything fully submerged ferments safely.
- Adjust your timeline for kitchen temperature. The 4-6 day window assumes room temp around 68-72°F. In a warmer kitchen (75°F+), tomatoes can be ready closer to day 3; in a cooler spot, give it an extra day or two before checking.
- Look for a color shift and bubbles. Like most ferments, these cherry tomatoes will carbonate a bit, the brine will turn cloudy ,and tomatoes will go from bright, vibrant colors to deeper, muted shades..
- While you’ve got everything out, keep the momentum going. Try fermented garlic or fermented salsa next! Same basic method, completely different flavor payoff!
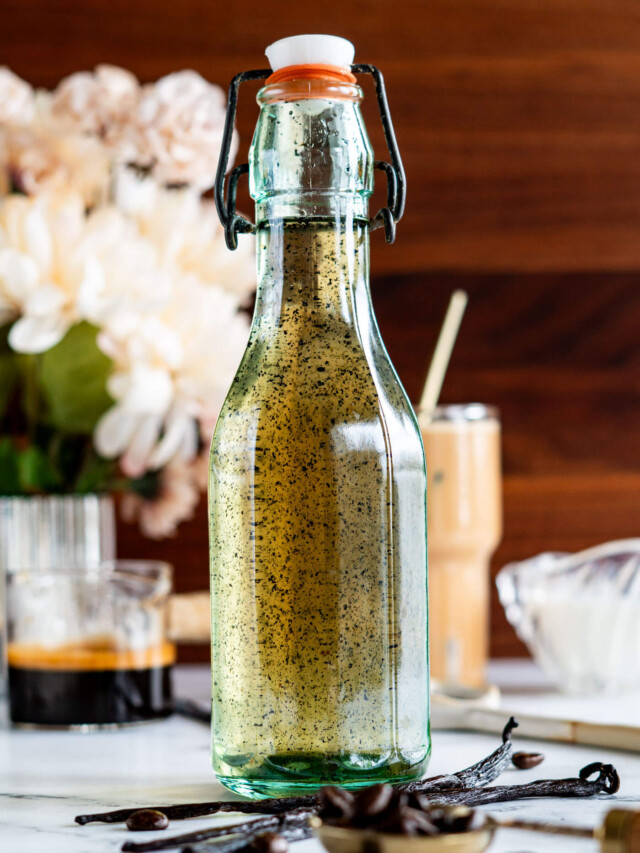




I’m obsessed with these fermented cherry tomatoes, they’re tangy, a little fizzy, and ridiculously easy to make. They add so much flavor to salads, sandwiches, or even just eaten straight from the jar. It’s such a fun way to make summer tomatoes last a little longer!
I am going to try and make these as they sound delicious! BUT what do you mean by WEIGH DOWN? Thanks.
Hey Lynda, when I say weigh down I mean to place something on top of them to keep them submerged in the brine. I use glass pickle pebbles that fit in my mason jars most times to hold my ferments down, but you can also use a ziplock baggy filled with a little extra brine set in the jar as well!
Hope that helps!