
Fermented Garlic
Fermenting garlic is an easy, hands-off way to preserve your harvest and boost flavor in everyday cooking. With just a few simple ingredients, you can stock your pantry with a versatile, long-lasting staple.

Garlic lovers, this one's for you! If you've ever wished for a way to mellow out garlic's bite while dialing up its flavor, fermenting is where that magic happens.
The fermentation process amplifies the natural sweetness of garlic, while also softening its sharpness. As a result, fermented garlic can be used in a variety of ways, from adding a subtle boost to roasted vegetables to making a simple pasta sauce truly extraordinary.
Best of all? It's super easy. Just like whipping up a batch of lacto-fermented salsa or fermenting your own jalapeños, this is a simple, hands-off recipe that pays off in flavor.
Once you've tried it, don't be surprised if it becomes a go-to in your kitchen.
This easy fermented garlic recipe is dedicated to subtlety.
Jump to:
What Is Lacto-Fermentation
Lacto-fermentation is the process of preserving fruits and vegetables in brine (water and salt) using lactobacillus bacteria to create lactic acid. Lactic acid gives fermented foods their characteristic sour taste and acts as a preservative, extending the shelf life of your produce. The bacteria also produce other compounds that contribute to the flavor, nutrient bioavailability, and digestibility of these foods.
Lacto-fermentation is a natural process that does not require the addition of heat, chemicals, or other artificial ingredients. The lactobacillus or beneficial bacteria are found naturally on the surface of plants, so when garlic cloves placed in the right environment, the bacteria begin to grow and multiply. As they do so, they release lactic acid into the mixture, which lowers the pH and creates an environment inhospitable to other harmful microbes.
Lacto-fermentation the traditional way is dairy free – the bacteria produce lactic acid, not lactose.
If you've tried half sour pickles, you've already dipped your toes into lacto-fermentation; those classic deli pickles? Traditionally fermented! Garlic works the same way. With just salt, water, and time, you'll end up with mellow, tangy cloves ready to level up everything from dressings to sautés.

Why Make Fermented Garlic
Anyone who’s ever made their own sauerkraut, sour cabbage, or ginger bug knows that fermentation is a magical process. Fermenting garlic is no exception to that rule.
- Fermented garlic is rich in beneficial biotics.
- It’s an easy and effective way to preserve garlic for an extended period of time. The fermentation process prevents the garlic from sprouting and developing mold.
- Fermented garlic also has a softer, milder flavor than raw garlic, making it a great addition to homemade salad dressings, sauces, and dips. It’s incredibly flavorful and versatile.
- This simple recipe requires only 3 ingredients and no starter.
Fermenting Garlic Smells
Yes, some might even say it stinks!
If you ferment your goods in the kitchen, be prepared for a nasal assault!
The strong scents can be mitigated by using an airlock or bubble lock fermenting lid or by tucking it in a seldom-used cupboard.
The results are worth the hassle!
Key Ingredients
Garlic: Choose fresh, firm garlic bulbs for this recipe. They definitely take a little work to peel but the results are superior to using pre-peeled cloves. Peeled garlic cloves can work, but they are not my first choice when it comes to garlic, ever.
Salt: Opt for mineral sea salt for the best flavor profile or coarse kosher salt for the most neutral salt flavor.
Water: Spring water or well water works great in fermenting recipes. Avoid chlorinated water wherever possible as chlorine can and will affect microbial activity. I use straight well water or well water run through my RO system for all my ferments.

How To Ferment Garlic
Prepare The Garlic:
- Prepare for fermenting by washing a pint size jar and lid. It does not have to be sanitized or sterilized, but should be washed well with soap and hot running water. Set aside to dry.
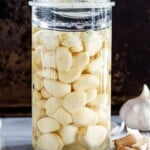
- Peel 5-6 heads of garlic and place the whole cloves into the prepared jar, leaving 1 inch headspace. My favorite easy way to peel a ton of garlic is to break each clove away from the bulb, then slice the bottom and top of each clove, generally, you’re able to grab the papery skin when cutting the top and just peel it away.


Prepare The Brine:
- In a bowl, combine 1/2 tablespoon of sea salt and room temperature water. Whisk until the salt is completely dissolved.
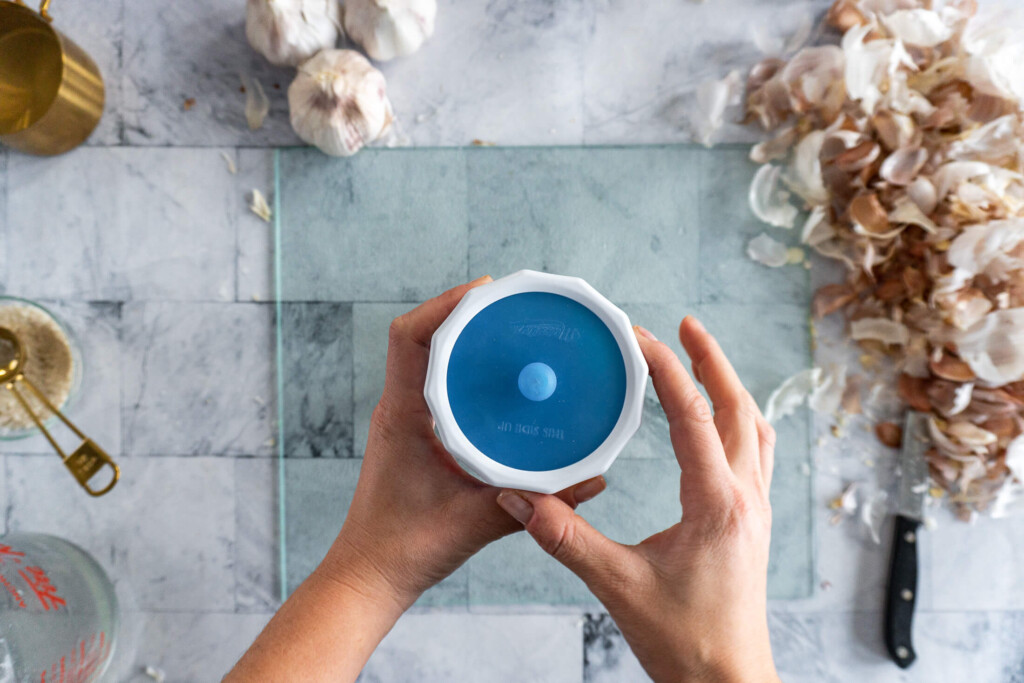
- Pour the salt water brine over the garlic and ensure each clove is covered. If you have a fermentation weight, set it on top of the garlic to keep it submerged. If you do not have a fermentation weight, crumple up a piece of parchment paper and press it down on top of the garlic cloves or fill a plastic bag with brine and seal it before placing on top of the garlic. No matter which way you do this, it’s important to keep the garlic submerged in the brine to avoid contamination.


Ferment The Garlic:
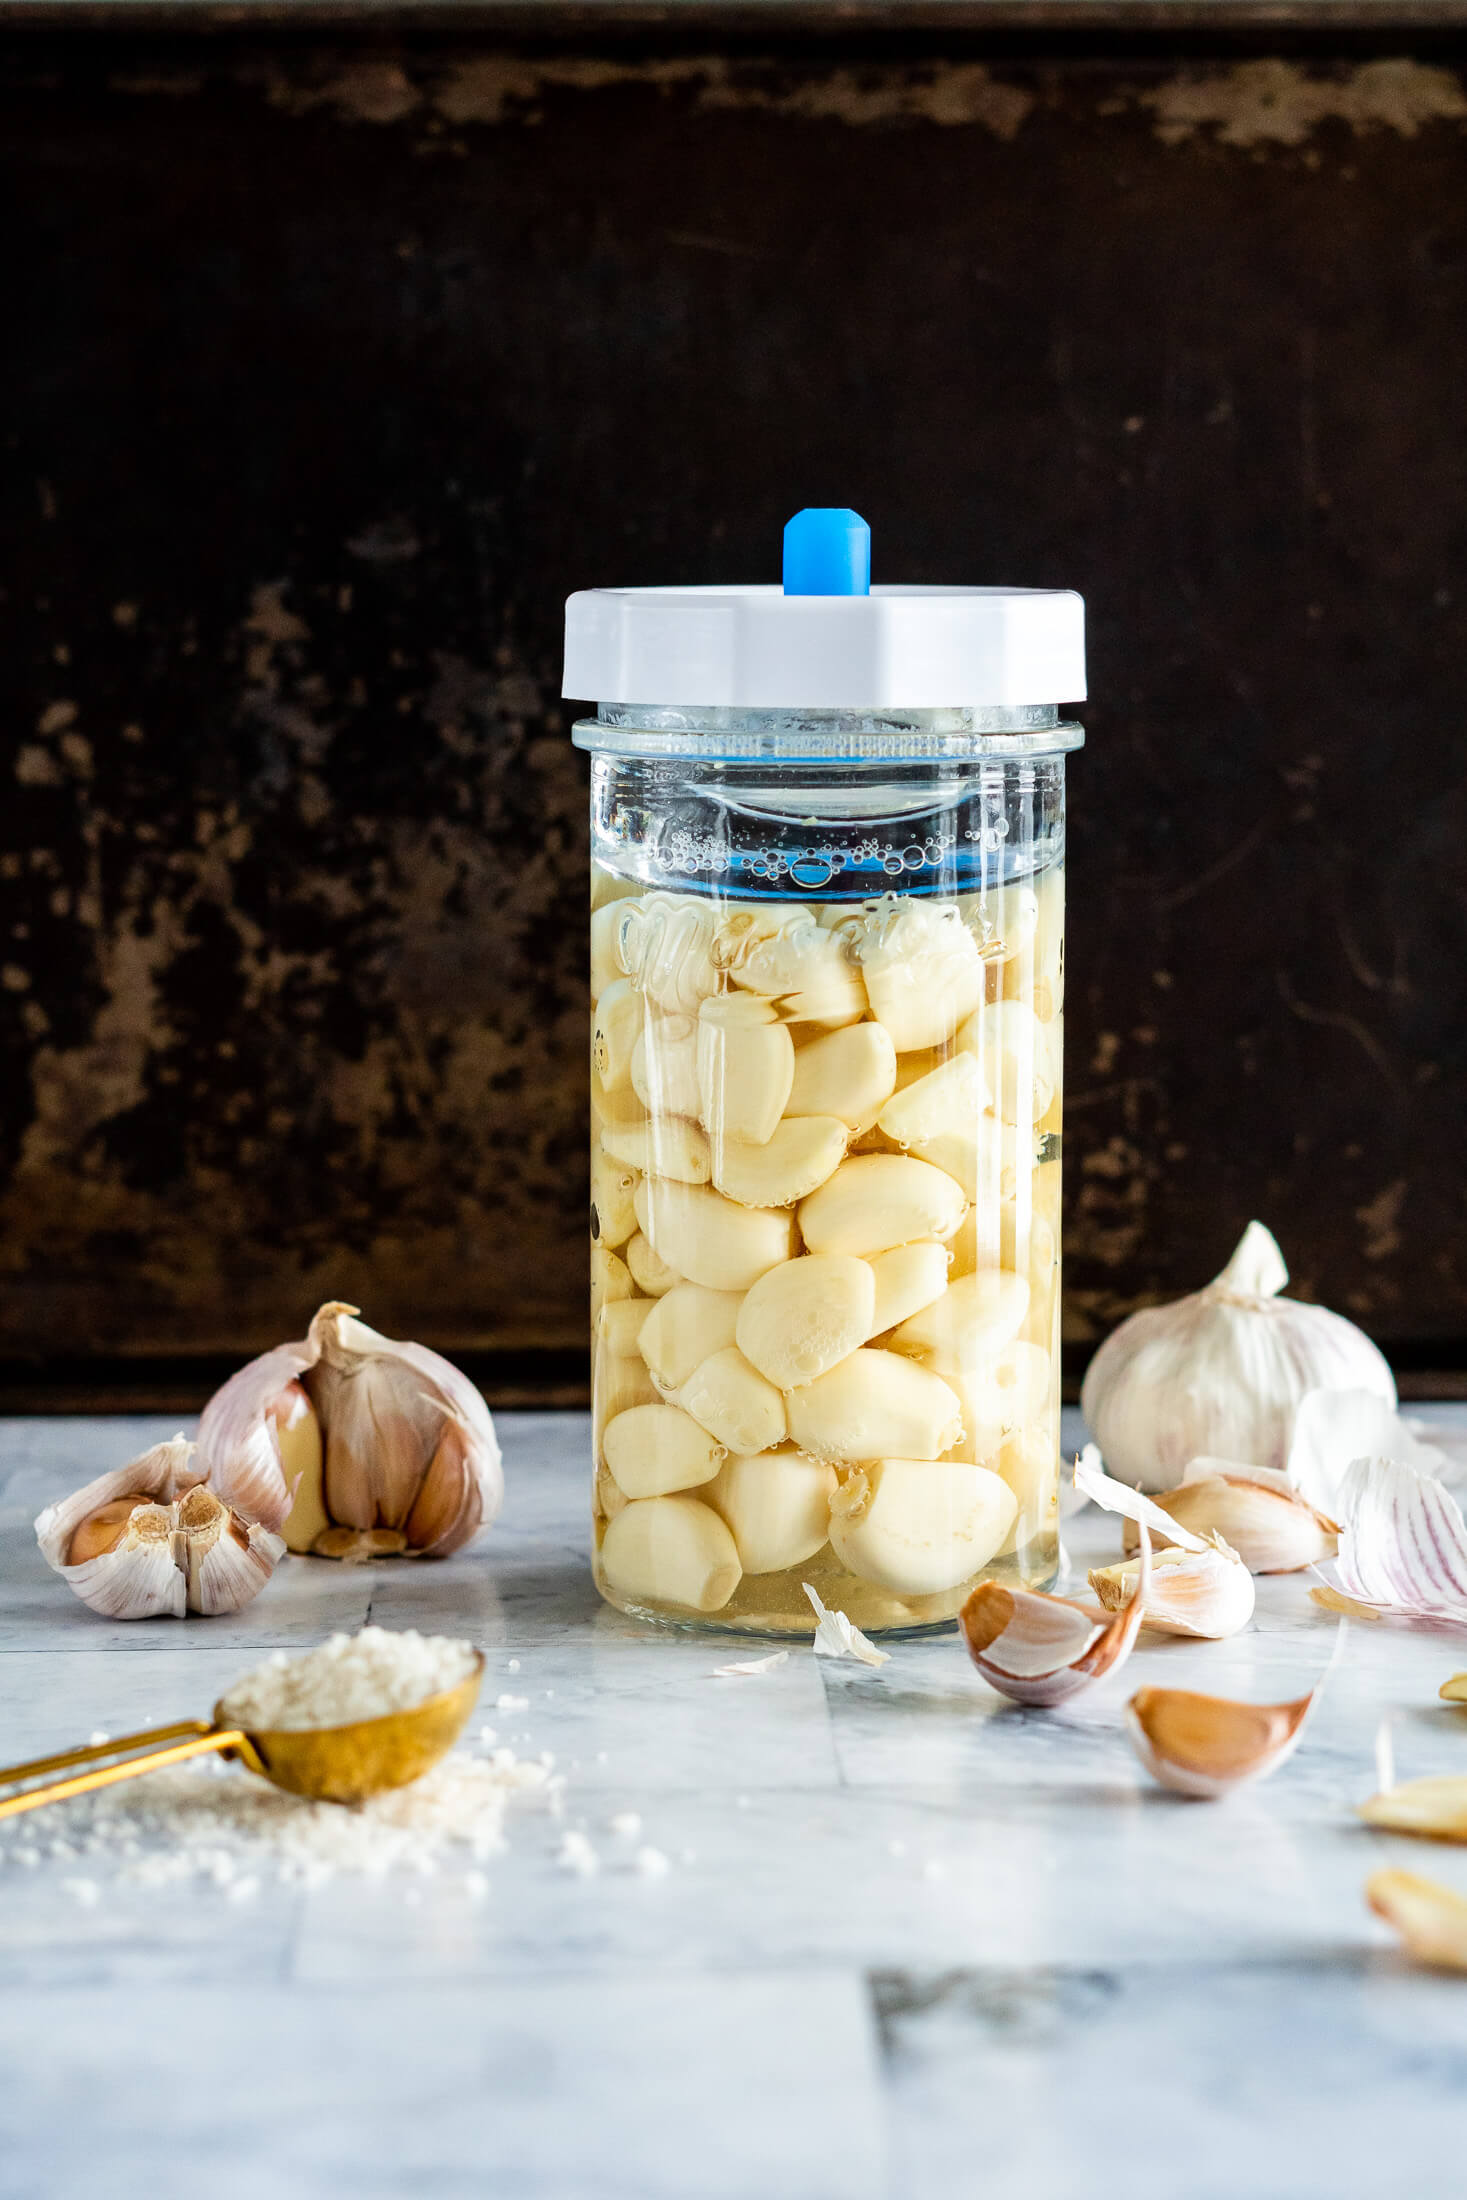
- Each day, you’ll need to open the lid of your ferment. This is called burping. It allows the CO2 to escape the fermentation vessel and prevent pressure build-up. This is not necessary if you’re using a pickle pipe or airlock lid – these lids will vent excess pressure on their own.
- Place your jar in a cool place to ferment for at least 3 weeks. Begin tasting the garlic at the 3 week mark to see if the flavor is how you like it. Continue fermenting for up to 5 weeks.

Expert Tips
- Do not overfill your mason jar with brine, this can extend fermentation time, instead, ensure that the garlic cloves are just covered.
- Use a vented lid, like a pickle pipe or airlock lid – otherwise, you’ll have to burp your garlic daily, or risk a bottle explosion – just like when brewing kombucha at home!
- Don’t be alarmed if the garlic turns blue! This color change is a normal chemical reaction to fermentation.
- Fermentation is a great way to preserve fresh garlic for a very long time. As a family who eats a lot of garlic, we preserve garlic in a number of ways along side fermented; dehydrated garlic, pickled garlic, and smoked garlic.
Batch + Storage
Batch:
This recipe as written fills a pint jar, but it can easily be doubled to fill a quart jar. Or more.
If you LOVE to ferment garlic and don’t mind peeling garlic cloves, you can make as much as you like! Just keep the brine ratio the same. 1 tablespoon of salt per quart of water.
Storage:
Store finished garlic in the fridge or in a cold room with temperatures near 37f or 4c. These low temperatures don’t kill the bacteria in the ferment but they slow them down drastically ensuring the quality of your hard work stays for a long time. These temperatures are the sweet spot between ensuring the microbes stay alive but dormant, without worrying about contamination from molds or other bad actors.
Storage temperatures that are too high will allow the microbes to continue digesting the garlic and eventually, they’ll consume everything, then begin to die off and the ferment will be lost
It is important to store your ferments properly!

Using Fermented Garlic
Use fermented garlic exactly as you would use raw garlic cloves. They add such a great flavor to garlic-heavy recipes:
- add to your loaded guacamole
- mash with butter to make a garlic paste for homemade garlic bread
- add to pasta sauces and pesto
- slice on sandwiches
- add to a charcuterie board
- sub for regular garlic in sous vide mashed potatoes
That said, I would avoid using your fermented garlic in recipes that require unpeeled cloves, like roasted garlic or smoked garlic.
More Fun Ferments


📖 Printable Recipe
Fermented Garlic
Ingredients
- 5 to 6 garlic bulbs
- 2 cups water, room temperature
- ½ tablespoon sea salt
Instructions
- Prepare for fermenting by washing a pint-size jar and lid. It does not have to be sanitized or sterilized but should be washed well with soap and hot running water. Set aside to dry.
- Peel 5-6 heads of garlic and pack the cloves into the prepared jar, leaving 1-inch headspace.
- In a bowl, combine 1/2 tablespoon of sea salt and room-temperature water. Whisk until the salt is completely dissolved.
- Pour the salt water brine over the garlic and ensure each clove is covered. Weigh down the garlic with a fermentation weight or a crumpled piece of parchment paper covered in brine. It is important to keep the garlic submerged. Place the lid on the jar.
- Each day, you'll need to open the lid and burp your ferment. This allows built-up C02 to escape the jar and is necessary to do if you're using a standard lid. You will not need to burp if you're using a pickle pipe or airlock lid.
- Place your jar in a cool place to ferment for at least 3 weeks. Begin tasting the garlic at the 3-week mark to see if the flavor is how you like it. Continue fermenting for up to 5 weeks.


Once fermented can this be dehydrated and made as a salt? The Jalapeño Salt recipe with the fermented garlic instead??
That is a great idea! I don’t see why not. If you try it please let me know how it is!
Love your post! Doing my second ferment and they are turning blue this time! I have been burping them everyday and am wanting to buy a self burping lid for the next batch. Do you have a favorite? I saw the Amazon recommendations at the bottom of the post, but since they are different from what I see you using in your pictures and wondering which would be best. Obviously on Amazon I see so many mixed reviews. ☺️
I am pretty easygoing when it comes to the lids! LOL.
I have a couple of old airlock lids (I can’t find the link for them), I have a few pickle pipes and I recently started playing with the lids that you vacuum the air out with a hand pump. They all have worked for me with past experiments. The one thing I did find was that for smelly-er ferments like garlic, the airlock lids hold in the smell a lot better, that said, as long as you’re not hovering over the top of the pickle pipe lid you can’t really smell it either.
I will say that I much prefer the self-burping lids to plain mason jar lids, cause I like to automate things as much as I can around here, and that’s one less ‘job’ to do each day!
Mine turned blue this batch, too! That’s such an interesting chemical reaction.
Can’t wait to try this out. My son loves the garlic that I put in my fermented pickles- I am excited to see the difference in flavor.