
How To Dehydrate Cherries

Dehydrating cherries is an easy way to preserve the taste of summer, and it only takes 15 minutes of prep! Fresh cherries transform into chewy concentrated bites that are perfect for snacking and baking.
Up next: canning cherries

Craving The Recipe Details?
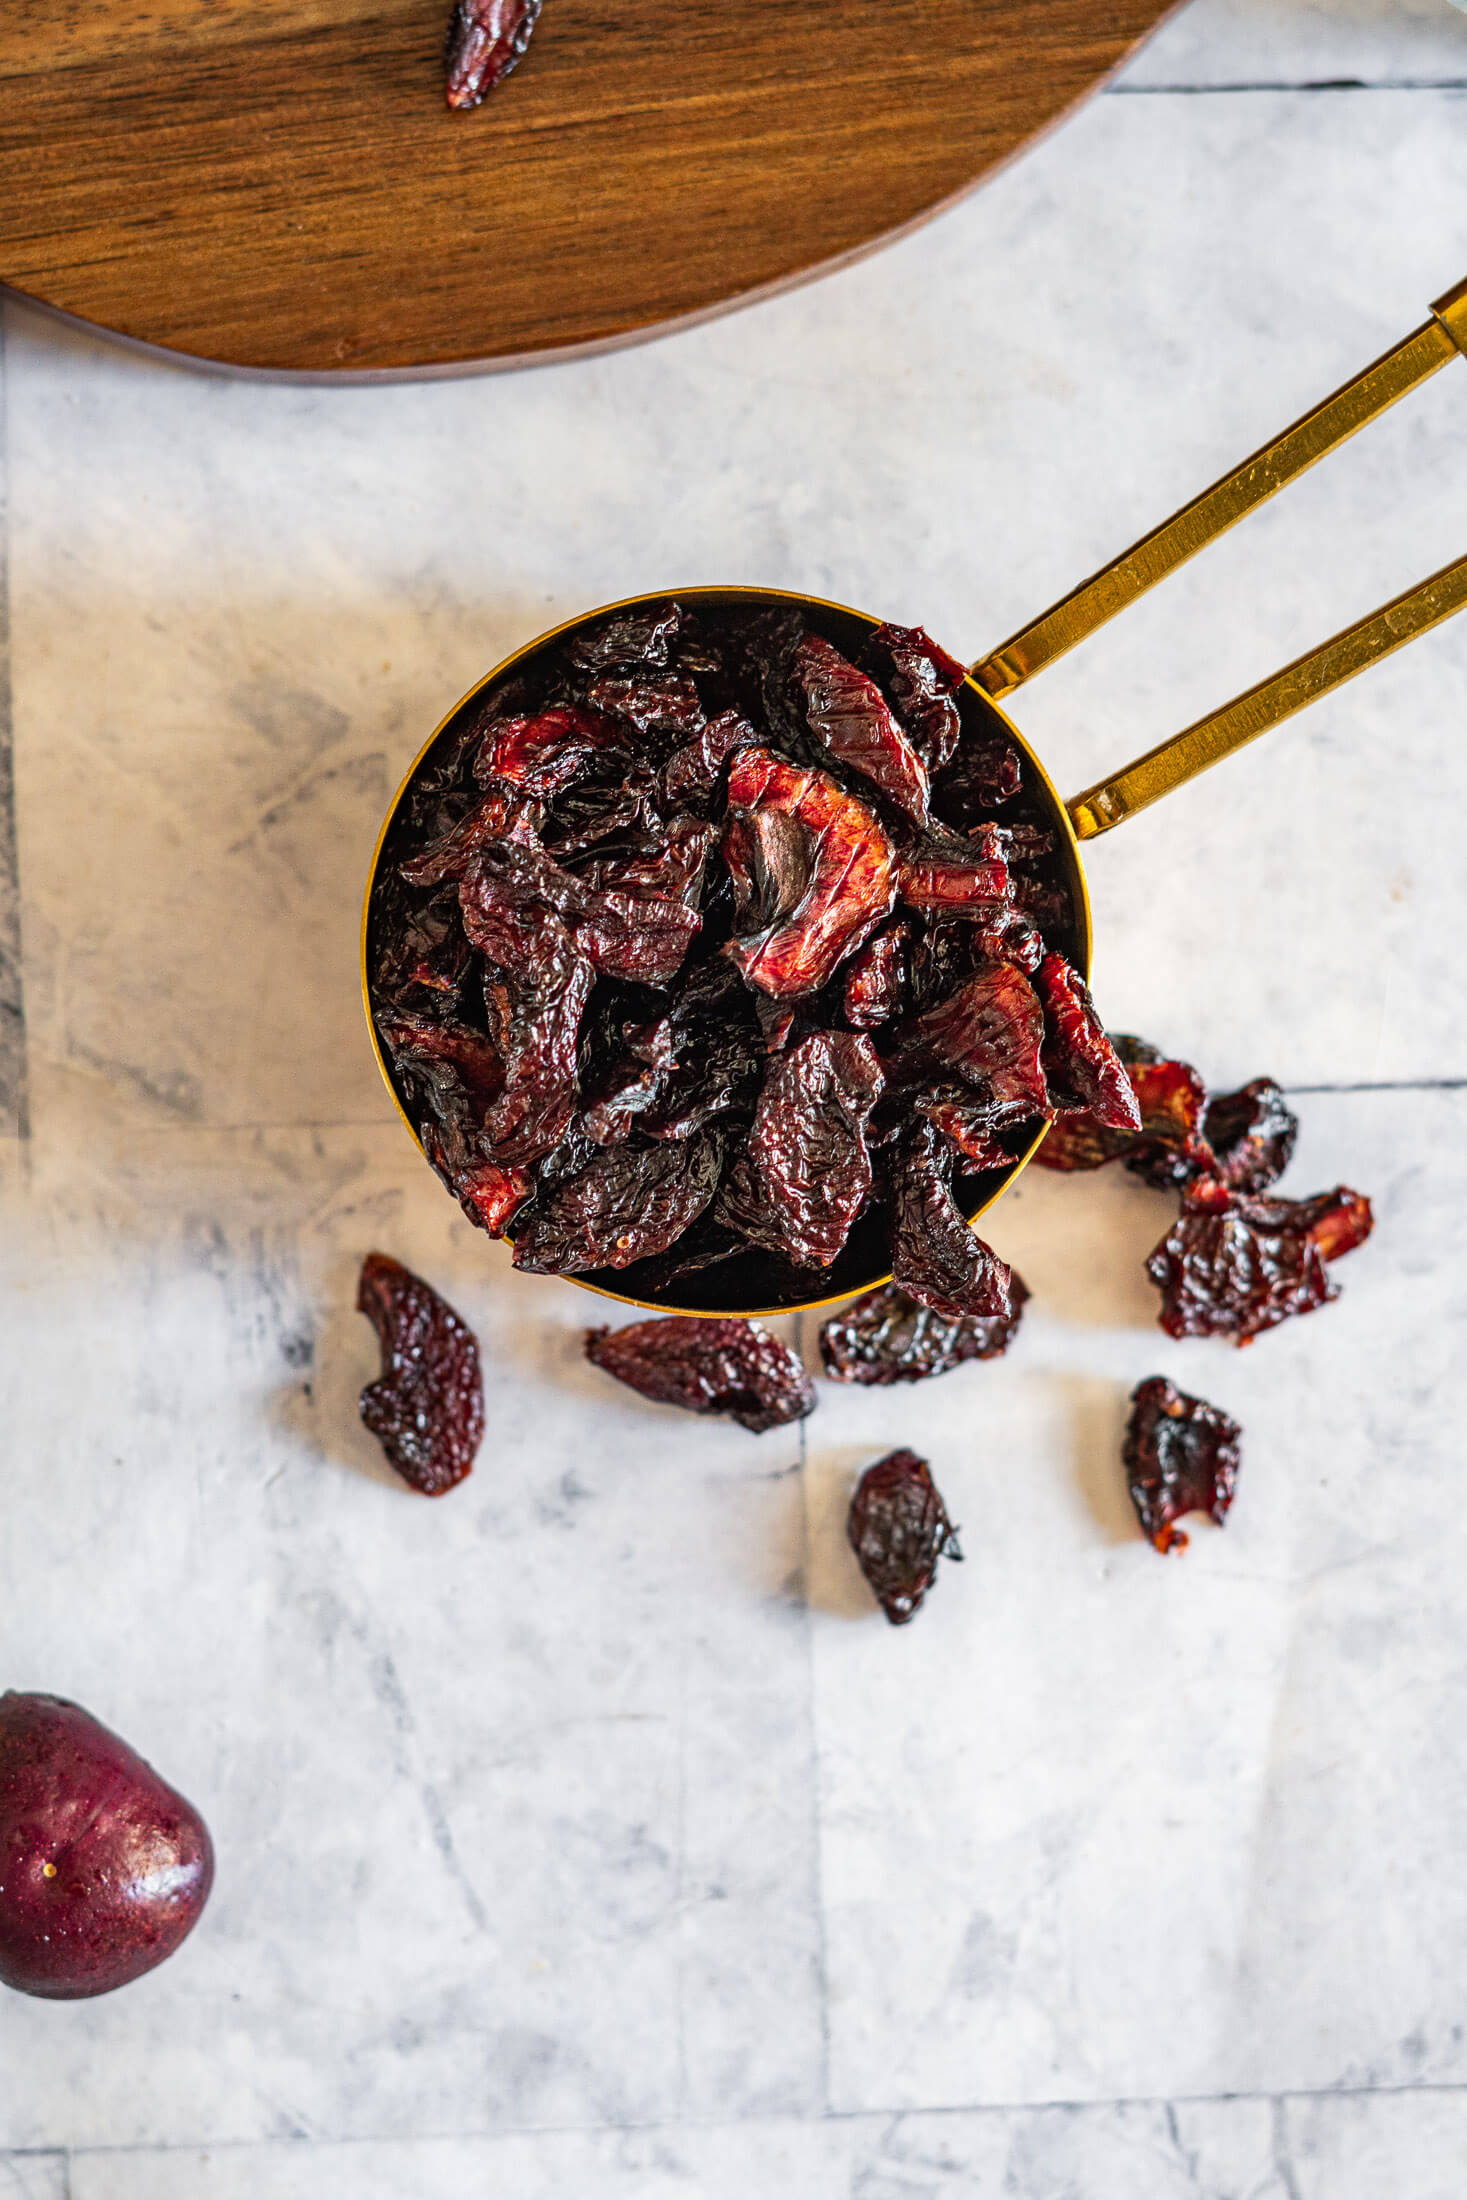
What it is: A simple method for dehydrating fresh cherries into chewy, raisin-like pieces for snacking, baking, and long term pantry storage.
Why you’ll love it: Dehydrating concentrates cherries’ natural sweetness and flavor into a versatile fruit you can use anywhere you’d use raisins.
How to make it: Wash and check (optional) cherries, pit and quarter, then spread on dehydrator trays and dry. Then cool completely before storing.
We absolutely adore cherries in our household. That first bite of sweet-tart juice is one of the clearest signs summer has arrived! Our climate doesn’t give us the growing conditions for sweet cherry trees, so that means cherry season becomes an event… As soon as they show up in July, we buy in bulk!
From there, our kitchen counters disappear under cherries for days at a time while we work through our haul! We get busy canning cherries, freezing cherries, fermenting cherries, and dehydrating a good chunk, too.
Dehydrating is my favourite of the four. There’s no water bath processing, no shuffling trays in and out of the freezer, and no fridge space needed – just chewy, raisin-like cherries ready for long-term pantry storage.
This guide to dehydrating cherries is dedicated to hauls.
Jump to:
- Craving The Recipe Details?
- Sweet Cherries vs. Sour Cherries
- Key Ingredients
- What Is Checking?
- How To Dehydrate Cherries
- Expert Tips
- Why This Recipe Works
- Dehydrating Cherries FAQs
- Drying Cherries Without A Food Dehydrator
- How To Rehydrate Cherries
- Converting Fresh To Dried
- Using Dried Cherries
- Reducing Drying Time
- How To Pit Cherries Without A Pitter
- More Dehydrating Recipes To Try
- 📖 Printable Recipe
Sweet Cherries vs. Sour Cherries
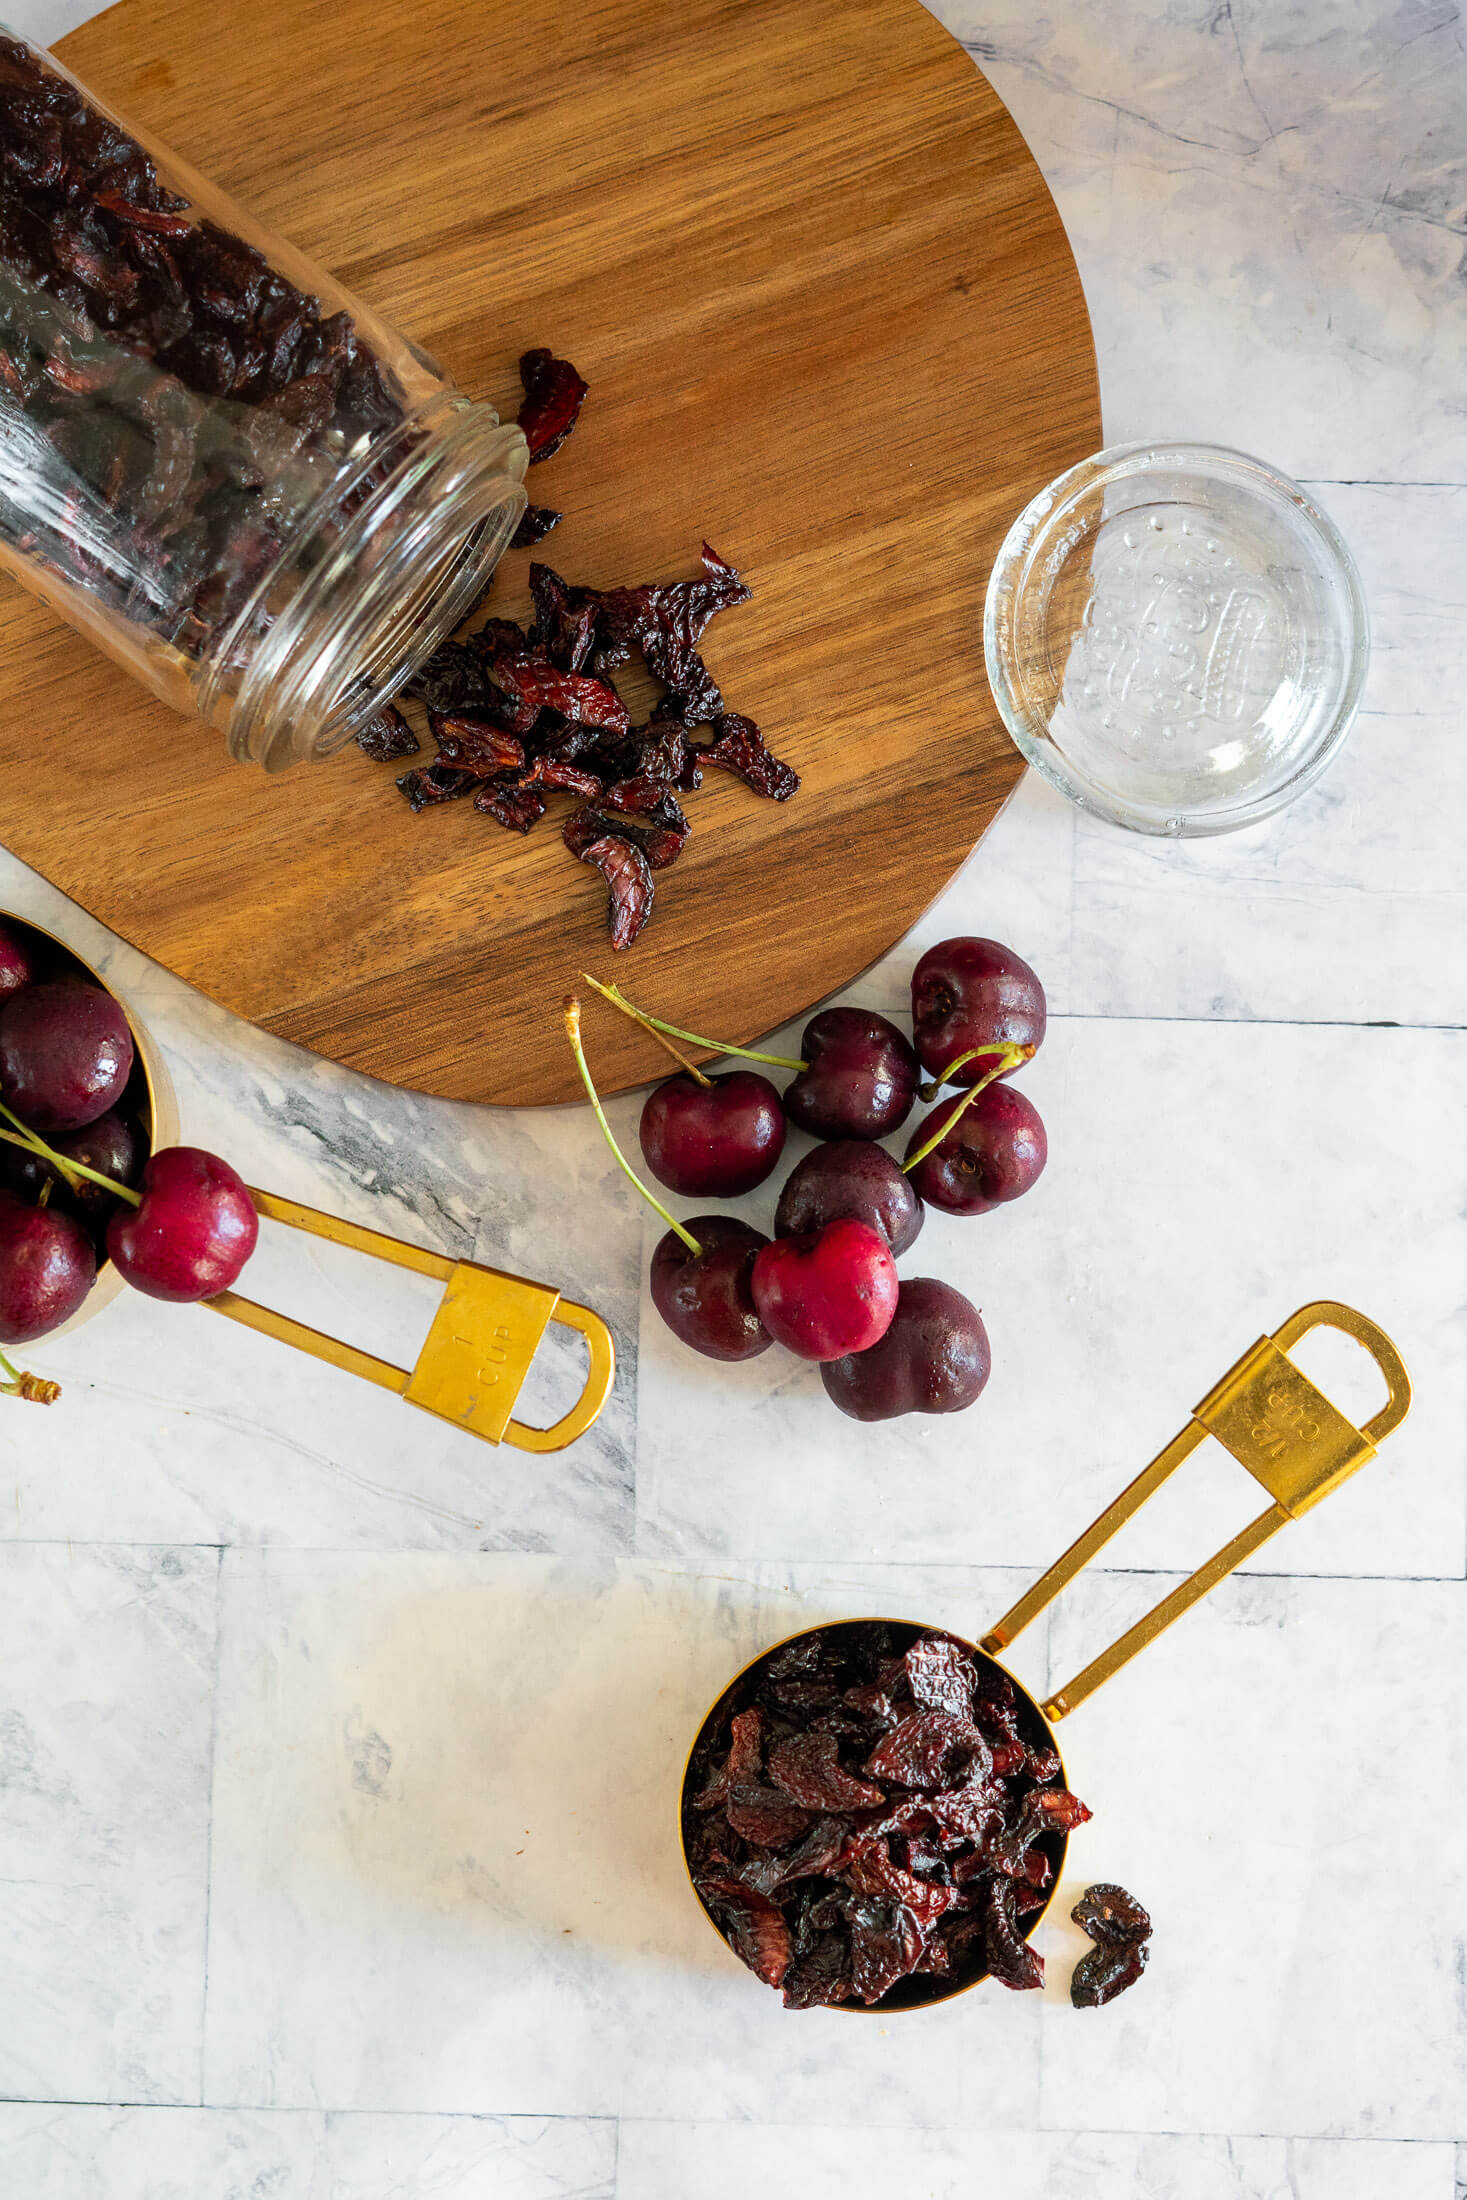
The process for dehydrating sweet cherries and sour cherries is exactly the same, but the use for each once dehydrated is different.
Dried sweet cherries result in a sweet raisin style treat that can be used just like raisins in baking – ahem; cardamom cranberry swirl bread, cinnamon raisin sourdough, oatmeal cookies. Or whatever recipe you’re making that would benefit from delicious cherry flavor!
Dried tart cherries like Montmorency or Morello are best saved for rehydrating and using in cobblers, crisps, and pies. That said, they absolutely could be used to add a tangy flavor component to sweet recipes and balance out the sweetness.
Key Ingredients
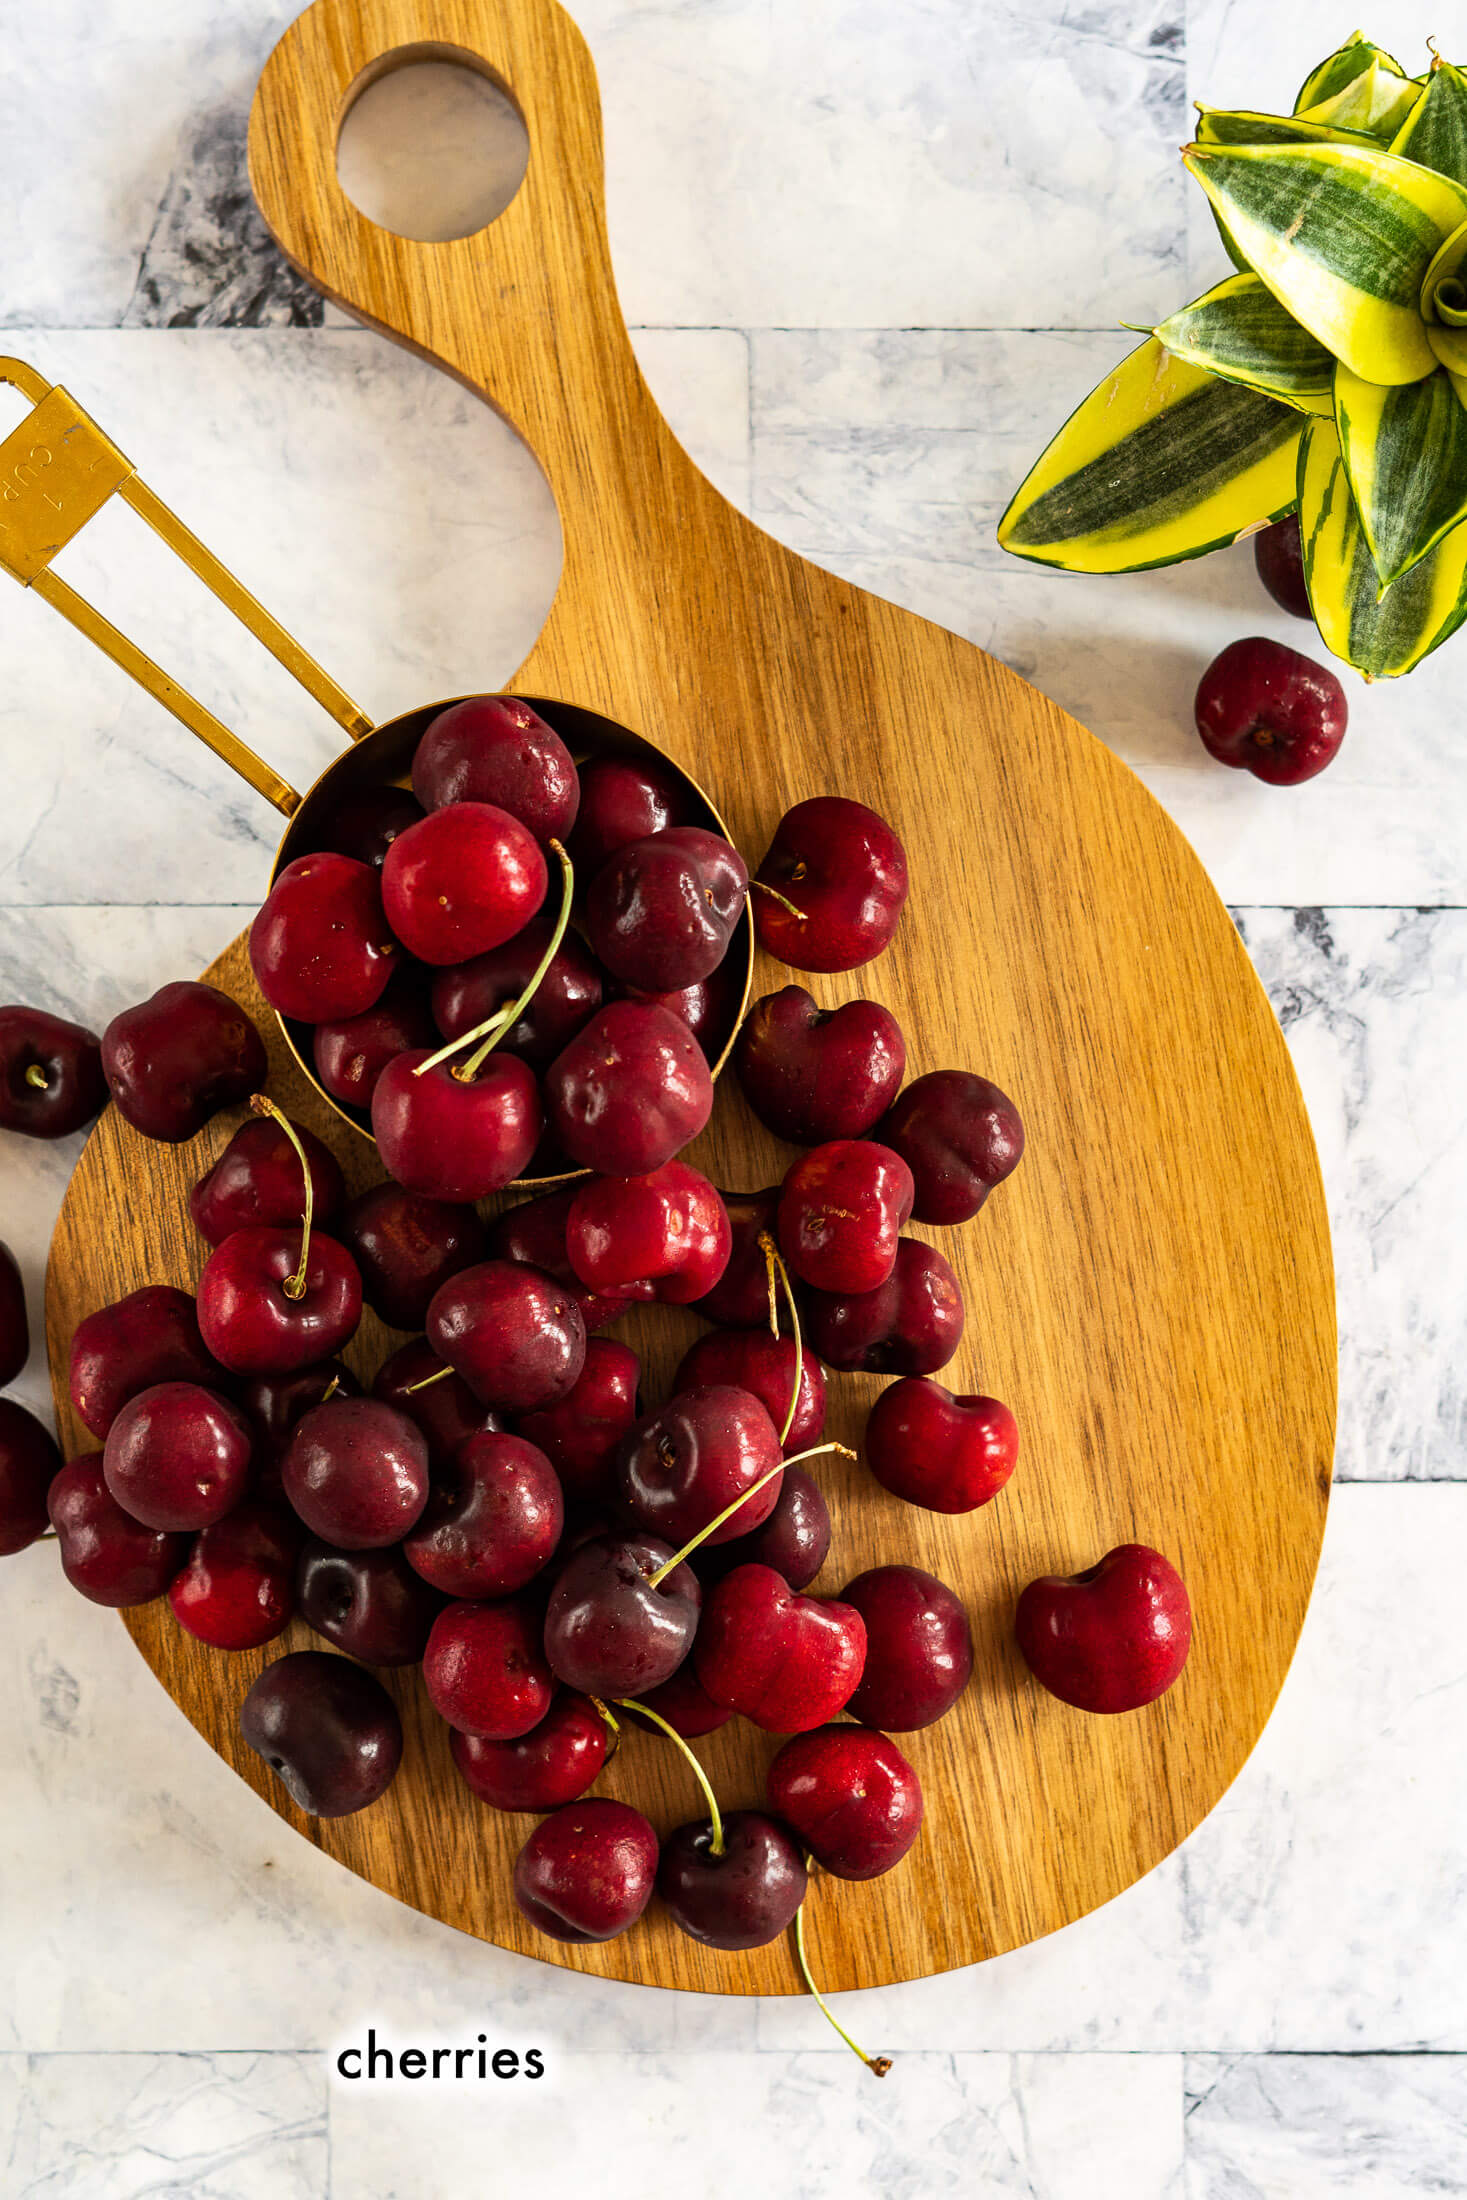
Cherries: Always choose fresh, ripe, vibrant fruits when dehydrating. Any cherries with mold or rotten spots should be discarded. Fresh, high quality fruit produces better dried fruit.
What Is Checking?
Checking is a pretreatment that cracks the skin before drying, giving moisture an easier path out of the fruit. Because you’ll already be pitting and slicing the fruit, the cut itself gives moisture an escape route on its own, checking is optional. But I still check every batch.
Cracking the skin exposes even more surface area to moisture loss than just the cut side alone, so the cherries dry more efficiently. I’ve dried cherries both ways, but I prefer checking because a few minutes up front tends to save hours in the dehydrator. And cherries come into season right when my dehydrators are working overtime so a quicker turnover is always a good thing!
If you choose not to check your cherries, they will still dehydrate successfully, but may take longer.
How To Dehydrate Cherries
Prepare Cherries:
- Step 1: Rinse cherries under warm running water, remove stems.
- Step 2: Inspect cherries and discard any with mold, bruises, or damaged spots.
Check The Cherries: (Optional)
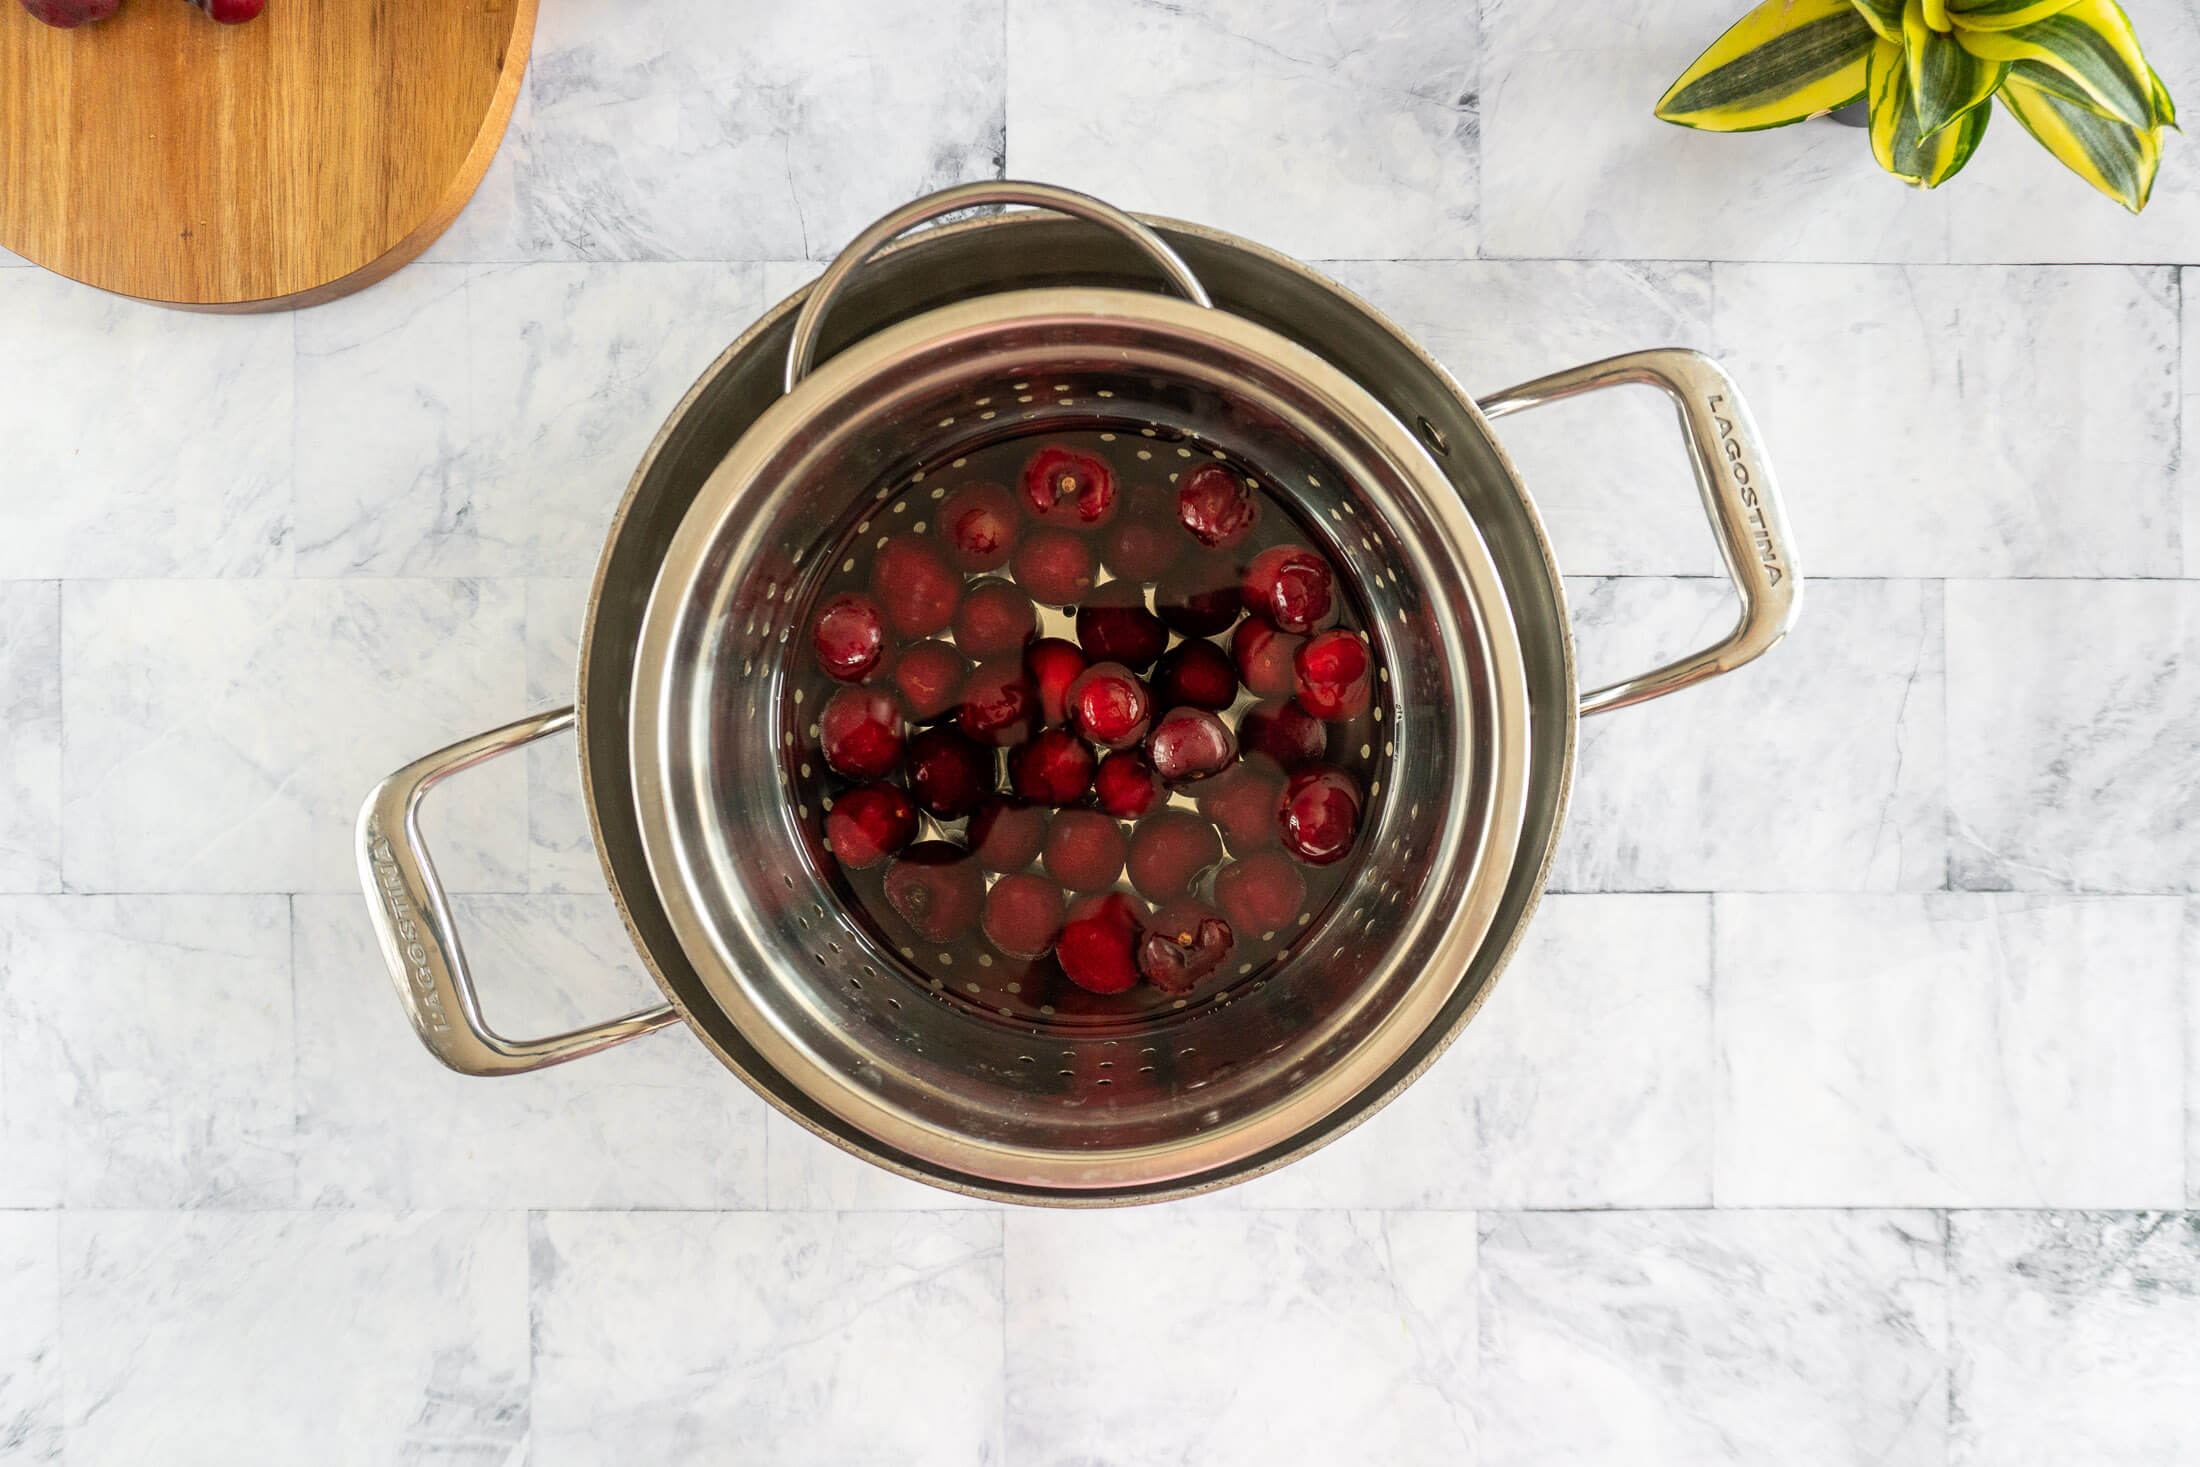
- Step 3: Set a wide, heavy bottomed pot with 2-3″ of water over medium heat and bring to a boil. Meanwhile, prepare an ice bath.
Add cherries to the water, in 2-cup batches, and boil for 30 seconds.

- Step 4: Remove and plunge into a cold water bath immediately before straining and spreading on a clean kitchen towel.
Pit And Slice:
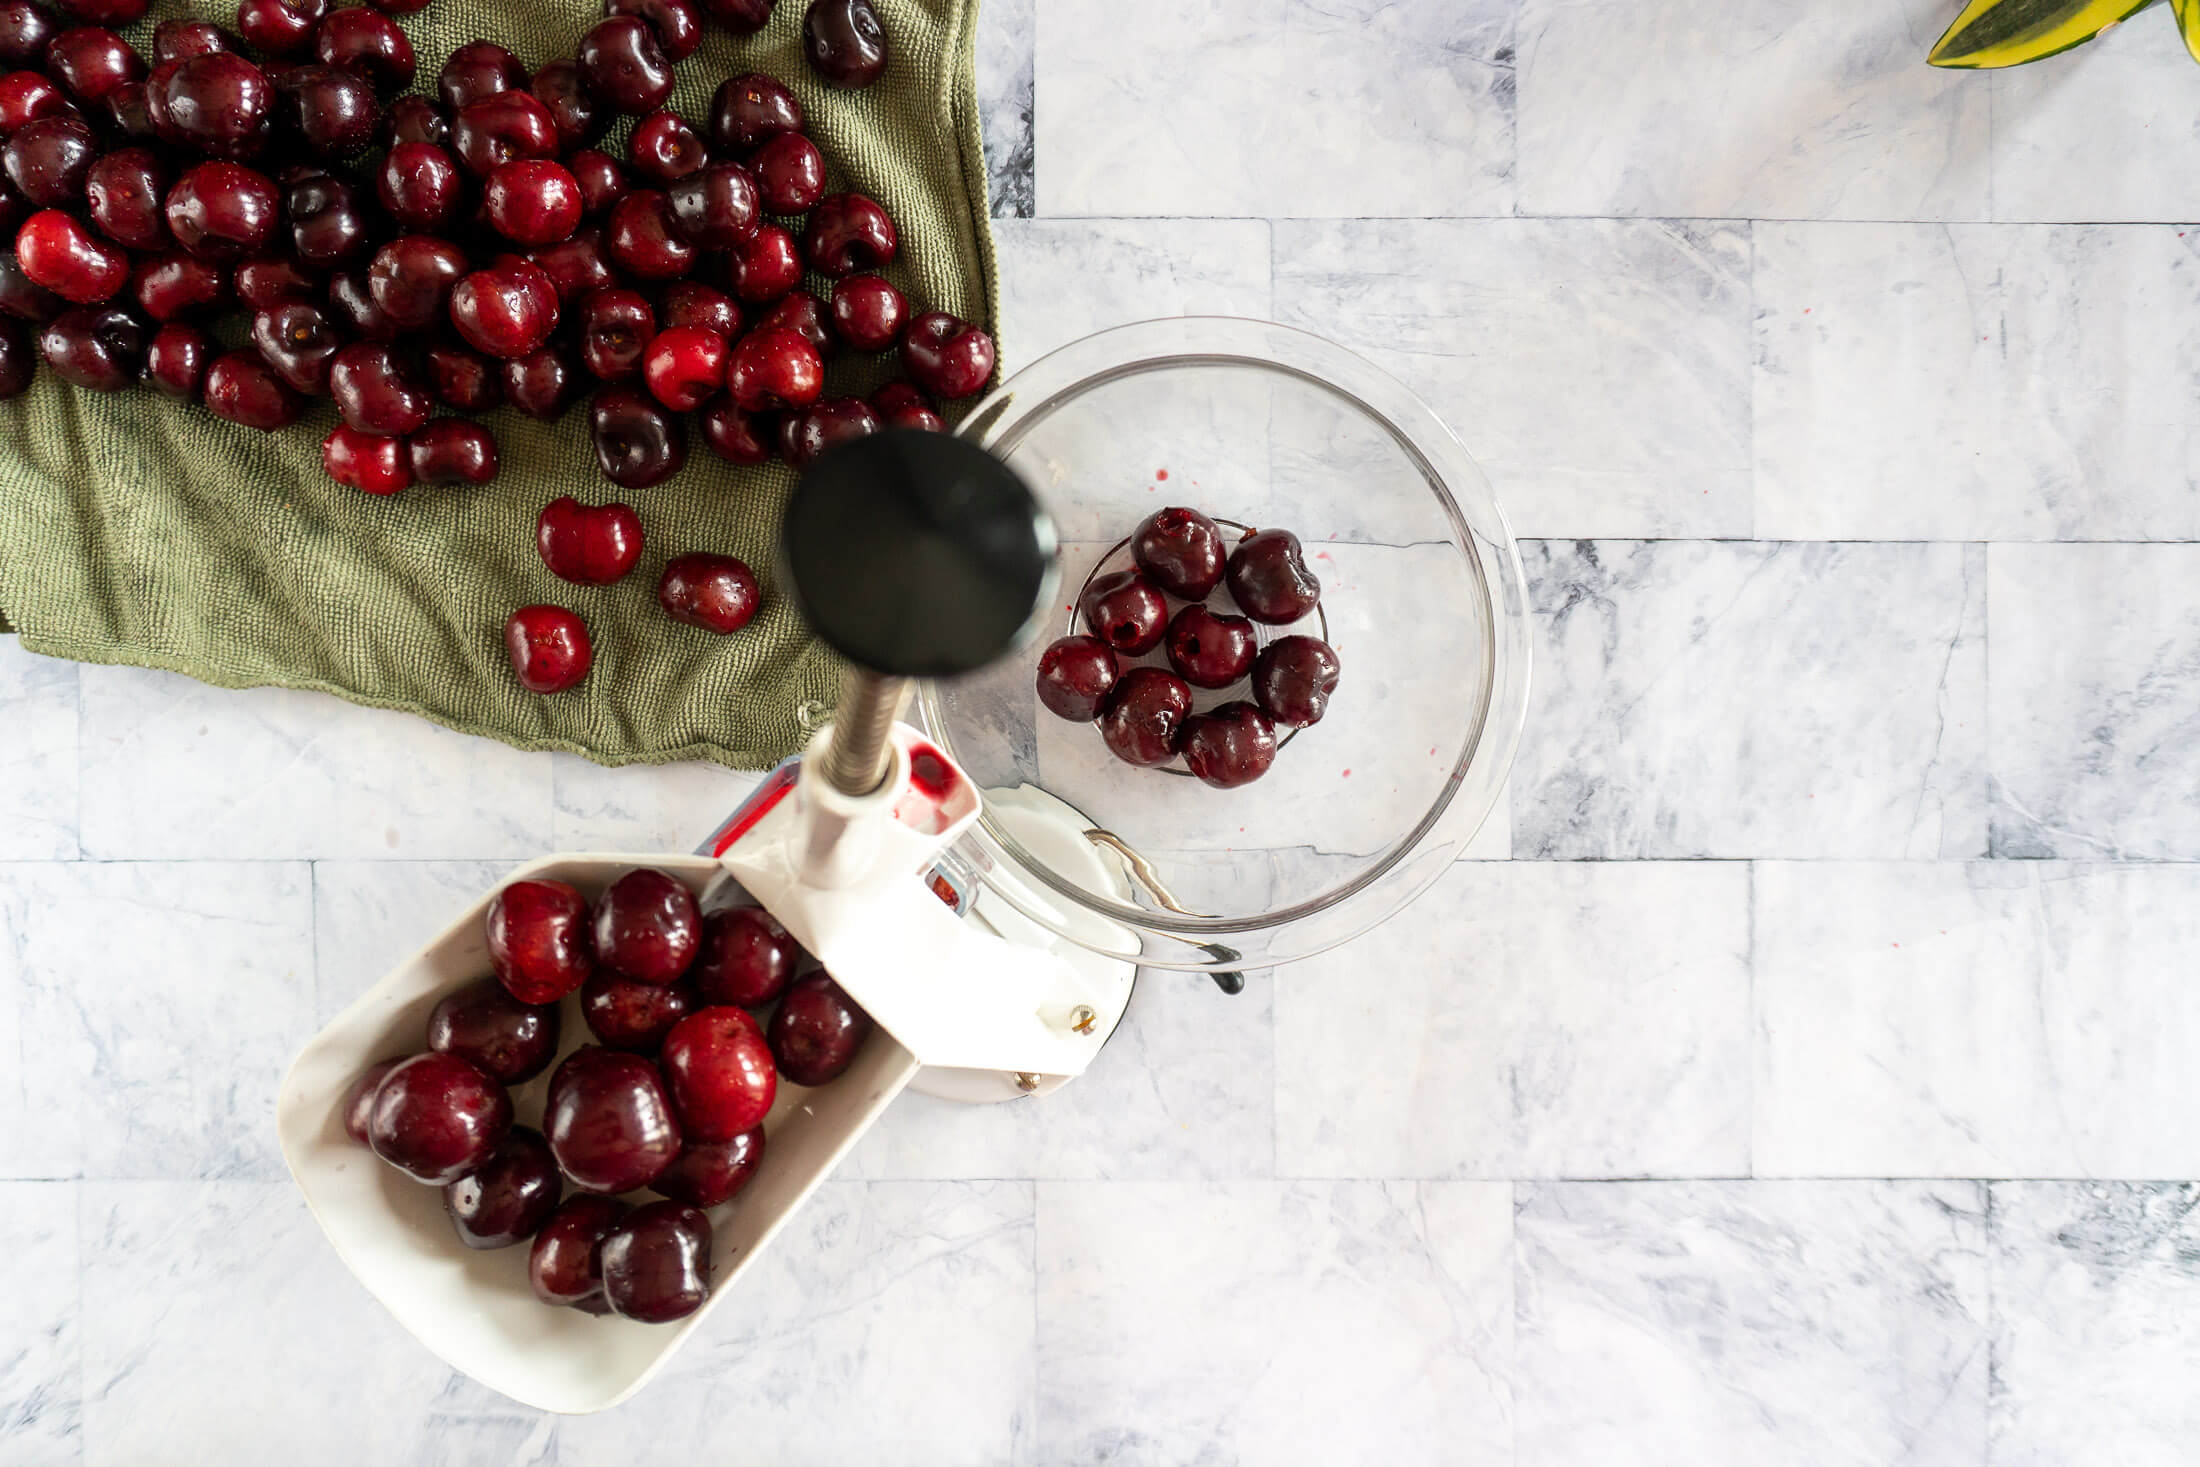
- Step 5: Once cherries are cleaned and dried, they can be pitted. I’ve got a little spring loaded cherry pitter to do the heavy lifting for me lately, but I’ll include a method below for quickly pitting cherries without a pitter that I know works because we used it for years before I finally got a pitter this year!
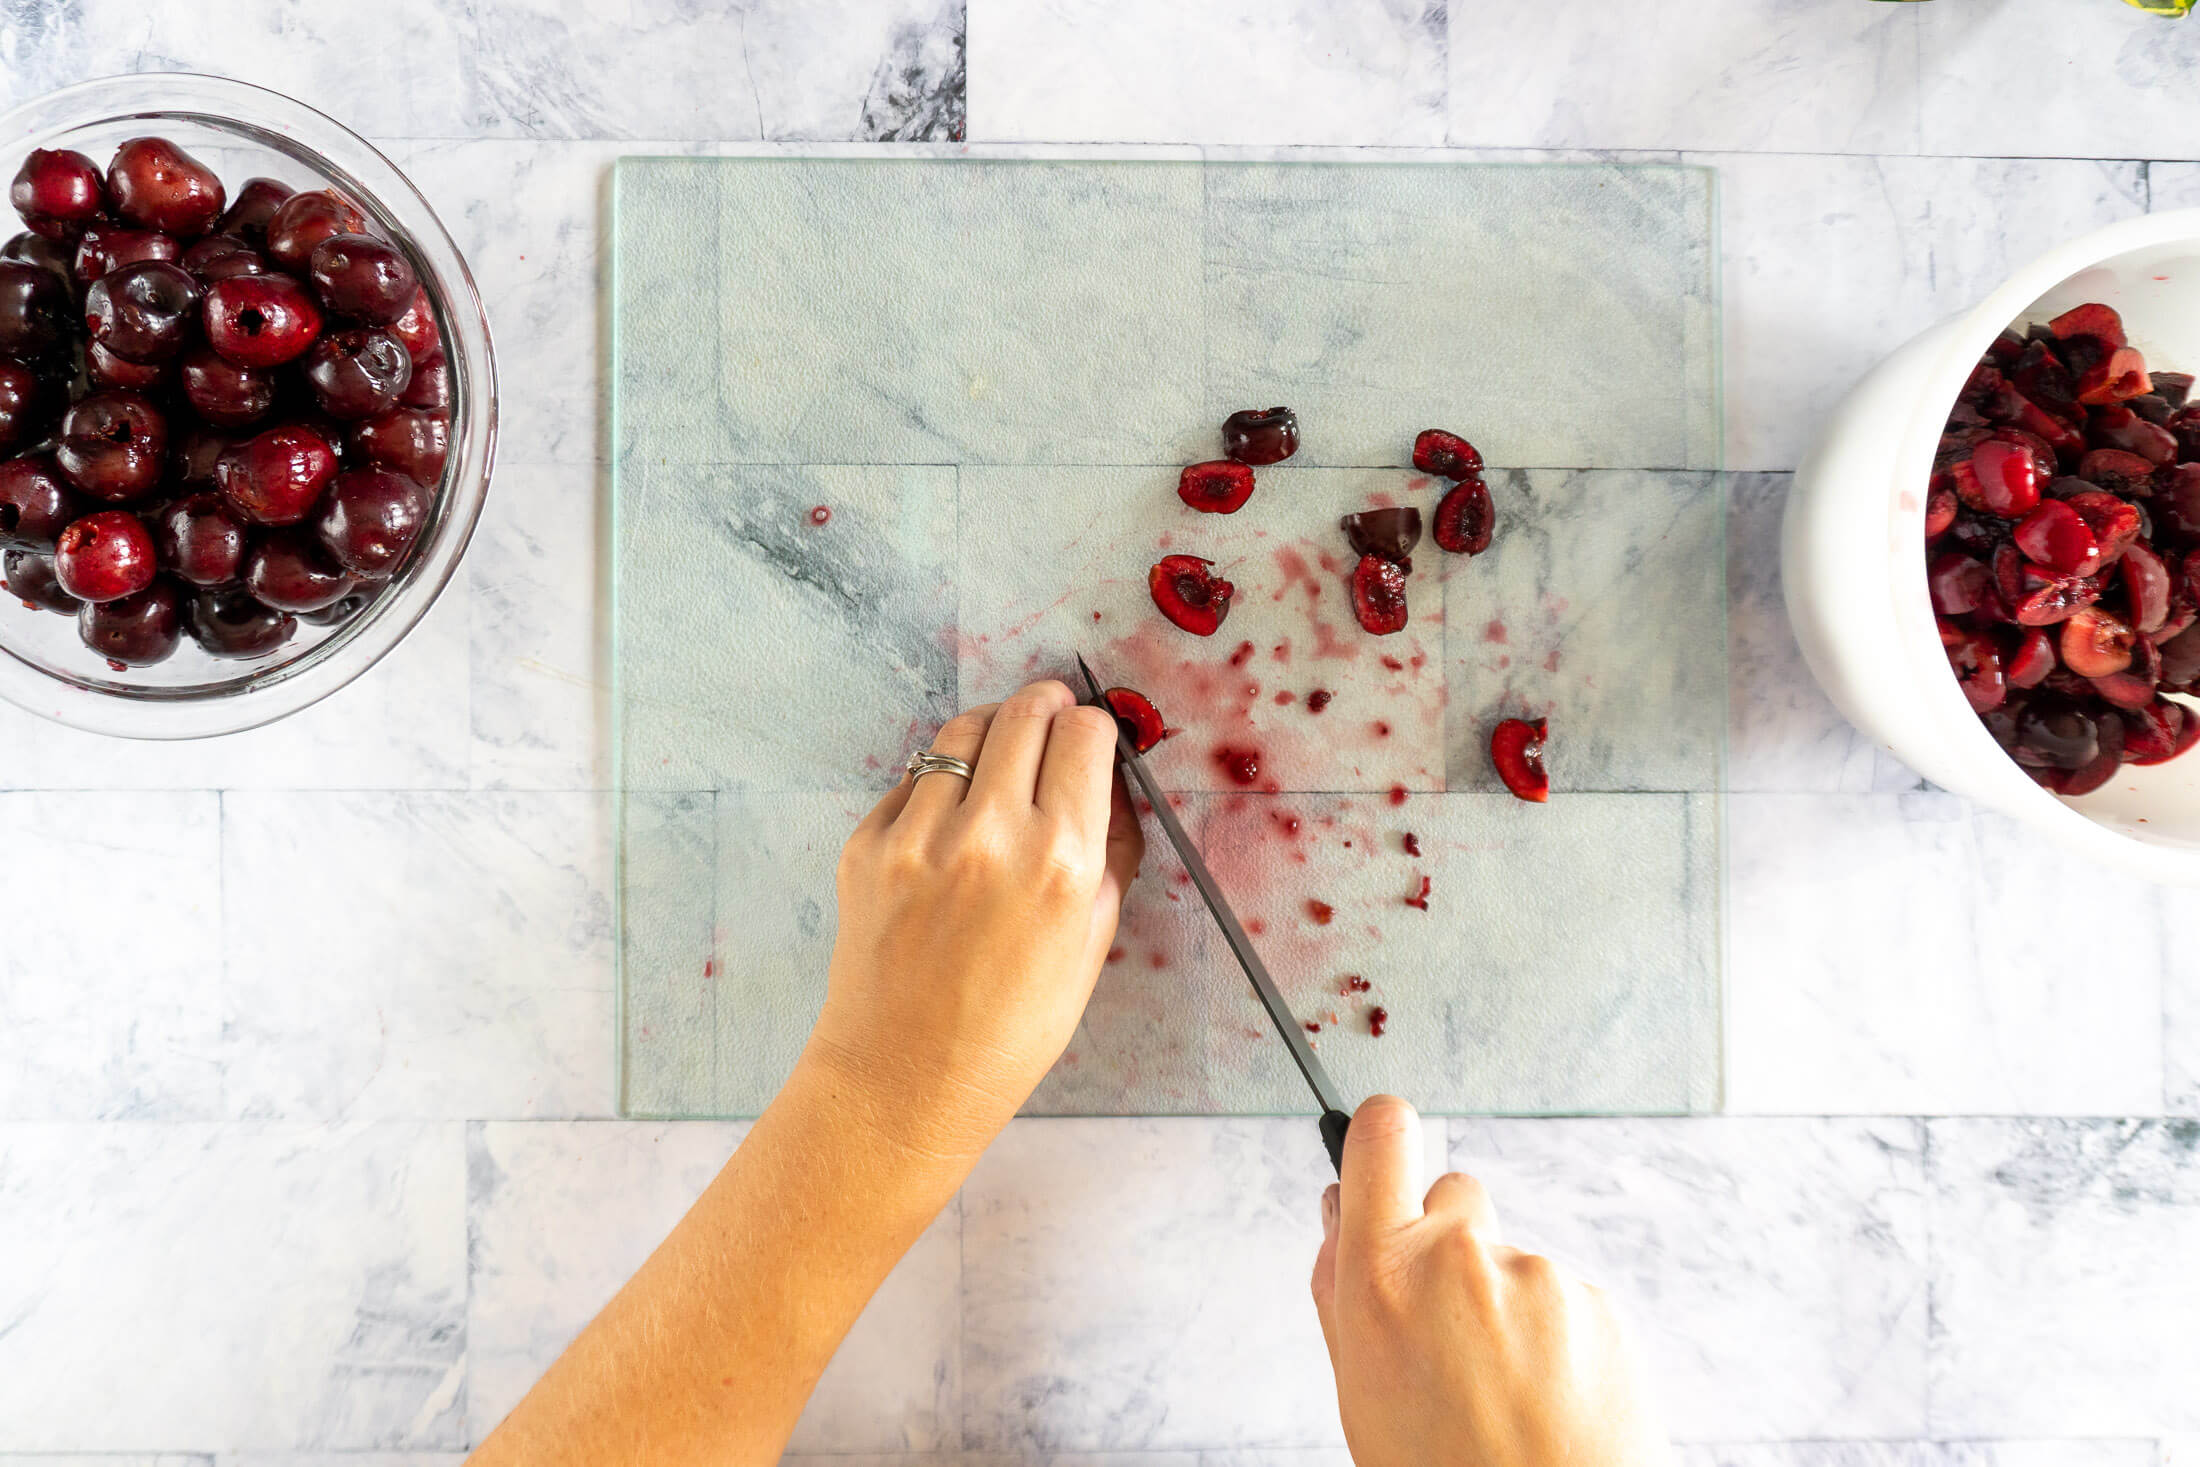
- Step 6:Slice pitted cherries as desired. I like to quarter my cherries before dehydrating, but you may prefer halves.
Dehydrate Cherries:
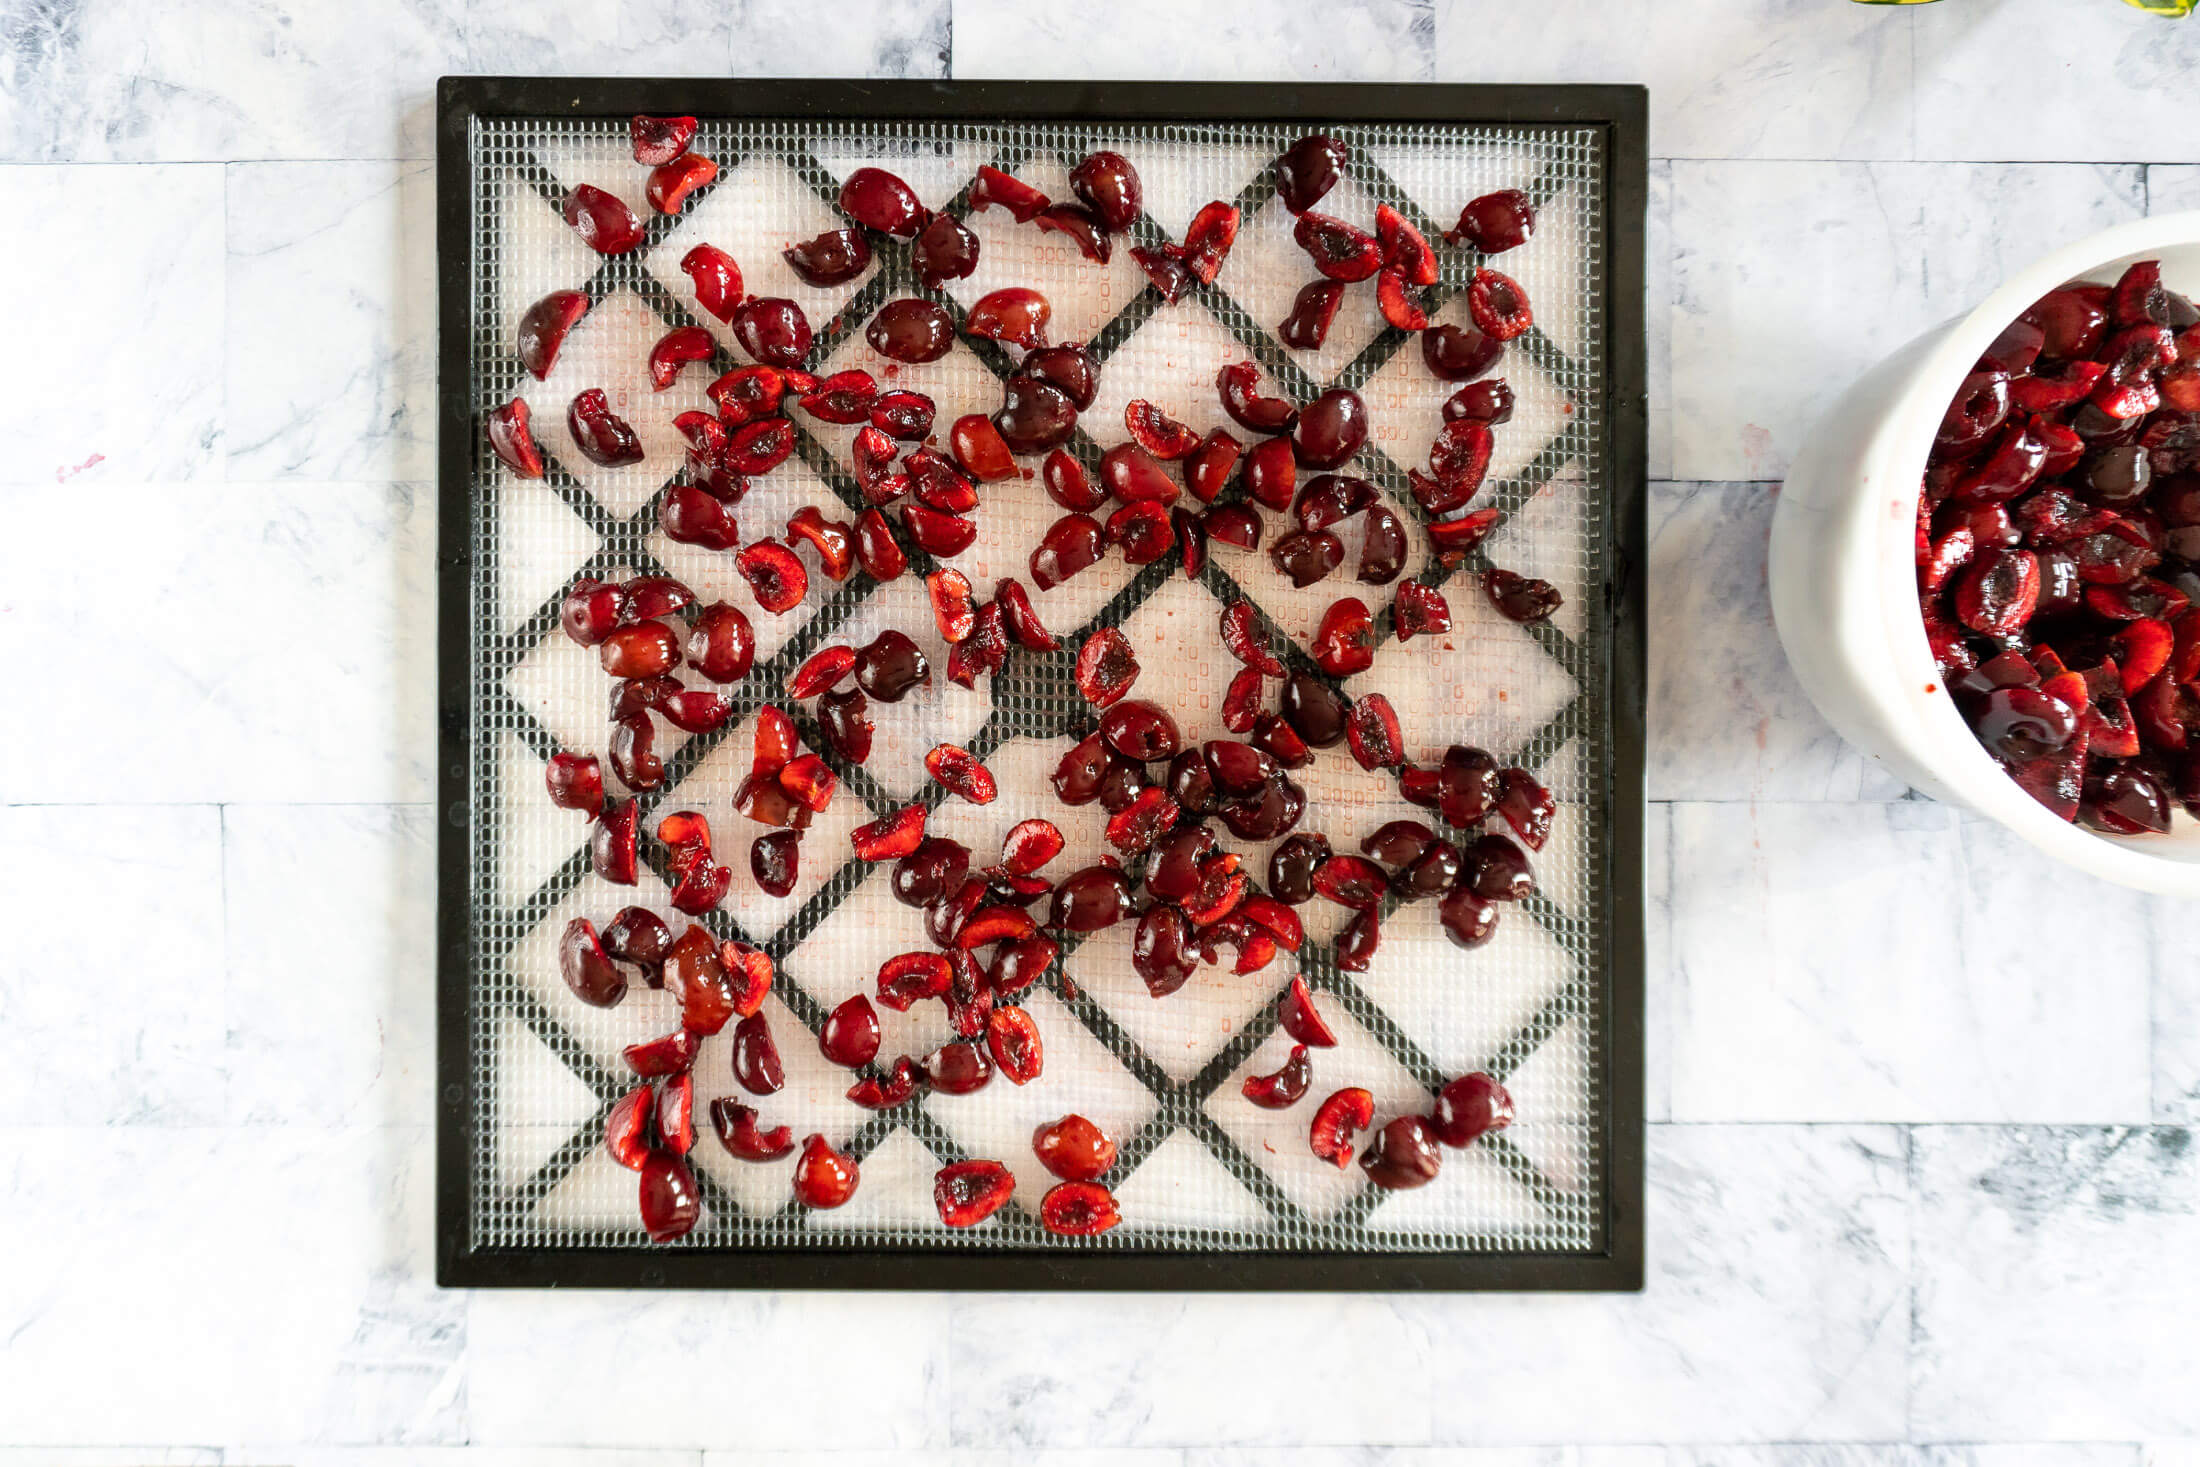
- Step 7: Spread prepared cherry pieces on dehydrator trays, it’s important to keep it in a single layer to improve drying time, efficiency, and consistency.
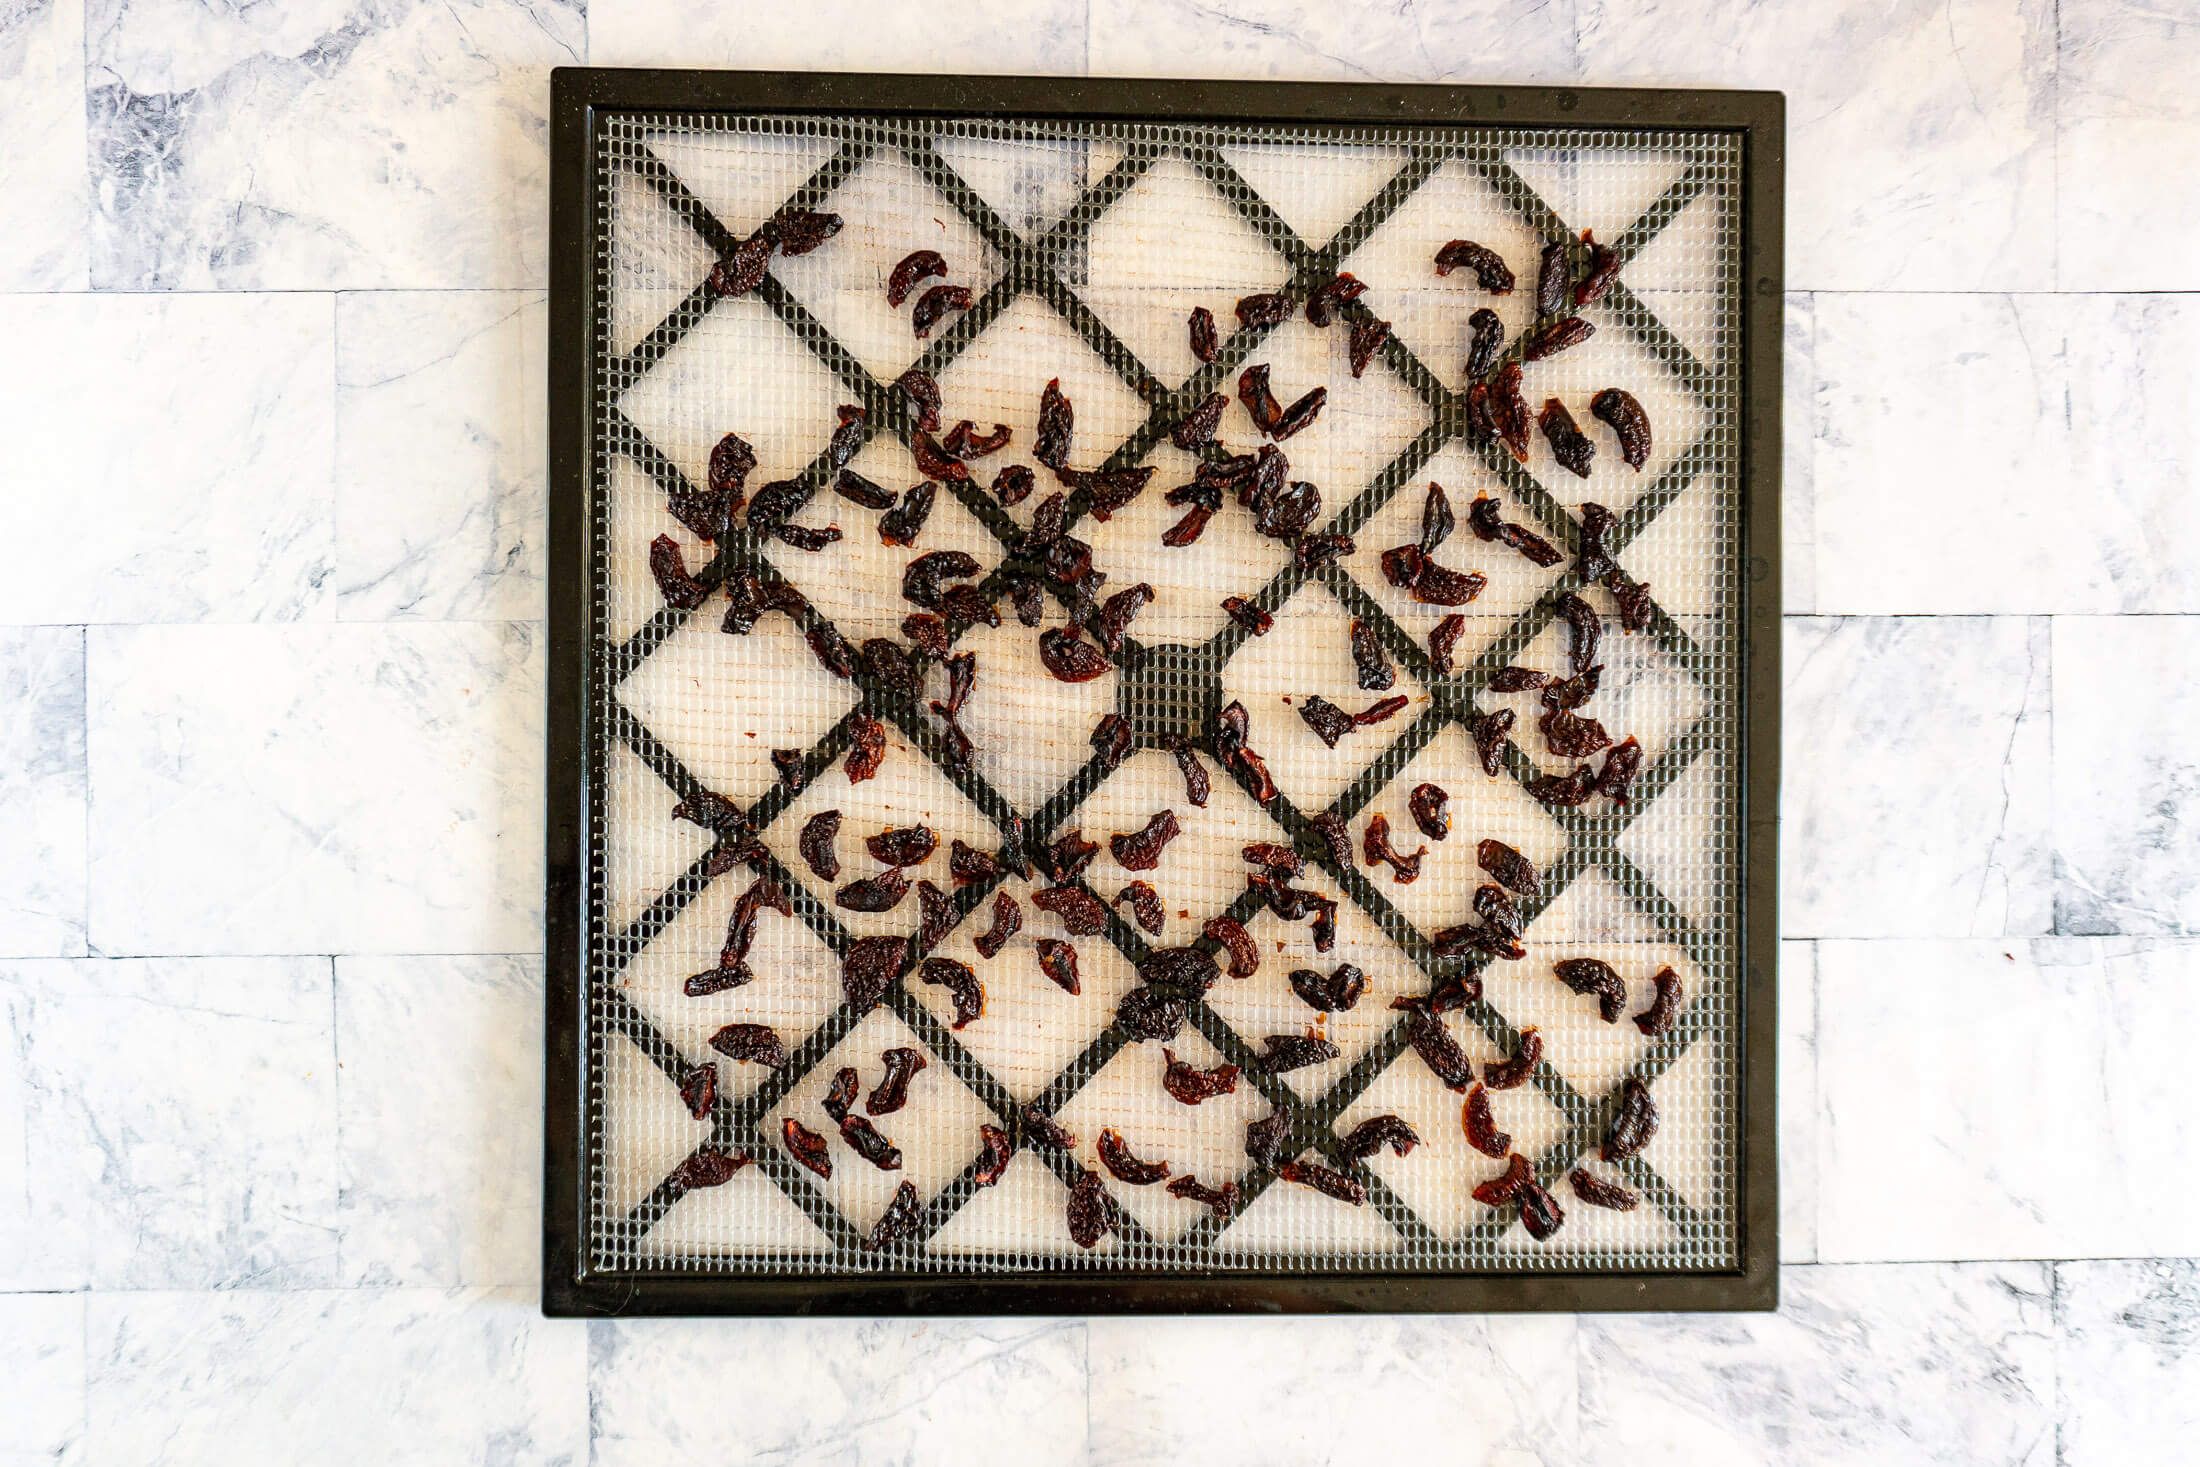
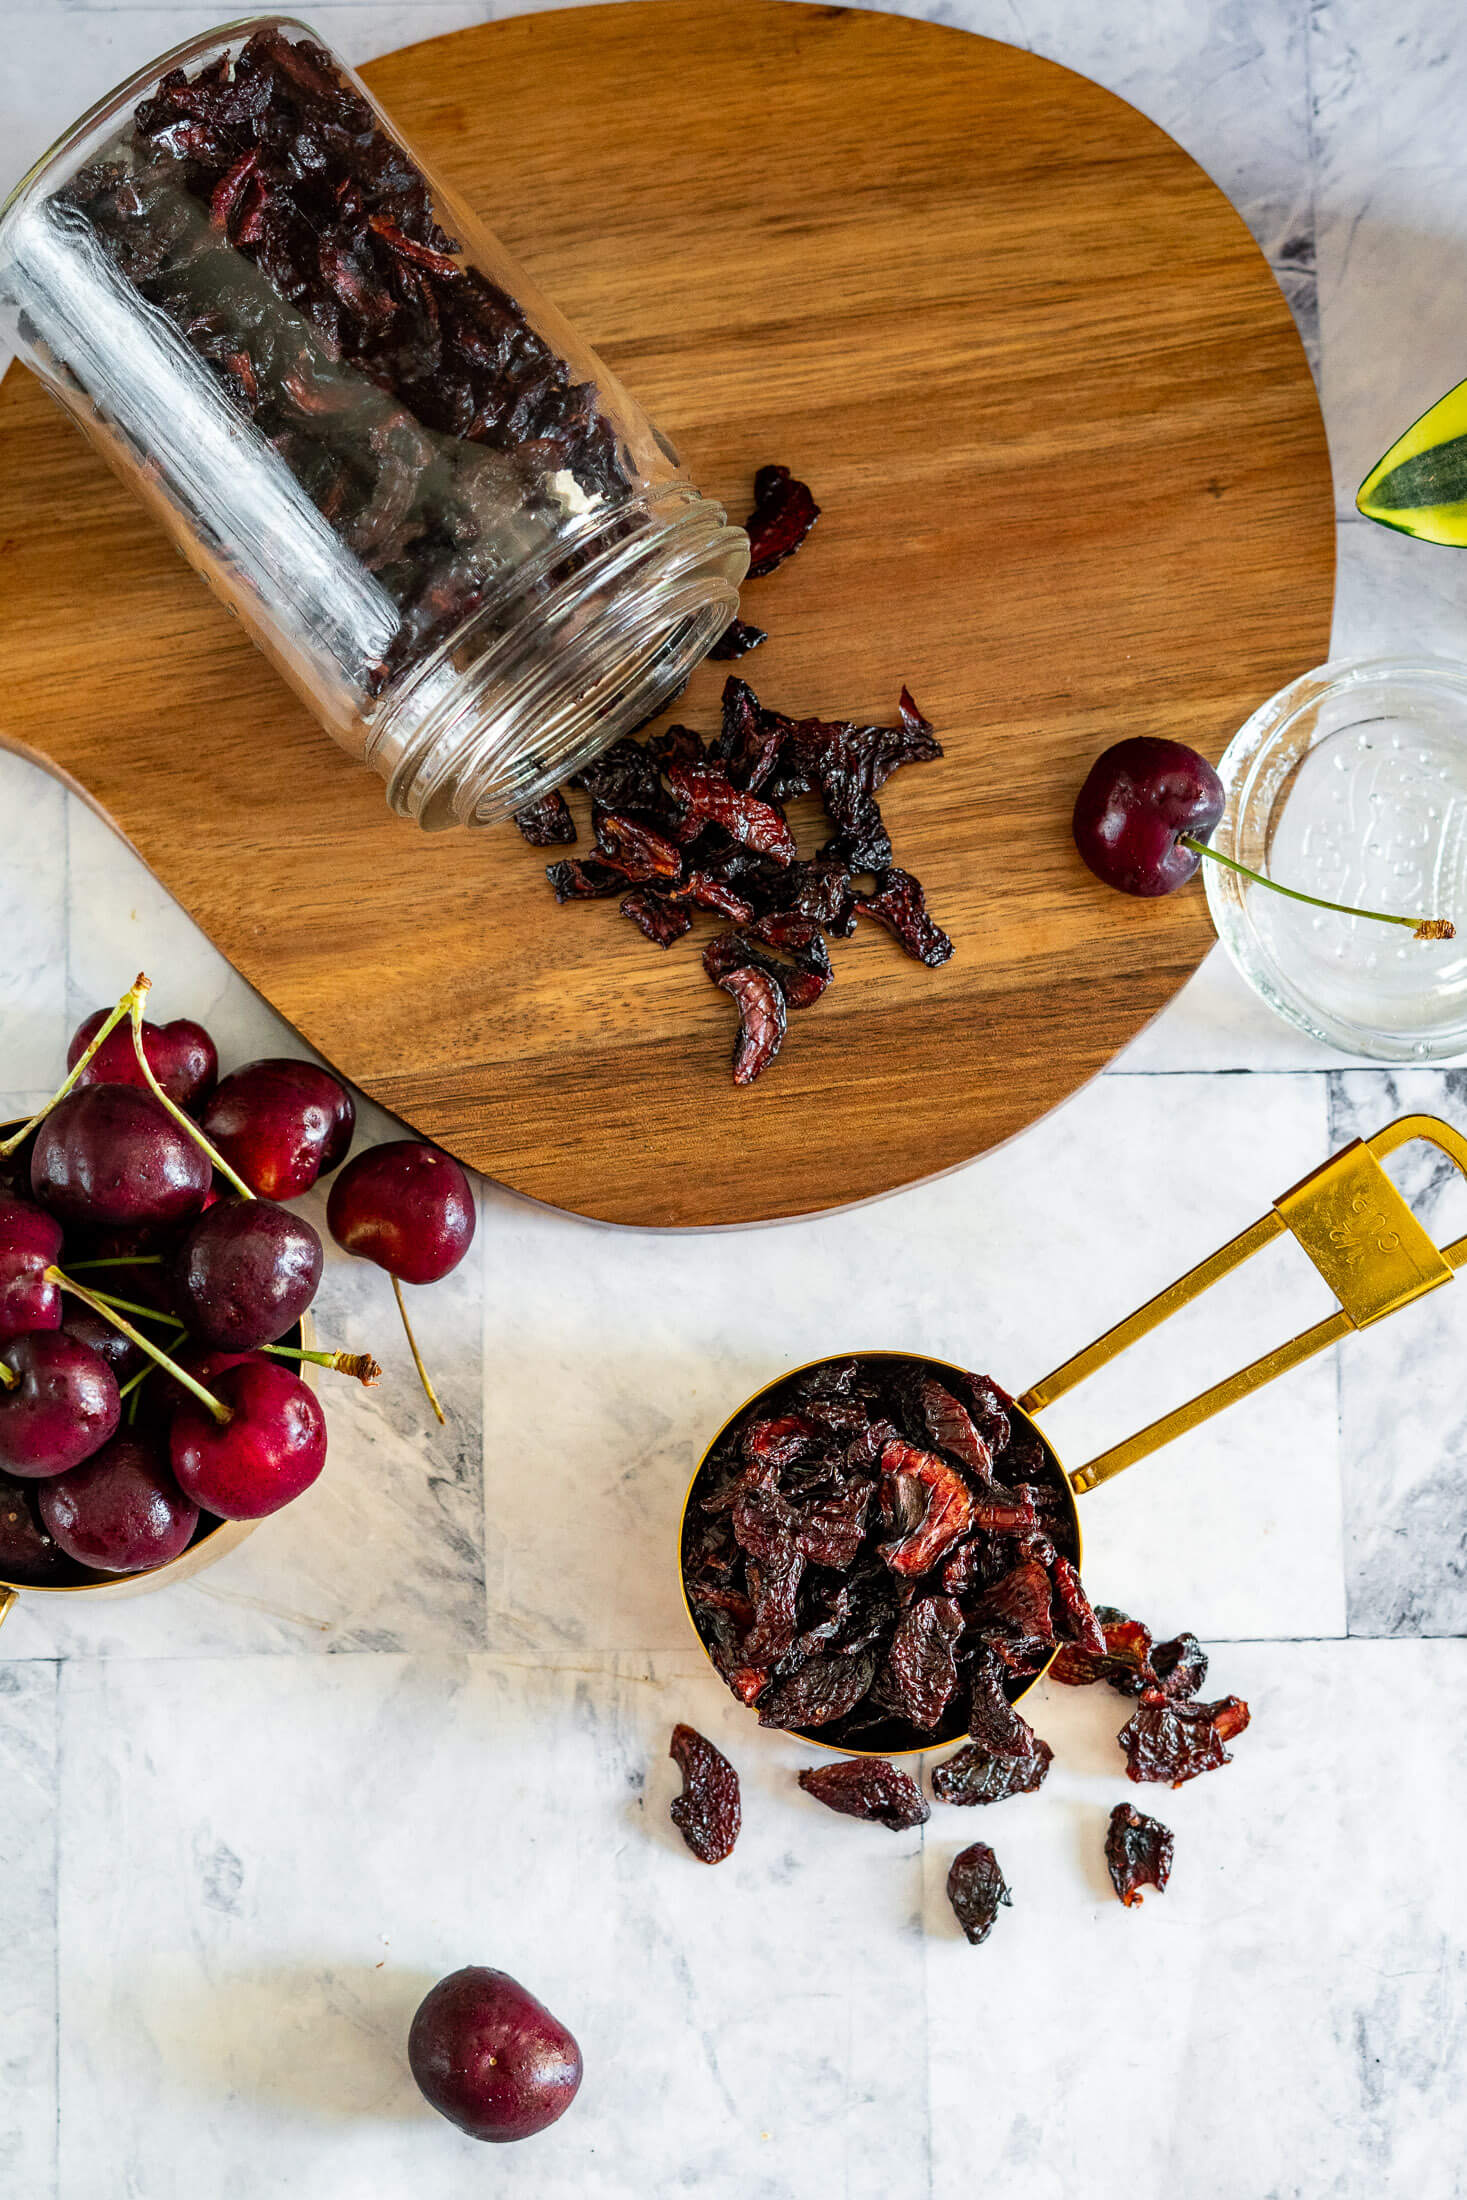
- Step 8: Dehydrate cherries at 135f until completely dry, this usually takes 14-18 hours. Test for doneness hourly starting at hour 14 by removing a few pieces and allowing them to cool to room temperature before testing them out. Properly dried cherries should be leathery, pliable, slightly sticky, and reminiscent of raisins. When cut open, they’ll be tacky but shouldn’t release moisture when squeezed.
Depending on the size of the pieces, the moisture content, your dehydrator, and humidity level, they may take more or less time.
Pro Tip: I have and love(!) TWO (!!) 9 rack Excalibur dehydrators. They’ve got a 24-hour timer and very precise temperature controls so they’re great for dehydrating various foods.
Store + Condition:
- Step 9: Once the cherry pieces are completely dried, allow the racks to cool in the dehydrator for 30-45 minutes before transferring to long term storage containers. This allows the heat to dissipate and reduces the chances of condensation forming in your storage container.
- Step 10: While the dried cherry pieces are in storage containers, shake the jar each day or so for the first week and observe the container for signs of moisture:
- If there are no signs of moisture, the cherries are ready for long term storage.
- If there is evidence of moisture in the container, you must add the cherries back to the dehydrator and dry it longer. After they’ve been dried the second time, you’ll need to go through the conditioning process again.
Note: Conditioning isn’t optional if you’re storing the cherries long term.

Expert Tips
- Think small. It’s a bit more hassle when you’re packaging, but storing dried cherries in smaller jars or containers is better. Because the dehydration process removes so much volume, a lot of cherries fit in one jar. Larger jars mean more opening and closing as you work through your stash, exposing your fruit to moist air that can degrade the quality.
- Buy ripe, dry ripe. Cherries don’t keep ripening once they’re off the tree, so the fruit you buy at the store or fruit truck is as ripe as it will ever be. Pick out the darkest, sweetest, plumpest, most fragrant cherries you can find. Any flaws going into the dehydrator just get intensified, not fixed.
- Trust your pitter. I resisted buying a single use tool for years and just pitted my cherries by hand, but my spring-loaded cherry pitter earns its shelf space every season now! If you’re processing more than a couple of cups, a dedicated pitter turns a tedious task into a quick one, though the beer bottle and straw trick do work in a pinch.
Why This Recipe Works
Checking cracks the skin for faster more even drying. Cherries have a natural coating that helps to trap moisture inside, which is good for fresh eating but not for dehydrating. Briefly blanching them creates cracks in the skin that improves heat penetration, airflow within the pieces, and improves results in the dried fruit. Skipping checking can lead to case hardening, which is when a hard shell forms on the outside while the moisture stays trapped within the fruit.
Uniform pieces dry at the same rate. Cutting your cherries into consistent halves or quarters rather than a mix of sizes means every piece loses moisture on a similar timeline. This prevents you from wondering if the larger pieces are done while the smallest are dried into cherry rocks.
Moderate heat protects color and antioxidants. Cherries get their vivid color from anthocyanins, which are natural pigments that are heat sensitive. These anthocyanins remain stable below 60°C (140°F), so this recipe keeps the temperature just below the degradation point at 135°F. This low, steady heat, rather than a hot, fast dry, keeps the cherries vibrant rather than brown.
Dehydrating Cherries FAQs
Yes, cherries are one of the better fruits for dehydrating. Their natural sugar content concentrates as the moisture evaporates, leaving you with chewy, raisin-like pieces with intensified flavor.
Properly dried, conditioned, and stored cherries are best used within about 12 months. The two largest factors affecting storage life are: making sure the cherries are completely dry (not just the outsides) and conditioning them before storing long-term to ensure no moisture in the jar to form mold.
I, personally, like to store my dehydrated cherries in glass jars and vacuum seal them in my Avid Armor USV32 chamber vacuum sealer. It works amazingly at removing air from the mason jars, giving my dehydrated goods a longer shelf-life. From there, they go into the storage room in the basement, where they’re protected from temperature swings, sunlight, and heat.
Absolutely, but you must thaw and drain off any excess juice.
The bonus is that the freezing process does the same as checking. As the liquids inside the cherry freeze, ice crystals form, puncturing the skin (and all other cells), which is why when thawed they are softer and leak all their juice out.
It’s best if you can have the cherries pitted and halved/quartered before freezing, as it’s quite difficult to wrangle either frozen fruits or thawed fruits.
You can, but… whole cherries take much longer to dry. I prefer quartered cherries because the smaller pieces dry more quickly and are easier to check for doneness. Whole cherries can be dried successfully, but expect a much longer drying time and are prone to case hardening.
Drying Cherries Without A Food Dehydrator
If you don’t have a dedicated food dehydrator, your oven may have a dehydrate setting. If you have a dehydrator oven, follow the steps as above, but instead of placing the cherries on the racks meant for the dehydrator, place them on wire mesh cooling racks set over top cookie sheets or parchment paper lined baking sheets.
If your oven doesn’t have a dehydrator setting, you can still dry cherries at home – though they need a lot more babysitting.
Set your oven to the lowest temperature possible – if higher than 150f, prop the door open with a wooden spoon to allow humidity to escape. Then, after following the preparation steps above, spread the sliced cherries skin side down (cut side up) on a parchment lined baking sheet.
Place the baking sheet in the oven and allow cherries to dry for 8-10 hours, though it may take longer. Don’t be tempted to increase the heat as you’ll cook them, dehydrating should be done at a low temperature.
Cherries are done when they feel dry and leathery.
How To Rehydrate Cherries
Although dried fruits are most often eaten in their dried state, they can easily be rehydrated. The steps to rehydrate dried cherries are the same as most dehydrated foods – add desired amount of cherries to a heat safe bowl and add enough boiling water to just cover and allow to stand around 10 minutes or so. They can also be reconstituted by soaking in fruit juice.
You’ll know the cherry pieces are rehydrated when they are nearly the same size as they were before going into the dehydrator.
If you’re adding dehydrated cherries to baking recipes, just toss them into the recipe as you would raisins and the recipe will do the work for you!
More Dehydrating Recipes To Try



Converting Fresh To Dried
Dehydrating removes around 90% of the moisture in the cherries so the weight drops drastically, the cherry pieces themselves will also shrink in size.
The conversion from fresh to dried is going to be different for each way you prepare your cherries. I usually find that 1/4 cup dried quartered cherries = 1 cup fresh quartered cherries. If you choose to halve them, you’re probably looking at about 1/3 cup dried halved = 1 cup fresh.
My favorite way to determine the conversion is to fill the top rack of my dehydrator with 2 cups of prepared cherries, and then measure the resulting volume after dehydrating and divide by 2. Then I write the conversion for that batch on a strip of painters tape and stick it to the side of my jar. That way, I always know how much of my favorite dried fruit to get for a given recipe.
Using Dried Cherries
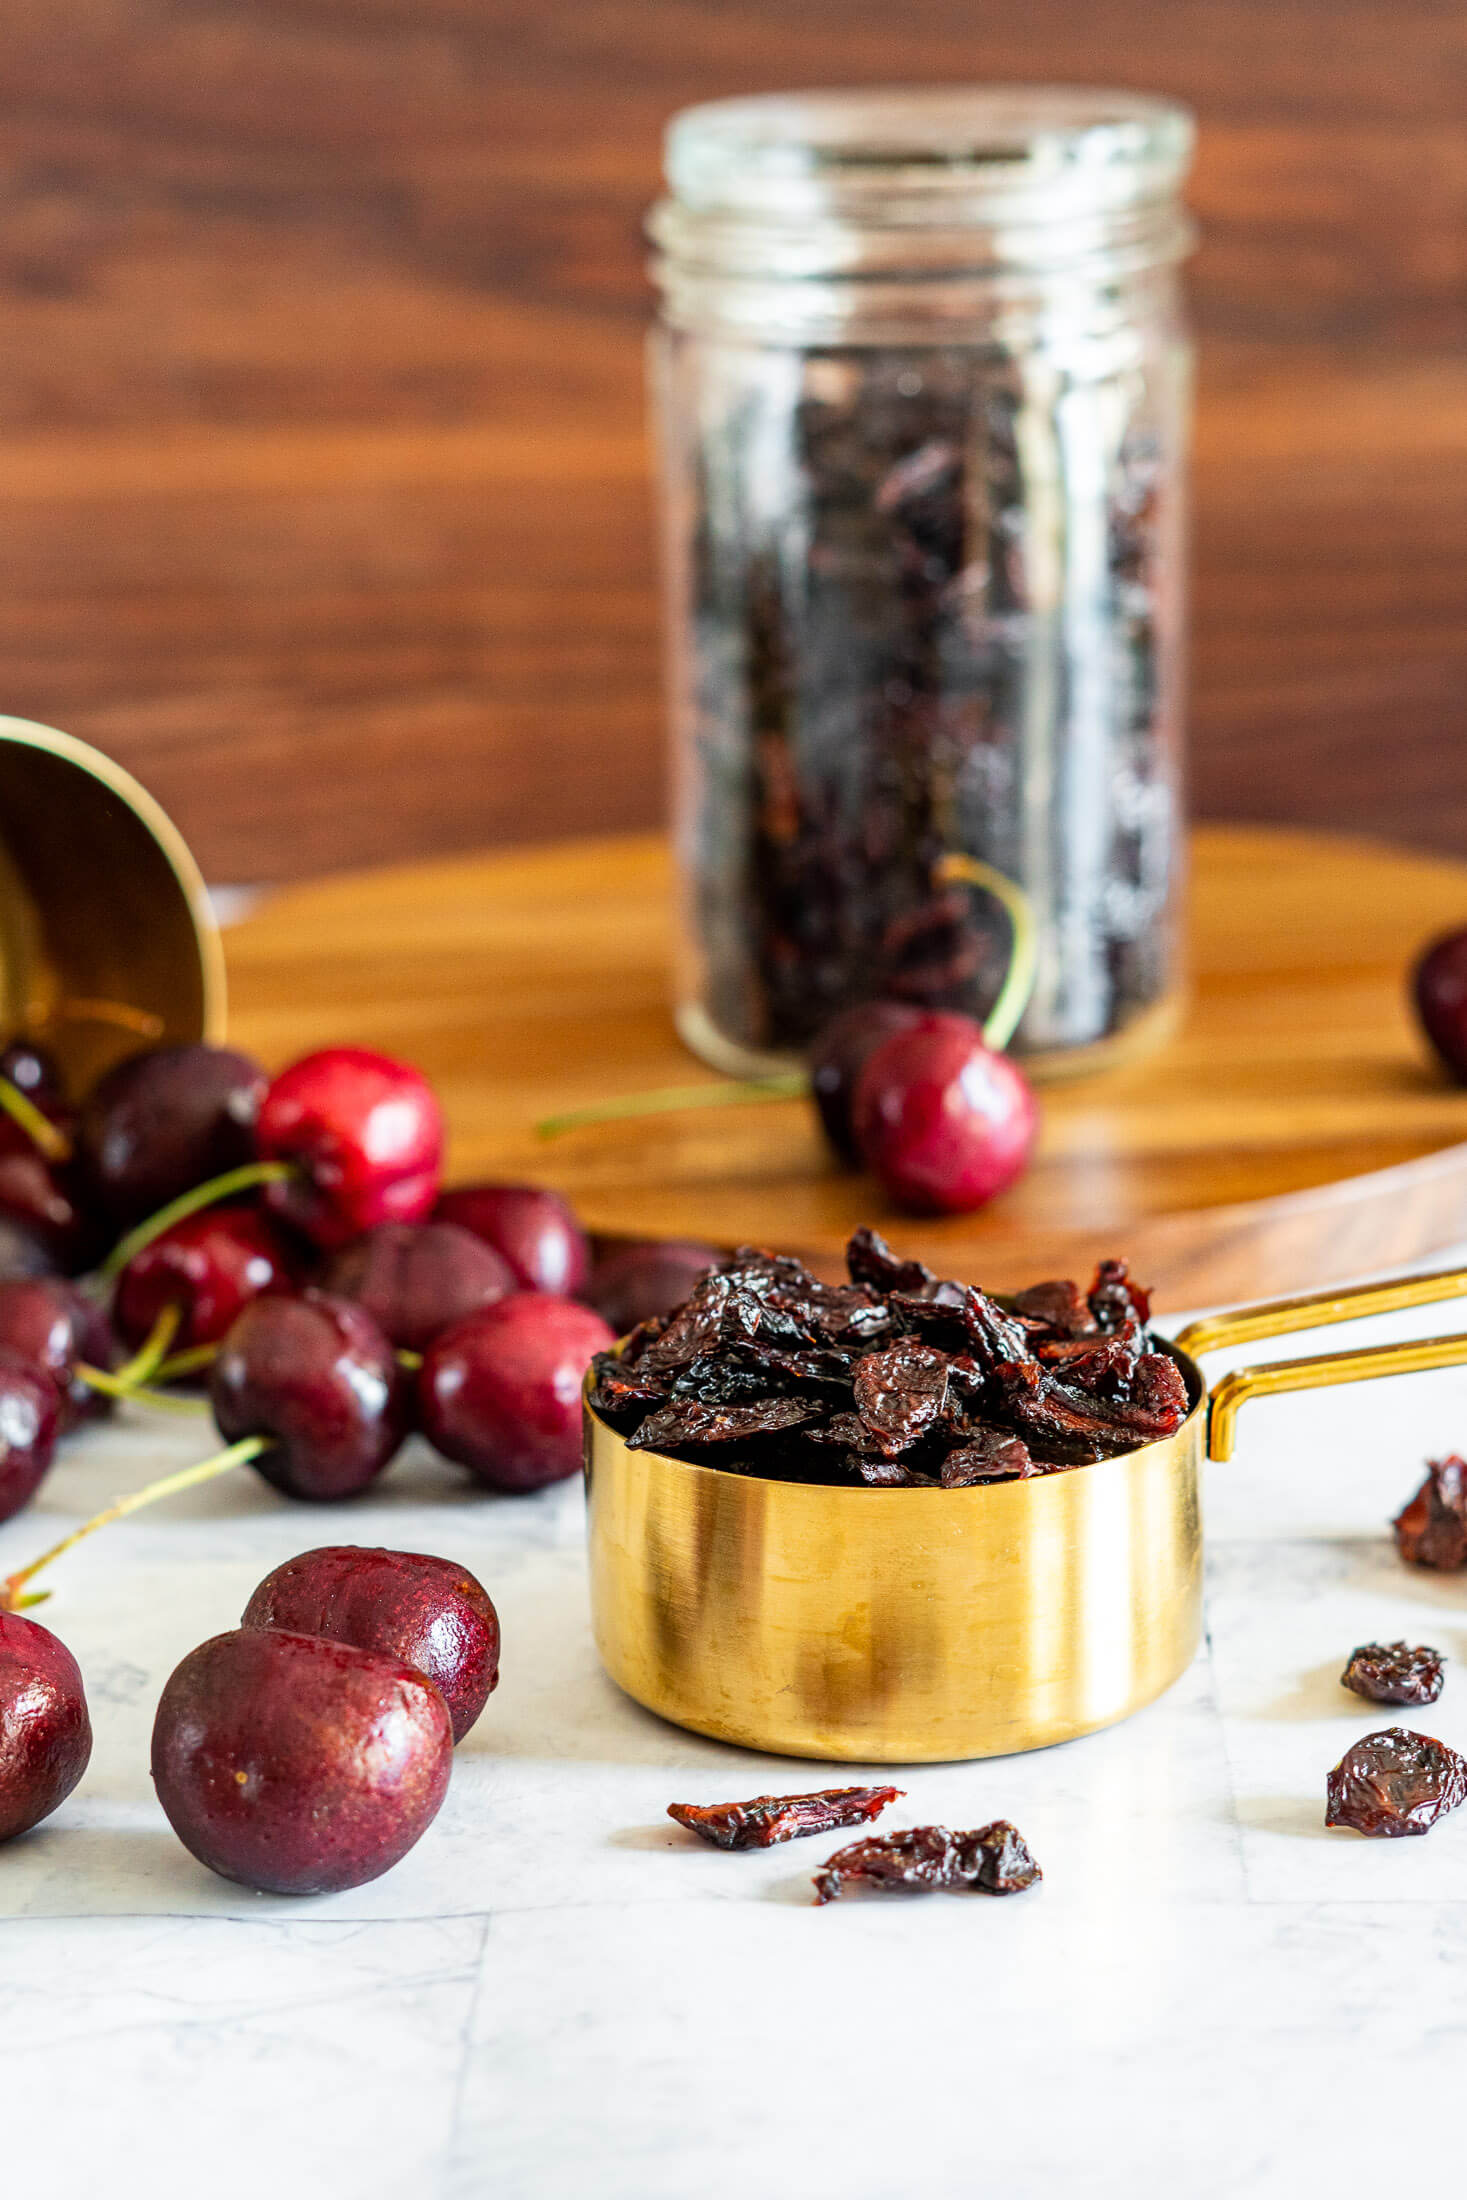
These dried cherries can be used exactly like raisins! The texture won’t be quite the same, but the flavor is there.
Use your dehydrated cherries:
- in baked goods like cookies, cakes, and breads.
- to top your oatmeal, homemade yogurt, or cereal.
- in trail mix.
- add to salads.
- eat them by the handful.
Try Dried Cherries In These Great Recipes:


Reducing Drying Time
Drying time matters with cherries, the longer they take to dry, the more their flavor and texture can change.
Cut into uniform pieces. Whether you choose whole, halved, or quartered cherries, keeping the pieces similar in size helps them dry at the same rate.
Leave space between pieces. Arrange cherries in a single layer with room between. Good airflow around each piece helps moisture to escape.
Watch the humidity. High humidity can significantly increase drying time. If the air in your home is humid or you’re drying on a rainy day, they can take longer than expected.
How To Pit Cherries Without A Pitter
Using a cherry pitter is nice, but if you don’t have one there are other options!
- Use a small pairing knife and cut the cherries in half to remove the pit. This method works great as they are already halved but, it is more time-intensive and definitely messier!
- Use the beer bottle and straw trick:

- Step 1: Place the cherry stem side up on an empty beer bottle.

- Step 2: Using a stainless steel straw, chopstick, or kebob stick, punch through the top of the cherry and the pit will fall into the beer bottle below.
More Dehydrating Recipes To Try
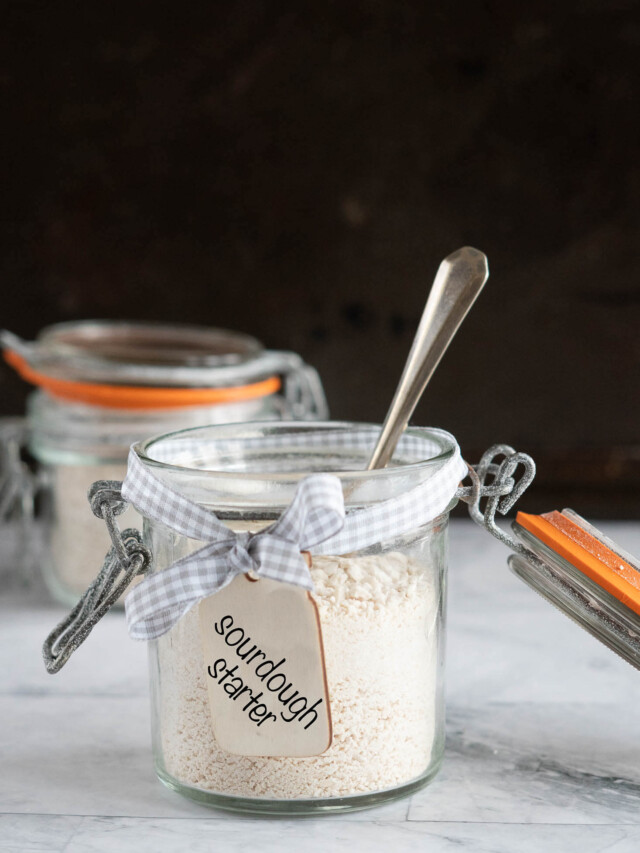
- How To: Dehydrate Sourdough Starter
- How To: Dehydrate Bell Peppers
- How To: Dehydrate Carrots
- How To Dehydrate Potatoes



If you tried this Dehydrated Cherries recipe or any other recipe on my blog, please leave a 🌟 star rating and let me know how it went in the comments below. Thanks for visiting!
📖 Printable Recipe
Dehydrating Cherries
Ingredients
- 4 cups sweet cherries, fresh
Instructions
Prepare Cherries:
- Rinse 4 cups cherries under warm running water, remove stems.
- Inspect cherries and discard any with mold, bruises, or damaged spots.
*Optional: Check The Cherries:
- Set a wide, heavy bottomed pot with 2-3" of water over medium heat and bring to a boil. Meanwhile, prepare an ice bath.
- Add cherries to the water, in 2-cup batches, and boil for 30 seconds.
- Remove and plunge into a cold water bath immediately before straining and spreading on a clean kitchen towel.
Pit And Slice:
- Once cherries are cleaned and dried, they can be pitted.
- Slice pitted cherries as desired. I like to quarter my cherries before dehydrating, but you may prefer halves.
Dehydrate Cherries:
- Spread prepared cherry pieces on dehydrator trays, it's important to keep it in a single layer to improve drying time, efficiency, and consistency.
- Dehydrate cherries at 135f until completely dry, this usually takes 14-18 hours. Test for doneness hourly starting at hour 14 by removing a few pieces and allowing them to cool to room temperature before testing them out. Properly dried cherries should be leathery, pliable, slightly sticky, and reminiscent of raisins. When cut open, they'll be tacky but shouldn't release moisture when squeezed.Depending on the size of the pieces, the moisture content, your dehydrator, and humidity level, they may take more or less time.
Store + Condition:
- Once the cherry pieces are completely dried, allow the racks to cool in the dehydrator for 30-45 minutes before transferring to long term storage containers. This allows the heat to dissipate and reduces the chances of condensation forming in your storage container.
- While the dried cherry pieces are in storage containers, shake the jar each day or so for the first week and observe the container for signs of moisture.
- If there are no signs of moisture, you're good to go, place them in a cool dark place for long-term storage!
- If there is evidence of moisture in the container, you must add the cherries back to the dehydrator and dry it longer. After they've been dried the second time, you'll need to go through the conditioning process again.
Notes
Expert Tips
- Think small. It’s a bit more hassle when you’re packaging, but storing dried cherries in smaller jars or containers is better. Because the dehydration process removes so much volume, a lot of cherries fit in one jar. Larger jars mean more opening and closing as you work through your stash, exposing your fruit to moist air that can degrade the quality.
- Buy ripe, dry ripe. Cherries don’t keep ripening once they’re off the tree, so the fruit you buy at the store or fruit truck is as ripe as it will ever be. Pick out the darkest, sweetest, plumpest, most fragrant cherries you can find. Any flaws going into the dehydrator just get intensified, not fixed.
- Trust your pitter. I resisted buying a single use tool for years and just pitted my cherries by hand, but my spring-loaded cherry pitter earns its shelf space every season now! If you’re processing more than a couple of cups, a dedicated pitter turns a tedious task into a quick one, though the beer bottle and straw trick do work in a pinch.

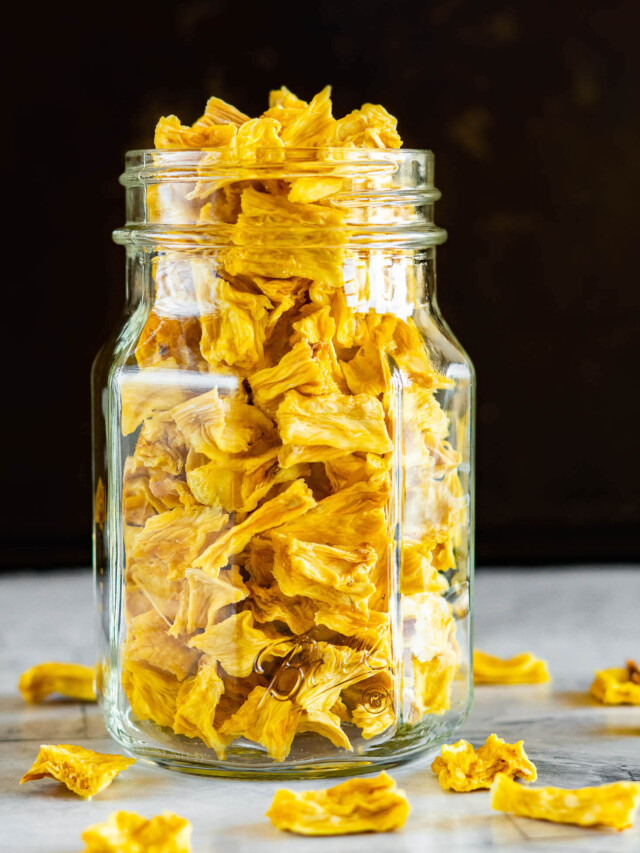


My dehydrated cherries turned out chewy, sweet, and packed with flavor. I’ve been snacking on them nonstop, they go great in baking and even in homemade trail mix, definitely a favorite way to preserve cherries!