Banneton Alternatives

Looking for banneton alternatives for sourdough and artisan bread? This complete guide explores the best DIY proofing basket options you already have at home.

If you’re here, I can tell things are getting serious between you and sourdough.
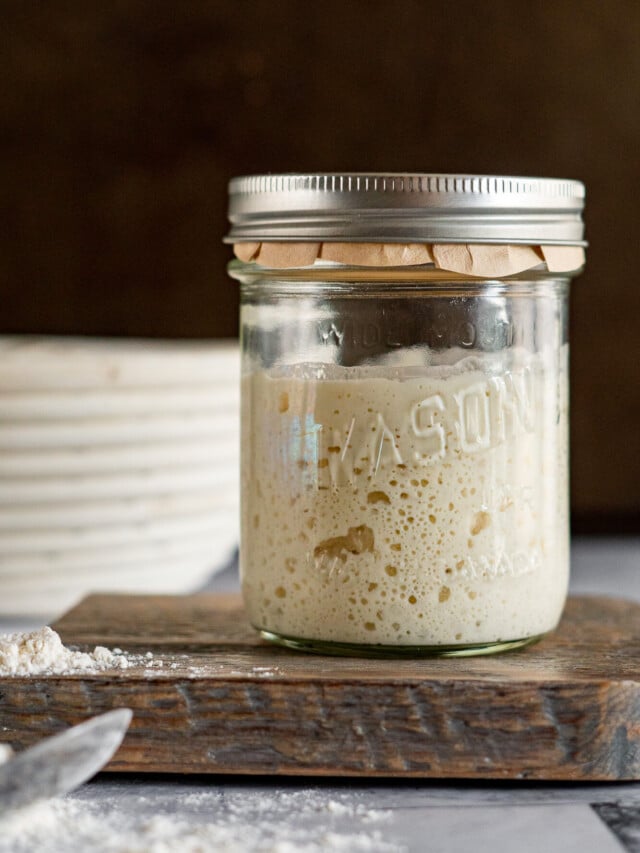
You’ve been nurturing your starter and picked the best sourdough starter jar, you’re dabbling in cold fermenting dough in the fridge and you know exactly what bulk fermentation is.
But you’ve been holding out on picking up a banneton, maybe you’re chock full of kitchen stuff, or you’re a minimalist. Whatever the reason, there are options here for you!
This guide to banneton alternatives is dedicated to getting serious.
Jump to:
What Is Proofing?
Before we delve into proofing basket alternatives, we should get a clear idea on what proofing bread dough actually is and why it’s critical for good sourdough.
In both regular (yeasted) bread making and sourdough baking, proofing refers to the rise after shaping. During yeasted baking it’s often called the final rise. This is not the same process as bulk fermentation – which starts as soon as all the ingredients are combined.
During the proofing process, the shaped dough is allowed to rest and rise, usually until it doubles in size. This allows the yeast to do its job, creating carbon dioxide gas, stretching the gluten in the dough, and trapping the gas in bubbles within the bread.
This step is critically important for all bread and leavened goods, to give them a light, airy texture, not to mention the flavor! Without proofing, our bread would be flat, dense, and taste bland.

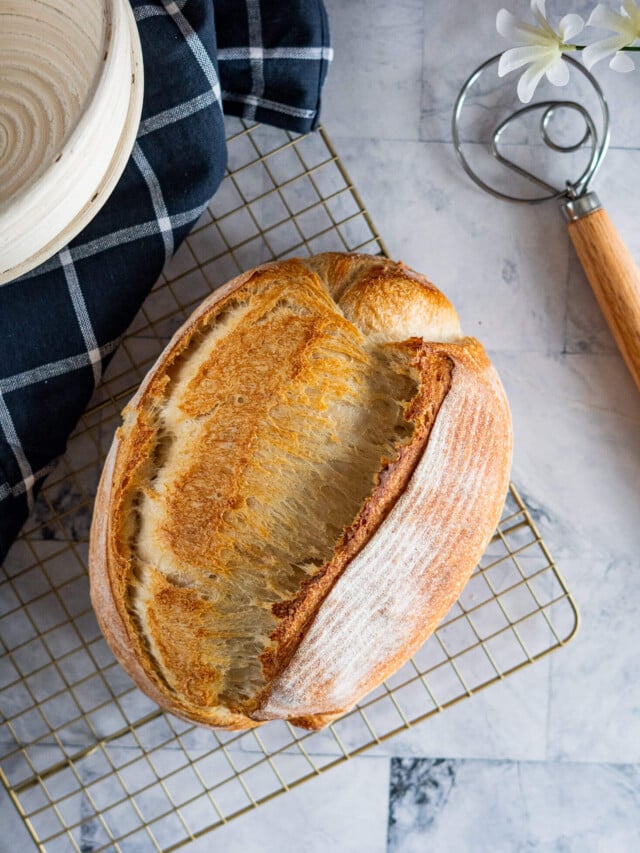
Purpose Of A Banneton
Banneton baskets (or simply bannetons) are also known as brotforms and proofing baskets. While they are not specifically necessary to bake beautiful artisan bread, they are definitely helpful in achieving perfect loaves.
Proofing baskets are most often used with sourdough bread but can also be used with yeasted doughs as well.
The purpose of a banneton basket is help to add shape and structure to the bread dough during the final rise or proofing process. The gluten in bread dough has the tendency to relax while proofing, which is great because it allows the dough to rise but it also allows the dough to spread! Keeping the dough in a container that limits the spread encourages the dough to rise higher.
Bannetons also add a decorative element to the crust of your sourdough bread as well, you can always tell what sourdough loaves were proved in an unlined banneton because they have that distinctive swirl pattern in the crust.
These proving baskets are designed to allow airflow around the loaf during the rising process, but are not meant to bake in! Your basket should never, ever see the oven! After proofing, the dough is turned out of the basket, scored, and baked in a preheated oven.

Do You Need A Banneton To Make Sourdough?
Heck no!
Most of my early sourdough baking was done without a banneton, and I used some interesting techniques to skirt my lack of proofing baskets. Like in my small batch sourdough, where I shape my boule and proof it in a stockpot!
They all worked! But I will make it no secret that I feel that the outcome of my bakes improved substantially once my mom gifted me a couple of bannetons (and then I subsequently bought more).
Bannetons are purpose built and that means they excel at what they do. Alternatives can work, absolutely, and if that’s what you’re working with, don’t worry – you’ll still be able to bake some beautiful bread.

Banneton Alternatives
Maybe you have limited kitchen space, or maybe you live in a small town with few places to buy eccentric items like banneton baskets, or maybe you’re just dabbling in sourdough to see if you like it before jumping in.
If you’re wondering what can you use as a banneton, I’ve got you covered! We’re going to make a DIY proofing basket, because you definitely can make sourdough without a banneton.
Bowl
Stainless steel, glass, ceramic, whatever you have that’s food safe and large enough to handle the dough volume will work!
Make sure to line your bowl with a lightweight fabric tea towel or napkin.
If you’re using this method, it’s important to sufficiently flour the towel before adding the dough – otherwise you can end up in a sticky wicket. Literally! After a long proof, sourdough can be very tacky and stick to the towel (ask me how I know) and that can ruin all your hard work.
Verdict: 3/5. Function wise, this option meets the need to hold the dough so it rises upwards but lacks airflow. Can be difficult to “unstick” the dough from the towel causing frustration.

Stockpot
I’ve had great luck with this method, especially in the very beginning of my sourdough journey – when I was learning the ropes – this was especially foolproof because it lacked the urgency of flipping, scoring, and the coordination that went along with it.
Instead of lining the stockpot with a floured tea towel, I’d make a sling out of parchment paper, shaped and formed my boule, then placed it seam side down on the parchment paper. The parchment paper was then placed inside the pot and the dough was allowed to rise right there.
When ready to bake, I’d simply remove the dough by lifting the parchment paper sling after scoring my dough, then lowering it into my preheated dutch oven.
Verdict: 3.5/5. Like the bowl, this meets the need of structure, but lacks sufficient airflow for optimum performance. Because the dough gets baked right on the parchment, there is no frustration in flipping or unsticking.

Colander
One of the things that makes bannetons so great is their ability to allow airflow around the dough. This is responsible for blisteringly beautiful crusts and big old sourdough ears.
The airflow helps to “dry” the outer layer of the dough slightly giving your dough that signature sourdough everything; from jagged seams, to crackling, bubbled crusts.
For this reason, colanders can do well – BUT, it’s important to consider what kind of colander you’re using if you’re looking for high quality airflow. A mesh colander would be best, while a much sturdier mostly chrome colander with few large holes and a lot of solid space is going to give your loaf a dappled effect.
Verdict: 4/5. Some colanders are better than others. If you have a mesh colander, use that one for optimal results. The airflow in this option is better than the bowl and stockpot, but may not be consistent.

Wicker Basket
A towel lined wicker basket is a fantastic option for a banneton alternative. If you’re lucky enough to find a round or batard shaped wicker basket in the right size around the house, I’d say you’re off to a great start.
Wicker baskets have fantastic airflow and when lined with a floured linen or flour sack towel can absolutely work. The struggle with this option will be to find the right size and shape, but keeping your eye out at thrift stores and yard sales is a great way to find what you need.
Unless you find a “food safe” wicker basket, I would be very hesitant to use one to proof dough without a liner. Ditto if the wicker isn’t washable.
Verdict: 4.5/5. This option is the closest you’ll get to a real banneton and likely much cheaper. It loses some points because there are no guarantees you’ll find it in the right size or shape, or that you’ll be able to find a food safe option.

Couche
A couche (pronounced “koosh”) is a thick, heavy linen cloth that provides support and helps maintain the shape of the dough during its final proofing stage, particularly for baguettes and other long, slender loaves.
The fabric’s natural fibers absorb excess moisture from the dough’s surface, promoting a crisp crust while preventing the loaves from sticking to each other or losing their shape.
To use a couche, bakers dust it with flour, then create folds or pleats to separate and cradle each loaf of dough, ensuring they hold their form until they are ready to be baked.
Verdict: 3/5. While a couche is perfect for allowing airflow around the loaves during proofing, it lacks the substance to hold your taller loaves, like boules and batards firmly and encourage upward rise.

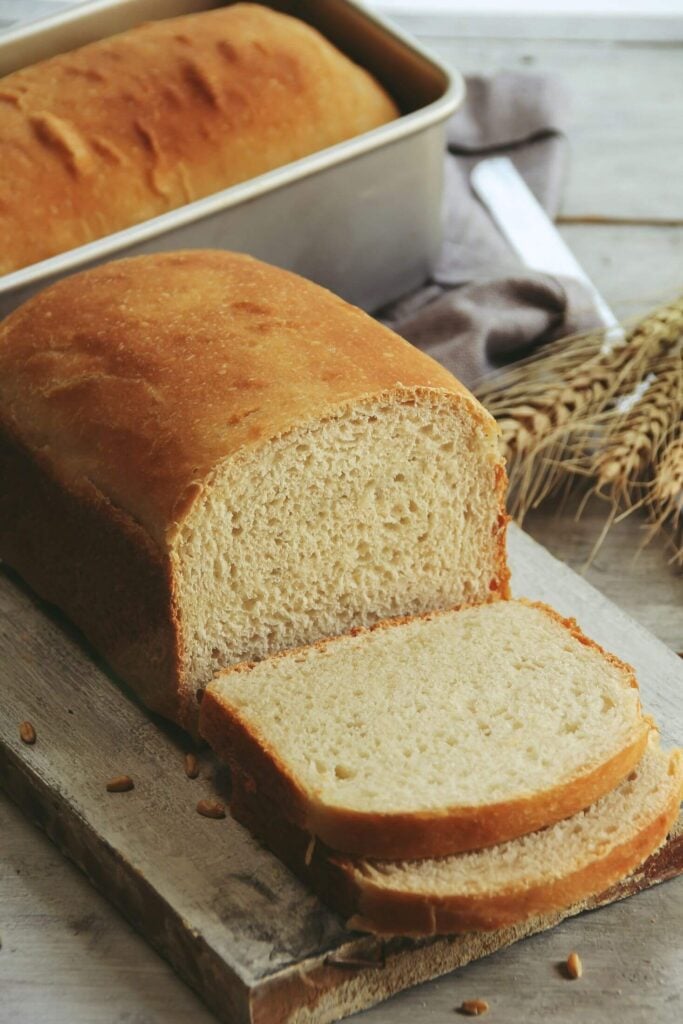
Loaf Pan
This method is very similar to the stockpot option. Only you’ll be shaping your loaf before placing it into a greased loaf pan to proof before baking.
The bonus here is that you’ve got sandwich bread ready to go. This method works best with higher hydration loaves than lower.
Verdict: 3.5/5. Like the bowl, this meets the need of structure, but lacks sufficient airflow for optimum performance. Because the dough gets baked right inside the loaf pan, you’ll skip the stress of your dough potentially sticking to your towel.
Expert Tips
- In almost each use case, I mention a towel. It’s important to use the right kind of fabric covering when using something other than a banneton that’s meant to be used both lined and unlined, this will prevent sticking in the vessel.
Look for a thin, lightweight fabric, like a flour sack towel or linen napkin – this will prevent it from deforming the loaf. Avoid fluffy absorbent towels like the plague – you’ll never be able to get enough flour in them to avoid the sticky-icky and it will lead to eventual heartbreak! - Opt for rice flour when flouring your liner towel. I have actually found that rice flour works the best because the moisture from the dough isn’t able to “melt it” so to speak and it creates a barrier between the tacky dough and your towel.
- If you decide to take the plunge and get a banneton (or 3 – they are addictive!) I have a great guide on banneton use and maintenance for you!


Potential Pitfalls
Don’t expect the alternatives to work as well as the real deal. Bannetons are designed to do exactly what they do, do it well, and pretty much nothing else. Using banneton alternatives instead of an actual banneton can present some potential pitfalls for sourdough and artisan bread bakers. Here are a few common issues that may arise:
- Incorrect shape: Bannetons are designed to provide specific shape and support to the dough during proofing. Alternatives such as bowls or colanders may not offer the right sizes or shapes, causing the dough to spread out or sacrifice oven spring.
- Uneven proofing: Bannetons are made from natural materials like rattan or cane, which allow for better air circulation around the dough and wicking moisture from the surface of the dough, resulting in even bread proofing. Using alternatives made of materials like plastic or metal may not provide the same airflow or moisture wicking, potentially leading to uneven proofing
- Lack of distinct patterns: One of the appealing features of using a banneton is the beautiful spiral pattern it imparts on the bread’s crust. If that’s important to you, an alternative may not be your best choice.
- Difficulty in handling: Bannetons are really easy handling, they are lightweight and easy to manipulate while alternatives may not be as user-friendly, increasing the risk of mishaps during the transfer process.
While using banneton alternatives can be a cost-effective solution for occasional bakers, I do recommend investing in a proper banneton if you’re a baker who frequently bakes sourdough or artisan breads to ensure consistent results when you proof bread.
Thoughts From The Crave Kitchen
Bannetons can be an invaluable tool for artisan bread bakers. While alternative options such as a colander, wicker basket, couche, or loaf pan can provide adequate support and shape during proofing, they will not be able to replicate the even airflow and distinct patterns provided by a traditional banneton.
My personal opinion, after having baked many hundreds of loaves is that I prefer to use a banneton to an alternative – that said, I baked for many months before I was gifted a banneton and those loaves turned out just fine.