
How To: Feed Sourdough Starter

Learn how to feed sourdough starter properly with 10 essential tips that ensure your starter remains healthy, active, and ready for baking. This comprehensive guide covers feeding ratios, storage methods, maintenance schedules, and troubleshooting techniques to help both beginners and experienced bakers maintain a thriving sourdough starter.

Can’t get enough of that sourdough tang?
The secret to consistently delicious sourdough bread lies in one crucial skill: knowing how to feed your sourdough starter properly. A sourdough starter is a living culture of wild yeast and bacteria that needs regular feeding to stay healthy and active, but the good news is that maintaining it can be as simple or involved as you want it to be.
Whether you’re brand new to sourdough or looking to troubleshoot your current routine, I’ll share my 10 essential tips for feeding, caring for, and maintaining your starter to ensure it’s always healthy and ready when you are. With a pinch of patience and a dash of dedication, you’ll master the art of starter maintenance and never want store-bought bread again!
PS. Don’t forget to check out all my sourdough recipes!
This sourdough feeding guide is dedicated to tangy, delicious bread!

Master Your Sourdough Starter In 5 Days!
From Confused To Confident.
Find success with 5 simple, actionable secrets delivered to you. No more guessing games – just clear, proven steps to a thriving starter.
Jump to:
Watch It!

Tip 1: Start With A Good Starter
There are many ways to start your sourdough journey. You can purchase dehydrated or dry sourdough starter online via Amazon, or King Arthur Flour.
OR!
You can start from scratch make an almost free sourdough starter using ingredients you have in your home! Use my great sourdough starter recipe. My recipe is quick and easy, and leverages the power of commercial yeast to jump-start your sourdough starter and get you baking sooner!
Tip 2: Feeding Sourdough Starter
Feeding Ratio And Hydration Level
Learning how to feed sourdough starter is one of the most fundamental parts of baking with sourdough. While this is not difficult, it can take a bit to get the hang of. The rule of thumb for basic sourdough starter is to feed it equal amounts, by weight, of starter, water and flour. This is considered a 1:1:1 feeding ratio.
For example: If you have 100 grams of starter, you’ll feed that with 100 grams of water and 100 grams of flour. This will result in a thick pancake batter like consistency, which can be a bit of a challenge to stir in a glass jar, so I usually mix the starter and water first, then add flour.
Feeding your starter in a 1:1:1 ratio means that your starter has 100% hydration, which is to say the same amount of flour and water in the mixture. 100% hydration also applies if you feed your starter 1 part starter to 5 parts water and 5 parts flour, or 1 part starter to 3 parts water and 3 parts flour. As long as the starter is fed equal portions of water and flour by weight at each feed.
If the starter is too dry, the yeast will need to work harder and produce more gas which can lead to over-fermentation or a “sour” taste. If the starter is too liquid, it can struggle to rise and the bubbles can be harder to spot.
100% hydration sourdough starters are appropriate for most sourdough recipes and all of my sourdough recipes are based on 100% hydration starters!


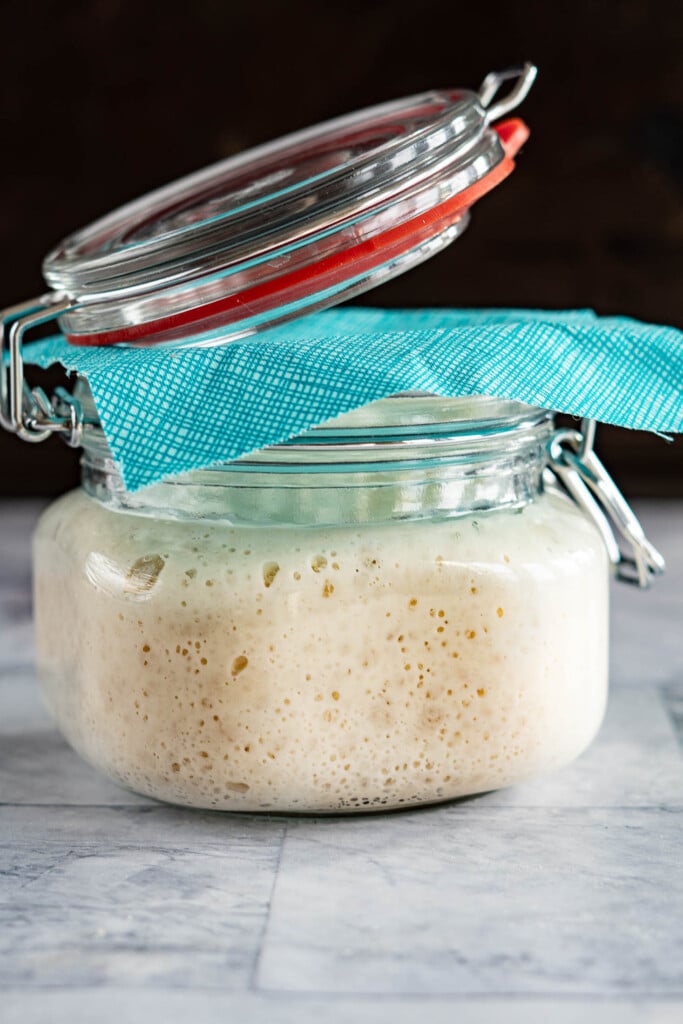
Tip 3: Get A Good Starter Jar
I literally wrote an entire treatise about starter jars, I am that passionate about this issue!
Seriously, though, choosing the right starter jar can absolutely make your sourdough journey a lot more enjoyable.
In my opinion, you should choose a clear, straight-sided jar without shoulders for easy cleaning and feeding. A wide mouth glass canning jar with a 16 - 32 oz capacity, or a food-safe plastic deli storage container work great. Look for something with a lid that can be placed on without securing the container airtight as the fermentation process creates carbon dioxide and the jar needs to be able to vent that pressure. Choose a jar that’s small enough that you can wrap a rubber band around it to mark the starter level after feeding, this can really help to visually verify that your starter has doubled when you’re new to sourdough.
I’d actually recommend having 2 of your favorite starter jars – this way you can always have a clean jar ready and send the dirty jar to the dishwasher. I always swap starter containers at each feed.

Tip 4: Determine Your Baking Schedule
While the most important part of feeding and maintaining a sourdough starter is the actual feeding, a big part of the learning curve is learning how much you’ll actually be baking with your active sourdough starter and discard. This will affect where you store it and how often you feed it.
Daily To Bi-Weekly Baker
If you plan on baking daily or a few times a week, you’ll want to keep your starter at room temperature and feed it daily. This will keep it warm and active whenever you’re ready for it! I keep mine right on my counter, but you could also store it in a cupboard.
To keep your starter alive, you’ll need to feed it around every 24 hours. You can play with the feeding schedule a bit, once you get to know your starter and how hungry it is. The starter should be fed after the culture at least doubles in size or reaches its peak and then begins to deflate.
You’ll know your starter has begun to deflate by the slide marks left on your jar!

Weekly Or Less Frequent
Busy with life? I hear you! Don’t worry though, you can bake beautiful sourdoughs as frequently or infrequently as you like.
If you’re an infrequent baker, keep your sourdough in the fridge! This slows down the fermentation time considerably and allows you to feed your starter only once a week. Due to the length of time between feeds, the refrigerated starter will likely have a dark liquid, called hooch, forming on the top, this is totally fine, stir it in and feed as required.
If keeping your starter in the fridge, simply remove it from the fridge, then stir and feed, and rest until it reaches its peak before baking.

Master Your Sourdough Starter In 5 Days!
From Confused To Confident.
Find success with 5 simple, actionable secrets delivered to you. No more guessing games – just clear, proven steps to a thriving starter.
Tip 5: Good Food
As with any recipe, a lot of the end result relies on the quality of the ingredients put in. The same goes with your sourdough starter. If you feed it with the best ingredients, your dough and bread will also be of a higher quality.
Flour: Consistency is as important here as quality. Use high-quality flour, but consistently use the same type of flour. It can be a shock to your starter to go from unbleached all purpose flour to whole wheat flour or rye flour in one feeding.
Water: Use good un-chlorinated and non-fluoridated water. I have a reverse osmosis drinking water system in my house, but I actually tend to use my softened well water. My starter loves it. Chances are your tap water will work just fine, but it your water is treated with lots of chlorine, it’s best to let it sit out in an open container overnight to allow the chlorine evaporate.
Speaking of water… if you use slightly warm water when feeding your starter, you can decrease the time to peak, likewise, you can slow down the time to peak by feeding it with cold water. This is beneficial if you sleep in on Sunday and want to bake but need your starter to go faster or when you’re baking same day sourdough and need your starter to peak first thing in the morning.

Tip 6: Regular Feedings
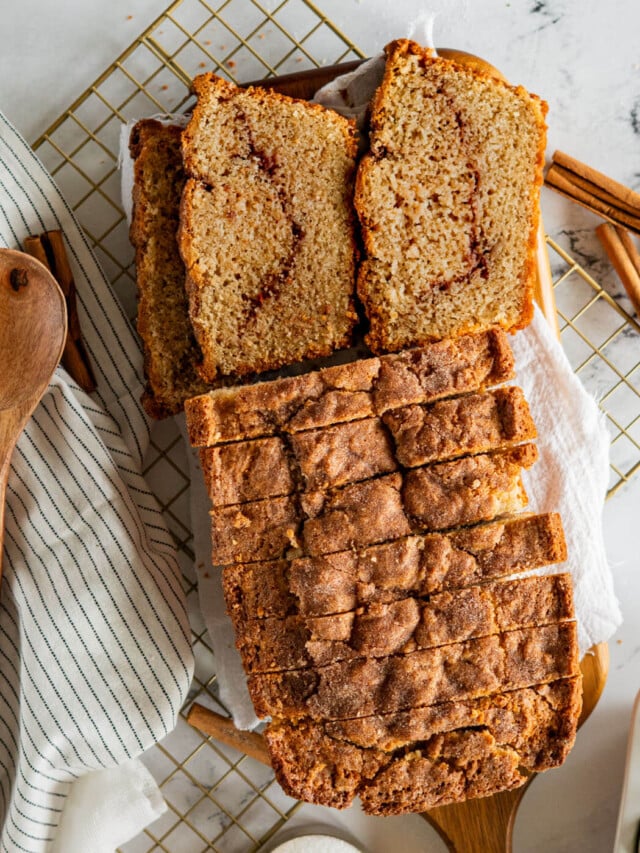
Care for your sourdough starter by feeding it when it is hungry. Feeding your room temperature sourdough every day, or refrigerated sourdough weekly will help keep the culture healthy and strong. This way, you’ll have a happy little lactic acid bacteria that can produce all sorts of wonderful things like tasty sourdough loaves or delicious sourdough cinnamon rolls for you to enjoy!
A strong starter is also less likely to succumb to bad bacteria or mold – though it does happen that your starter goes bad.

Tip 7: Don’t Forget To Discard
Now that we know the sourdough starter must be fed equal parts starter, water, and flour, I’m sure you can see how the batch of starter would grow to an unsustainable size in a quick hurry!
It’s important to feed only a small amount of starter each time you feed your starter. The remaining portion the starter is “discarded”. BUT please don’t actually throw your discard away!
Sourdough discard is a baking gem in its own right. Toss the discard into a sealed container and store it in the fridge until you have enough discard to make something delicious.
Here are some of my favorite sourdough discard recipes:


Tip 8: Keep It Warm
Sourdough starter is happiest at a temperature between 70 and 85F. Cooler temperatures can cause your starter to be sluggish while higher temperatures can see your starter being overactive and going through feedings too quickly.
In the winter, keep it in a warm place, like on top of your refrigerator. In the summer, if your house is super warm, keep it in a cooler place like a dark pantry. Just don’t forget about it!

Tip 9: Plan for Absences
If you plan on going on vacation, then you need to prepare your starter for your absence by feeding it well and placing it in the fridge. Placing the sourdough in the fridge will slow down fermentation which will lead to less production of gas so you won’t have a huge mess on your hands when you get back home!

Tip 10: Contingency Plan
Build in a contingency plan. Sometimes things go sideways and life gets in the way, and you harm your starter beyond rehabilitation. There are several ways to store contingency sourdough starters. My favorite ways to “back up” my starter are freezing, dehydrating, and storing in the back of the fridge.
You can learn more about how to safely store your sourdough starter with my 4 ways to store sourdough starter guide!

Master Your Sourdough Starter In 5 Days!
From Confused To Confident.
Find success with 5 simple, actionable secrets delivered to you. No more guessing games – just clear, proven steps to a thriving starter.
Now What?
Now that you know how to care for your sourdough starter, and have a better understanding on how it works, the next step is figuring out what to do with it!
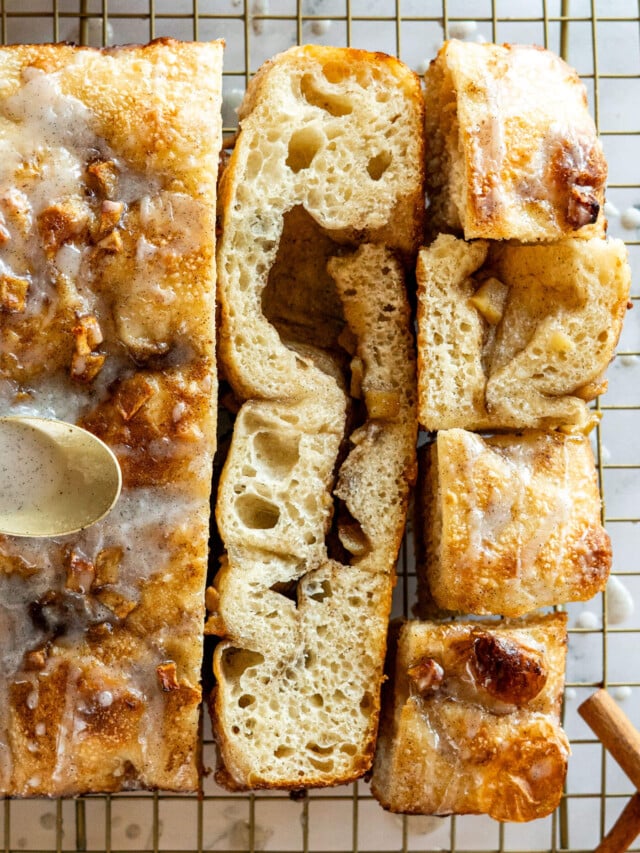
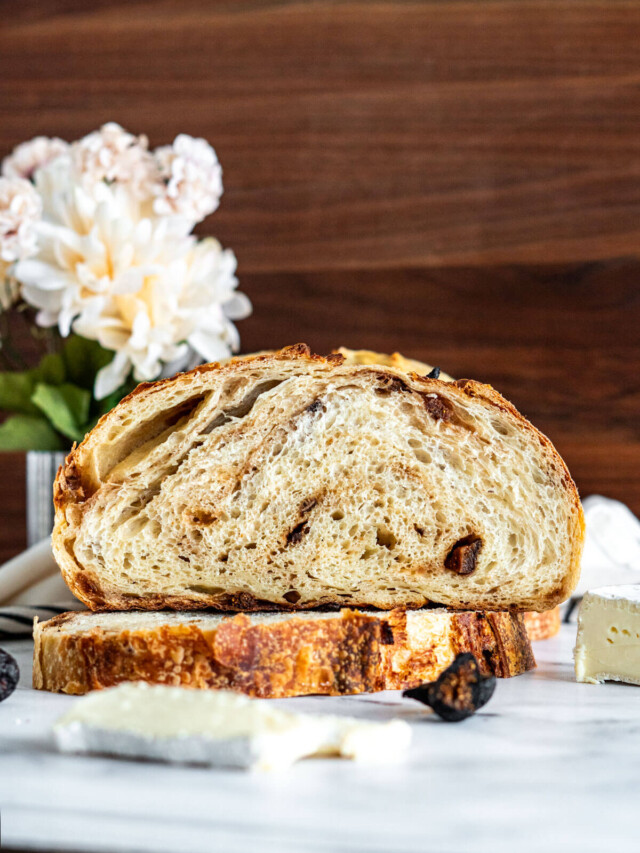
Here are a couple of my sourdough baking recipes:


If you’ve got any great tips and tricks for caring for or feeding your sourdough starter, leave them in the comments below!


When I am ready to bake a loaf of sourdough and I take out the amount of starter needed do I need to replace that amount with equal parts of flour and water? I use the cold fermentation method as I am a “less often” baker.
Hi Michelle, are you keeping a mother in the fridge and taking off a small portion to make a levain? Or do you keep one sourdough starter that you feed and use directly?
I use the single sourdough starter method, and when I feed my starter, I ensure that I have enough starter to make the recipe I want and have some left over. Then I just feed whatever is left over – if there is too much, I just discard then feed as normal.
How many times do you have to go to email & get all instructions????
Hi Jean, I’m sorry, I’m not following your question, but would love to help you out! Can you please clarify?
When feeding your fridge starter it’s important that it comes to room temp before feeding as too cold (or too hot of water during feed) can kill the bacteria you’re forming
I’ve not had this problem and I feed straight out of the fridge often. The bacteria and yeast are still present in the starter in the fridge, alive, just dormant due to the cold. It does take longer to activate cold starter but it shouldn’t kill your starter
I’ve taken my starter out of the frigerator to feed. How do I feed the starter? Do I discard first then feed equal parts flour and water? I’m very confused how to use/feed refrigerated starter.
Hey Louise, yes.
Stir the starter, then measure 50 grams into a new container, then feed that 50g with 50g water and 50g flour.
Hi, thank you for the tips.
I’m new to sourdough baking and am giving the first feeding.
How well do I mix in the flour? Do I leave it a little lumpy or mix it well? I’m just afraid of over mixing.
Hey Cathy, don’t worry about over mixing the starter! I stir mine vigorously!
Do you need to sanitize everything when feeding? Ex the mixing spoon measuring cups etc?
Hey Rachel, sourdough starter is a bit more forgiving than say a new fermented hot sauce or something to that effect, so it doesn’t need sanitized or sterilized utensils. Always use clean ones, but don’t worry about sanitizing!
I want to get into sourdough baking and a friend will be giving me some starter. So trying to read up and learn the ins and outs as much as I can. When you say to only feed a small amount and discard the rest, how much is a small amount? What do people or you typically do?
Hey Rosemary – you’re right there is a bit of a learning curve when it comes to sourdough, happy to hear you’re learning it though, I really love it.
I keep 50 to 100g of starter each time I feed. Some may keep more, some may keep less, but 50 – 100g gives me either 100g or 200g of starter to play with once it’s fed and doubled.
The reason I say small amount is that we’re feeding whatever starter we have with equal amounts of water and flour every day, so 50g of starter + 50g water + 50g flour = 150g on the second day at feeding time, if you were to not discard, you’d be feeding 150g starter with 150g water and 150g flour which would give you 450g on day 3, 1350g on day 4, and 4050g on day 5. It gets out of hand quickly and sourdough starter is hungry haha!