
Sourdough Hydration

In simple terms, sourdough hydration is the ratio of water to flour in your dough, expressed as a percentage. Most home bakers work somewhere between 65% and 80%.
And that number tells you a lot: how sticky your dough will be, how it’ll ferment, what kind of crumb you’ll get, and how challenging it will be to shape. That’s a lot riding on one little number.
This guide will walk you through everything you need to know: what hydration means, how to calculate it, which level is right for you, and what happens when you adjust it up or down. There’s also a free interactive calculator below so you never have to do the math by hand.

Jump to:
- What Is Sourdough Hydration?
- Why Express Hydration As A Percentage?
- Why Is Knowing Hydration Important?
- Baker’s Percentages
- Sourdough Starter Hydration
- Calculating Hydration Percentages
- Sourdough Hydration Calculator
- Which Hydration Level Is Right For You?
- High Hydration Dough
- Low Hydration Doughs
- What Makes Up The Hydration?
- Hydration Troubleshooting: When Things Go Wrong
- Experimentation Is Key!
- Sourdough Hydration FAQs
- Ready To Put This Into Practice?
What Is Sourdough Hydration?
Sourdough hydration is the percentage of water in your dough relative to the total weight of flour. You calculate it by dividing the weight of water by the weight of flour, then multiplying by 100.
So if your recipe calls for 350g of water and 500g of flour, your dough is 70% hydration. (350/500=0.7X100=70%)
That’s it. That’s the whole concept!

Master Your Sourdough Starter In 5 Days!
From Confused To Confident.
Find success with 5 simple, actionable secrets delivered to you. No more guessing games – just clear, proven steps to a thriving starter.
Why Express Hydration As A Percentage?
The reason bakers express it as a percentage is that it scales easily.
Once you know a recipe is 70% hydration, you can scale it up or down to any batch size and keep the ratios exactly right. It also makes it easy to compare recipes and understand why one dough behaves differently than another.
Hydration is one piece of what bakers call baker’s percentages.
Why Is Knowing Hydration Important?
Hydration isn’t just a number, it’s the variable that controls almost everything about how your dough behaves from the moment you mix it to the moment it comes out of the oven. Here’s what changes when you adjust it:
Dough Texture And Workability
This is the one you’ll feel immediately. Higher hydration means stickier, wetter, more extensible dough. Lower hydration means firmer dough that holds its shape and is much easier to handle, especially for new bakers.
As a beginner baker, I preferred working with lower hydration doughs. They tended to hold together better while I mastered the fundamentals and I had a lot less panic due to dough sticking to me, the counter, and my patience! Now that I’ve been baking sourdough for a number of years and have experimented a lot with different doughs and hydration levels, I much prefer a higher hydration dough!
Fermentation Speed
Water accelerates fermentation.
More water in your dough means the wild yeast and bacteria in your starter have a friendlier environment to work in, so things move faster. This isn’t automatically good or bad, it just means you need to watch your dough more closely at higher hydrations. A 78% dough that’s perfect at hour 5 can be overproofed by hour 6.
Crumb Structure
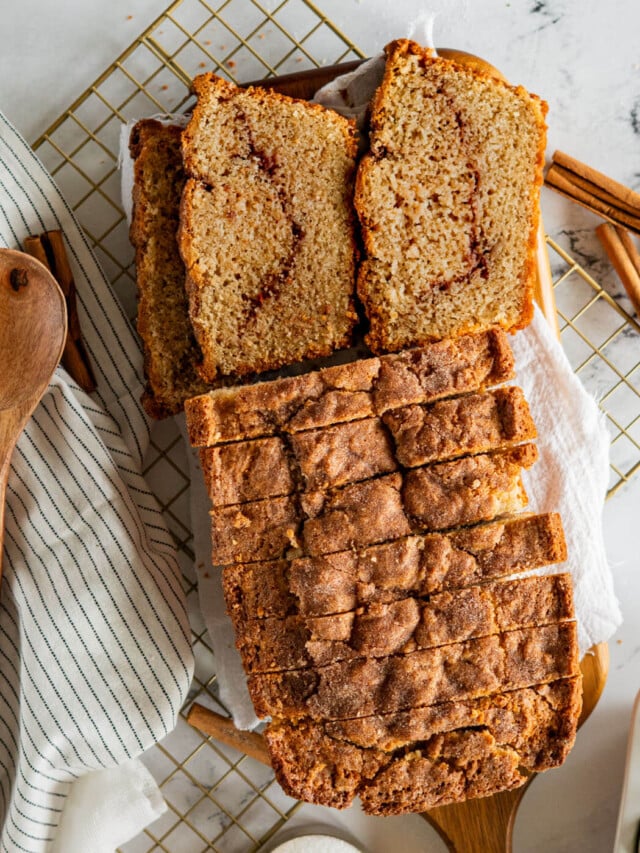
You know those gorgeous loaves with the wild, open crumb and big irregular holes? Those almost always start with a higher hydration dough. The extra water creates steam during baking and gives the gluten network more room to expand.
That said, and this is important, open crumb also relies on fermentation. I’ve seen 75% hydration loaves with a tighter crumb than a properly fermented 68% loaf.
Pro Tip: Get your bulk fermentation right first, then experiment with hydration.
Crust
Higher hydration doughs tend to produce a thinner, crispier, more shattering crust. Lower hydration gives you a thicker, chewier crust. Neither is better, it depends on what you’re making and what you like to eat.
Shaping Difficulty
The higher the hydration, the harder the dough is to shape. Wet dough wants to spread outward; it can take practice, the right technique (coil folds, gentle pre-shaping), and cold proofing to get it to cooperate.
If you’re brand new to sourdough, I genuinely recommend starting around 68-72% so you can learn to shape without fighting your dough. My small loaf sourdough is a great place to start!
Baker’s Percentages
Hydration makes the most sense when you understand baker’s percentages. In this system, flour is always 100%, no matter how much you’re making. Every other ingredient is expressed as a percentage of the total flour weight.
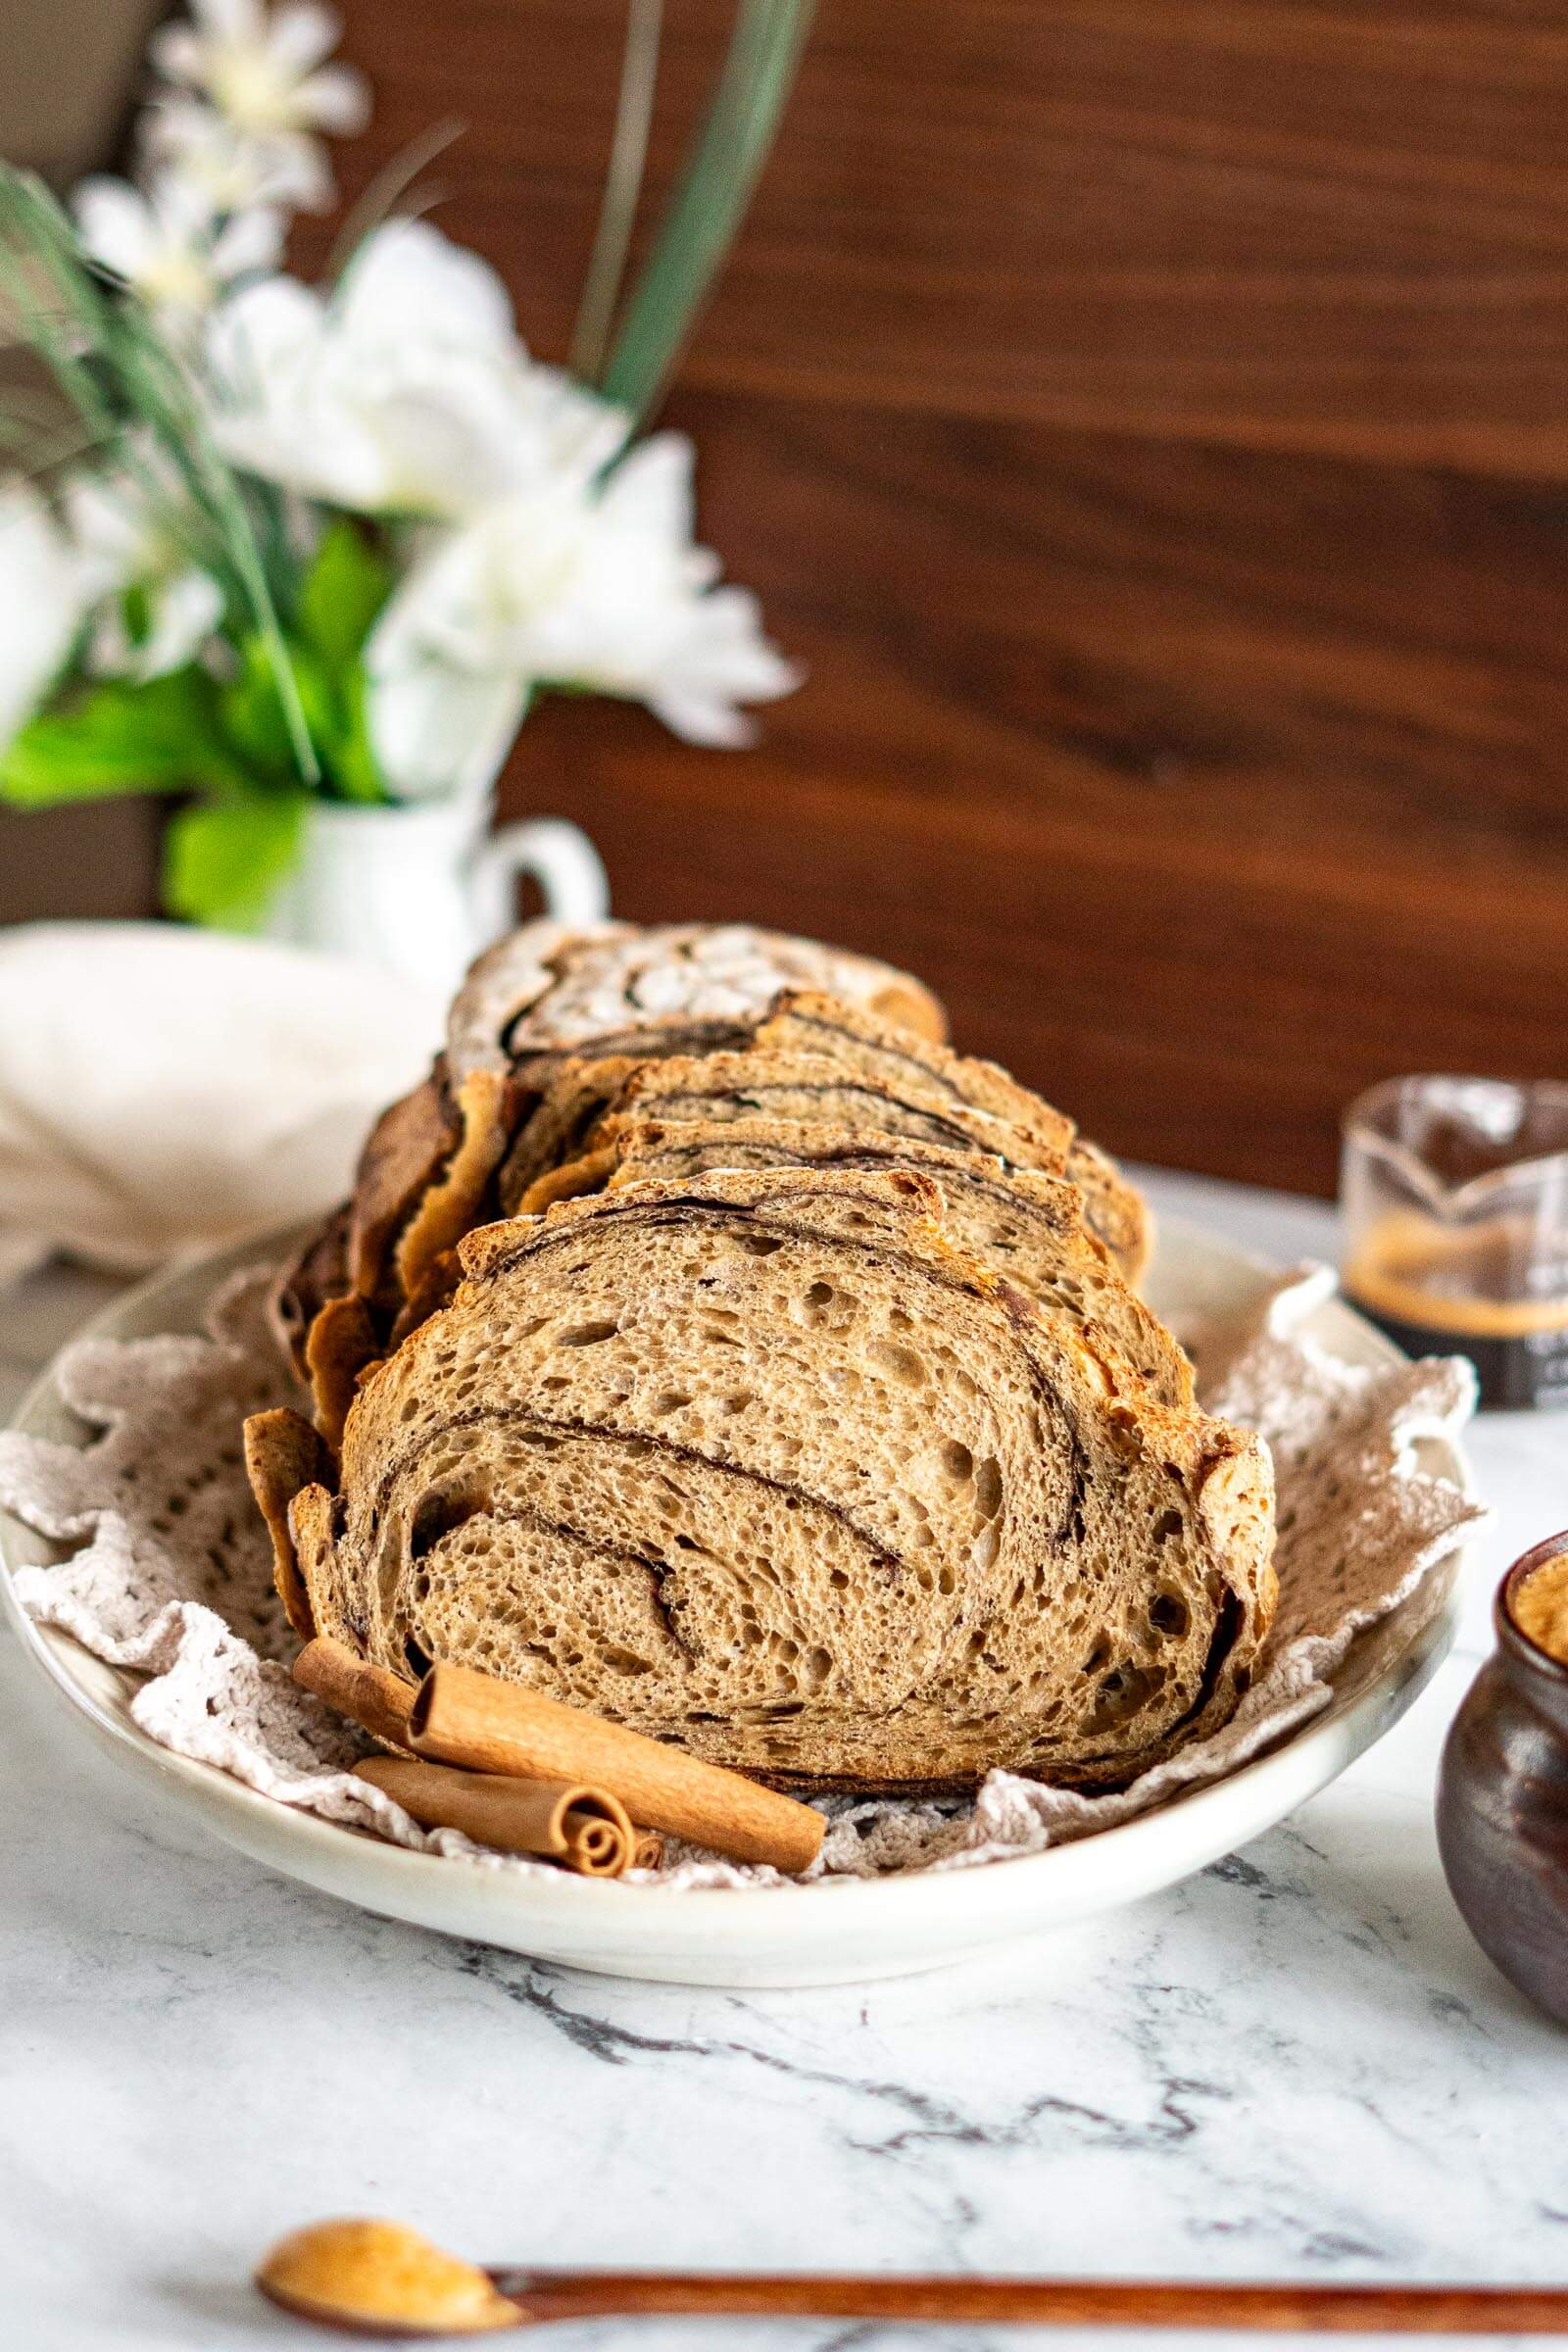
Let’s use my Fig and Brie Sourdough recipe as an example:
| Ingredient | Weight | Baker’s % |
|---|---|---|
| Flour | 500g | 100% |
| Water | 340g | 68% |
| Sourdough Starter | 100g | 20% |
| Salt | 12g | 2.4% |
| Dried Figs | 70g | 14% |
| Brie | 80g | 16% |
The takeaway: this recipe is 68% hydration, meaning for every 100g of flour, there are 66g of water. That feels low at first glance, but notice the starter is at 20%, and since I use a 100% hydration starter (equal parts flour and water), it’s contributing moisture to the dough too.
I keep it simple around here and treat the starter as a single line item rather than splitting it into its flour and water components. As long as you’re consistent with your starter’s hydration, this approach makes the math predictable across every bake.
Why I don’t calculate the starter’s water separately
Some bakers calculate ‘true’ or ‘total’ hydration by including the flour and water inside the starter. You absolutely can do this but I’ve found that keeping the starter as one unit makes the math cleaner and the results consistent, especially when you always use a 100% hydration starter.
Learn more about baker’s percentages →
Calculating the ‘true’ hydration of the same recipe would see you breaking the sourdough starter down into its components; 50g flour and 50g water, adding those to the proper line item, then redoing the math.
| Ingredient | Weight | Baker’s % |
|---|---|---|
| Flour | 550g | 100% |
| Water | 390g | 70% |
| Salt | 12g | 2.1% |
| Dried Figs | 70g | 12.7% |
| Brie | 80g | 14.5% |
Pro Tip: I’ve found that if I divide my starter percentage by 10 and add that to the water percentage I get a pretty close approximation to ‘true’ hydration.
In the example above, the starter’s percentage was 20% of the flour. 20%/10=2%. Adding 2% to my water percentage of 68% = 70%, which is exactly what the ‘true’ hydration level it.
Sourdough Starter Hydration
Your sourdough starter’s hydration does play a role in this process and should not be overlooked.
A 100% hydration starter is the most common version of a starter in baker’s kitchens because it’s so easy to maintain. 100% hydration means that at each sourdough feeding you feed it the same weight of water as weight of flour, eg: 50g starter + 50g water + 50g flour.
A stiff starter (also called Lievito Madre or pasta madre) is fed with more flour than water, usually around 50% hydration, and has a dough-like texture.
Regardless of which type of starter you use, keeping a consistent hydration maintains consistency across bakes.
Accounting For Sourdough Starter
Technically starter is contributing both flour and water to the dough. Some bakers calculate what’s called ‘true hydration’ by splitting the starter into its component parts. I choose not to do this in my baking, for two reasons:
- Streamline the process: By always using a 100% hydration starter, I can confidently omit it from the baker’s math because I know how the starter is going to impact the dough, based on starter quantity and dough hydration.
- Focus on formulas: Learning how the dough acts at different hydration levels has improved my understanding both of water and flour ratios as well as the impact of starter percentages in each recipe.
BUT I do keep in mind the quantity of starter and consider how it will affect my dough.
Want to go deeper on starters? I have full guides on feeding sourdough starter, reviving a dormant starter, what to do when your starter isn’t rising, and how to store your starter.

Calculating Hydration Percentages
Here's a step-by-step to determining the percentages based on my same day sourdough recipe that calls for 500 grams of flour, 330 grams of water, 150 grams of sourdough starter, and 10 grams of salt.
- Identify the Total Flour Weight
- Total flour weight = 500g
- Calculate the Percentage
Divide the weight of each ingredient by the total flour weight, then multiply by 100:- Water: 330g ÷ 500g × 100 = 66%
- Starter: 150g ÷ 500g × 100 = 30%
- Salt: 10g ÷ 500g × 100 = 2%
- Apply This to Any Recipe
Regardless of the batch size or flour blend, baker's percentages keep everything proportional and predictable.
Simply Put: This recipe is 66% hydration, which means for every 100g of flour, we’re using 66g of water
66% hydration sounds low, but we know that we have to consider the starter’s influence on the formula when evaluating this recipe. I find it’s easiest to express the baker’s percentages in a table, as below to evaluate all aspects of the recipe at a glance.
| Ingredient | Percentage |
|---|---|
| Flour | 100% |
| Water | 66% |
| Starter | 30% |
| Salt | 2% |
Working backwards: Calculating Water From A Target Hydration
Want to hit a specific hydration?
Flip the formula: Flour × (Hydration % ÷ 100) = Water
So if you want 500g of flour at 72% hydration: 500 × 0.72 = 360g water.
This is super useful when you’re adapting a recipe to a different flour or adjusting for humidity.
Sourdough Hydration Calculator
Use this sourdough hydration calculator to quickly determine your recipe’s hydration level and baker’s percentages. Whether you’re scaling a recipe or troubleshooting sticky dough, this tool helps you get accurate hydration percentages in seconds, no manual math required.
Read more: Scaling up using baker’s percentages.
Which Hydration Level Is Right For You?
| Hydration | Common Bread Types | Crumb Structure | Crust | Difficulty |
|---|---|---|---|---|
| 60-65% | Bagels, sandwich loaves | Tight, uniform, small holes | Thick and chewy | Beginner ✓ |
| 66-72% | Classic country loaves, bâtards | Medium, some irregular holes | Medium, good ear | Beginner ✓ |
| 73-79% | Open-crumb sourdough, focaccia | Open, irregular, larger holes | Thin, crispy | Intermediate |
| 80-89% | Ciabatta, high-hydration boules | Very open, wild holes | Very thin, shattering | Advanced |
| 90-100%+ | Pain de Cristal | Extremely open, almost translucent | Paper-thin, glass-like | Expert |
Where should a beginner start?
If I had to give you one number: start around 70%. It’s manageable, forgiving, and it will still give you a beautiful loaf with decent ear and a satisfying crumb. Once you’ve baked that recipe three or four times and you feel comfortable with shaping and timing, bump to 73% and see how it feels. Hydration is something you grow into, there’s no prize for jumping straight to 80%.
My first successful sourdough bake was my small loaf sourdough bread and it’s hydration level, not counting the starter, is 66%. If you’re new to sourdough, I feel that recipe is a great starting point!
High Hydration Dough
High hydration doughs are the key to achieving the Instagram-worthy loaves with wild crumb and open holes that bakers strive for. These airy pockets are not just visually stunning, we think they’re perfect for trapping butter, jam, or any of your favorite spreads.
But high hydration doughs also come with their own unique set of qualities and challenges that require a bit of finesse to master.
Qualities Of High Hydration Doughs
High hydration doughs are responsible for those stunning open-crumb loaves, the ones with wild, irregular holes and a crust that shatters when you cut it. They’re also the ones that make beginner bakers quietly panic when the dough sticks to everything.
Here’s what you’re actually getting with higher hydration, and how to handle it:
- Thinner, crispier crust. More moisture in the dough creates steam during baking, which keeps the crust from setting too early and results in that papery, shattering texture.
- More open crumb potential. The wetter dough allows more expansion during the bake. But remember, fermentation does the heavy lifting here. Hydration helps but it doesn’t do it alone.
- Faster fermentation. The extra water creates a more active environment for your starter. What might take 5 hours at 68% could be done in 4 hours at 80%. Keep your eye on the dough, not the clock.
- More extensible dough. High hydration dough stretches beautifully, which makes techniques like lamination (folding inclusions like cheese or herbs into the dough) much easier.
My honest recommendation on high hydration Don’t chase high hydration for the sake of it. A 72% loaf that’s perfectly fermented will always beat an 82% loaf that’s slightly underproofed or over-handled. Get comfortable with technique first, then experiment with water. The Instagram loaves come from skill, not just a high number on a recipe.
Tips For Working With High Hydration Doughs
- Monitor Fermentation Closely: High hydration doughs ferment faster, so keeping an eye during the bulk fermentation and final proofing stages is critical to avoid over-proofing. Paying attention to the dough’s rise and using the poke test can help you gauge readiness.
- Handle Gently: The delicate gluten structure in high hydration doughs is prone to tearing. Be gentle during shaping and handling to preserve the structure and achieve the best crumb.
- Use High Protein Flour: High-protein bread flours can absorb more water, making them better suited for high hydration recipes. A proportion of whole wheat flour can help too. These flours also provide the strength needed to support the dough.
- Try Coil Folding: Instead of traditional stretch-and-fold techniques, coil folding can be a gentler and more effective method for strengthening high hydration dough. This technique also minimizes sticking and tearing.
- Use Wet Hands or Tools: To prevent sticking, dampen your hands when handling the dough. Similarly, spritzing your surface with water and a wet bench scraper can make shaping and transferring the dough easier.
- Practice Patience: Working with high hydration doughs takes practice! Start with recipes at the lower end of high hydration (around 70-75%) before moving to higher hydration doughs (80%+). As you gain experience, you'll learn how to read and work with the dough.
- Don’t compare your timeline to recipes. Your kitchen temperature, flour brand, and starter strength all affect how fast things move. Look for the signs (50-75% rise, bubbles, jiggly dough) rather than following the clock.
Low Hydration Doughs
There’s a narrative in sourdough communities that lower hydration = beginner bread = not as good. I disagree with that pretty strongly.
Lower hydration doughs have real advantages, and they make certain bread types genuinely better:
What low hydration gives you:
- Easier to handle and shape. The dough holds its form, doesn’t stick to everything, and behaves much more like the bread doughs you might have grown up watching someone make. For new bakers, this is huge.
- Tighter, more uniform crumb. Perfect for sandwich bread, toast loaves, and anything where you want even slices that hold together.
- Thicker, chewier crust. Some people prefer this, especially for breads that are going to be sliced and used over several days.
- More forgiving fermentation. Lower hydration doughs are slower to ferment, which gives you more buffer time. Great for bakers who aren’t home to watch the dough every hour.
- Holds its shape without a banneton. If you don’t have a proofing basket yet, a lower hydration loaf will hold a free-form shape much better during its final proof.
Tips For Working With Low Hydration Dough
- Allow for a Longer Bulk Ferment: Low hydration doughs ferment more slowly than high hydration doughs, as the reduced water content slows down enzyme and yeast activity. Plan for a longer bulk fermentation and proofing period to ensure full flavor development.
- Focus on Shaping Techniques: Since these doughs are less sticky and easier to manage, they're a great opportunity to practice shaping skills like creating a taut surface for proper oven spring.
- Adjust for Flour Type: Different flours absorb water differently. For instance, whole wheat flours may make the dough slightly stiffer, so if you're working with all-purpose flour, expect a slightly softer dough.
- Resting: Allowing the dough to rest periodically can help it relax, making it easier to shape.
- You can knead it. Lower hydration dough is actually fine to develop through traditional kneading if that’s what you’re familiar with!
What Makes Up The Hydration?
Does the hydration in your recipe always need to come from water? Not at all!
While most sourdough recipes call for water as the primary hydration ingredient, creative bakers can explore a wide range of liquid options to enhance flavor and character in their bread.
Some of my favorite sourdough variations use alternative liquids:
- Dill Pickle Sourdough: This recipe swaps a portion of water for tangy pickle juice, infusing the bread with a subtle briny flavor.
- Chai Latte Sourdough: Instead of water, I use a chai latte, which adds a warm, spiced profile to the dough.
- Apple Cider Sourdough: Fresh-pressed apple cider takes the place of water, lending a sweet, fruity note that pairs beautifully with the sourdough tang.
- Pumpkin Swirl Sourdough: This recipe uses both pumpkin puree and water to make a delightfully orange, pumpkin flavored loaf.
Creative substitutions can come from any liquid that complements the flavors you’re aiming to achieve. Milk, beer, tea, juice, and even vegetable purees can be used in place of or alongside water.
When experimenting, keep in mind that different liquids may slightly alter the dough’s fermentation time, consistency, and crumb texture, so always be aware that you may need to adjust hydration levels or proofing times to suit your recipe.
Hydration Troubleshooting: When Things Go Wrong
These are the questions I get most often in my comments, plus a couple of problems I’ve run into myself.
My dough is impossibly sticky and won’t hold any shape
This usually means one of three things: your hydration is above what your flour can actually handle, you’ve over-fermented the dough (fermentation breaks down gluten structure), or you’re not developing enough gluten strength during stretch and folds or coil folds.
Solution: Try reducing water by 2-5% for your next bake, ensure that the dough is not overfermented by reducing the time in the bulk ferment, or perform more stretch and folds/ coil folds between rest periods.
My dough is stiff and won’t develop properly
Go the other way, add water. Try increasing water by 2-5%. Also check that your flour is fresh. Old flour absorbs less water and produces a dough that feels dry even at a supposedly reasonable hydration.
My loaf is spreading out instead of rising up
This is almost always a combination of hydration and fermentation. Either the dough is over-hydrated for the flour you’re using, the gluten is under-developed, the dough is over-proofed, or all three.
Solution: Try dropping 5% hydration and focusing on building more gluten strength through additional coil folds.
My crumb is dense even though I’m using ‘high’ hydration
This is the most common misconception in sourdough baking. Open crumb comes from fermentation and water content.
Solution: If your crumb is dense at 78% hydration, your bulk fermentation almost certainly needs more time or a more active starter.
I adjusted my hydration but the dough feels the same
Remember that small adjustments have small effects. A 3% change in hydration (say, going from 70% to 73%) will be subtle, the dough will be slightly more extensible and slightly stickier, but not dramatically different.
Solution: If you want to notice a meaningful difference, try a 5-8% change between bakes.
Experimentation Is Key!
Understanding how hydration levels can alter your dough to meet your personal preferences is a valuable skill, and the best way to get a solid understanding of hydration and it’s effect on your dough is to experiment.
Choose a familiar recipe or formula and increase the water percentage if the dough is low hydration or decrease the water percentage if the dough is high hydration. You’ll see the results right away!
You might be surprised at your preferences; I have noticed that my preferred hydration level has crept up over the last 5 years of baking sourdough!
Master Your Sourdough Starter In 5 Days!
From Confused To Confident.
Find success with 5 simple, actionable secrets delivered to you. No more guessing games – just clear, proven steps to a thriving starter.
Sourdough Hydration FAQs
Sourdough hydration is the percentage of water in your dough relative to the weight of flour. It’s one of the key variables that determines how your dough handles, how it ferments, and what your finished loaf looks like.
Divide the weight of water by the weight of flour, then multiply by 100. Example: 350g water ÷ 500g flour × 100 = 70% hydration. Use the free calculator on this page to do it easily for any recipe.
It depends on which method you use. The simplest approach, which I use, treats the starter as its own ingredient and calculates hydration from just the recipe flour and water.
A more precise method (called ‘true’ or ‘total’ hydration) splits the starter into its flour and water components and includes them both.
If you’re using a 100% hydration starter consistently, the simpler method is accurate enough for home baking.
Yes you can change a recipe’s hydration without affecting the rest of it, with some caveats. Increasing hydration will speed up fermentation (monitor closely and consider reducing starter percentage or shortening bulk fermentation and proof slightly to compensate). Decreasing hydration will slow fermentation down. The shaping technique and proofing time may also need tweaking.
Start with small changes, around 5% at a time, so you can track what’s different.
Ready To Put This Into Practice?
Hydration is one of those concepts that makes complete sense in theory and then requires a few bakes to actually feel in your hands. The best way to understand it is to bake the same recipe at two different hydrations and compare the results side by side.
Use the calculator above to check the hydration on your next recipe before you start. If you’re just beginning, aim for 68-72%. If you’ve been baking for a while and want to push higher, increase by 3-5% at a time and take notes on what changes.
And if you run into trouble, dough that won’t shape, a loaf that spreads, crumb that won’t open up, come back to the troubleshooting section above. More often than not, the answer is fermentation first, hydration second.
More sourdough guides from the Crave kitchen
→ Baker’s Percentages: How to Scale Any Recipe
→ Sourdough Bulk Fermentation: The Complete Guide
→ How to Feed Your Sourdough Starter
→ Proofing Sourdough in the Fridge
→ Sourdough Baker’s Glossary


So do you have different starters for each hydration amount?
How much starter is used if you have one going and want to change over to these hydrations?
Hey LoriAnn, no, I maintain a 100% hydration starter – from there the recipe itself changes hydration based on water and flour added in the recipe. If you wanted to run different hydration starters, you could, or you could use the levain method to feed a portion of your mother starter with less water and more flour to create a lower hydration starter for your sourdough recipes. I don’t use that method as I prefer to feed my mother starter and use it.