
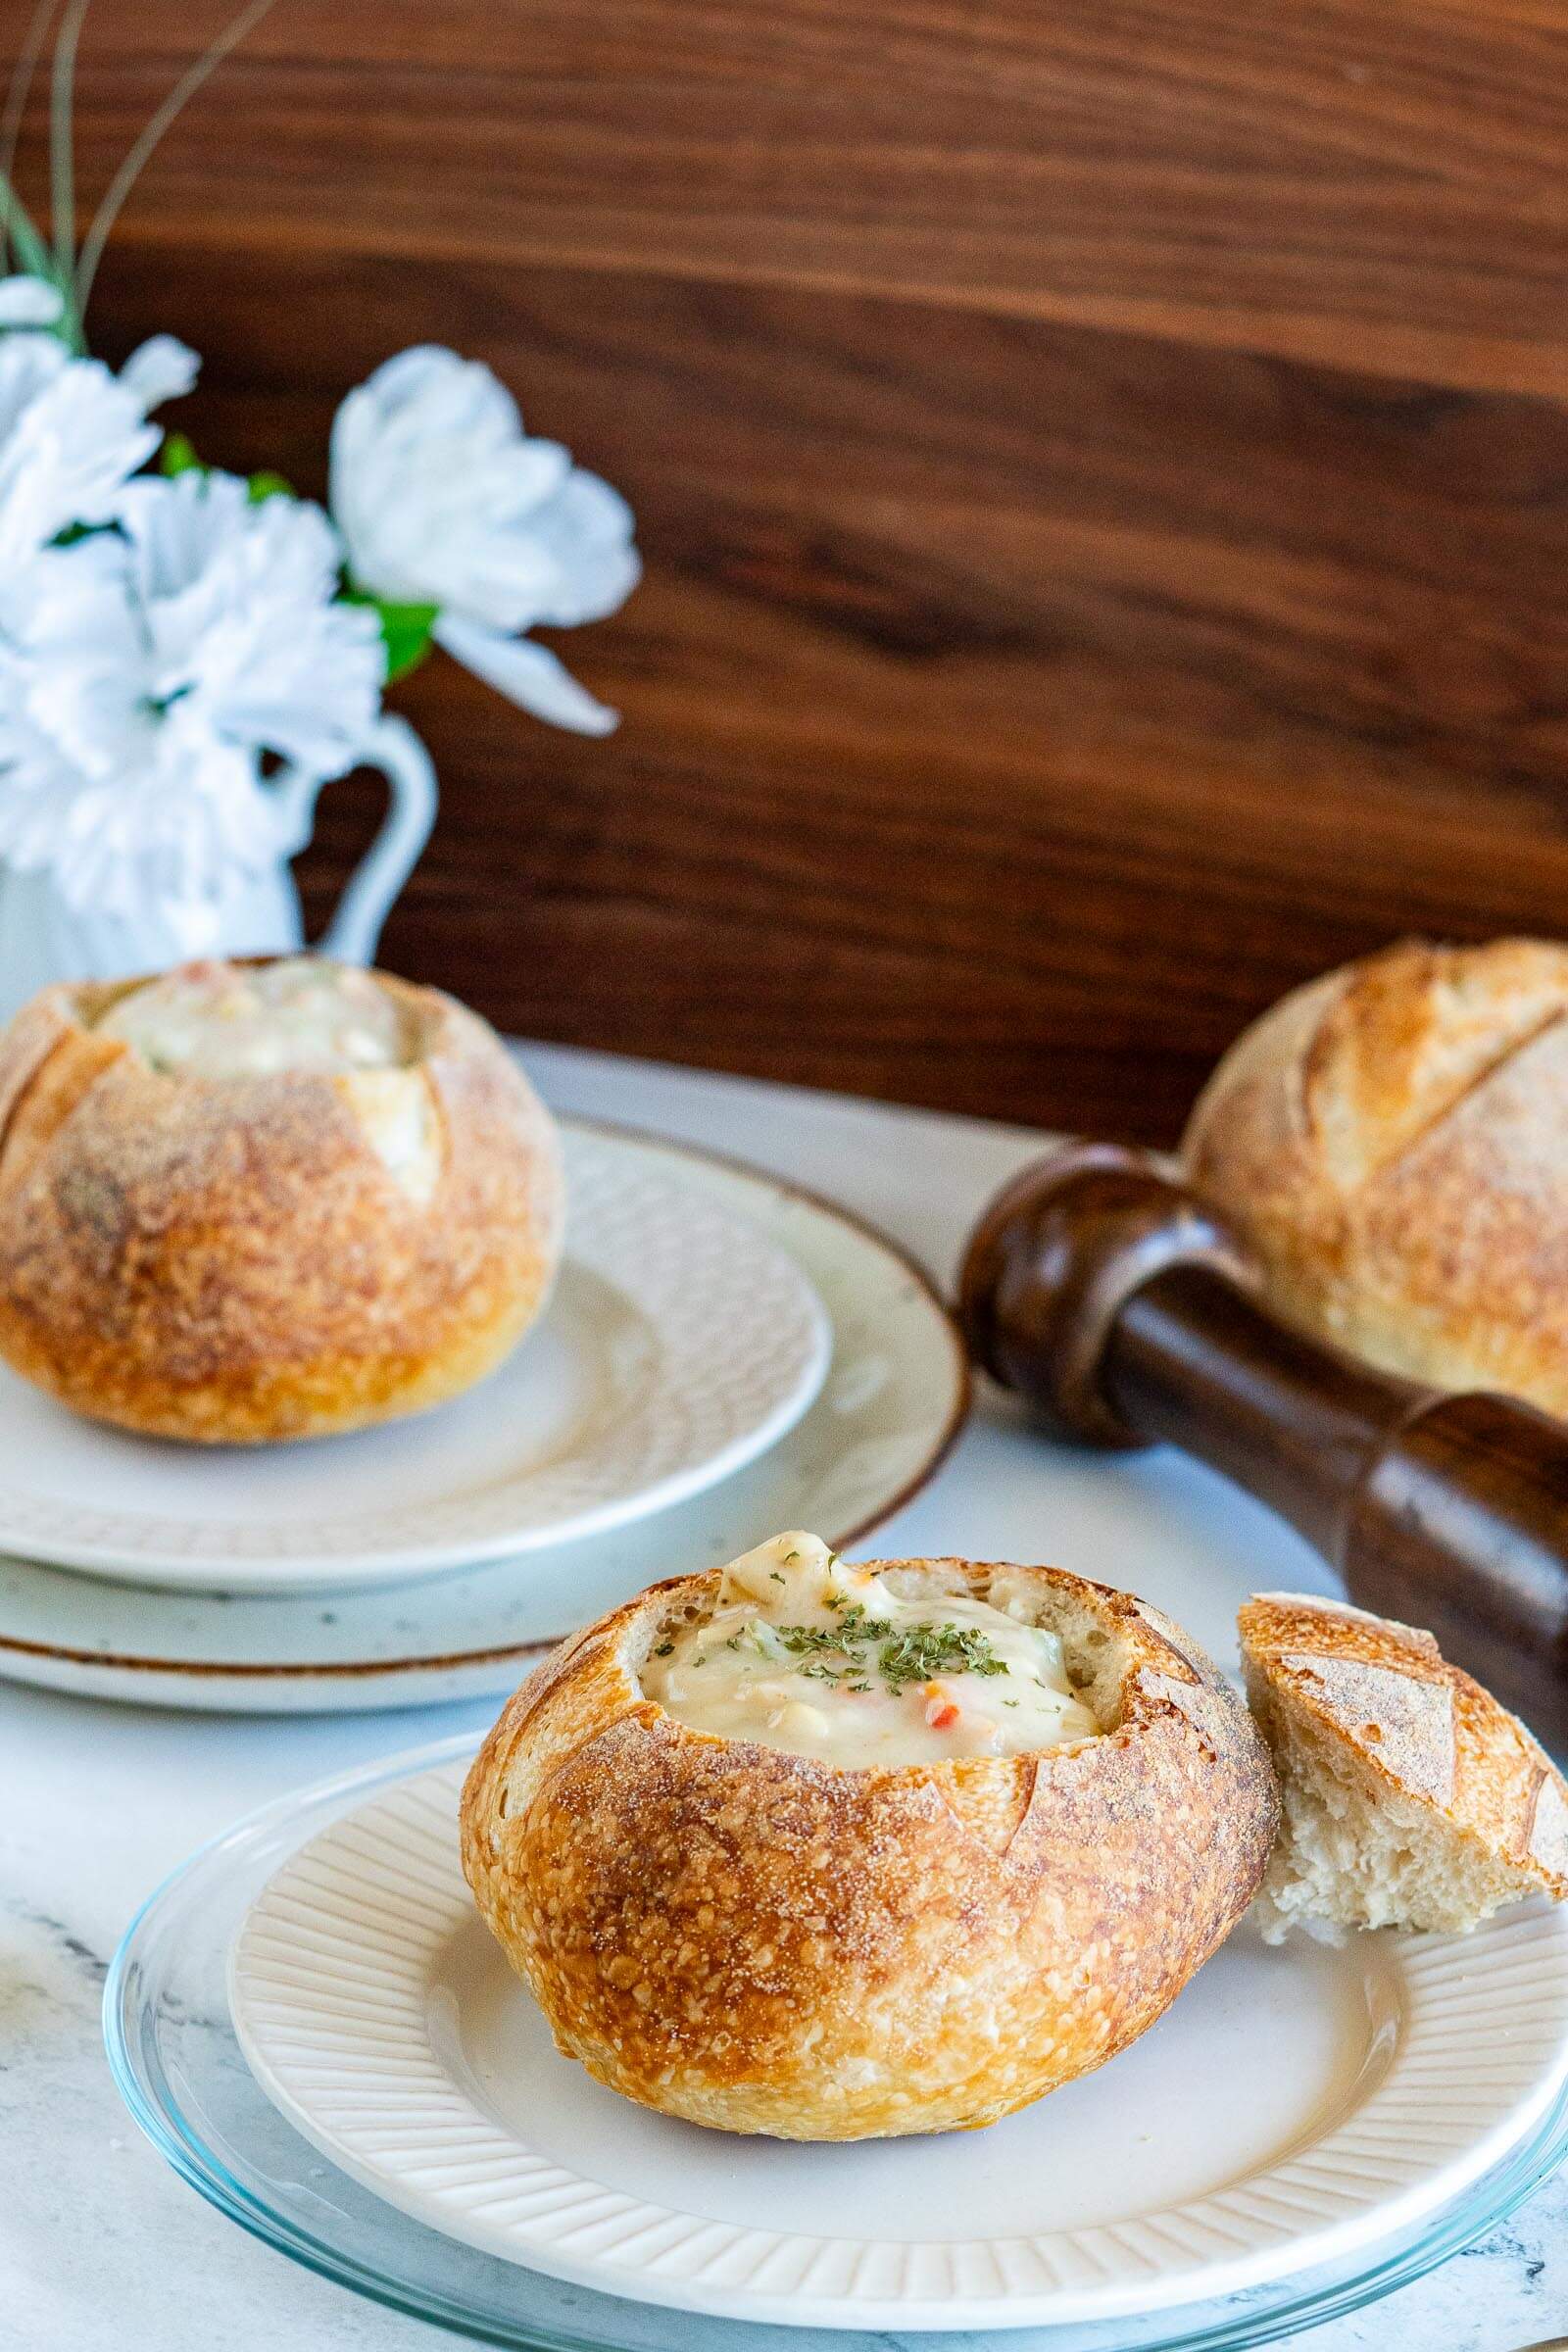
Sourdough Bread Bowl Recipe

This sourdough bread bowl recipe shows you how to make sturdy, crusty bread bowls from scratch using a simple 4-ingredient dough. These bowls are designed to hold hearty soups and stews without leaking, with a chewy interior and a thick, crisp crust!

Craving The Recipe Details?
What it is: Personal-sized sourdough bread bowls made with just four simple ingredients: sourdough starter, bread flour, water, and salt, perfect for serving your favorite hearty soups.
Why you’ll love it: Four deliciously sour, edible bowls with real sourdough flavor that are strong enough to hold soup without getting soggy.
How to make it: Mix active starter with warm water, add bread flour and salt to form a dough, then build structure through stretch and folds before shaping, proofing and baking.
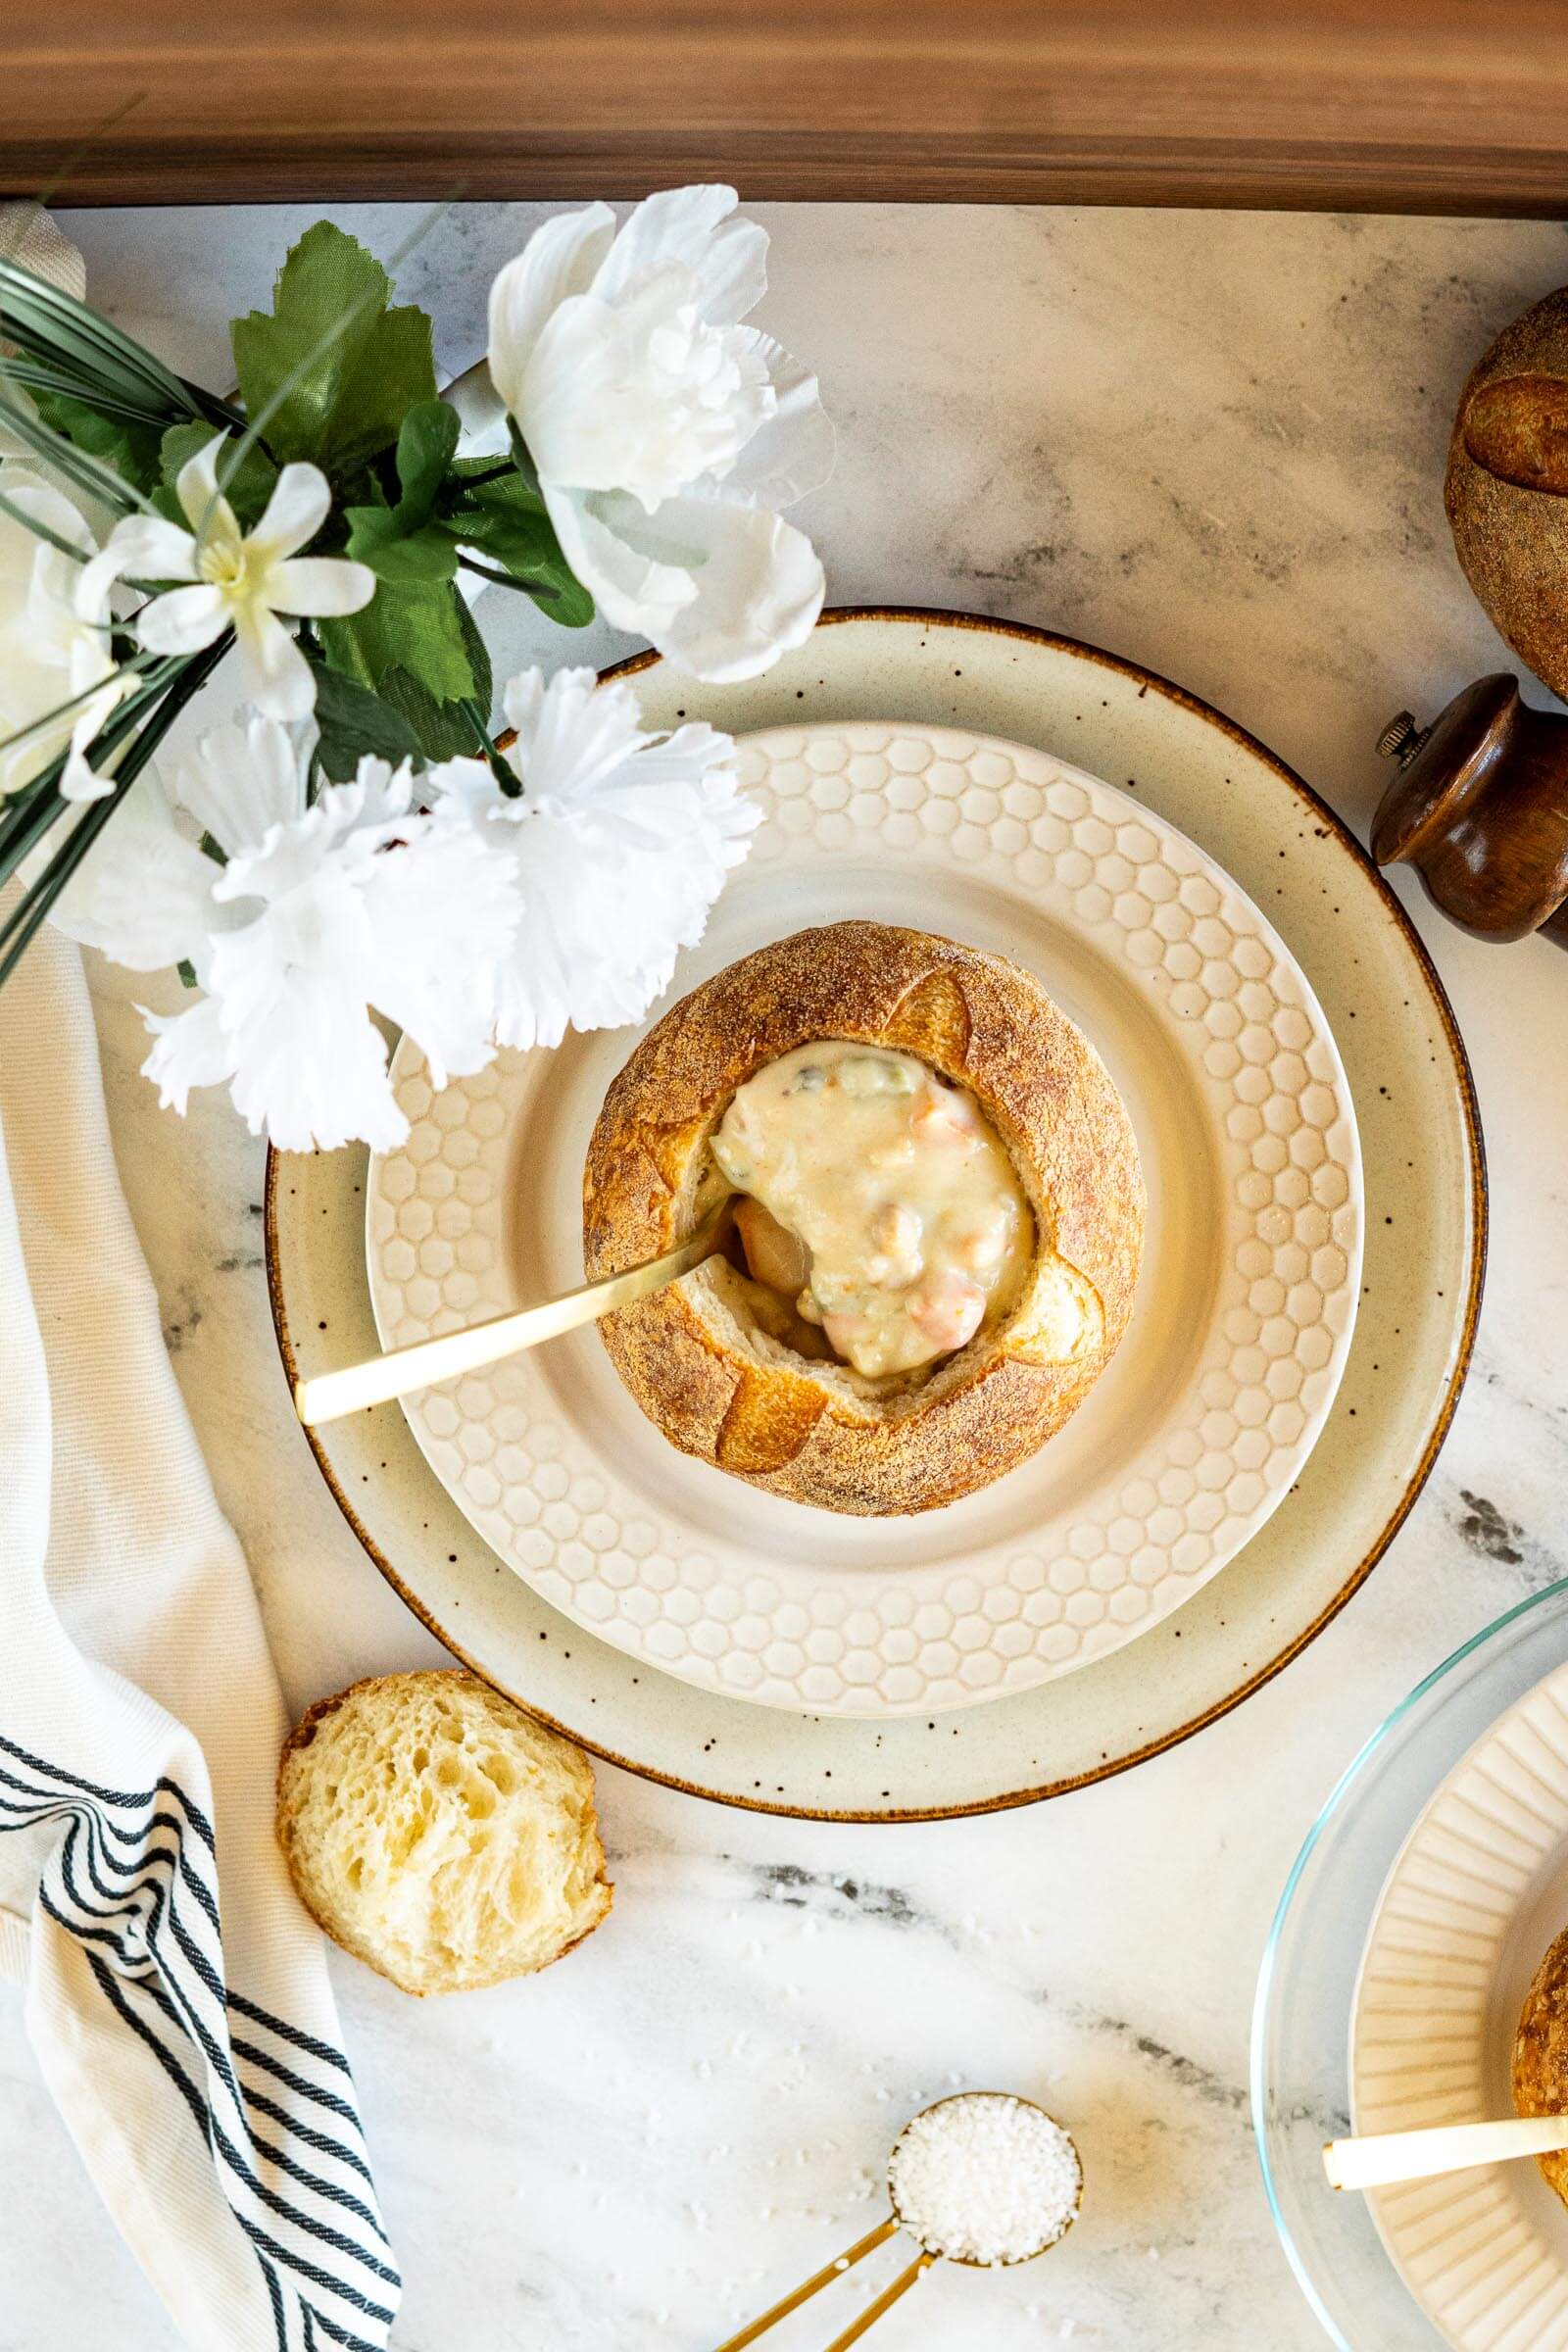
This sourdough bread bowl recipe makes four sturdy, deeply flavored bowls using just sourdough starter, bread flour, water, and salt. The bowls bake up with a thick, crackling crust and a chewy interior wall strong enough to hold a full ladle of clam chowder or broccoli cheddar without leaking or going soggy.
They’re just as easy to make as a loaf of sourdough and make such a nice treat. This recipe is based off my dutch oven sourdough bread recipe and makes 4 perfectly sized bread bowls. I’ll include baker’s percentages in the recipe so that you can scale up or down if required!
This sourdough bread bowl recipe is dedicated to a full ladle.

Master Your Sourdough Starter In 5 Days!
From Confused To Confident.
Find success with 5 simple, actionable secrets delivered to you. No more guessing games – just clear, proven steps to a thriving starter.
Jump to:
- Craving The Recipe Details?
- Key Ingredients
- How To Make Sourdough Bread Bowls:
- Preparing Sourdough Bread Bowls For Serving:
- Expert Tips
- Why This Recipe Works
- Sourdough Bread Bowl FAQs
- Baker’s Timeline
- Baker’s Percentages
- Serving Suggestions
- Recommended Equipment:
- Safety Tips
- See What Else I’m Making With My Starter
- 📖 Printable Recipe
Key Ingredients
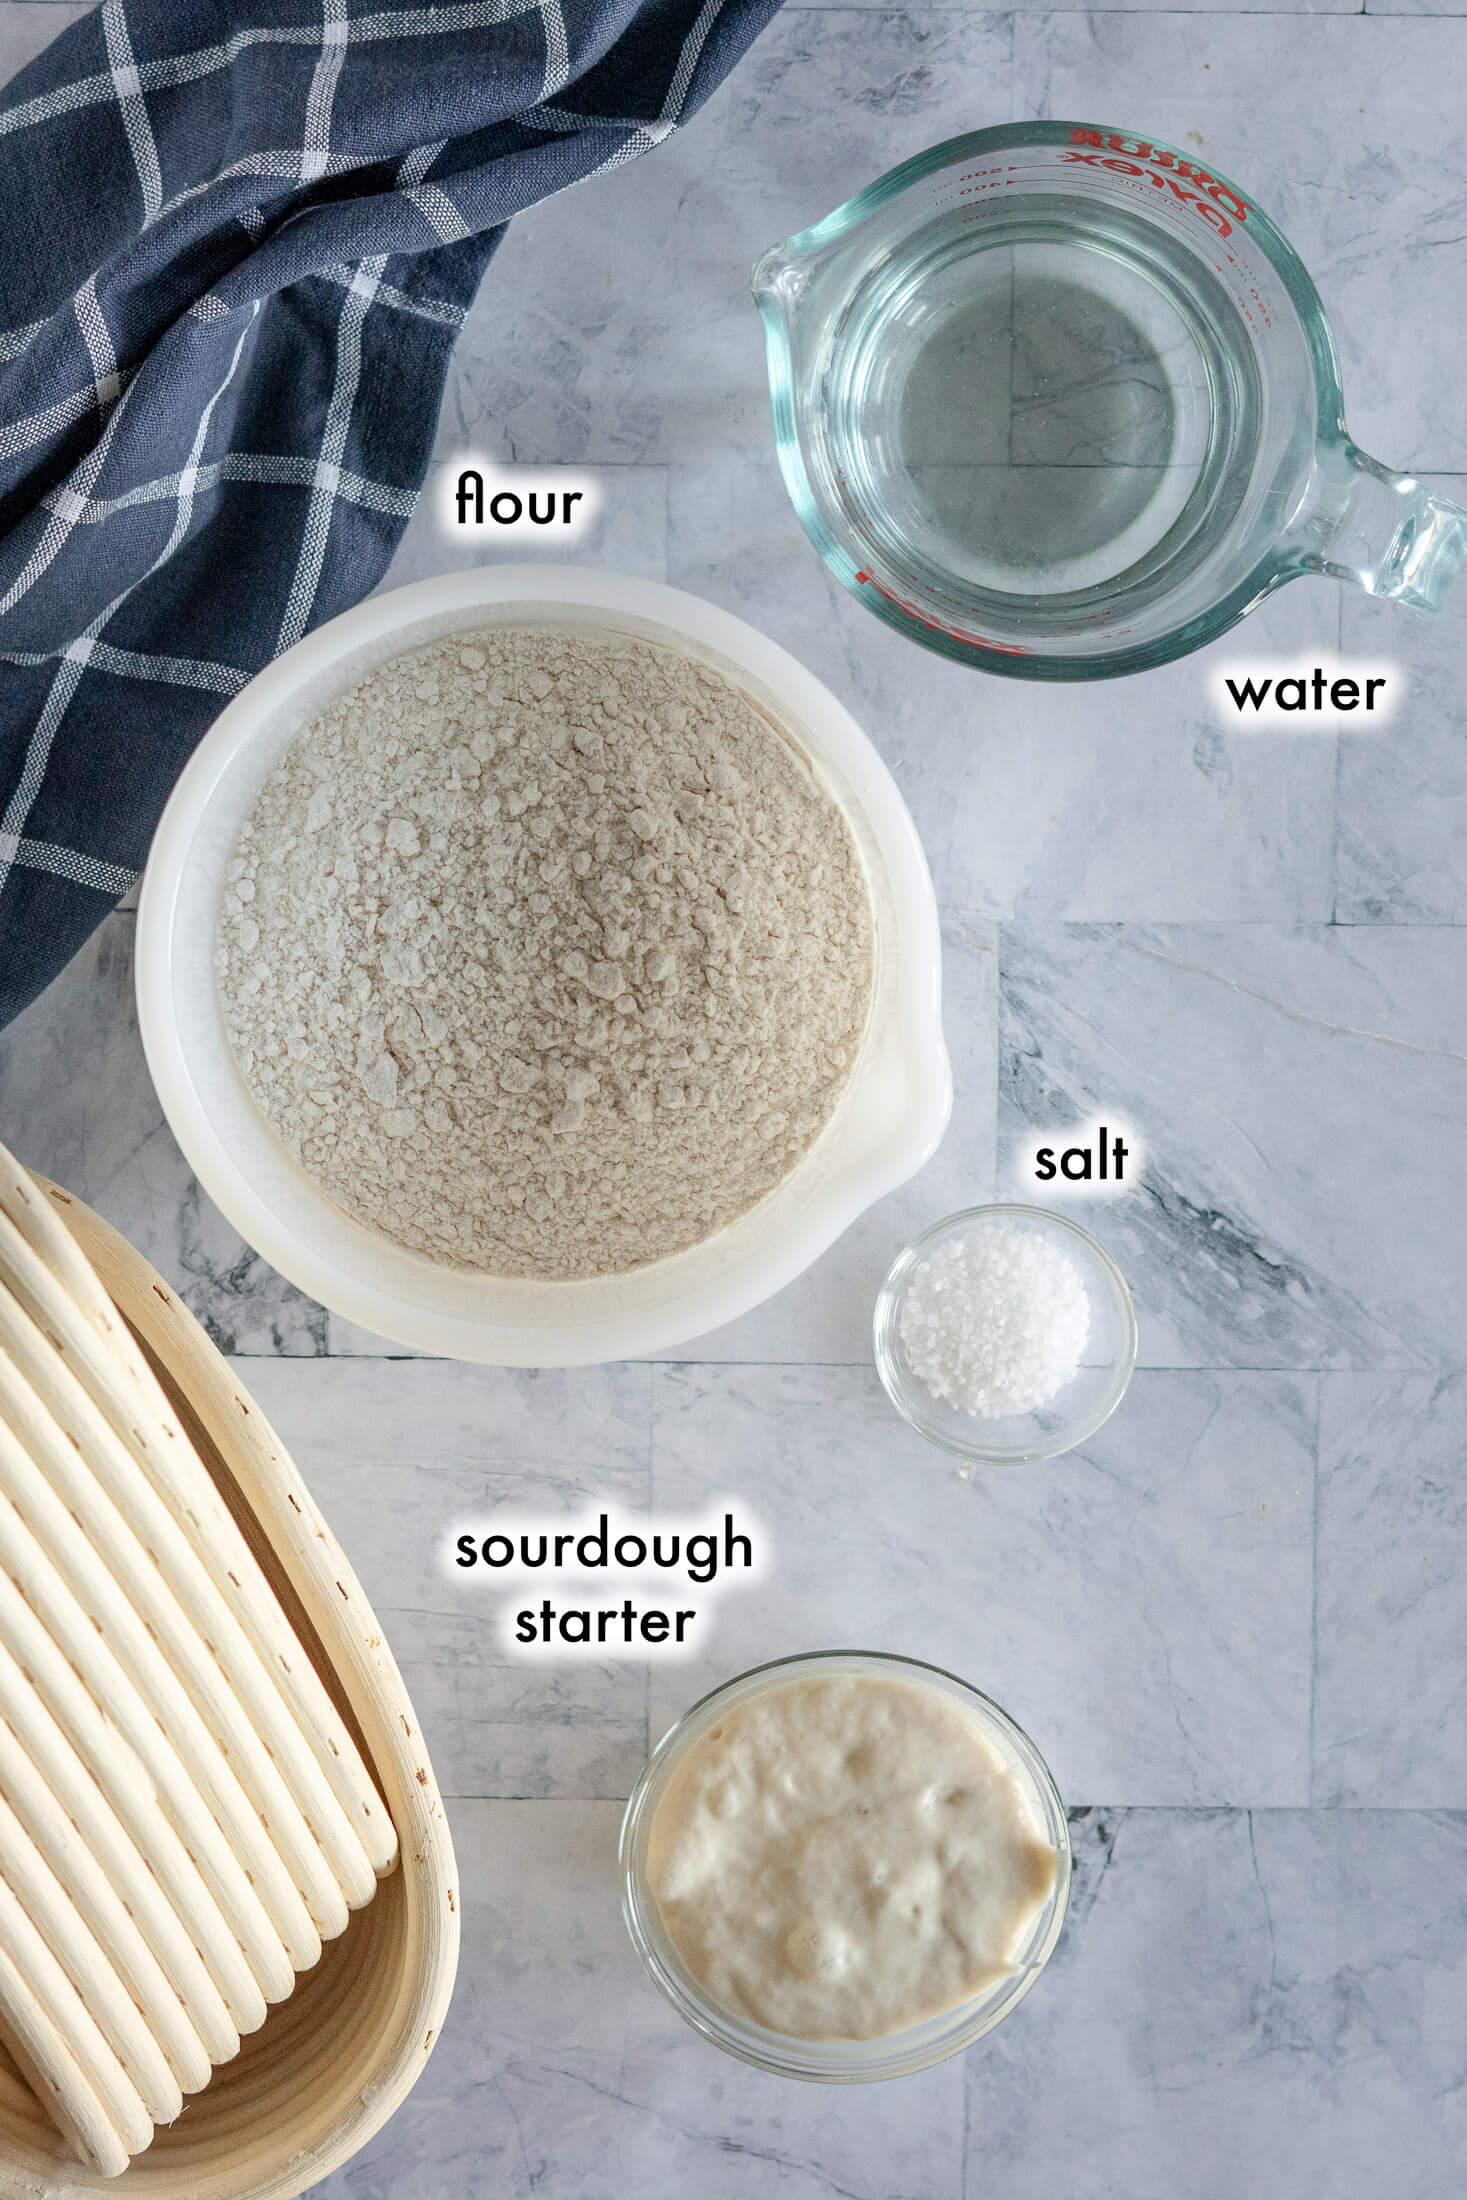
Sourdough Starter: For this recipe, you want to use a fed and active sourdough starter. Your starter should have been fed the night before, approximately 8 hours before beginning and have at least doubled in size.
Bread Flour: Use a high protein unbleached flour for best results. This could be all-purpose flour or bread flour.
Psst.. Want to know more about feeding your starter, storing sourdough starter, how to use discard, or even which is the best jar for your starter? I've got tons of guides to help you!
How To Make Sourdough Bread Bowls:
Make The Dough:
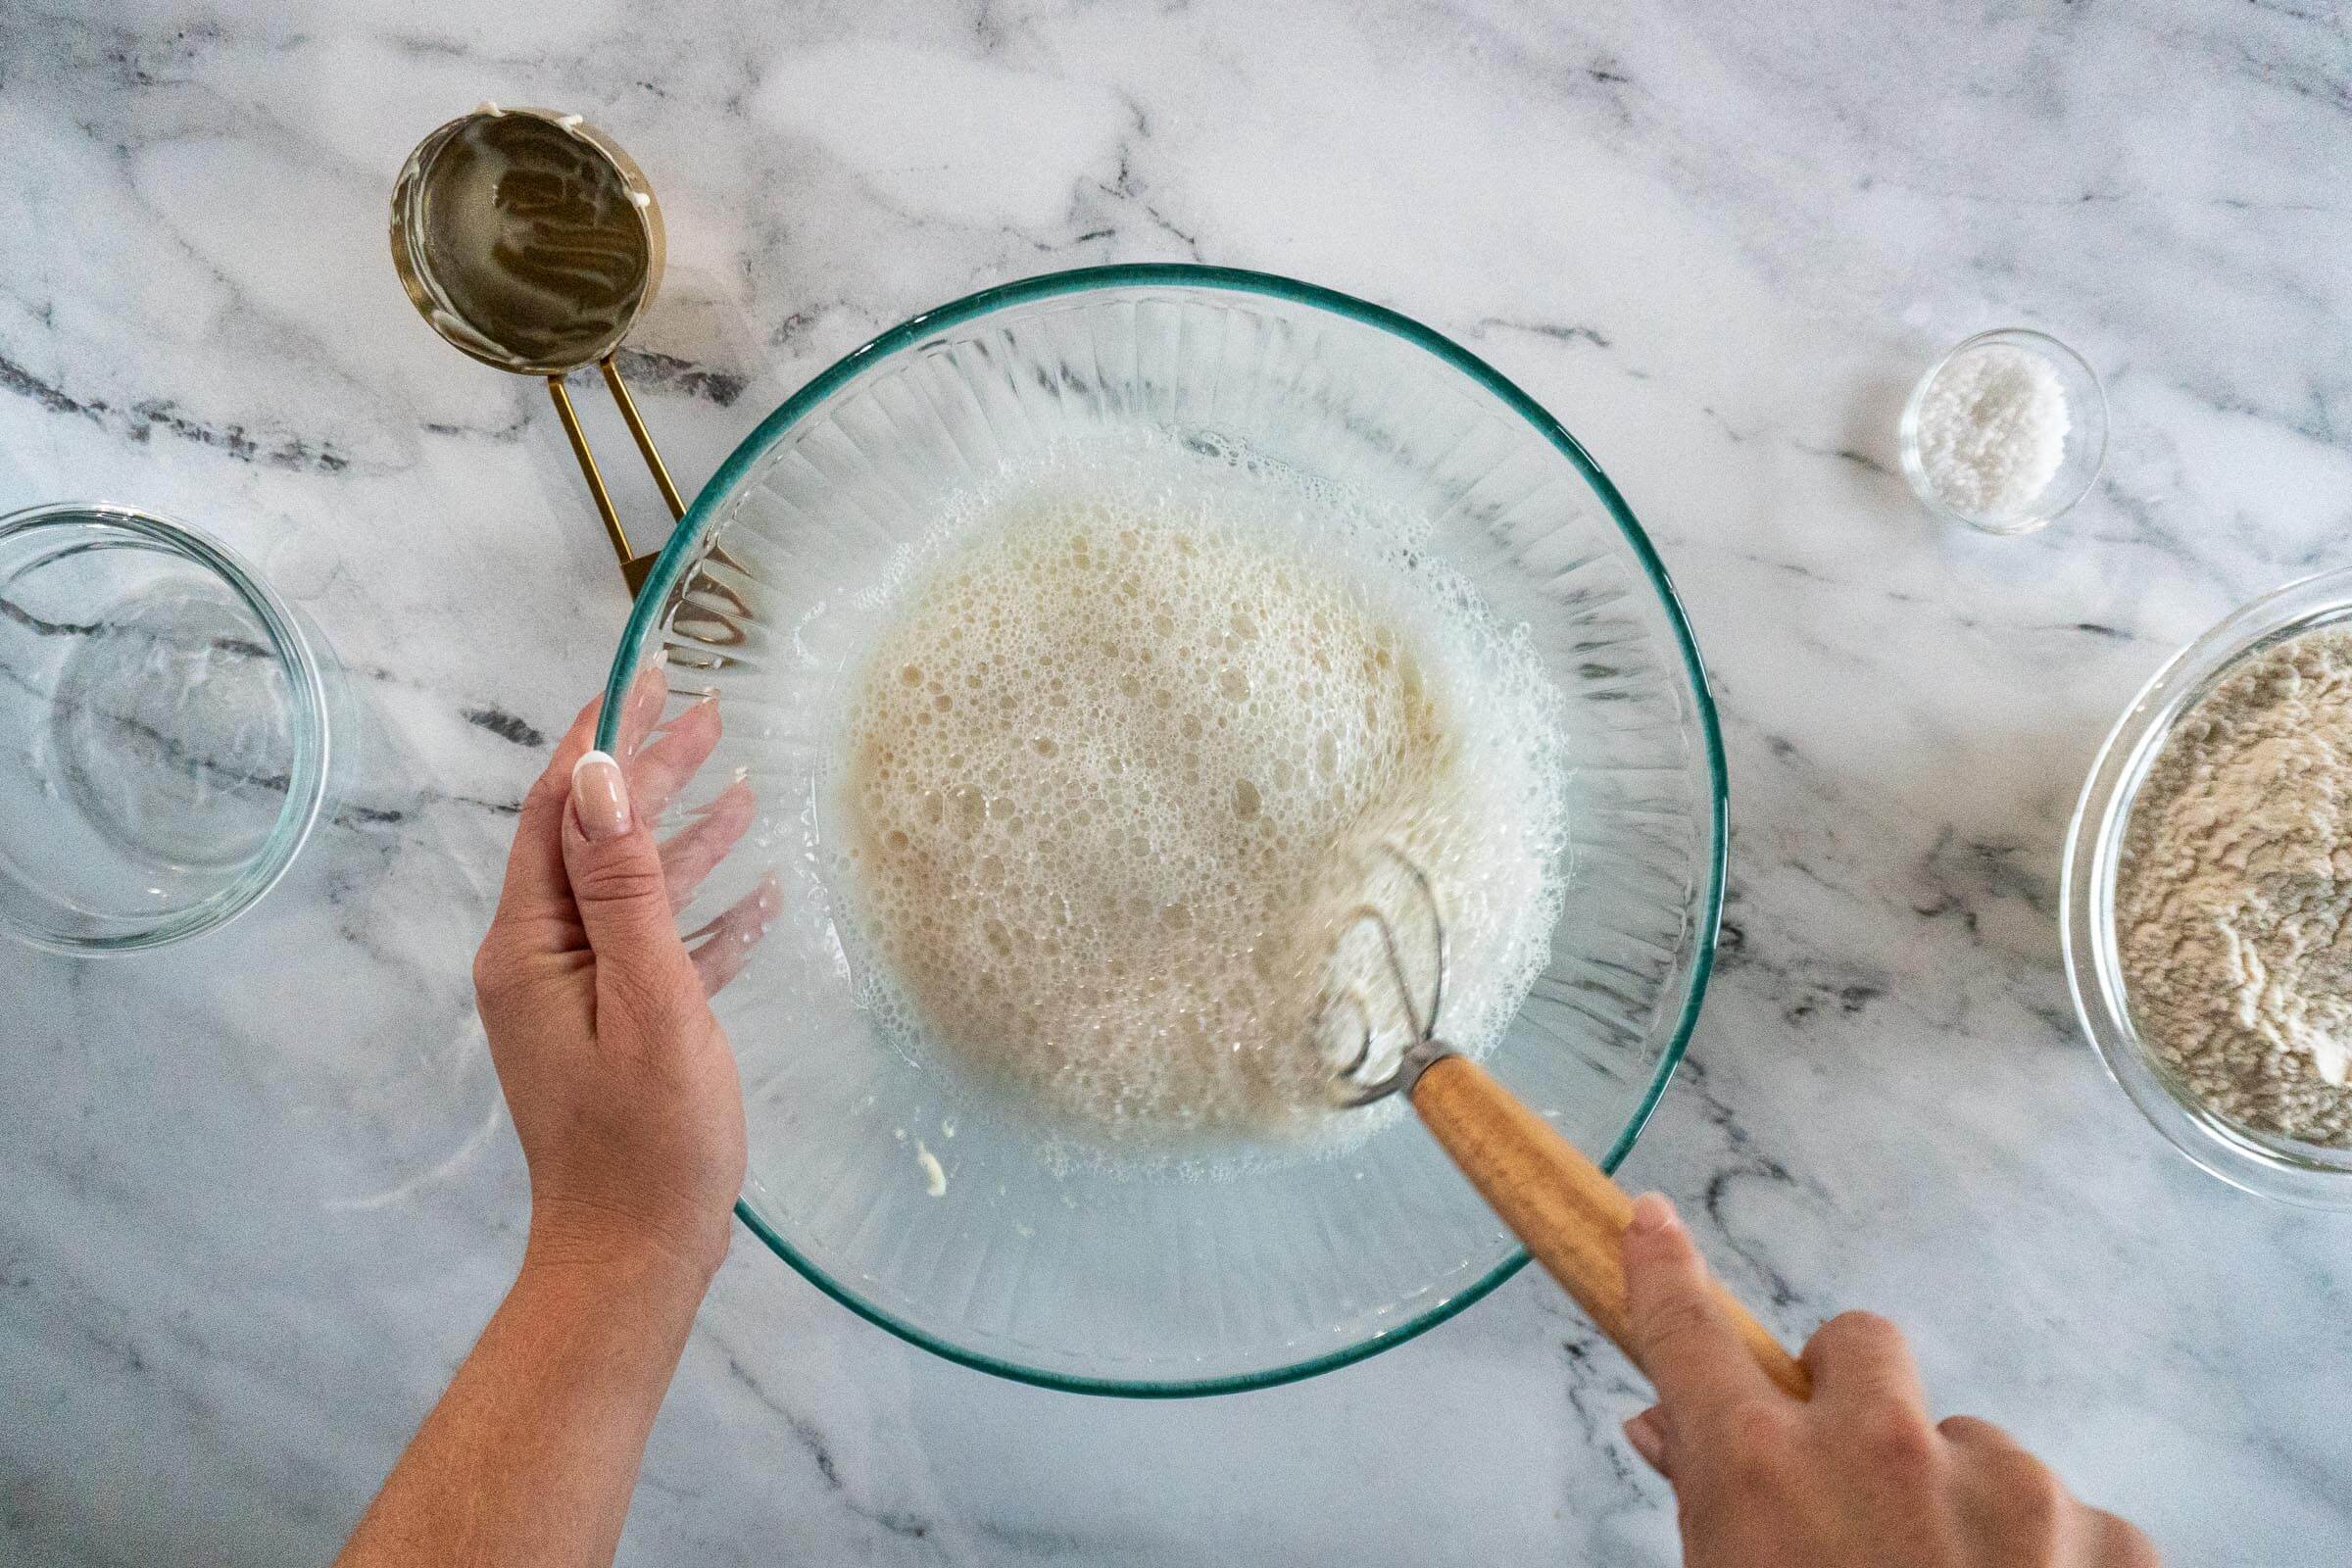
- Step 1: In a large mixing bowl, combine 350g warm water with 100g of active starter until mostly combined. I like to use a Danish dough whisk, but anything will work.

- Step 2: Add 500g bread flour to the bowl and mix until a shaggy dough forms.
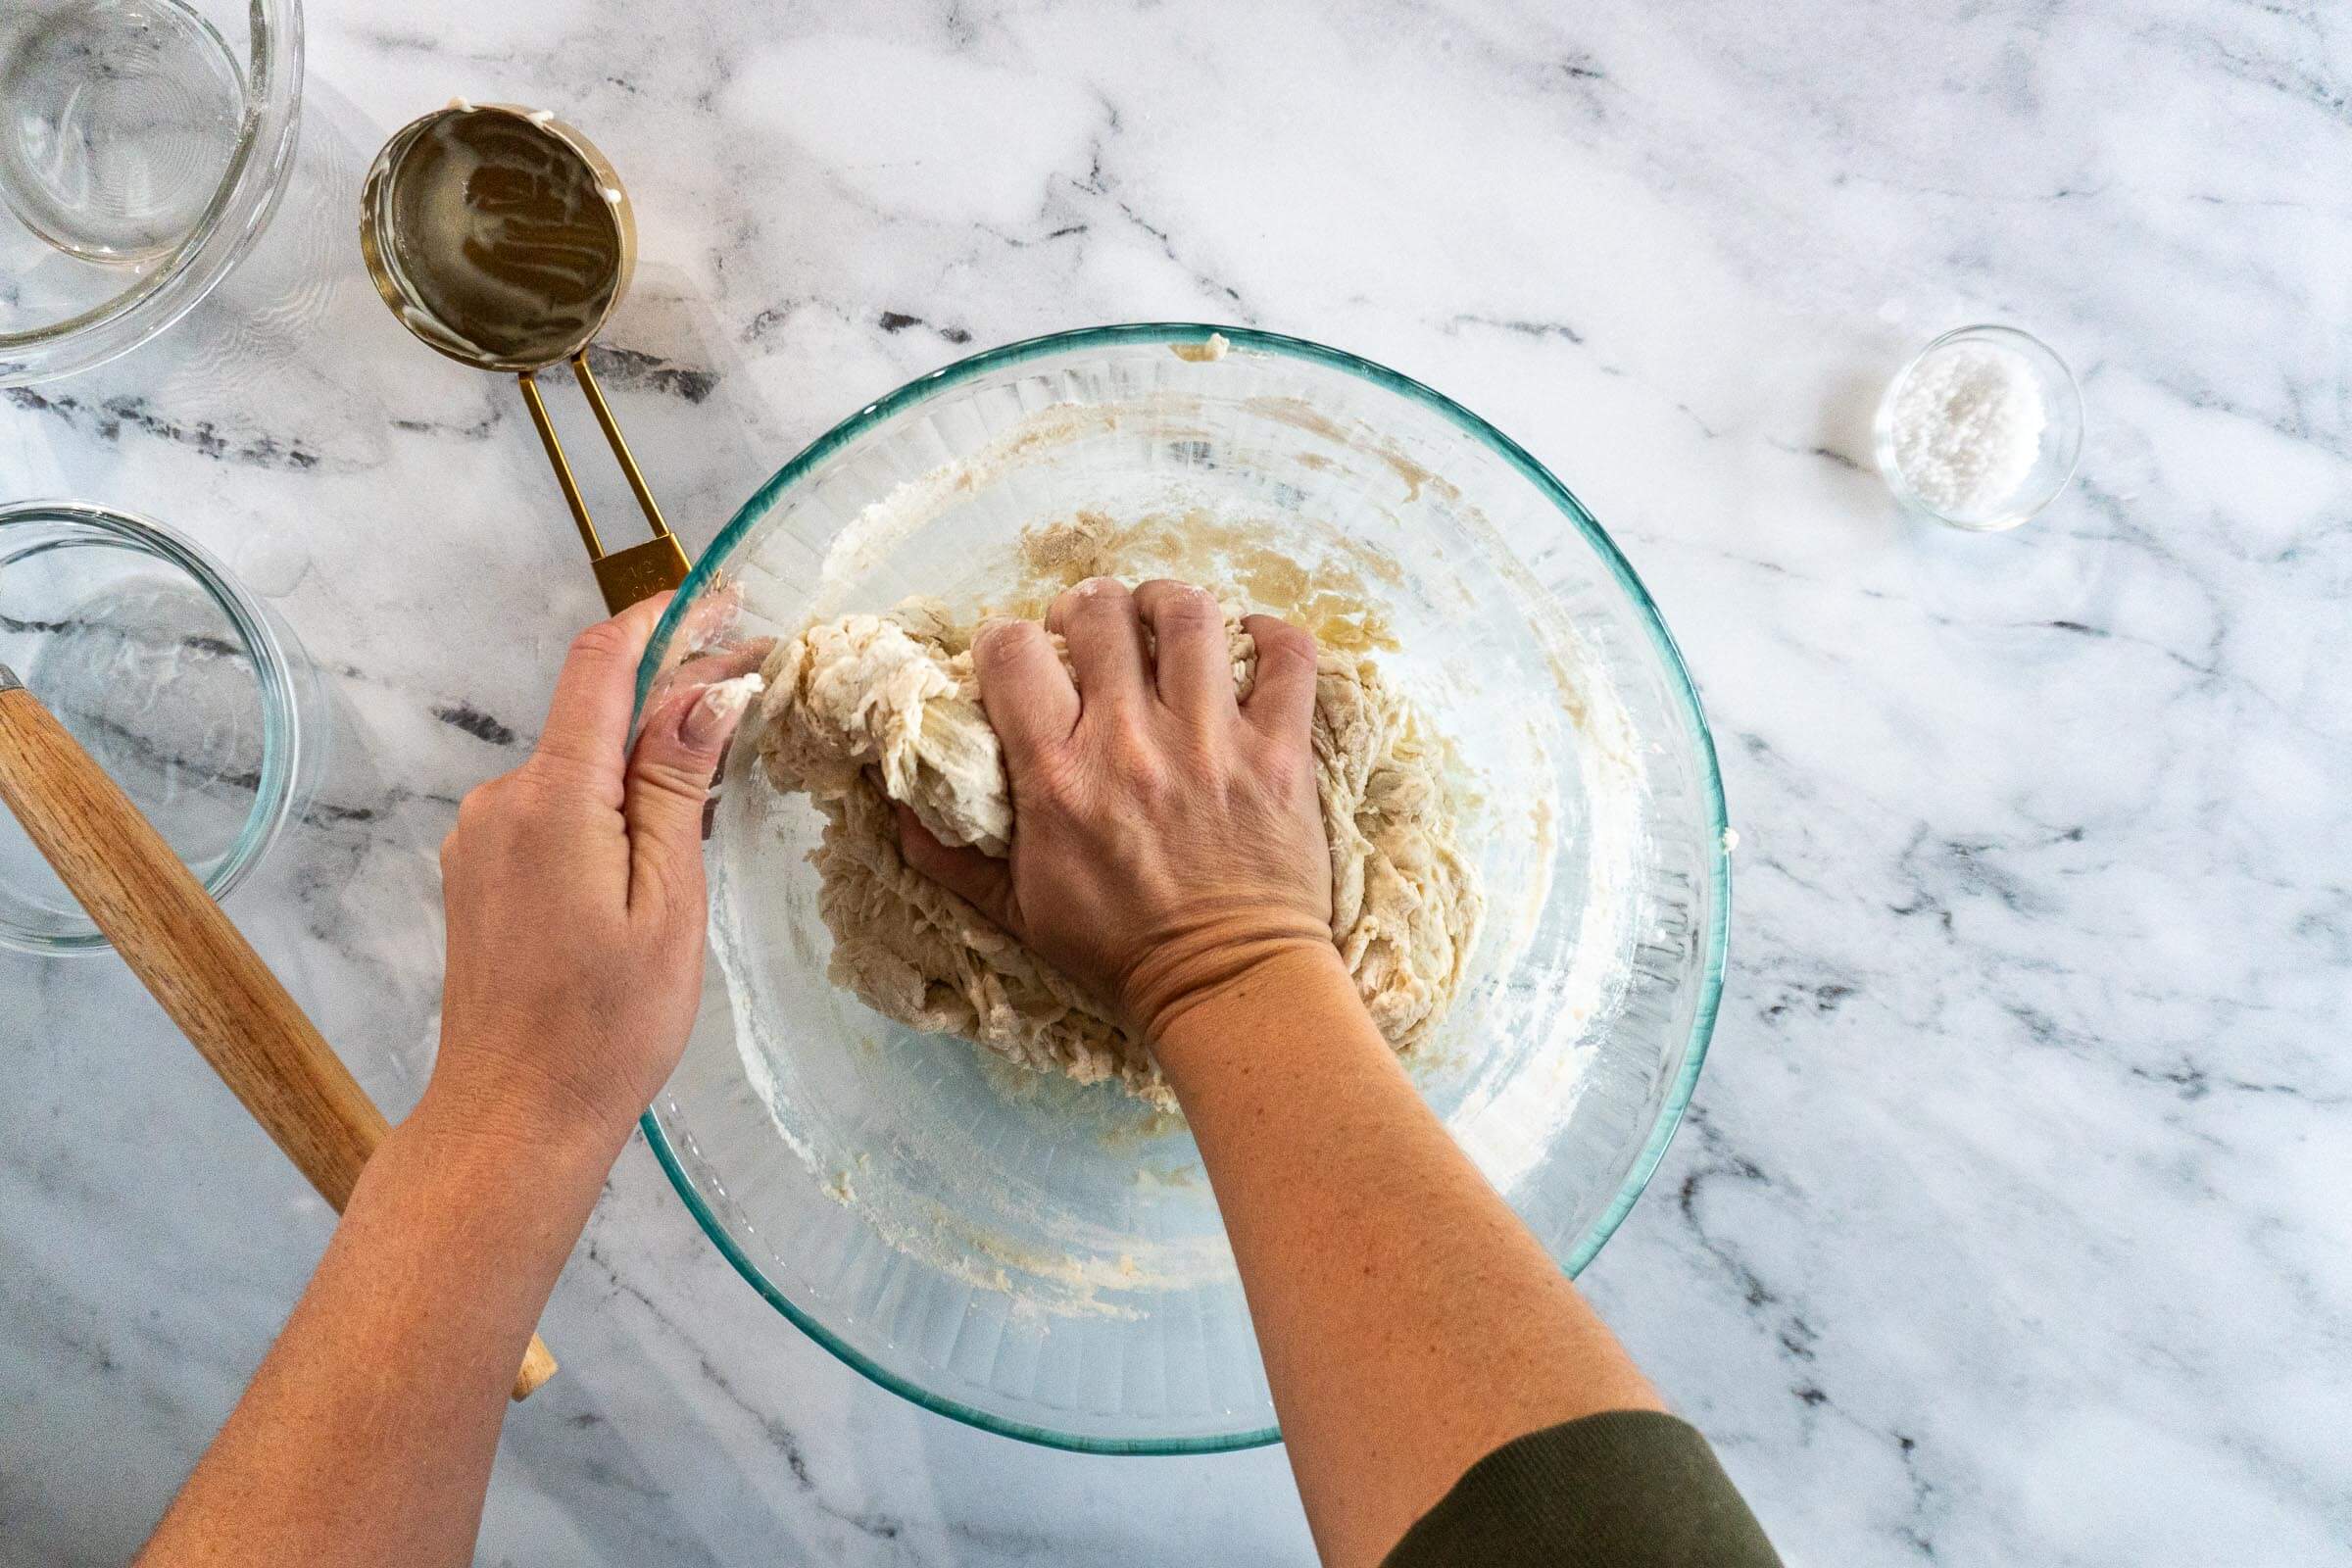
- Step 3: Knead the dough with your hands until all the shaggy bits are incorporated.
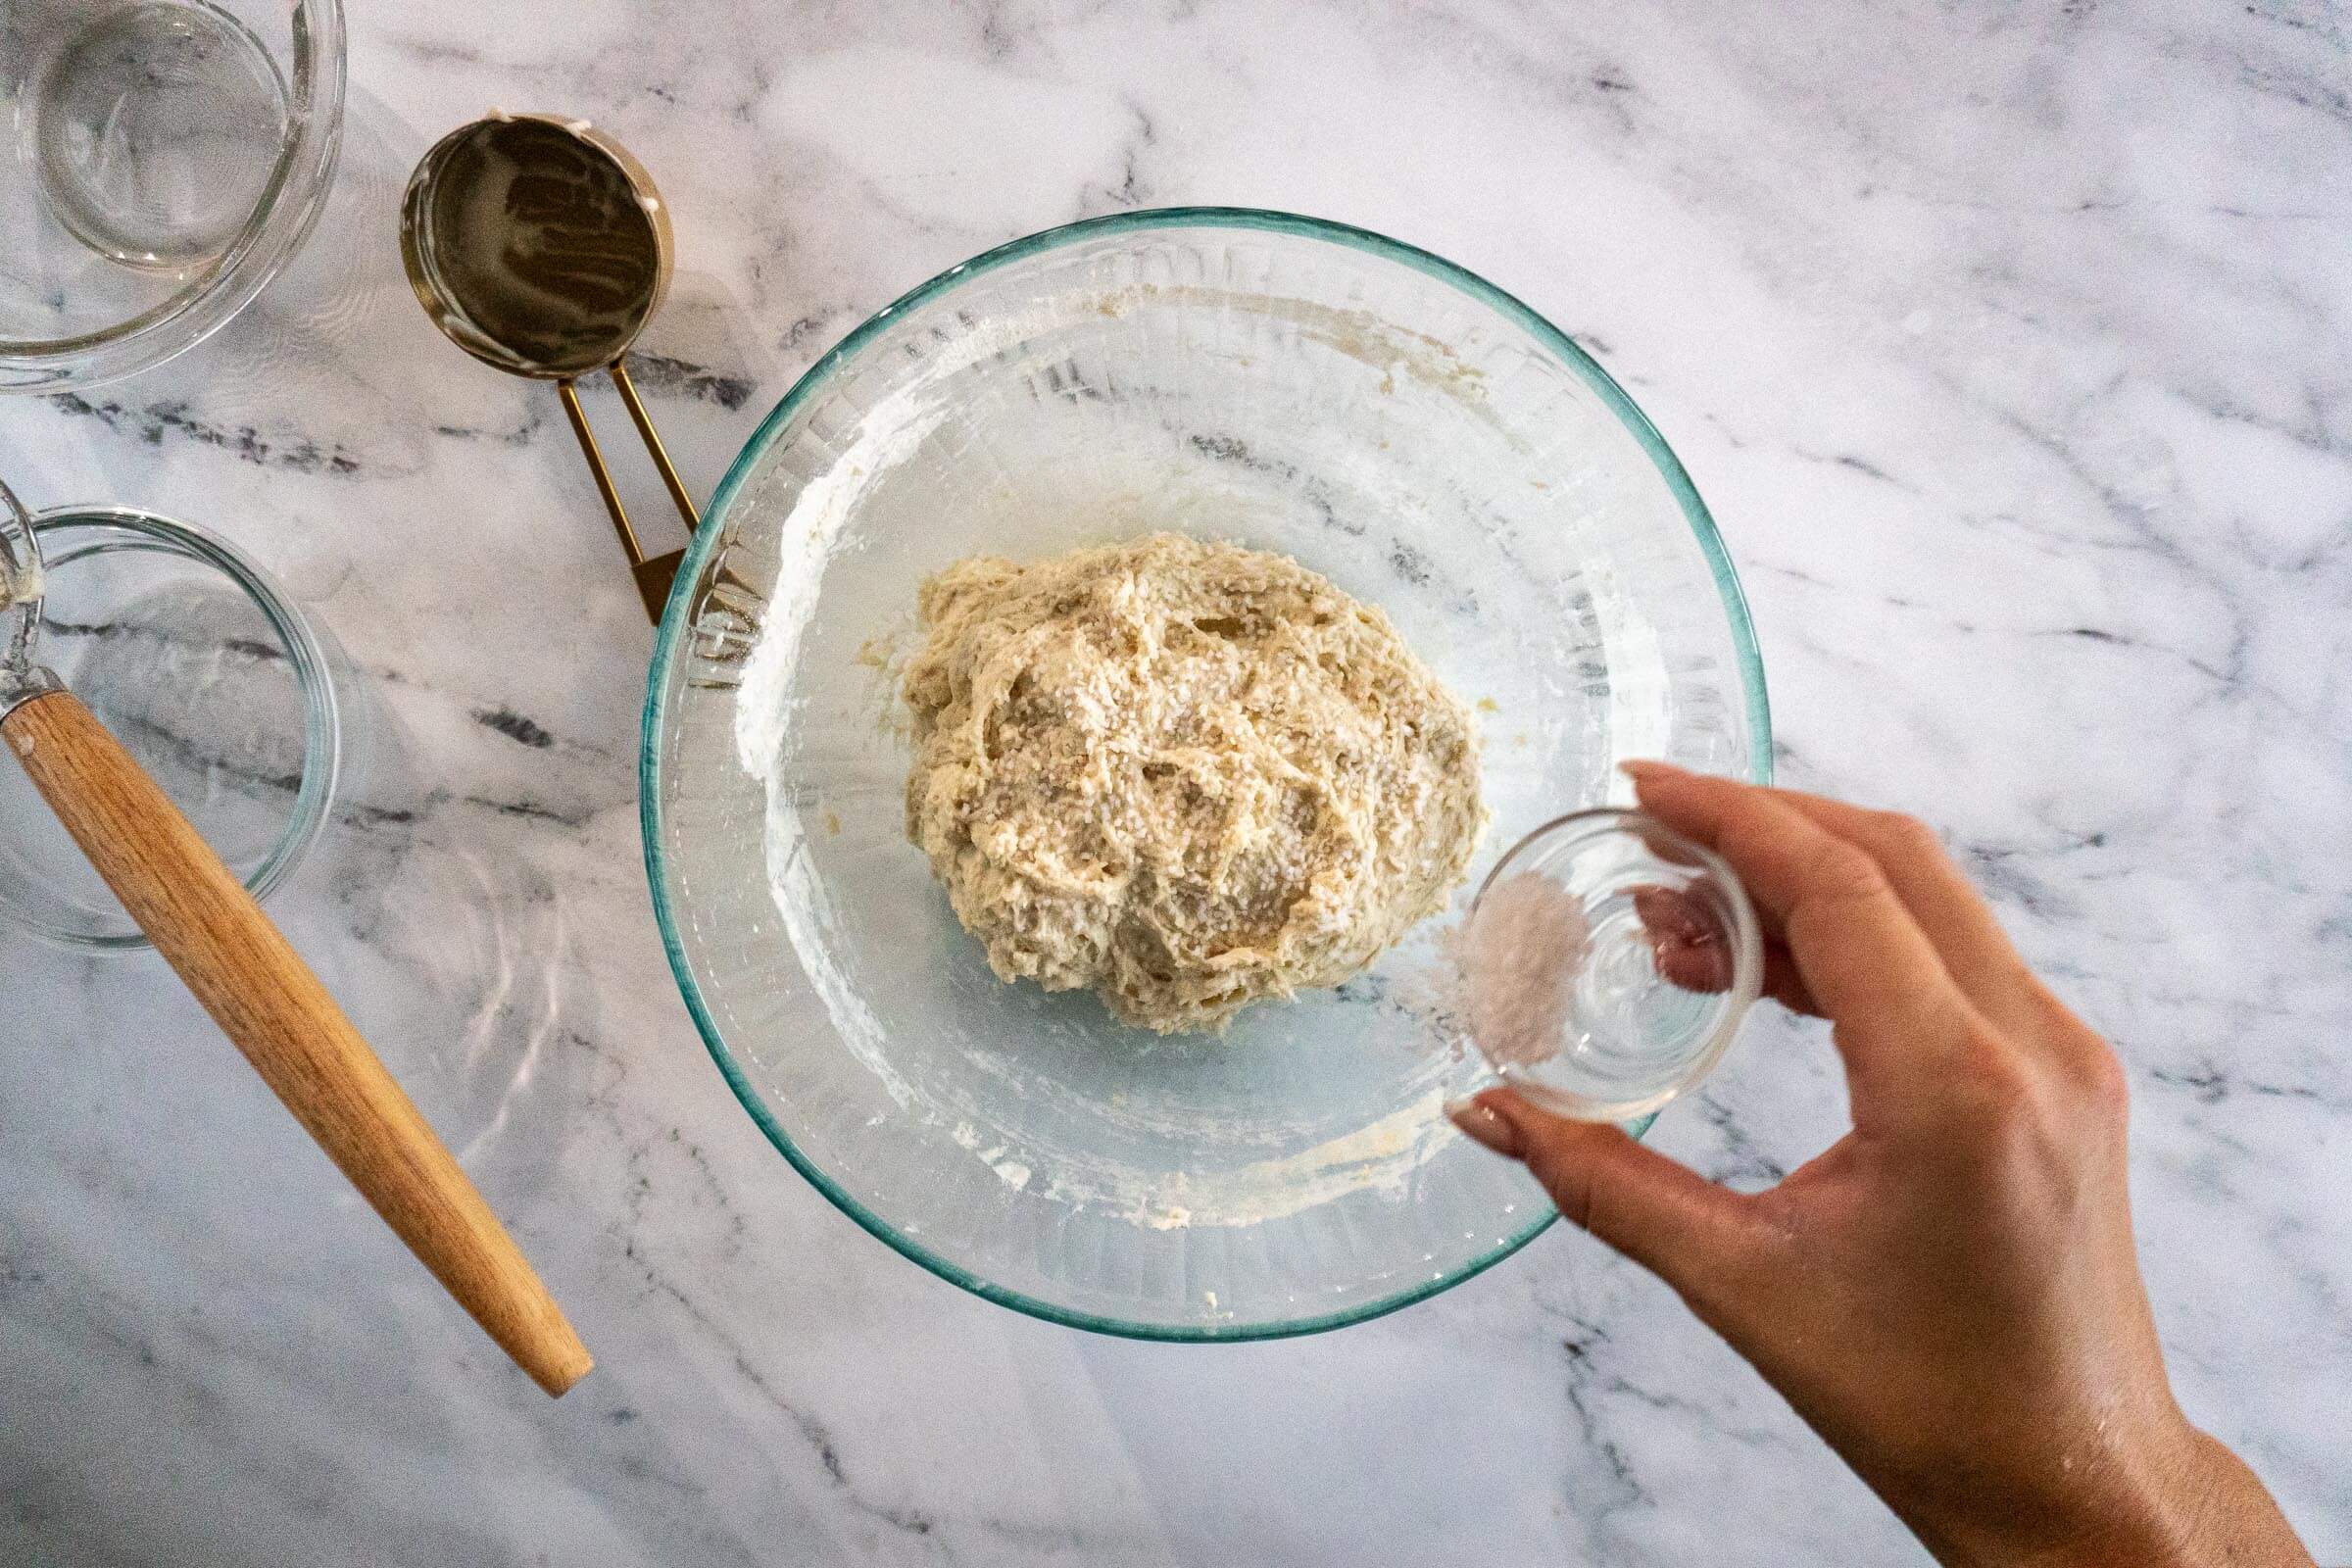
- Step 4: Sprinkle 12g salt over the dough. Cover the bowl and set aside for 45 - 60 minutes.
Stretch And Fold:
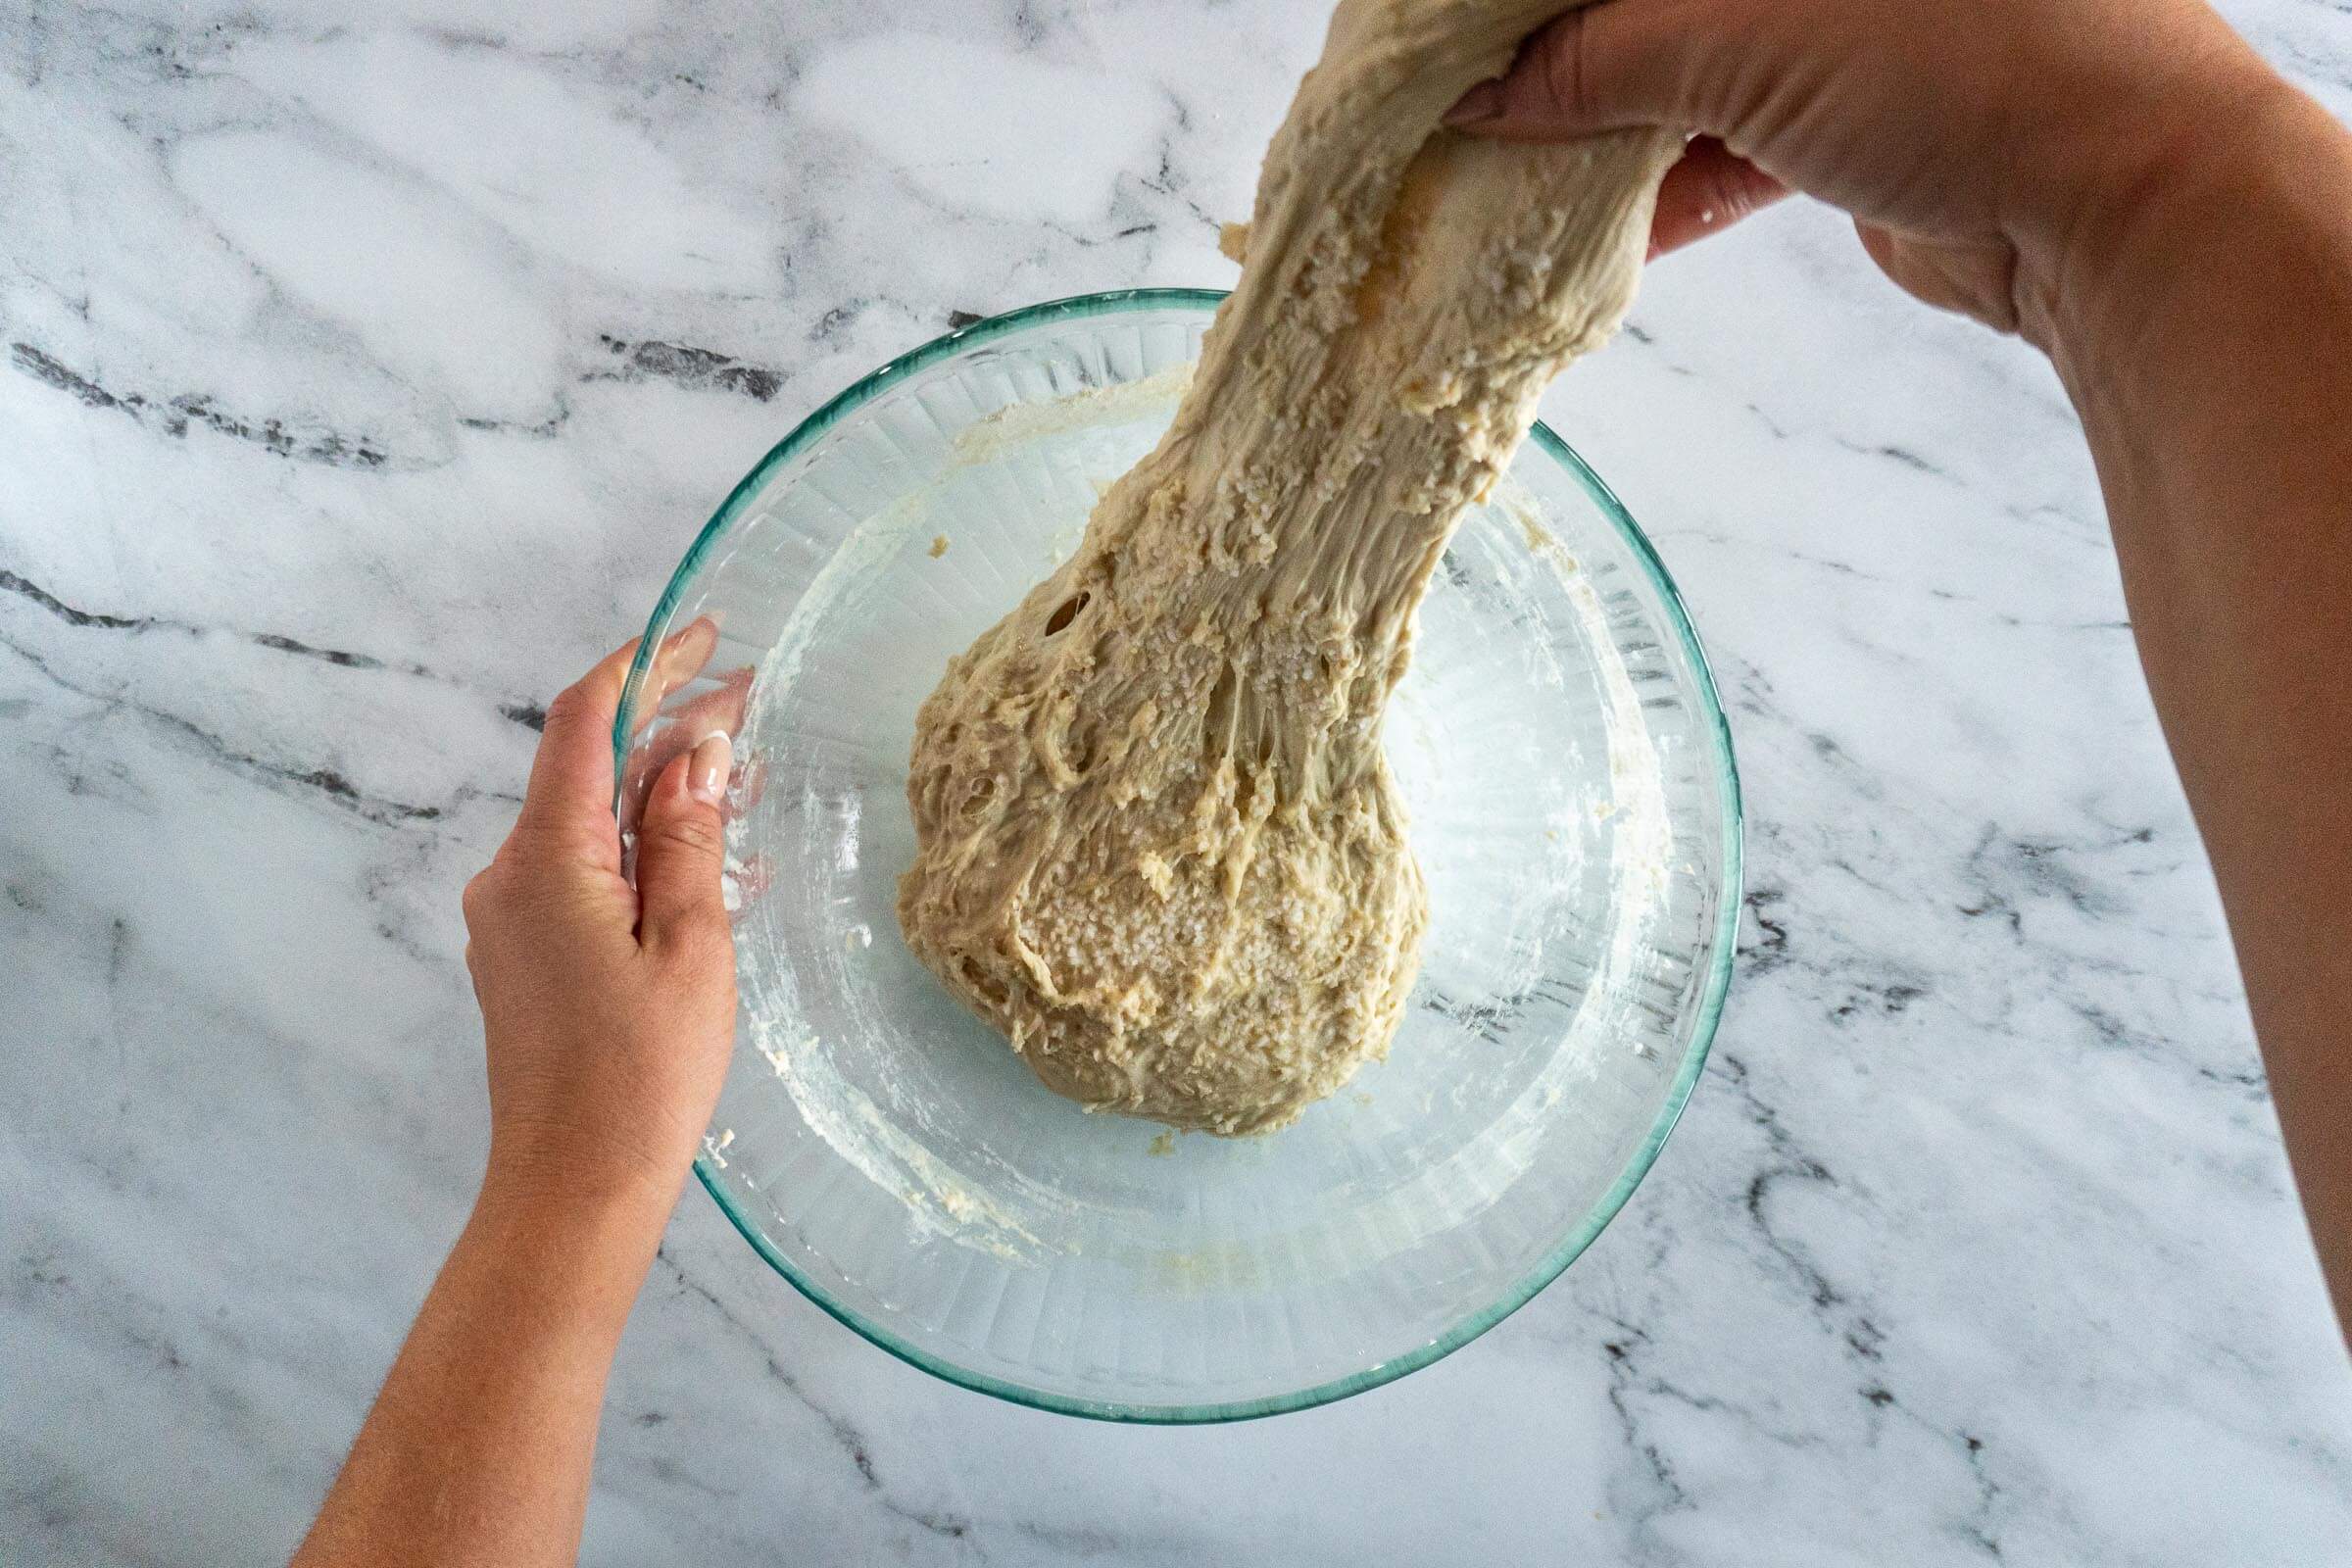
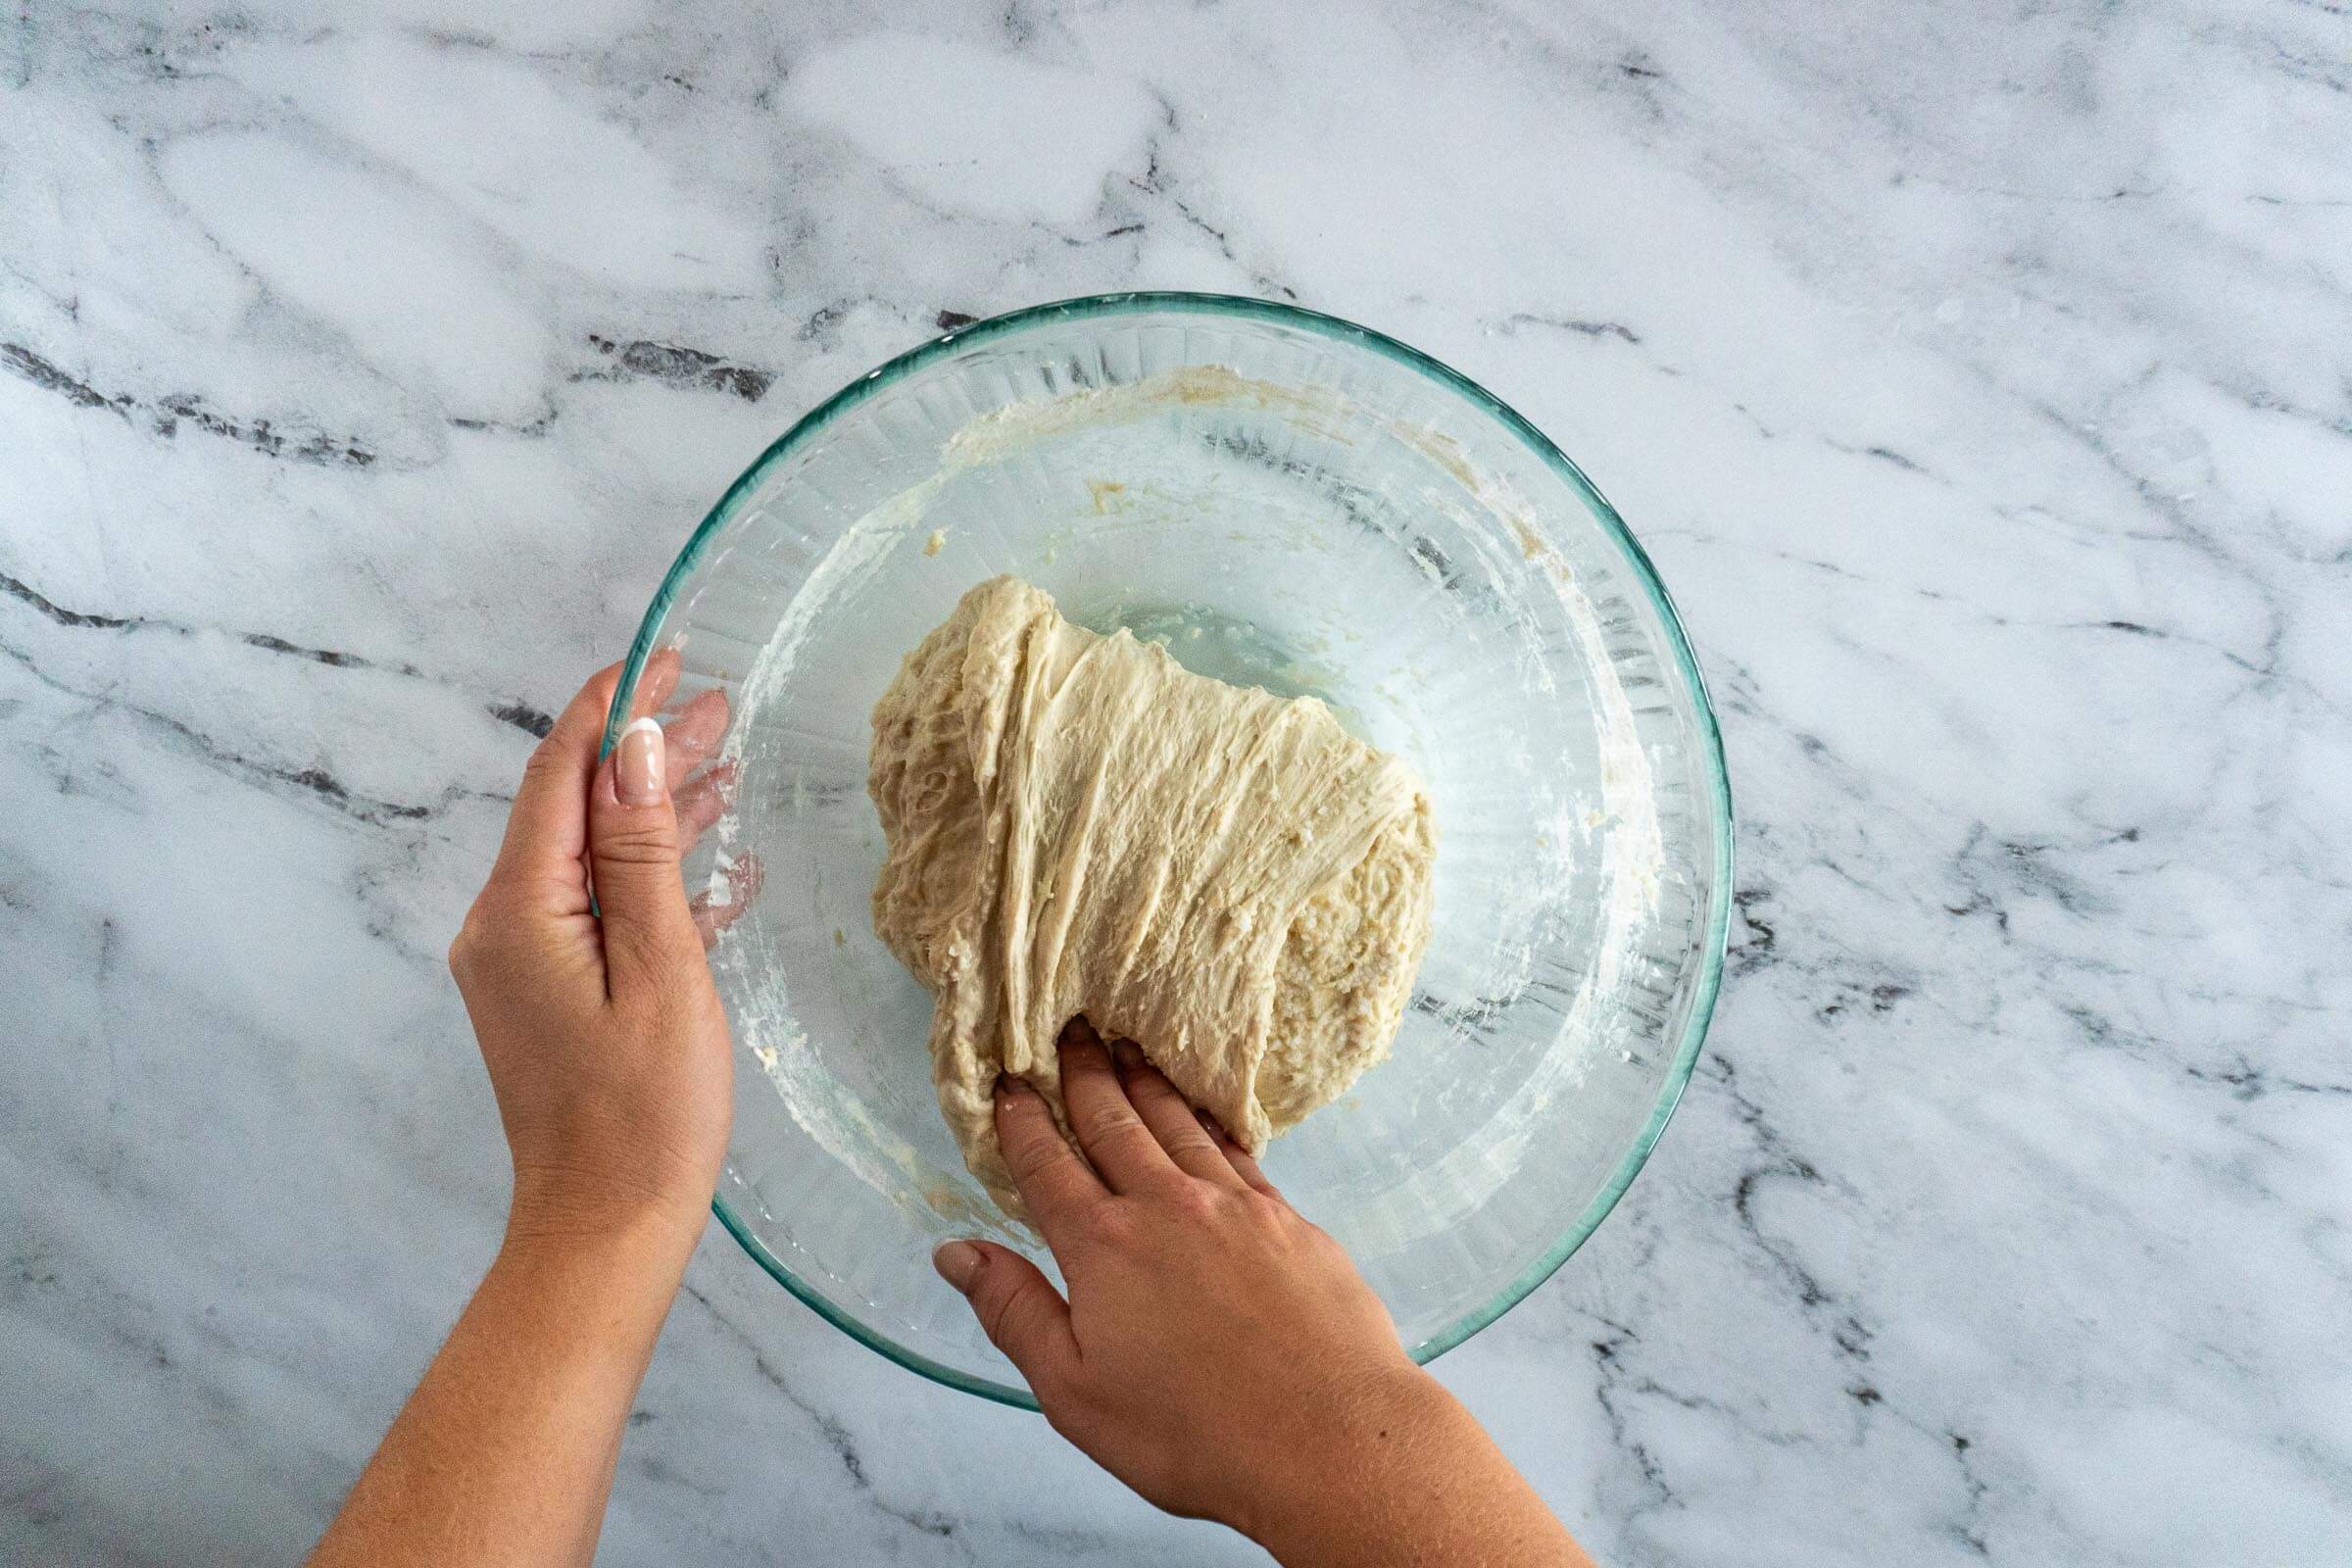
- Step 5: Uncover the bowl and using damp hands, grab the dough and gently pull it until the flap is long enough to fold over itself, then fold the flap, rotate the bowl 90 degrees, and repeat 3 more times, this is considered a set of stretch and folds. Recover the bowl, and set it aside for 60 minutes.
- Step 6: Repeat the stretch and fold process 3 times over 3 hours, for a total of 3 sets of stretch and folds each followed by a 60 minute rest.
Bulk Ferment:
- Step 7: Complete a fourth and final stretch and fold then cover the bowl and set aside for 3 hours to finish the bulk ferment. It is important to keep the dough bowl somewhere warm to encourage the microbes to work quickly!
Shape:
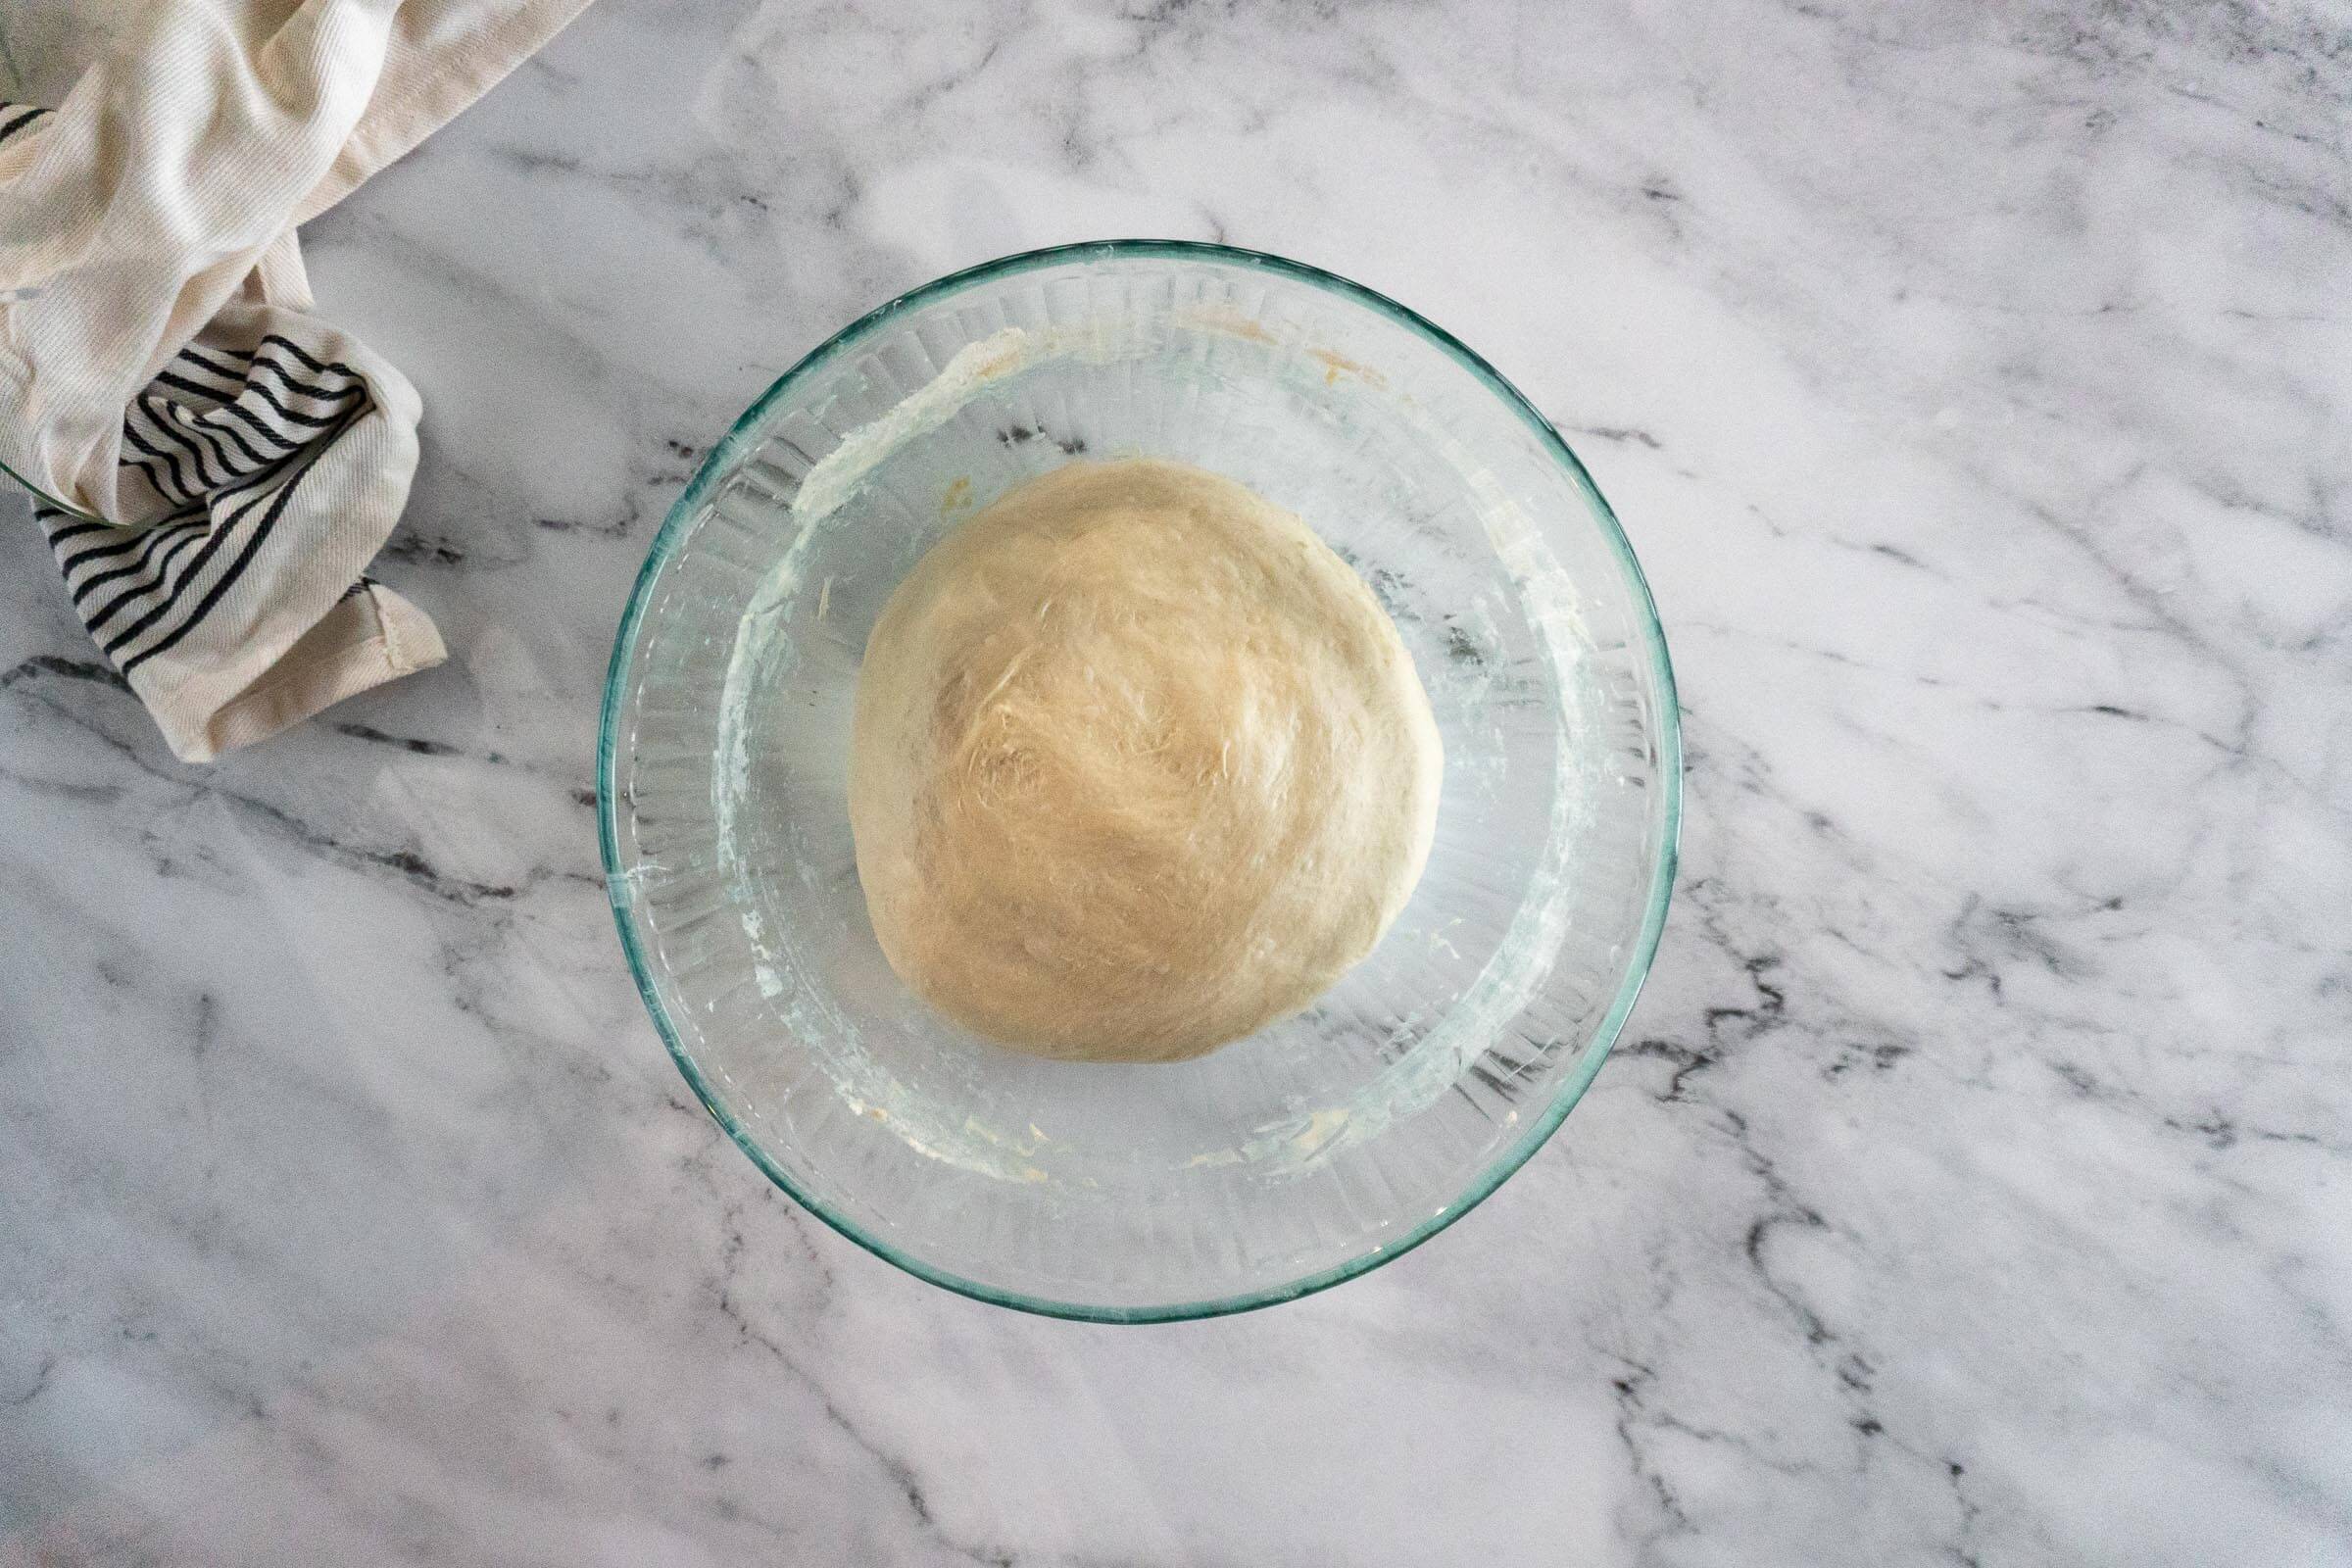
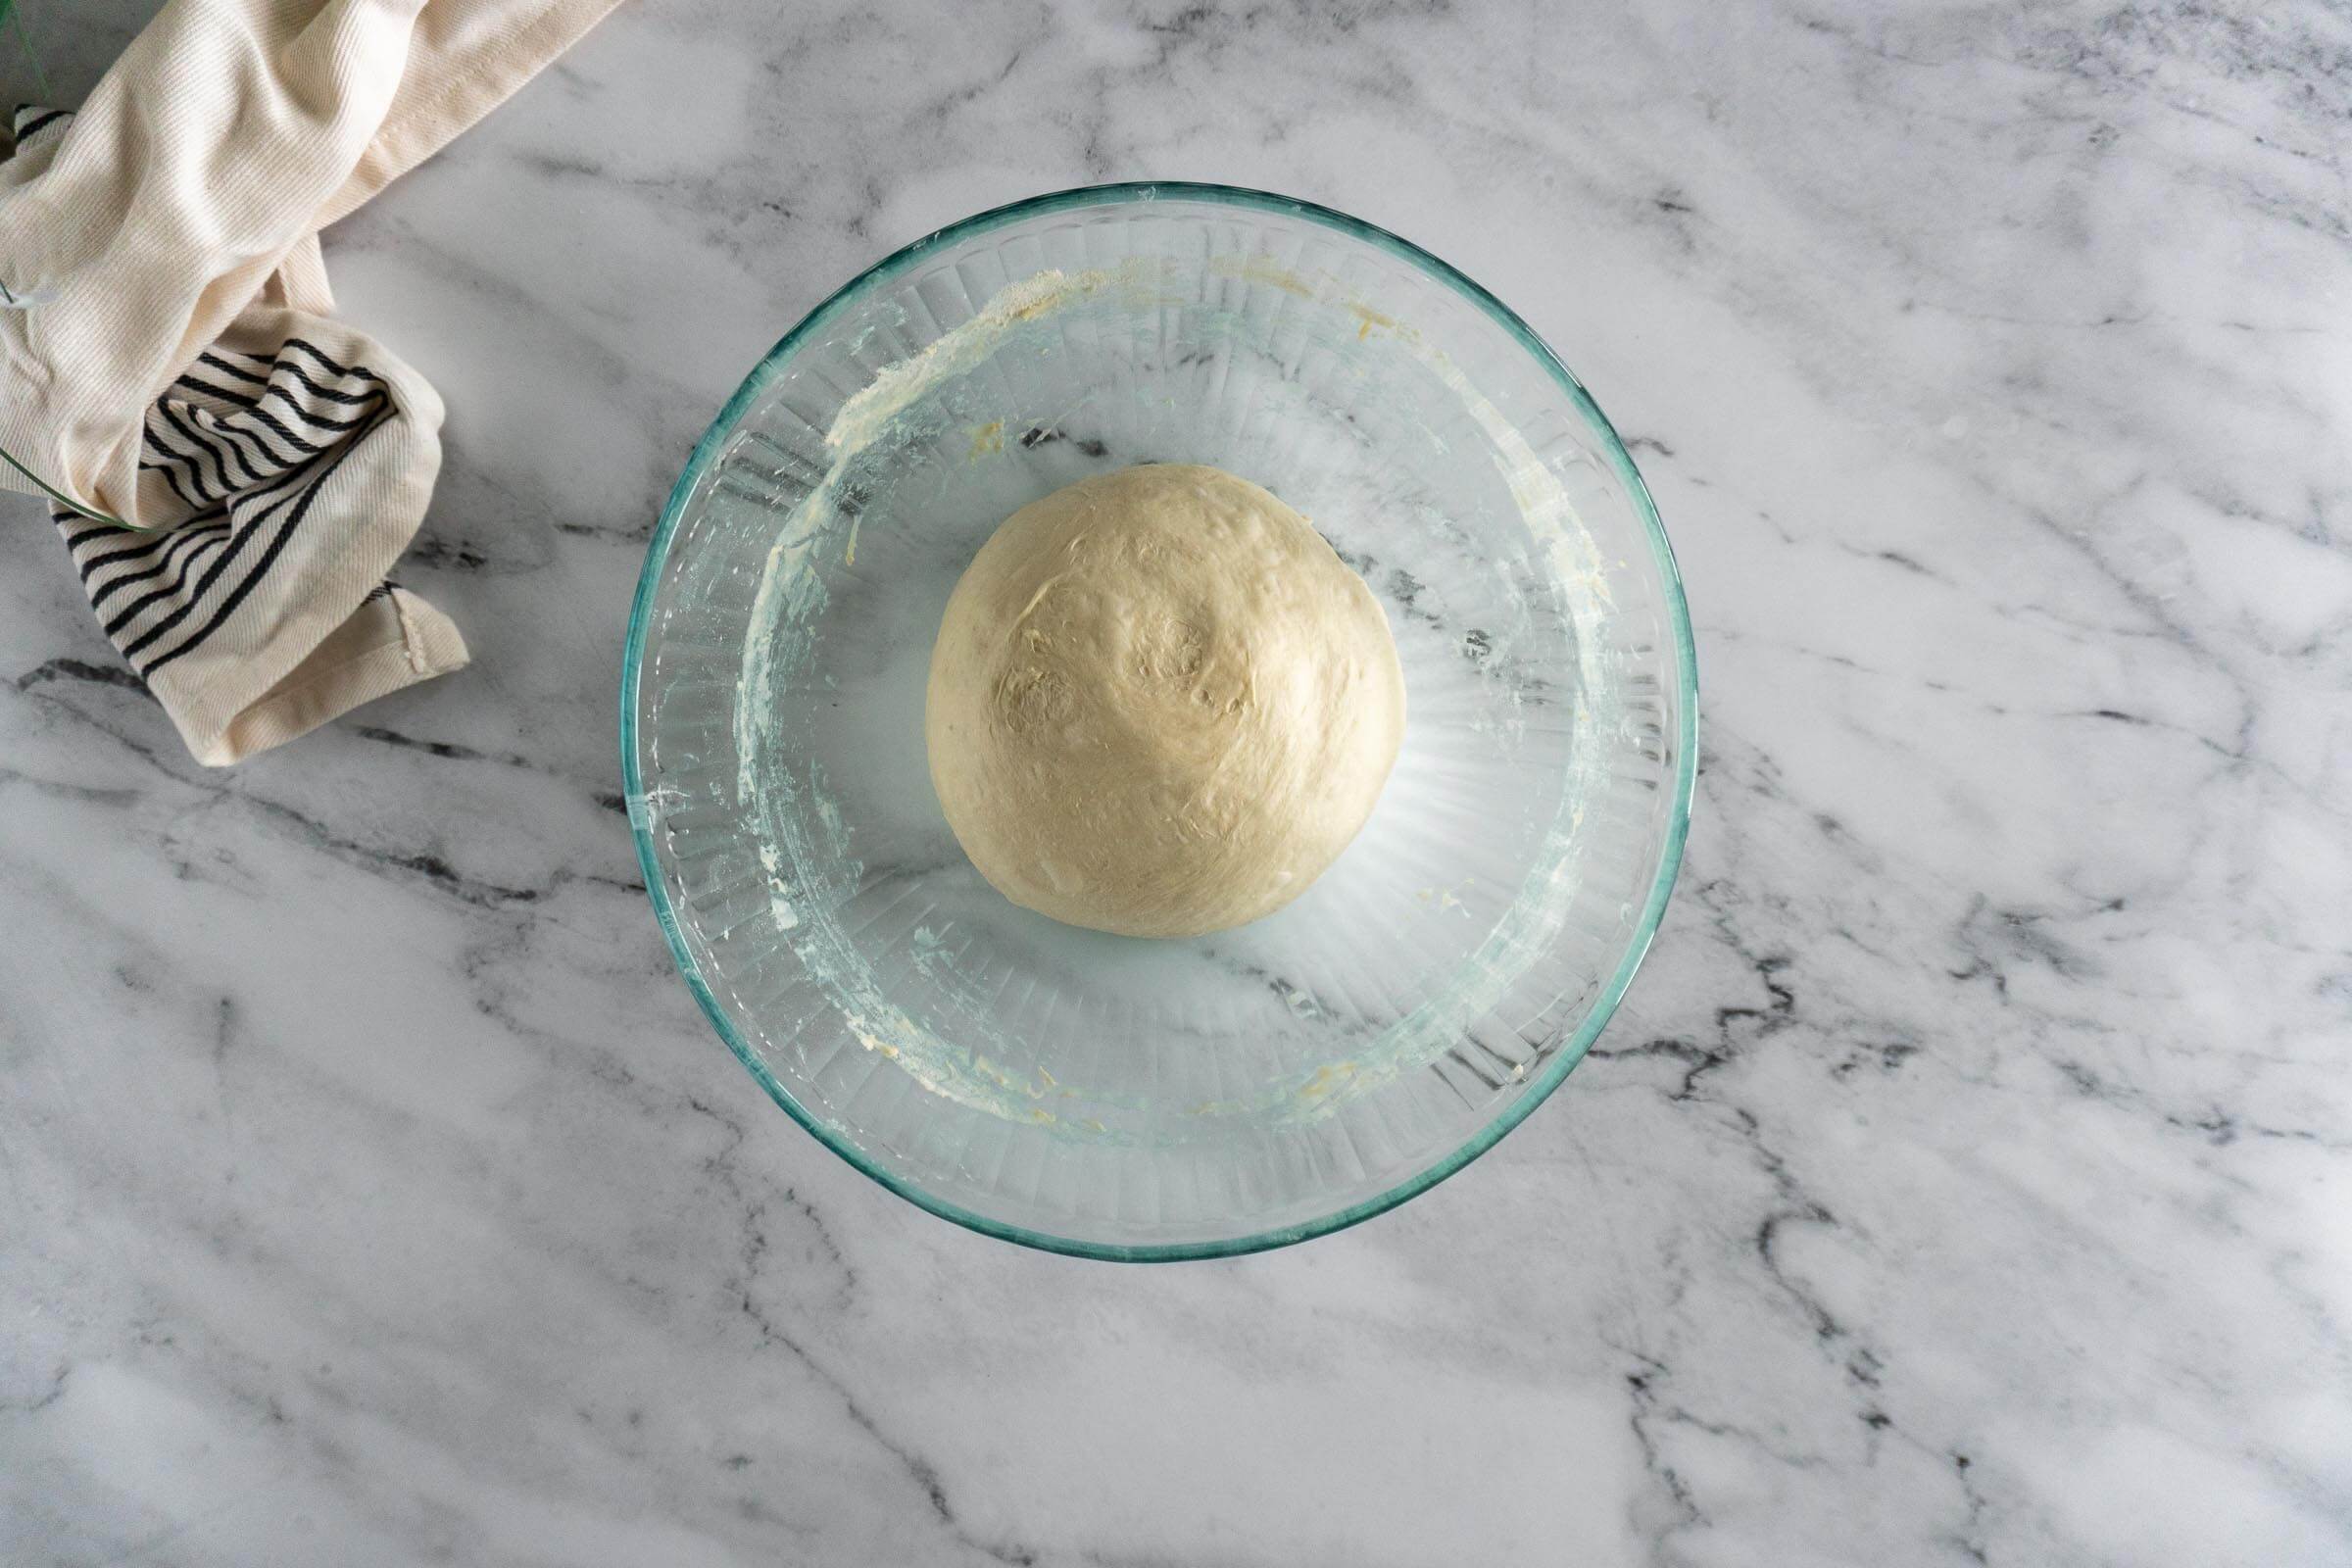
- Step 8: Observe your dough, at this point, the dough should have risen in the bowl, and have a smooth surface with visible bubbles. If the dough is domed in the bowl it is ready to work with, if the dough is flat it may need more time in the bulk ferment.
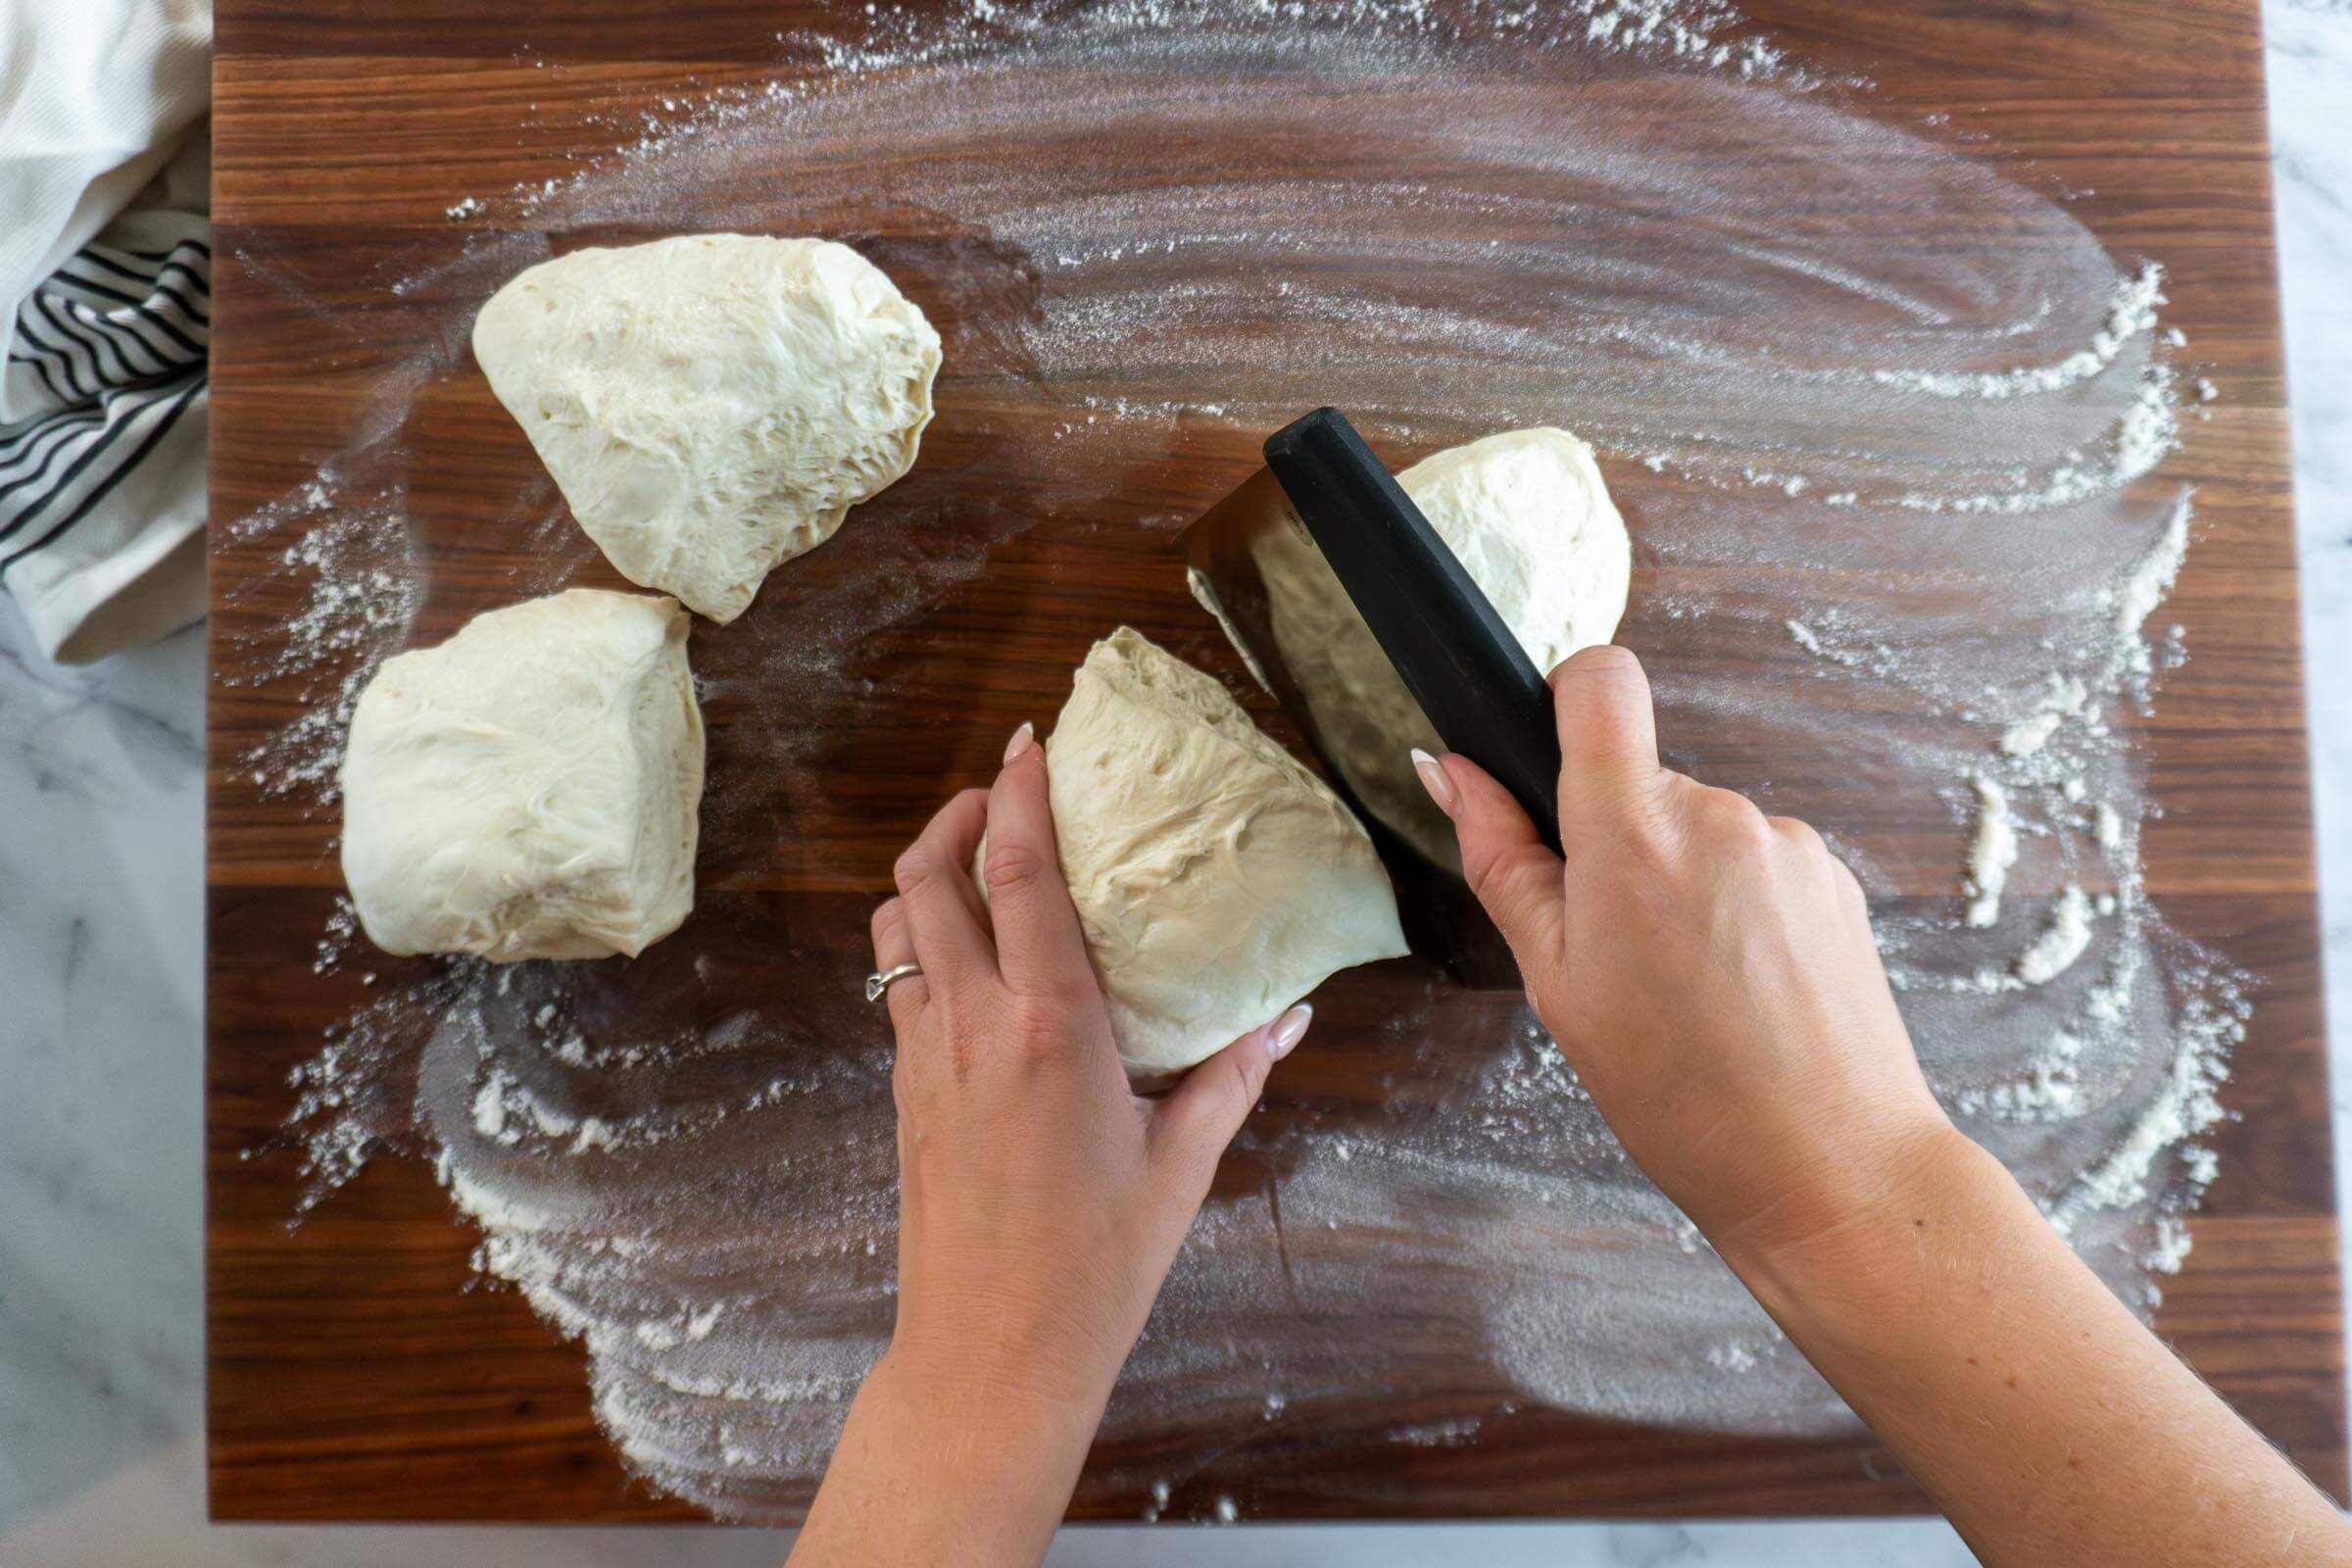
- Step 9: Uncover the dough and transfer to a lightly floured surface or countertop. Use a bench scraper or knife to section the dough into 4 equal portions.
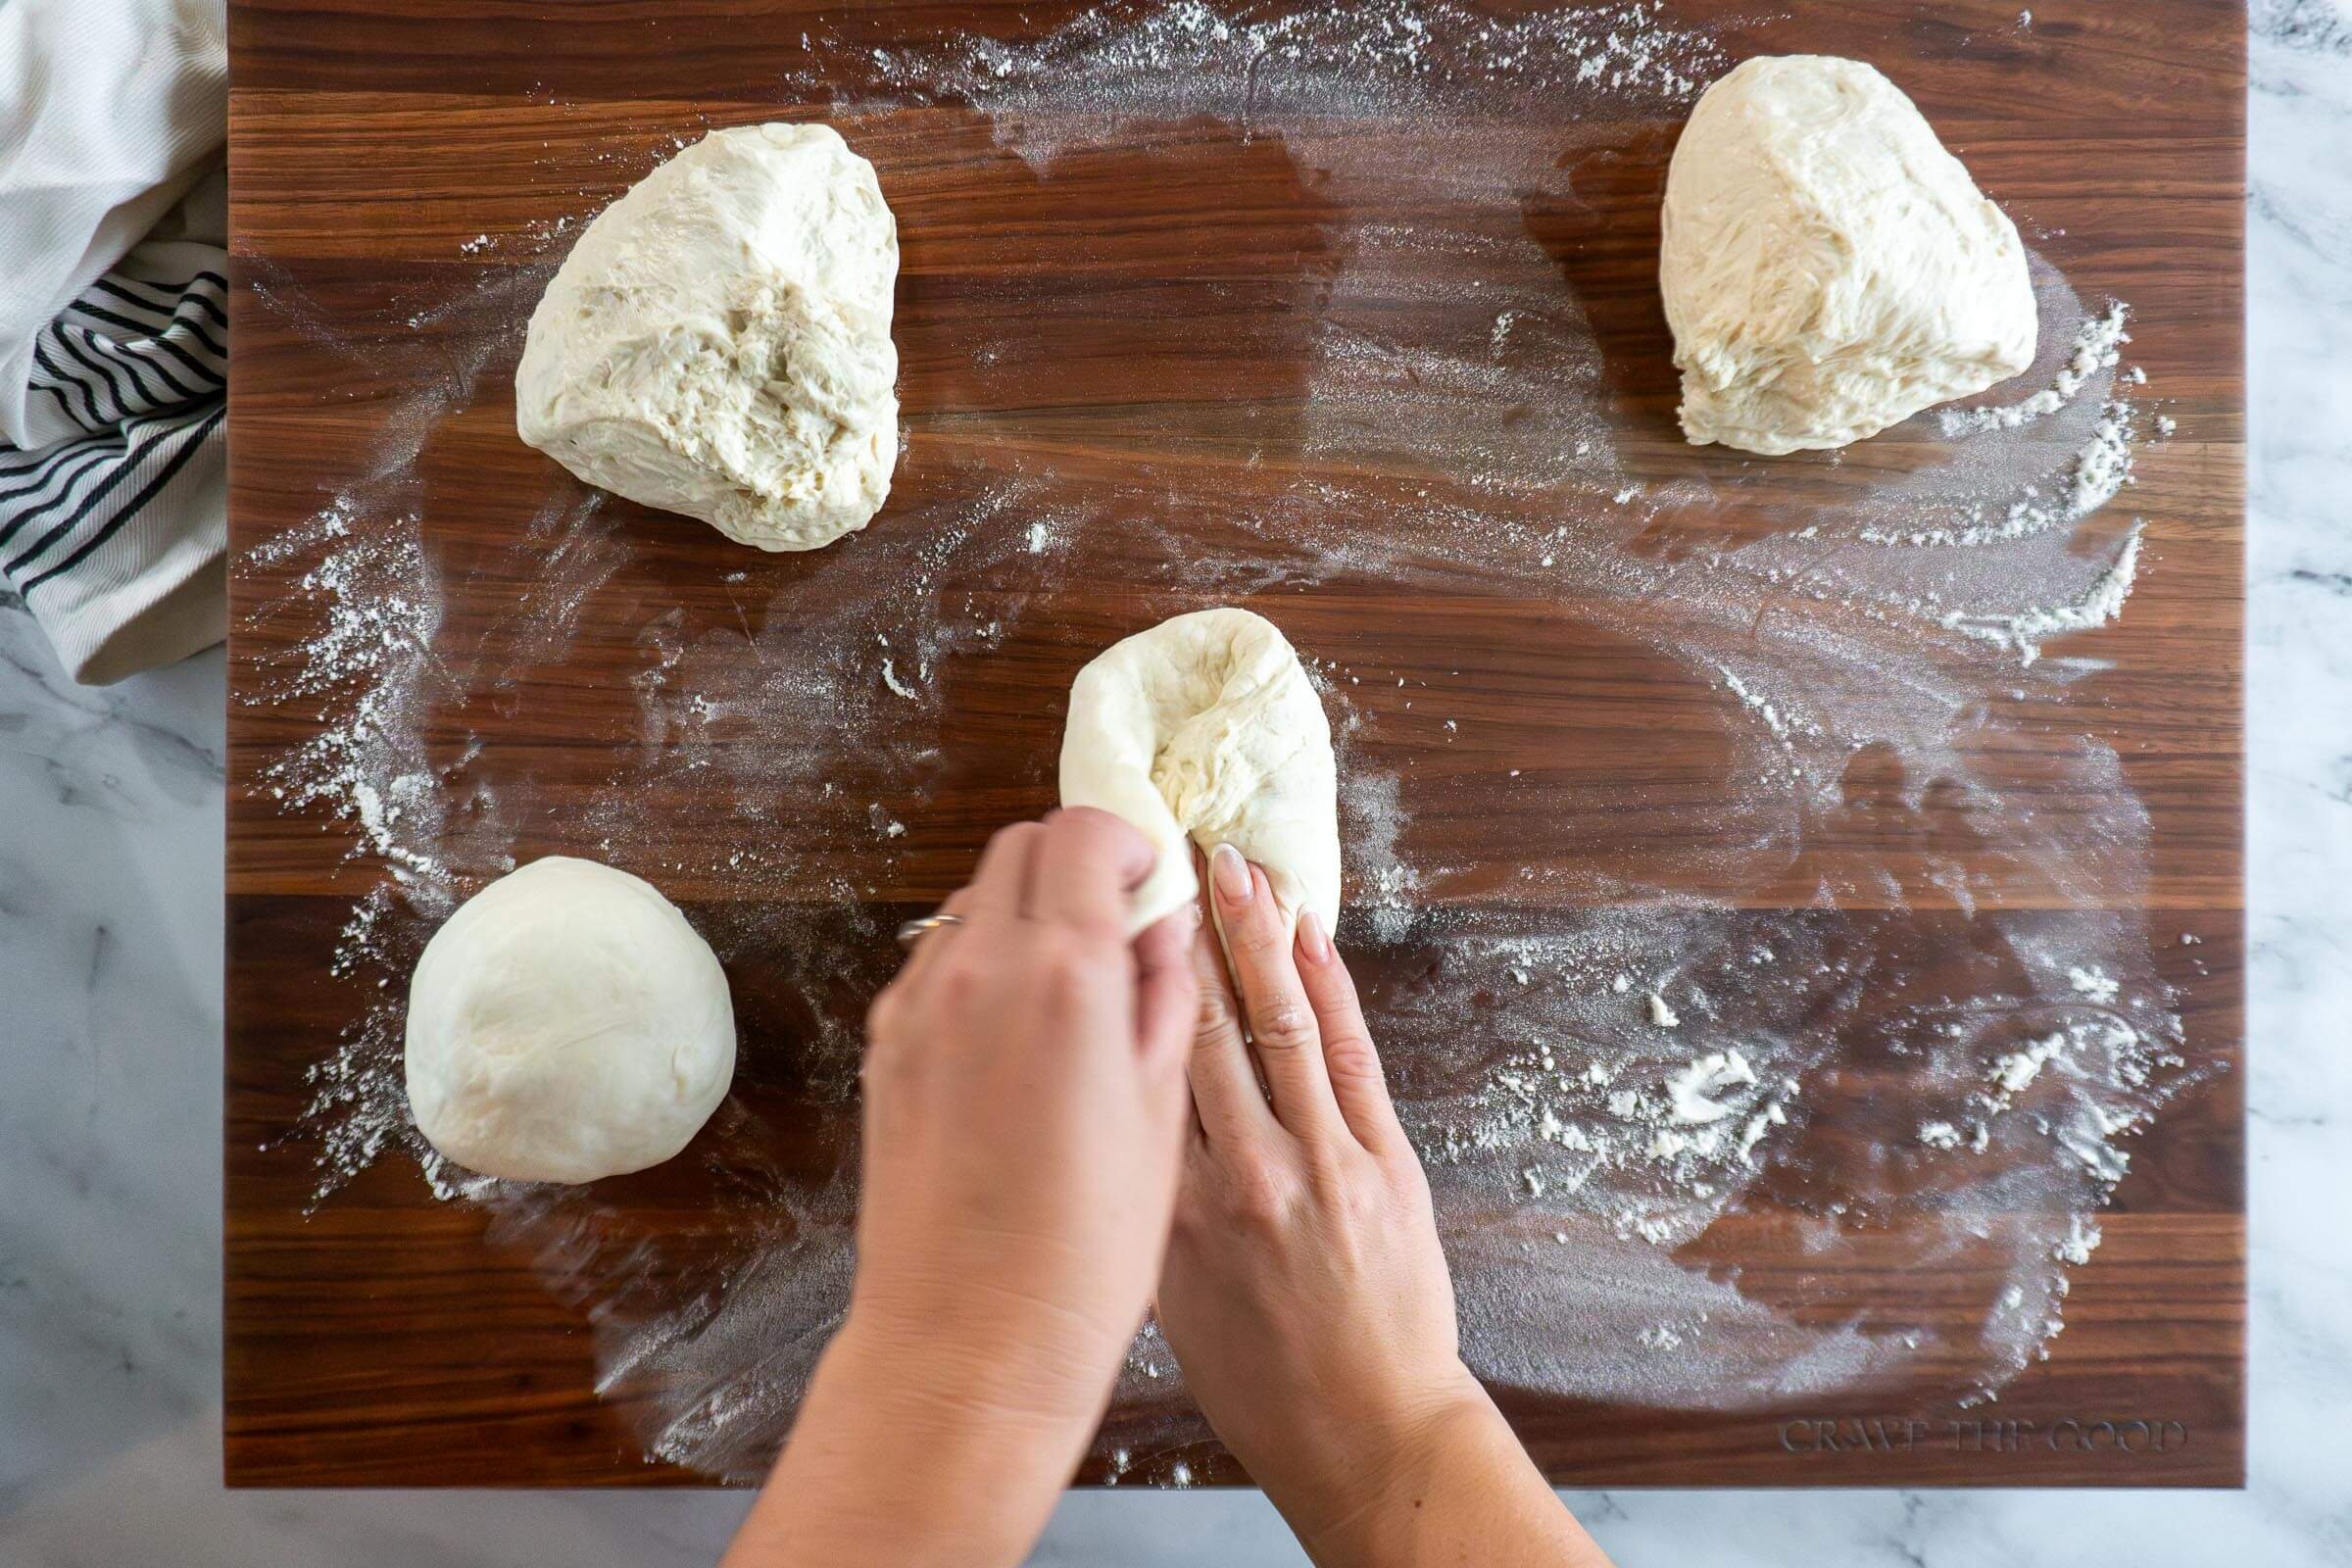
- Step 10: Form each of the portions into a tight dough balls by folding the edges into the center.
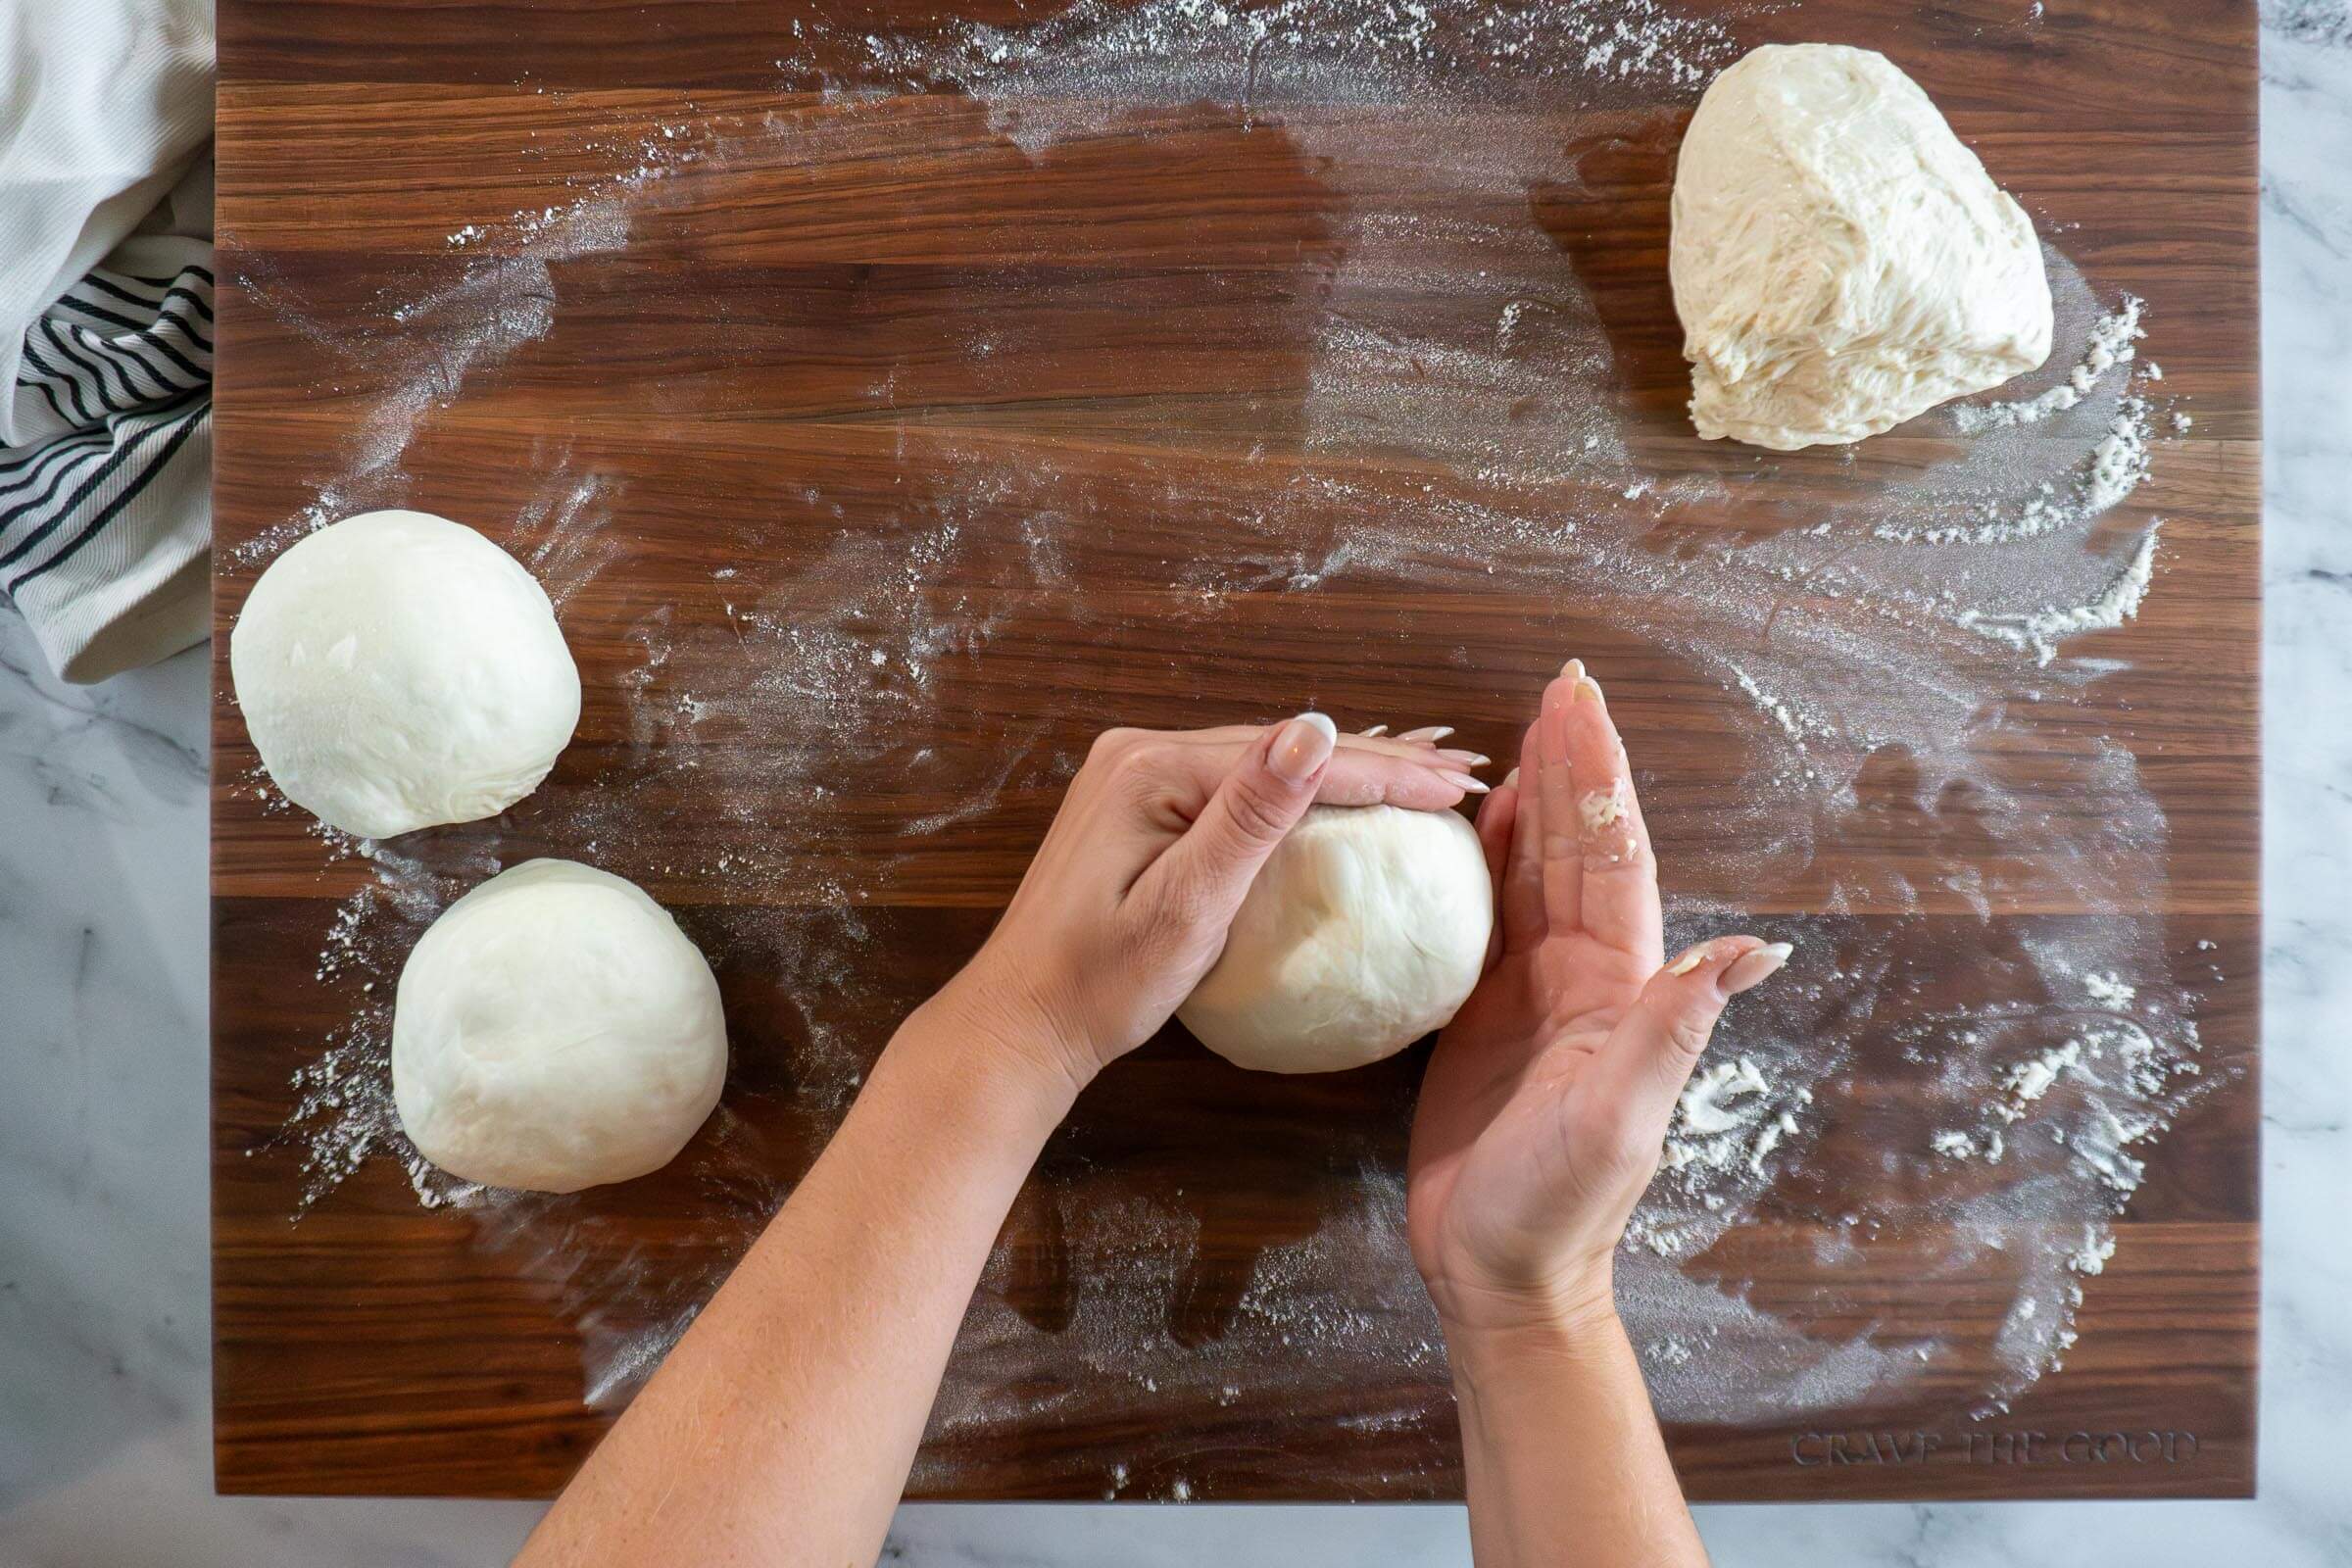
- Step 11: Create more surface tension by placing the seam of the dough ball down and dragging it across your work surface using your pinkies.
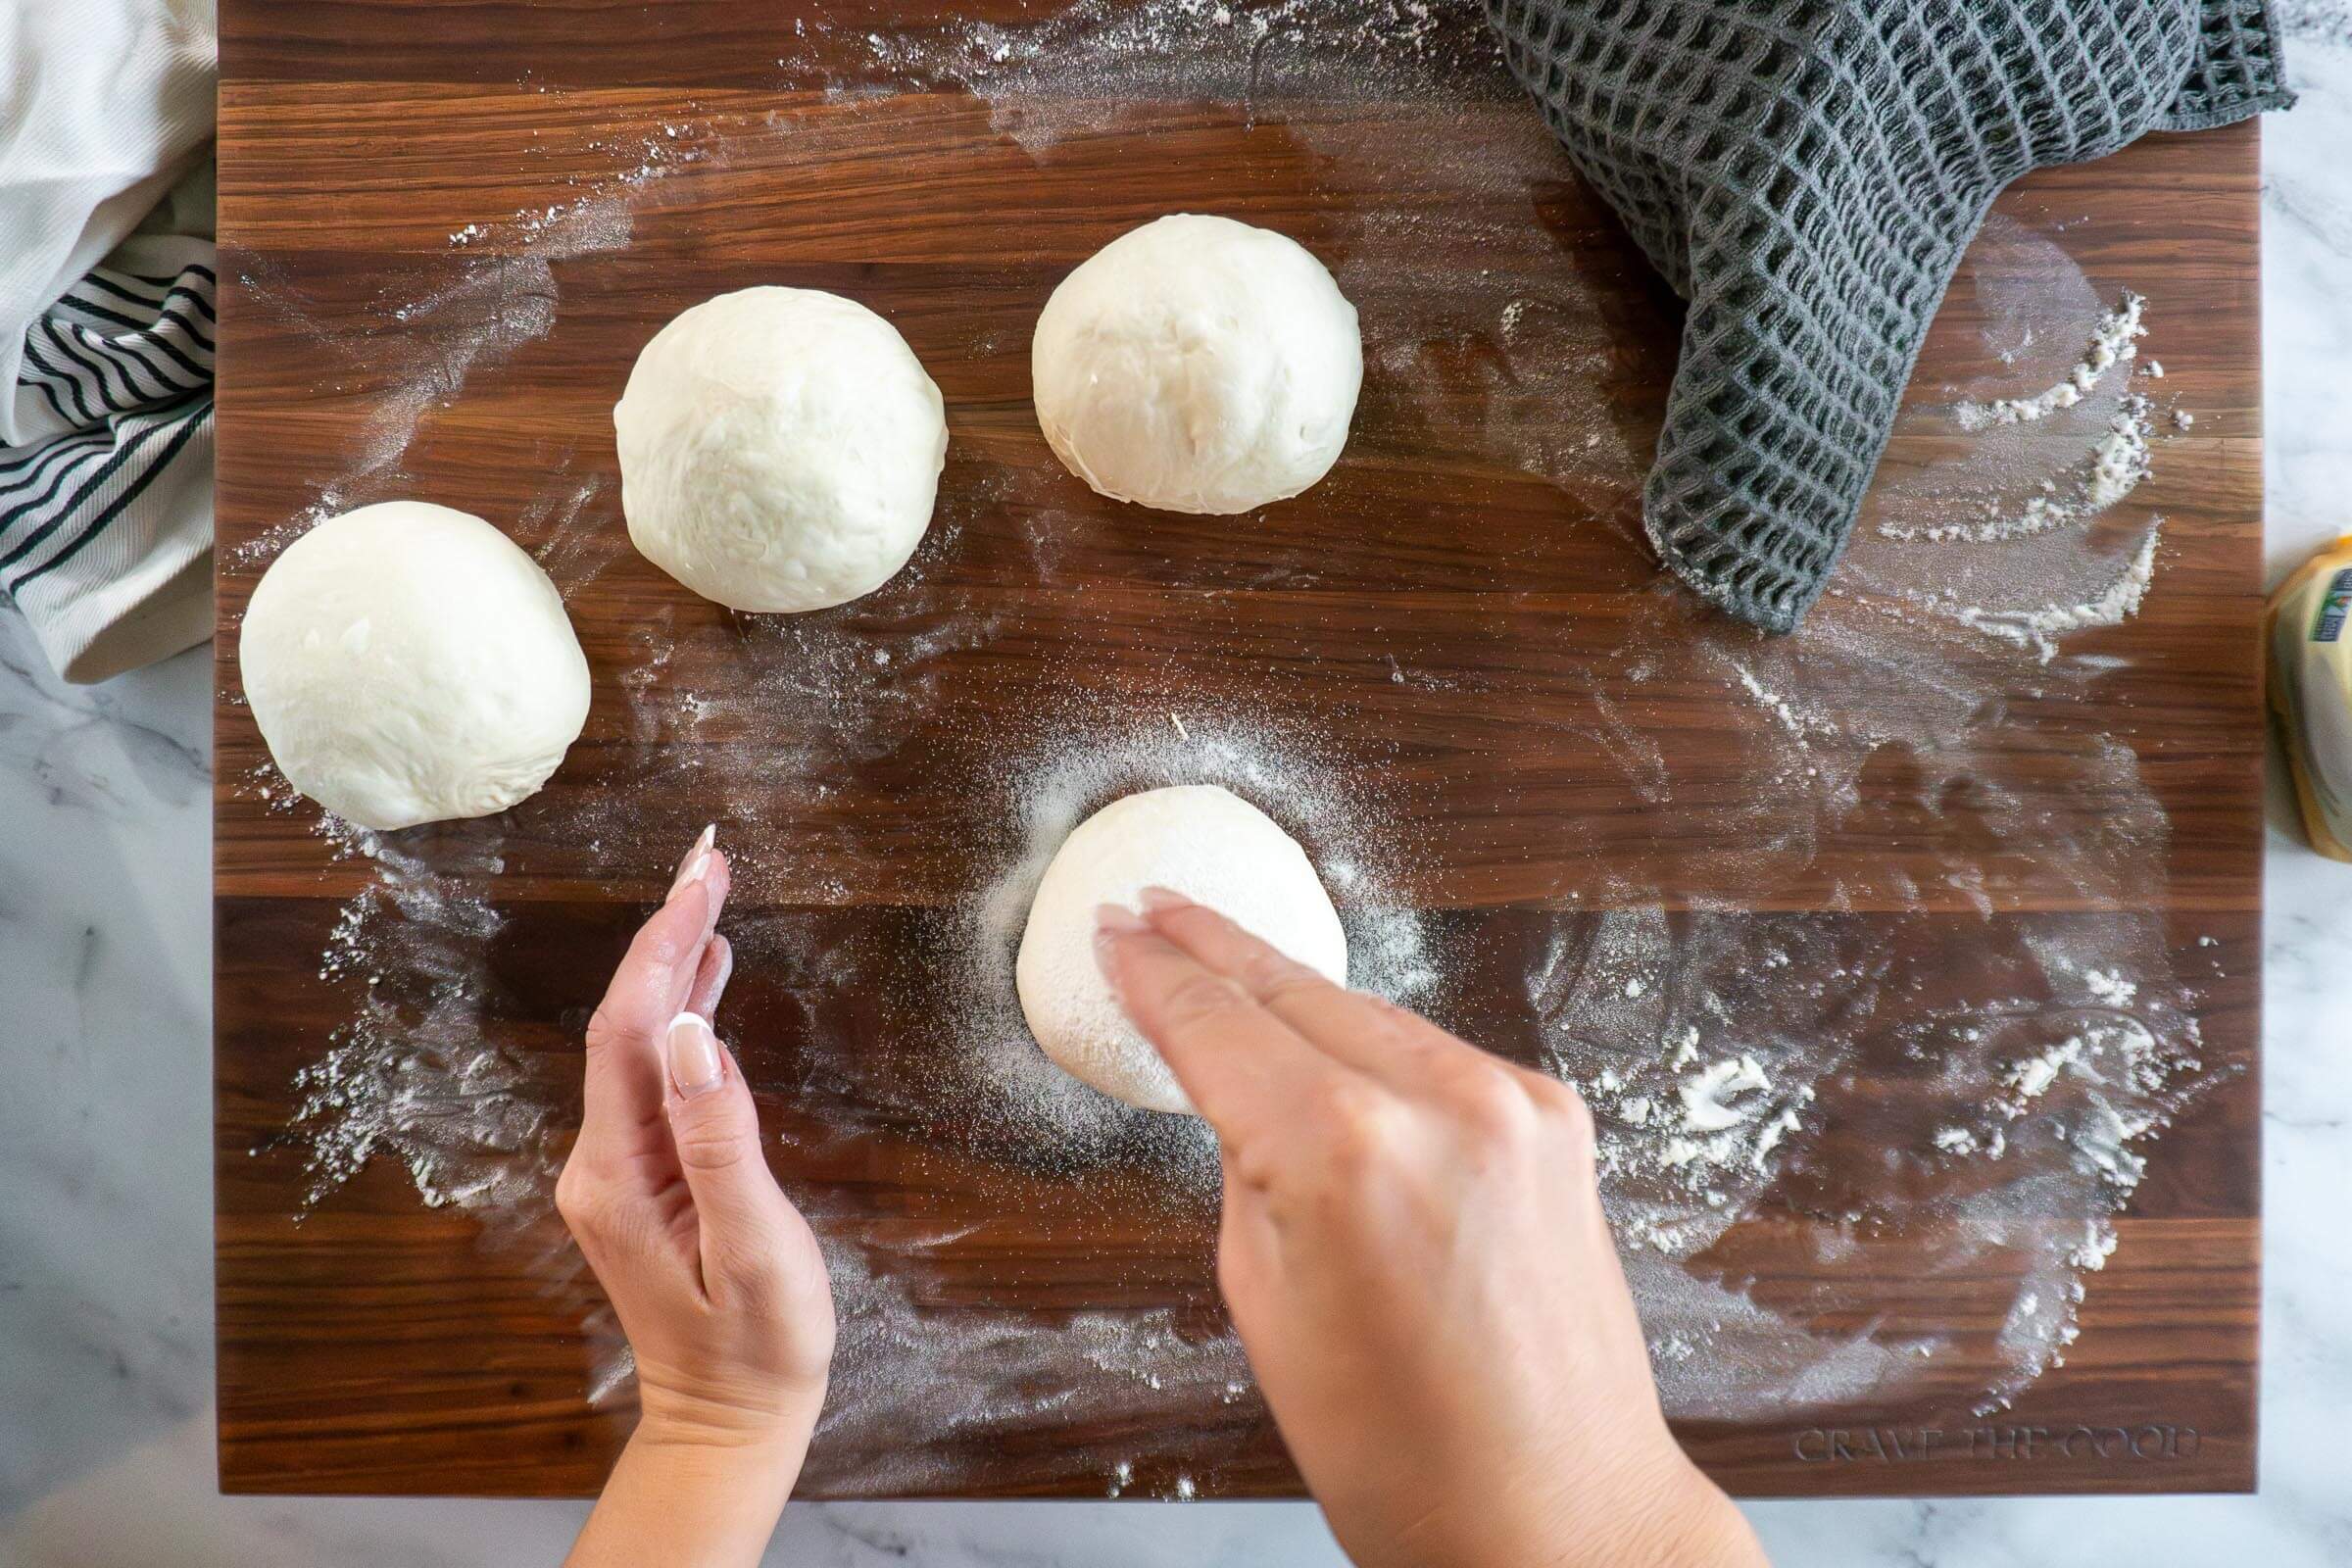
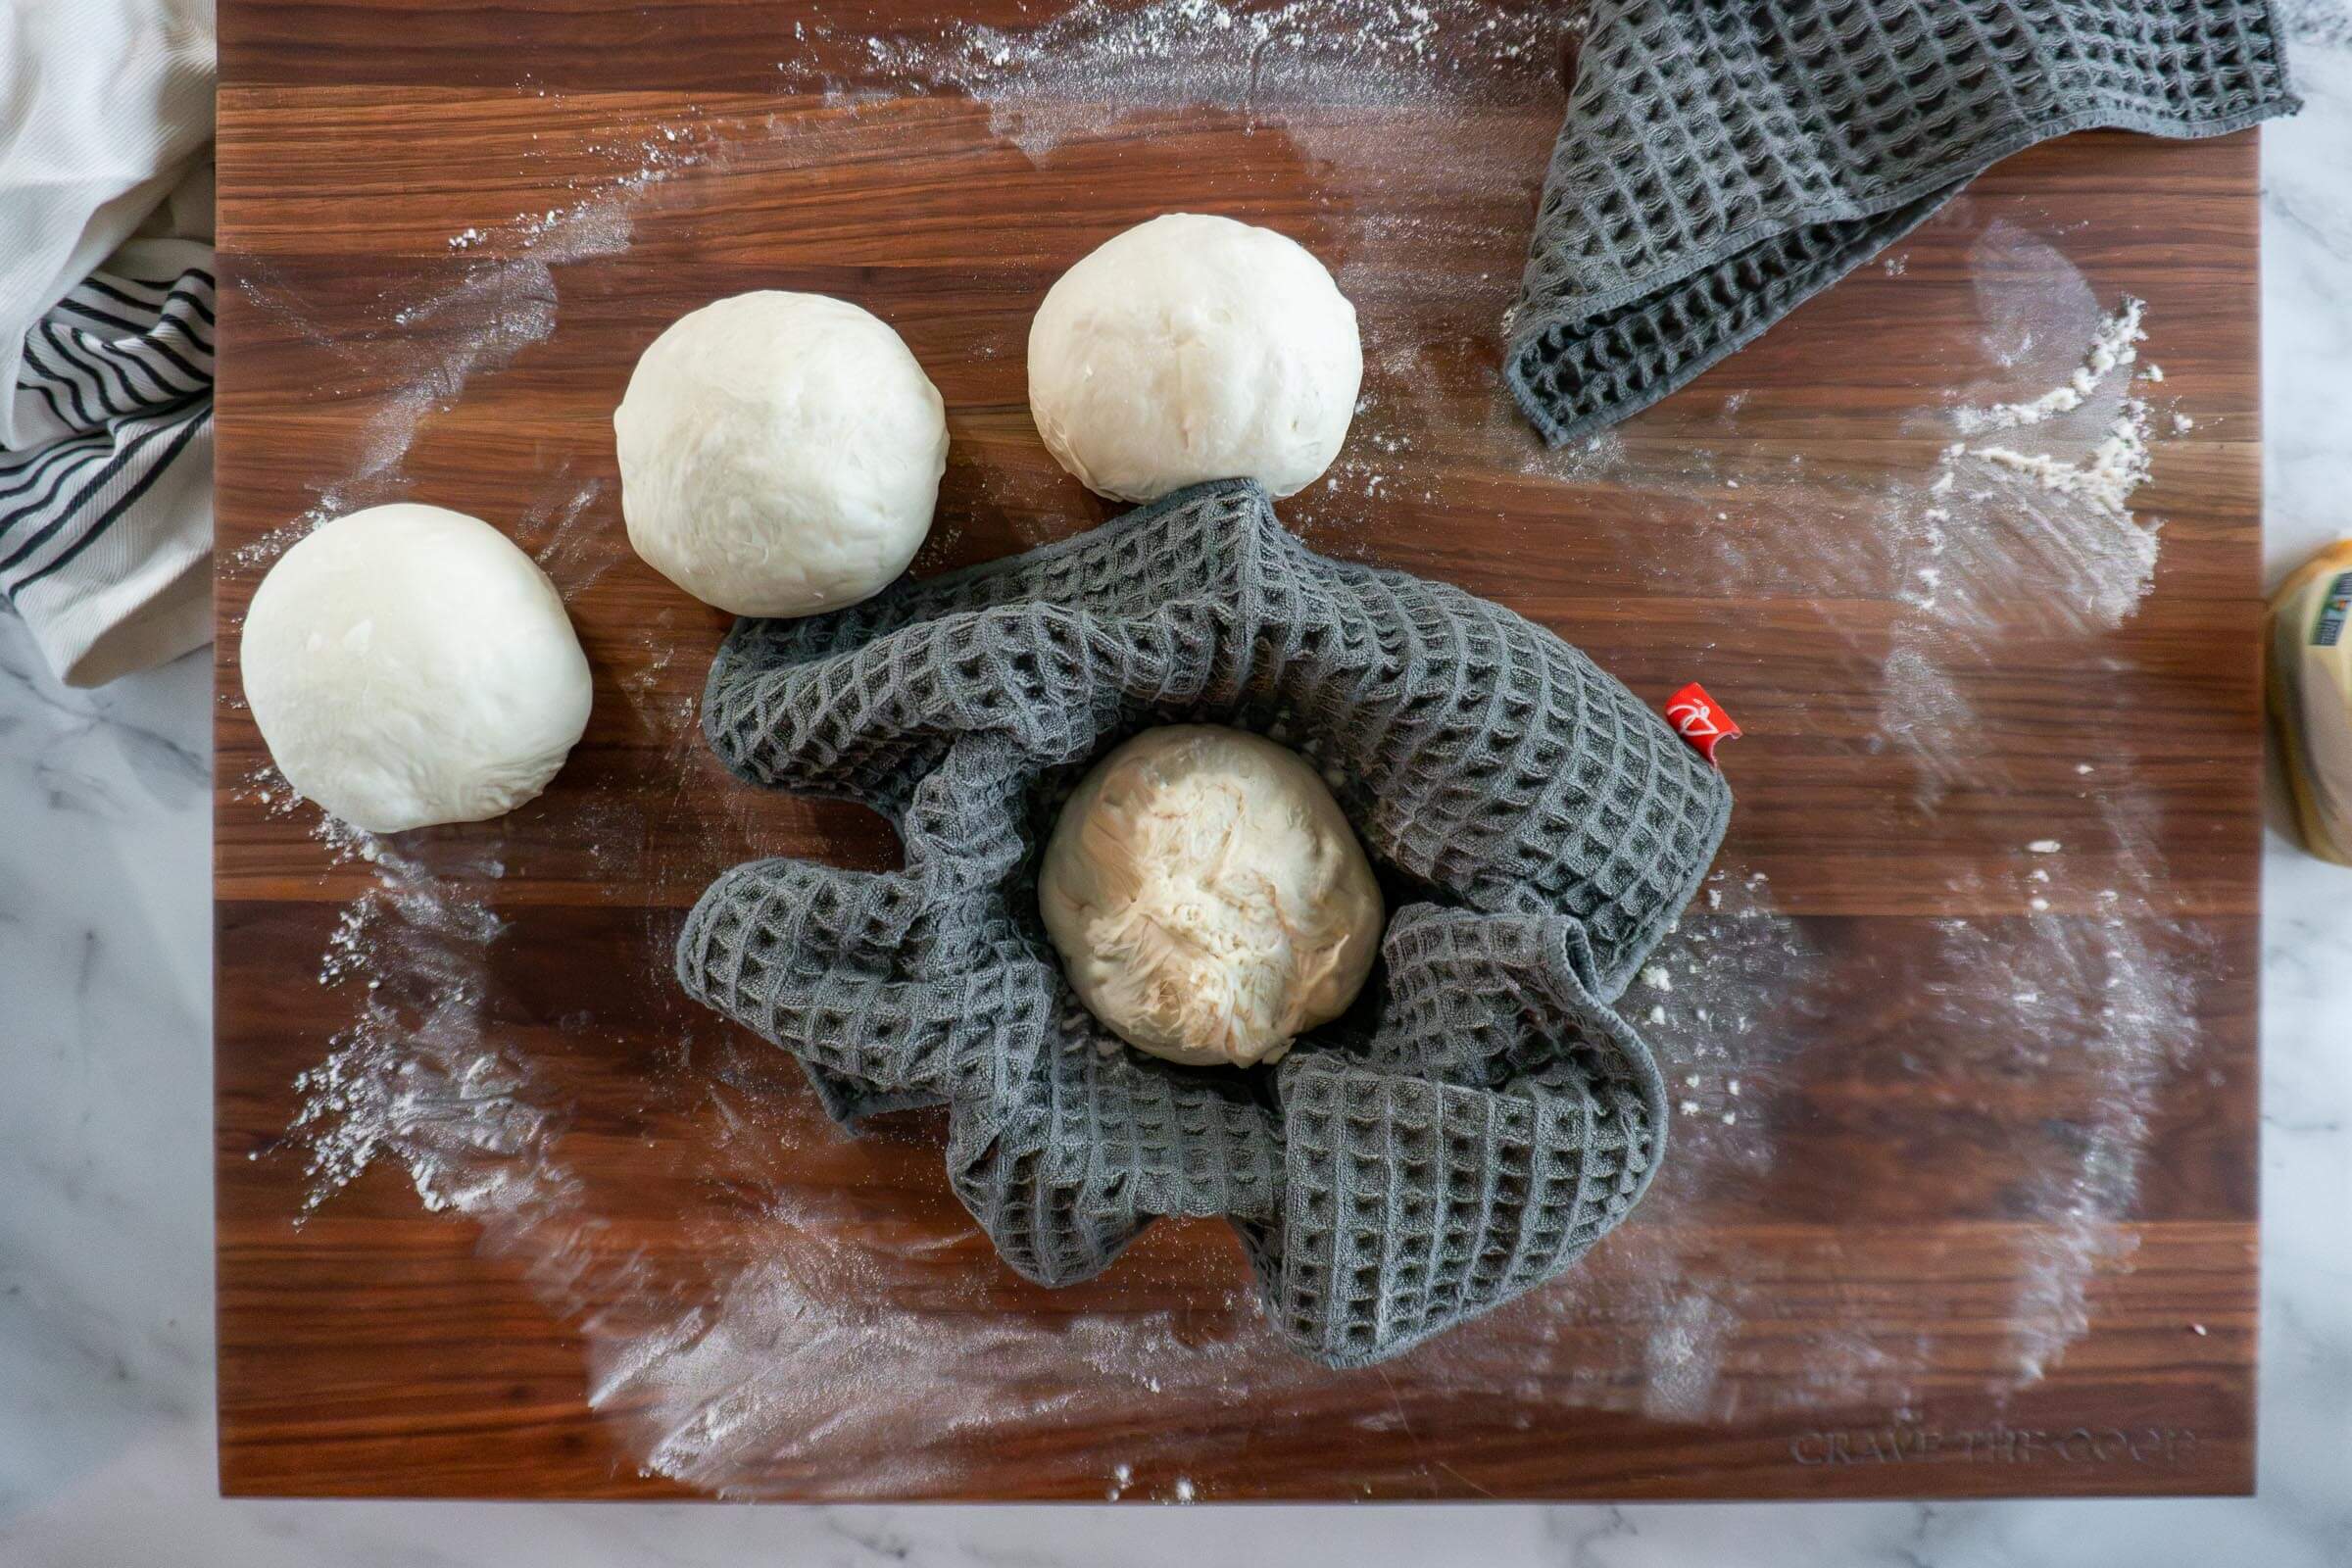
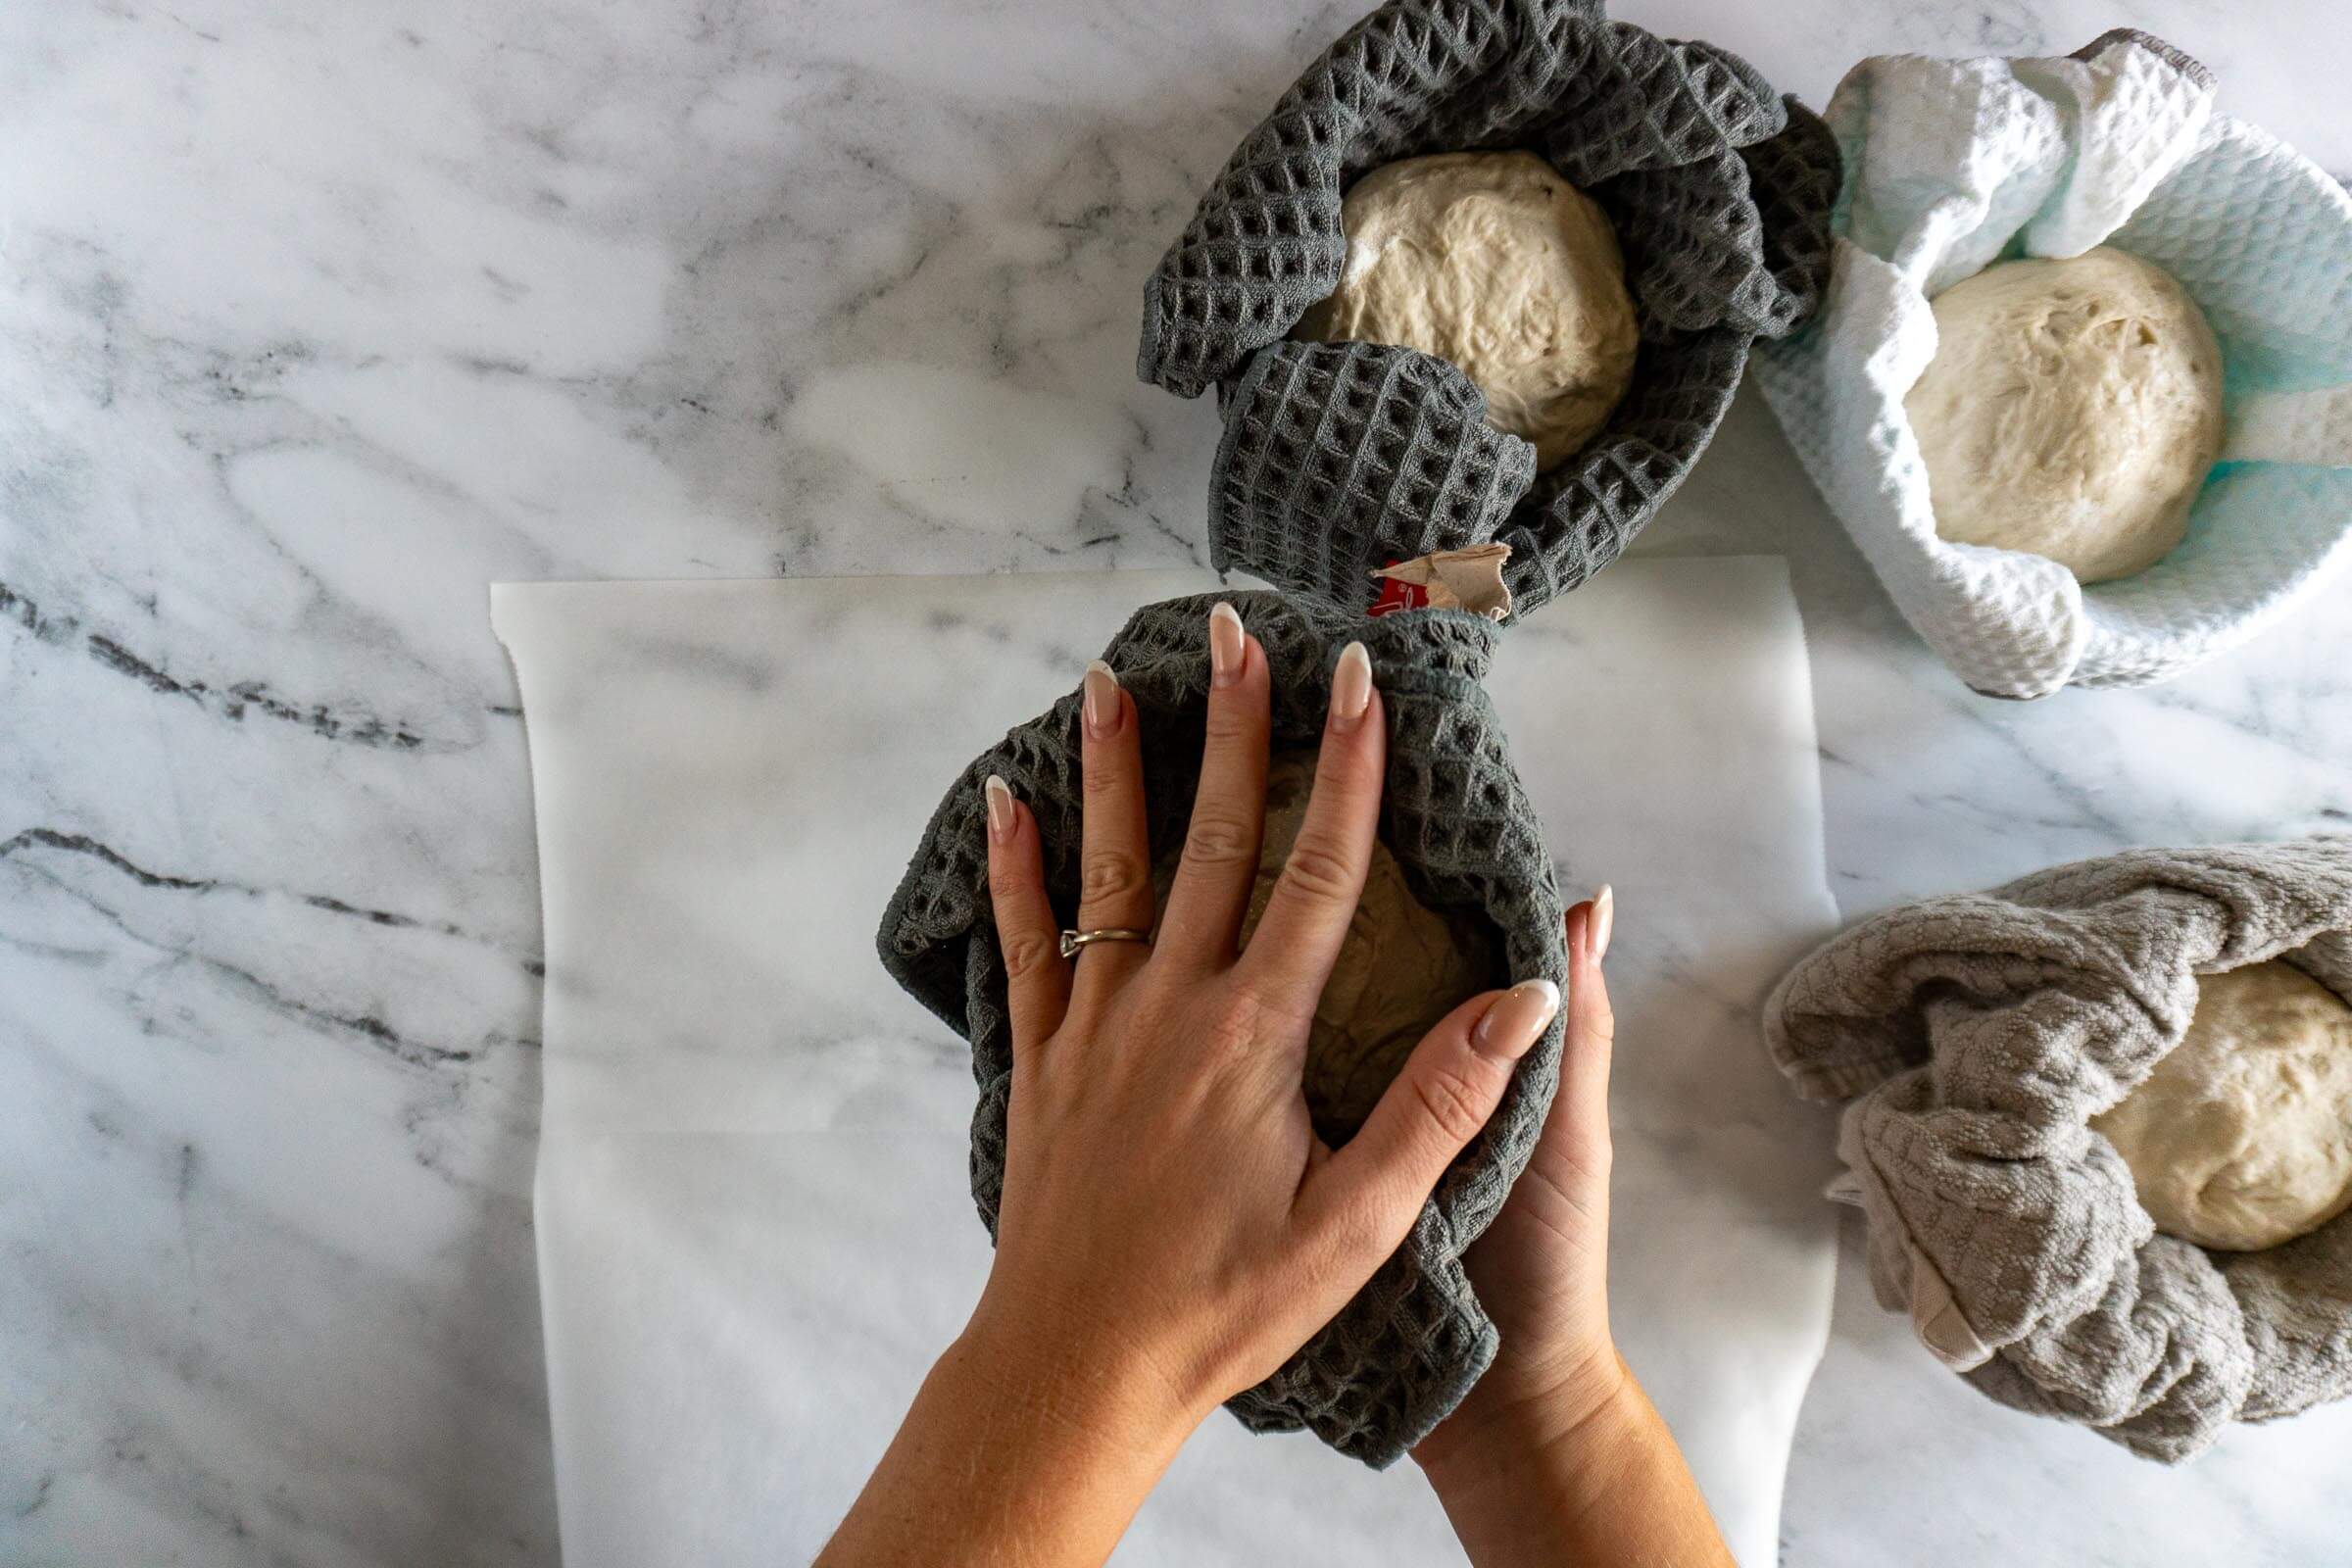
- Step 12: Generously dust each ball with rice flour and place them seam side up in a towel lined bowl or banneton.
- Step 13: Cover the bowls with plastic wrap for proving.
Prove + Cold Retard:
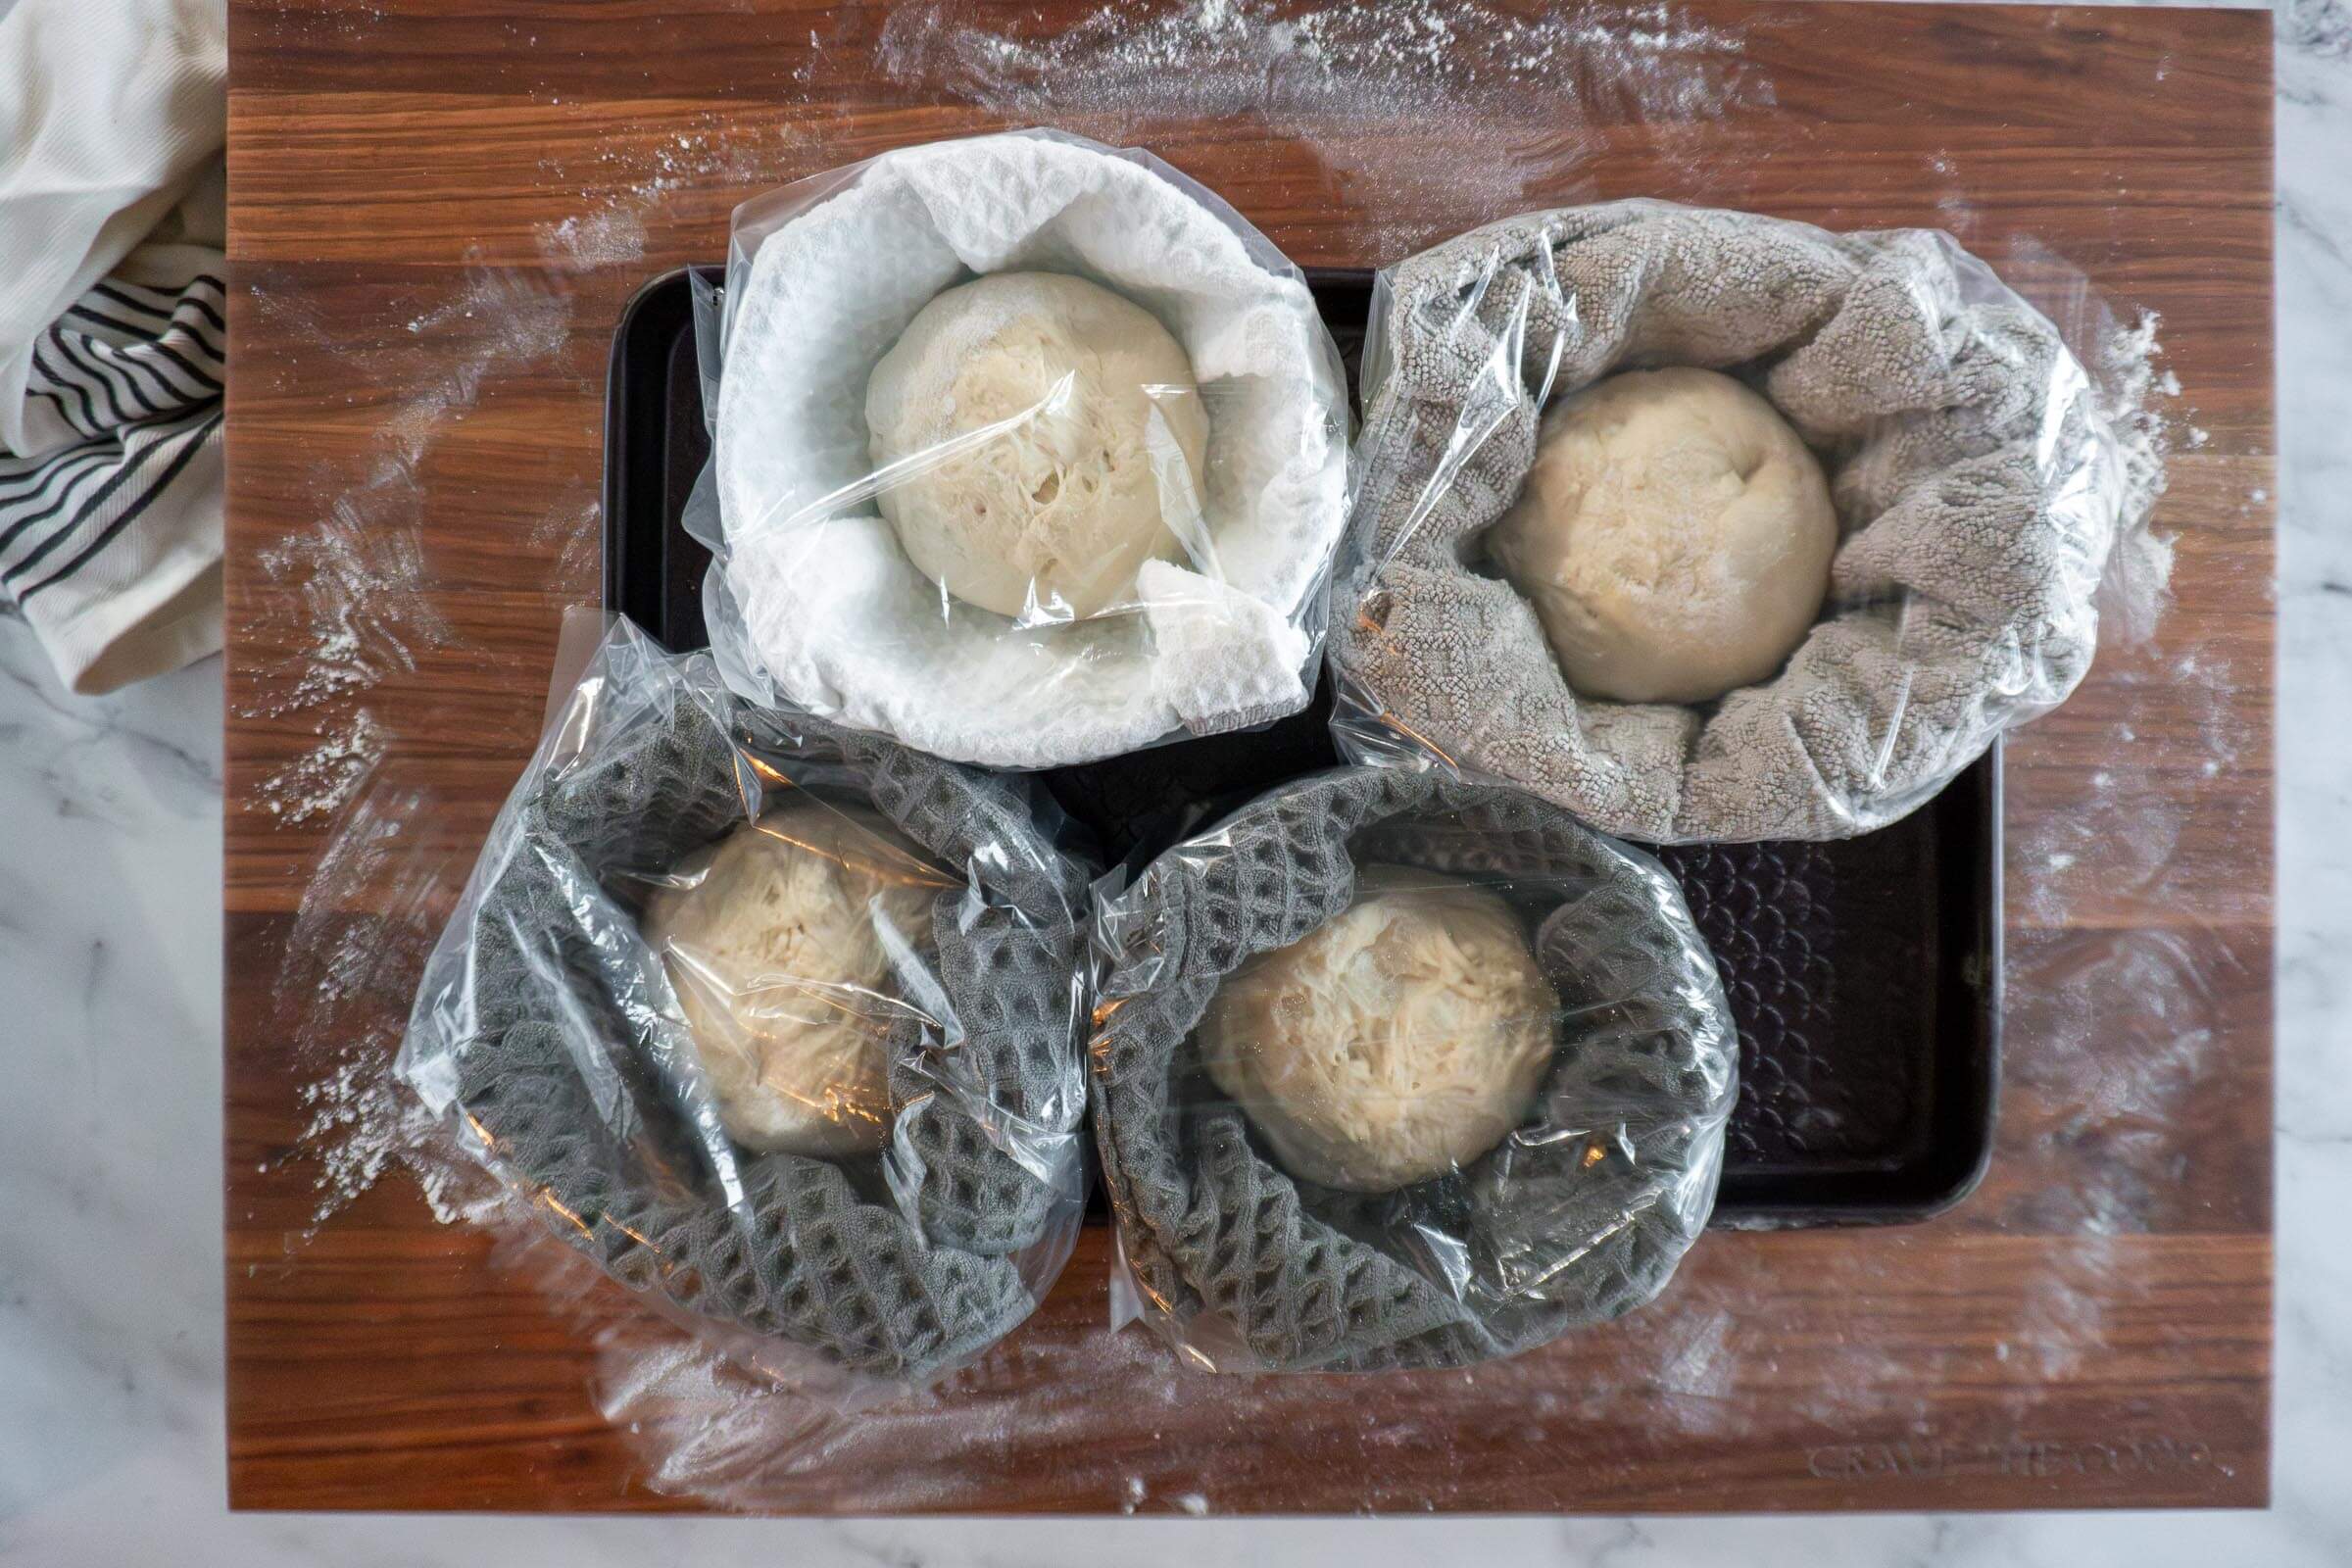
- Step 14: Prove the sourdough bread bowls covered in their bowls or bannetons for 2 – 3 hours before placing in fridge to cold retard for up to 3 days. I have small bread bags that I use, but in a pinch you could place your bannetons or bowls on a baking sheet and cover with plastic wrap. If you want to bake it right after proving, you're welcome to, but the flavor is better after resting in the fridge.
Bake:
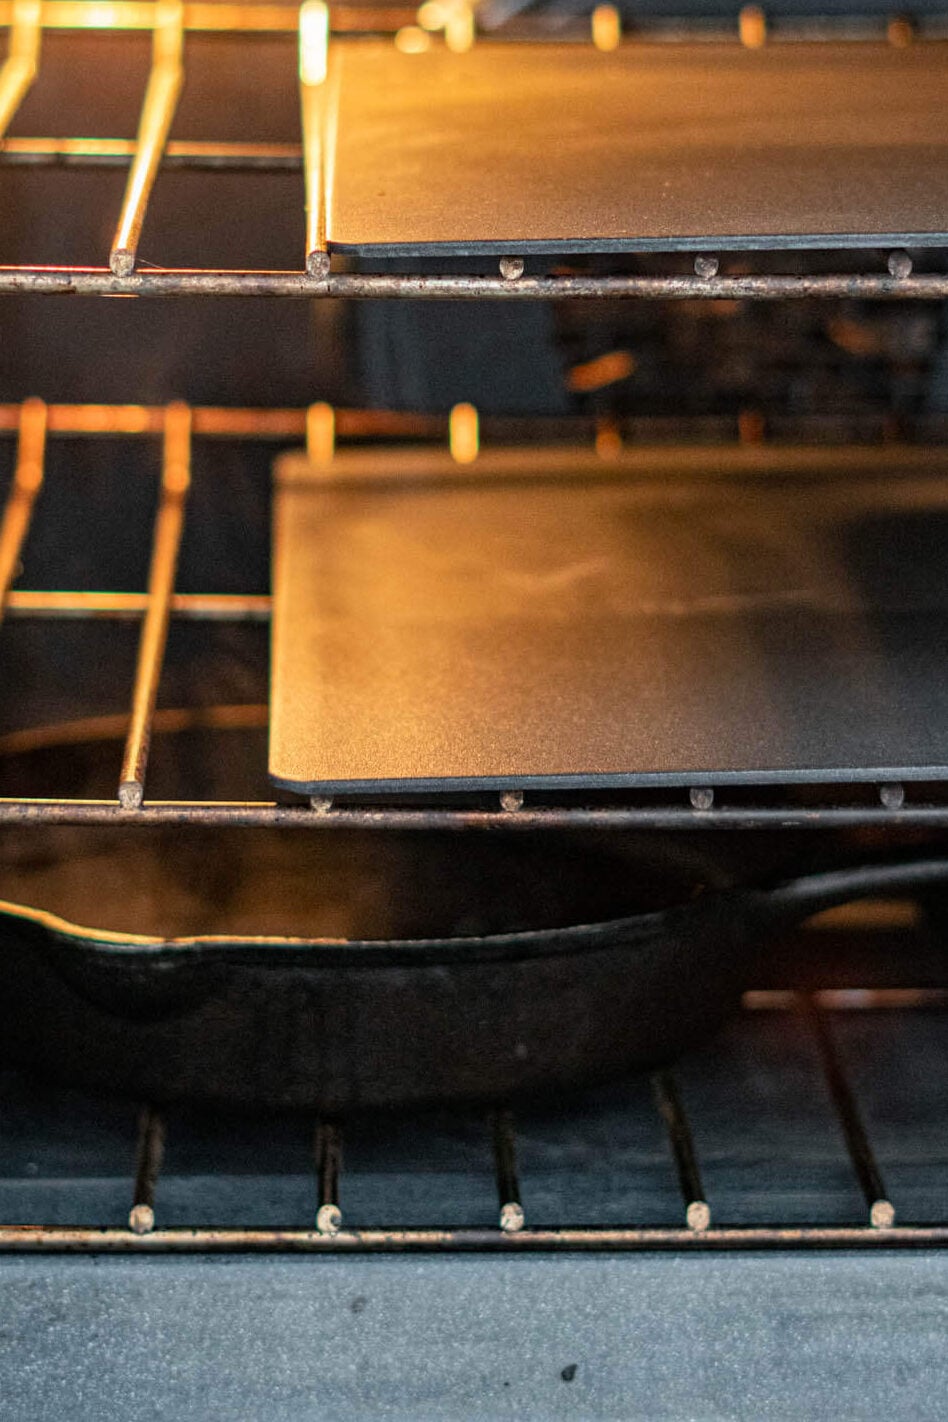
- Step 15: Place one oven rack on the oven floor, and place a cast-iron skillet on that rack. Add 4 cups of water to the skillet. Then place a second oven rack in the lower third of your oven, usually you’ll need to place it in the second from bottom slot in order to clear the skillet. Place your baking stone or baking steel on the rack.
Preheat the oven to 450f, with the baking stone in the oven for at least 45 minutes.
- Step 16: Once the oven is fully preheated, turn your sourdough boules out of the proofing bowls onto a sheet of parchment paper.
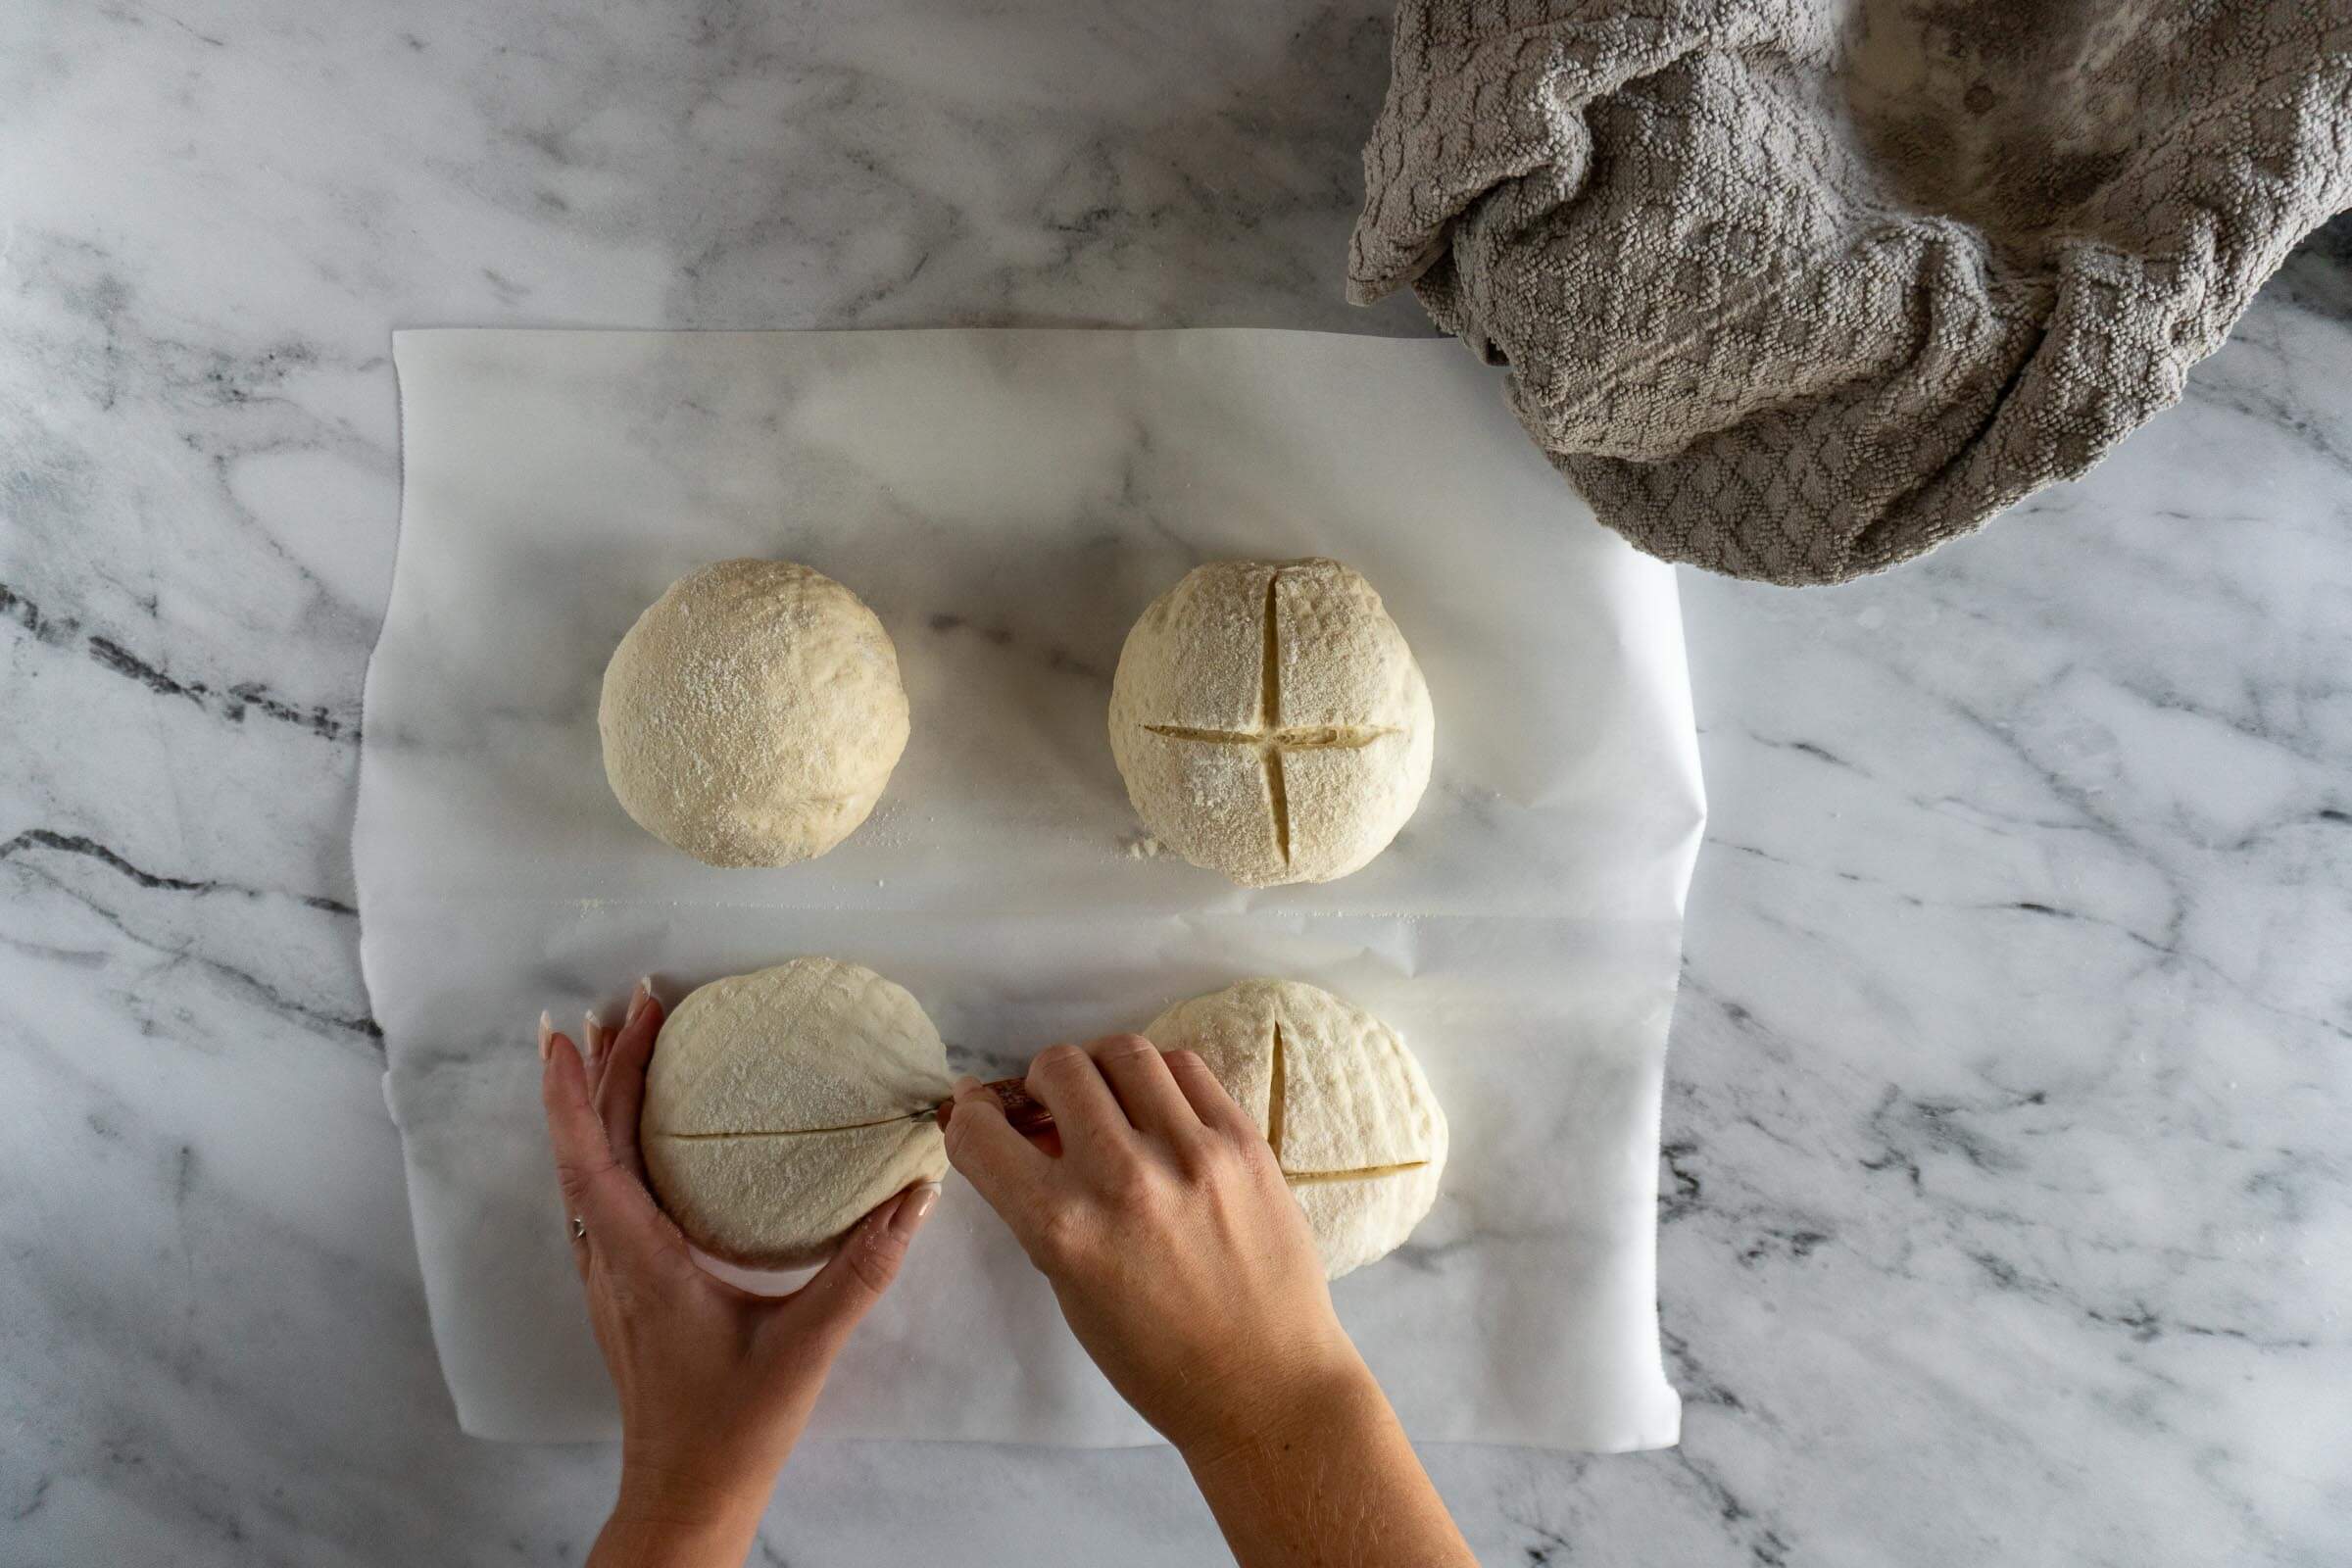
- Step 17: Score each bread bowl to allow for expansion.
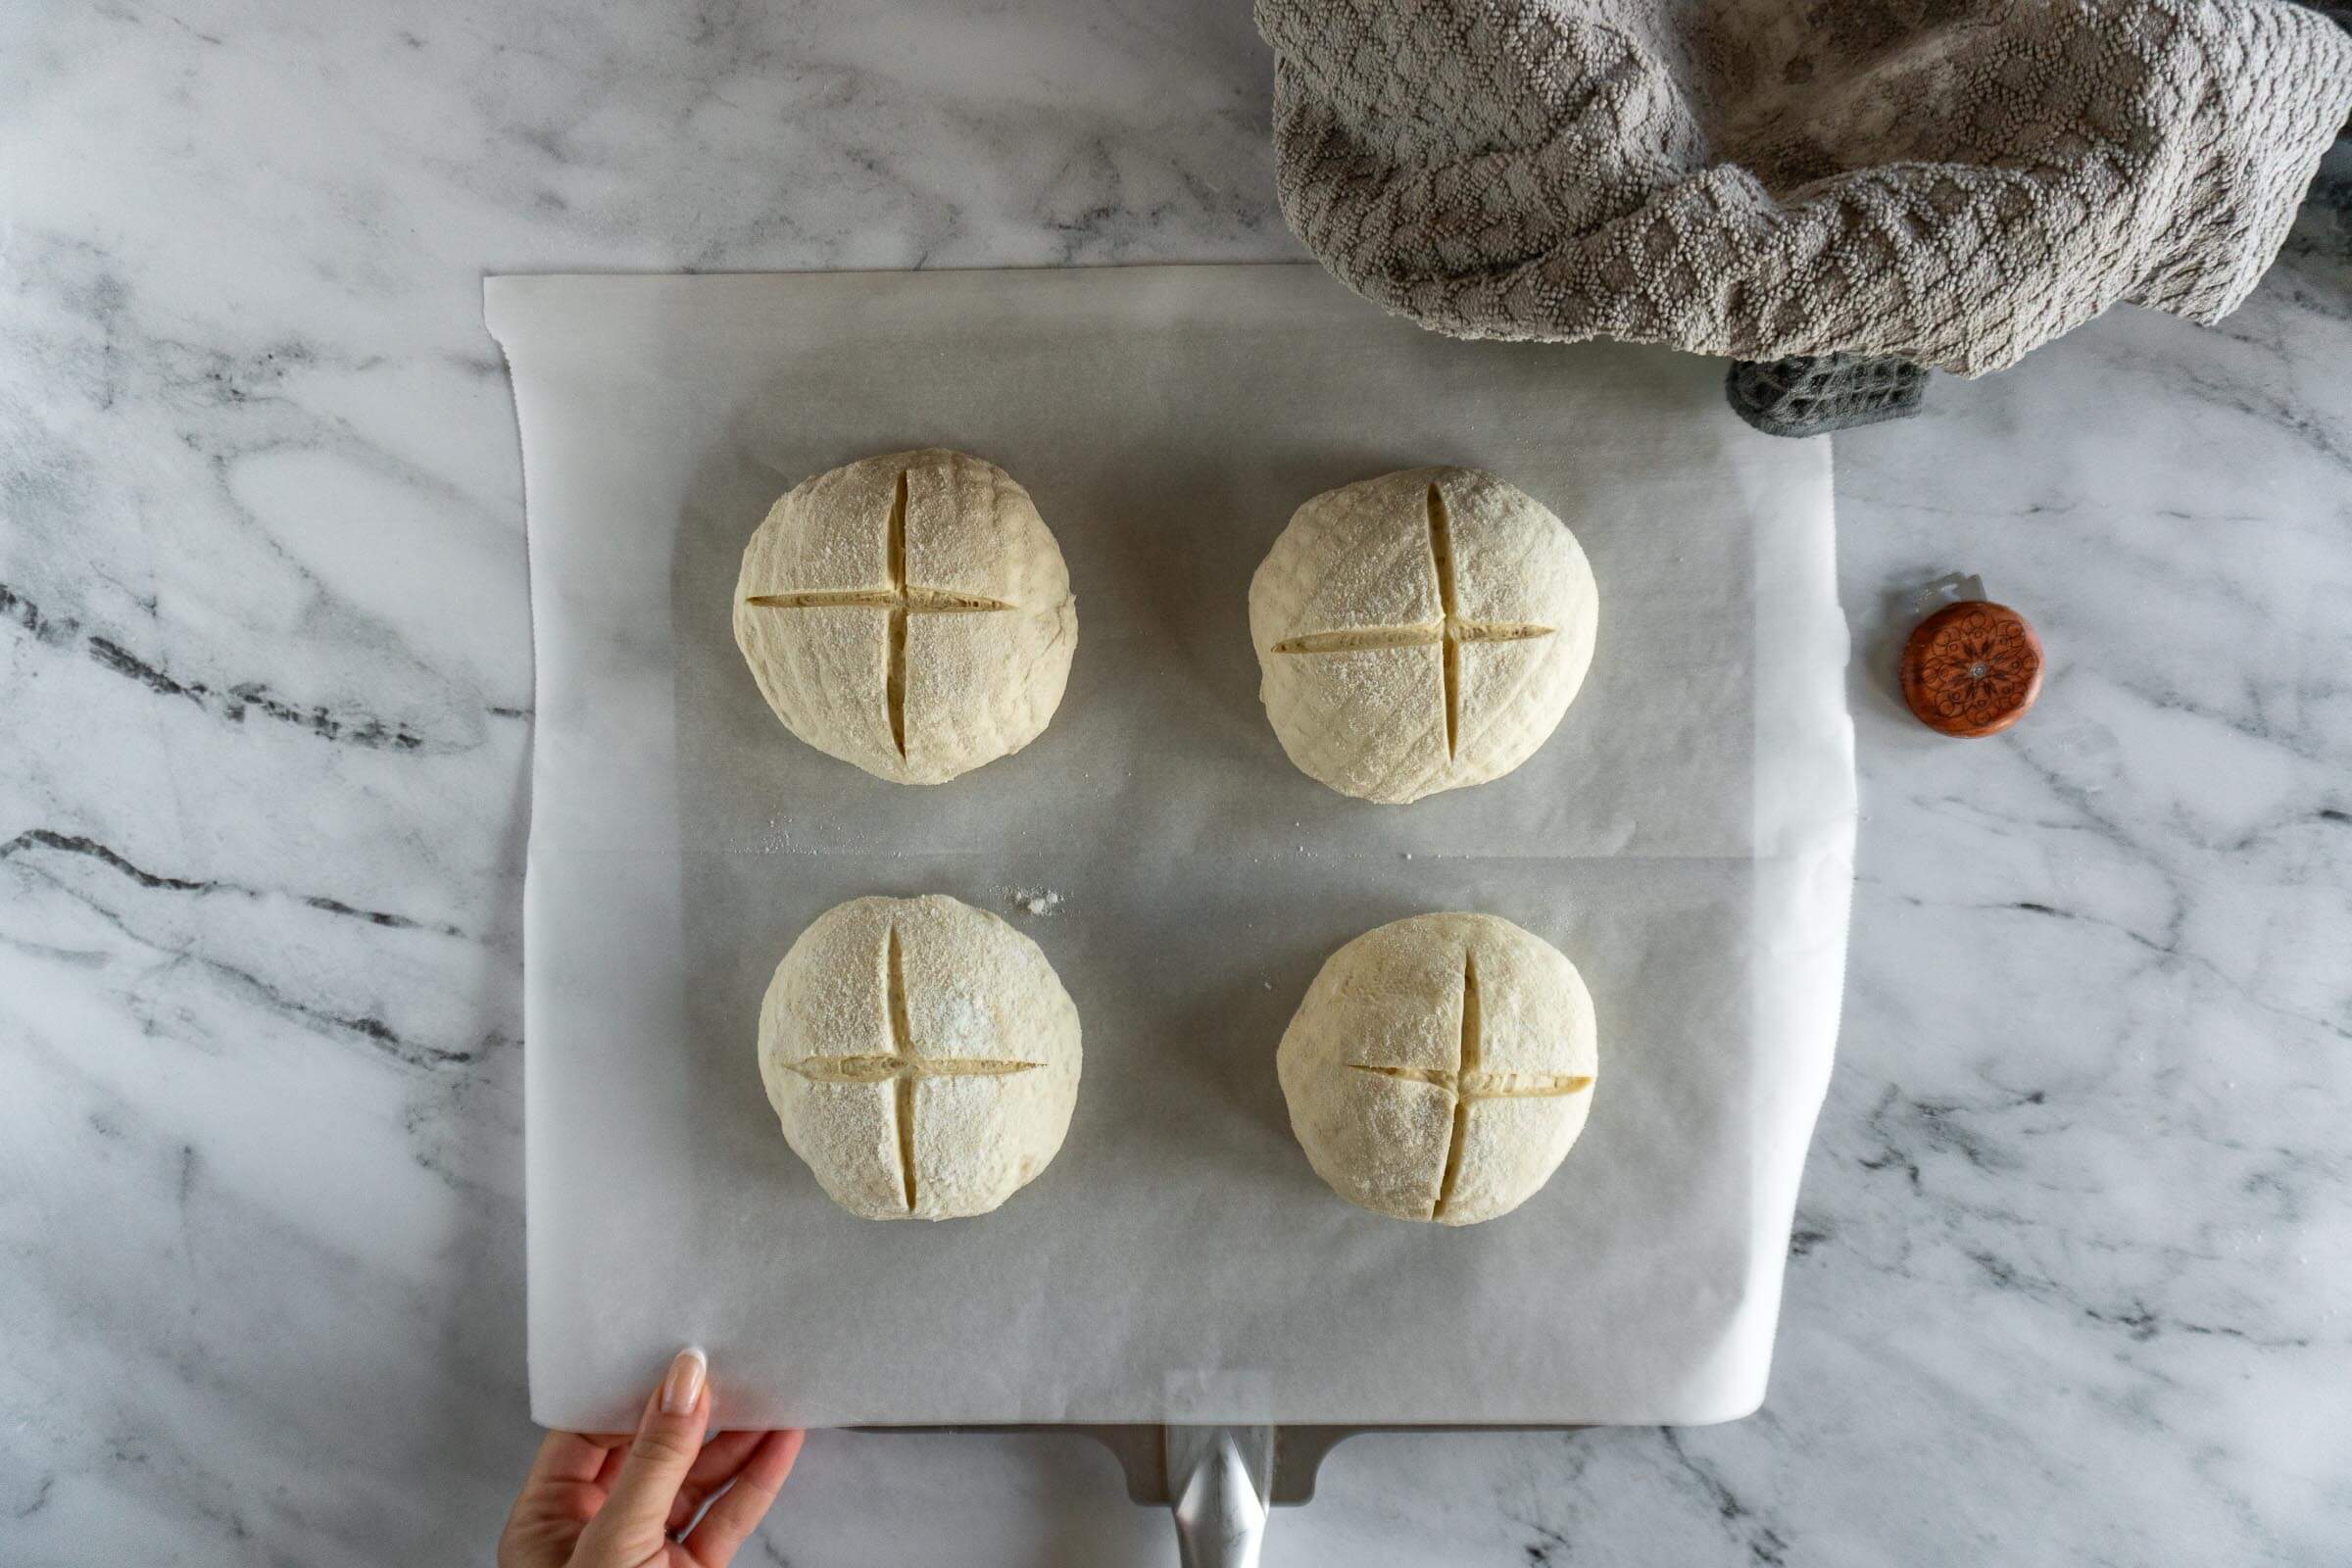
- Step 18: Quickly, but carefully, open the oven and using a pizza peel or the parchment paper as a sling, place the sourdough onto the heated baking stone and bake uncovered with the water-filled skillet for as 30 minutes. If required, carefully remove the skillet, and continue baking until the crust has reached your desired color, usually another 5 or so minutes.
Cool:
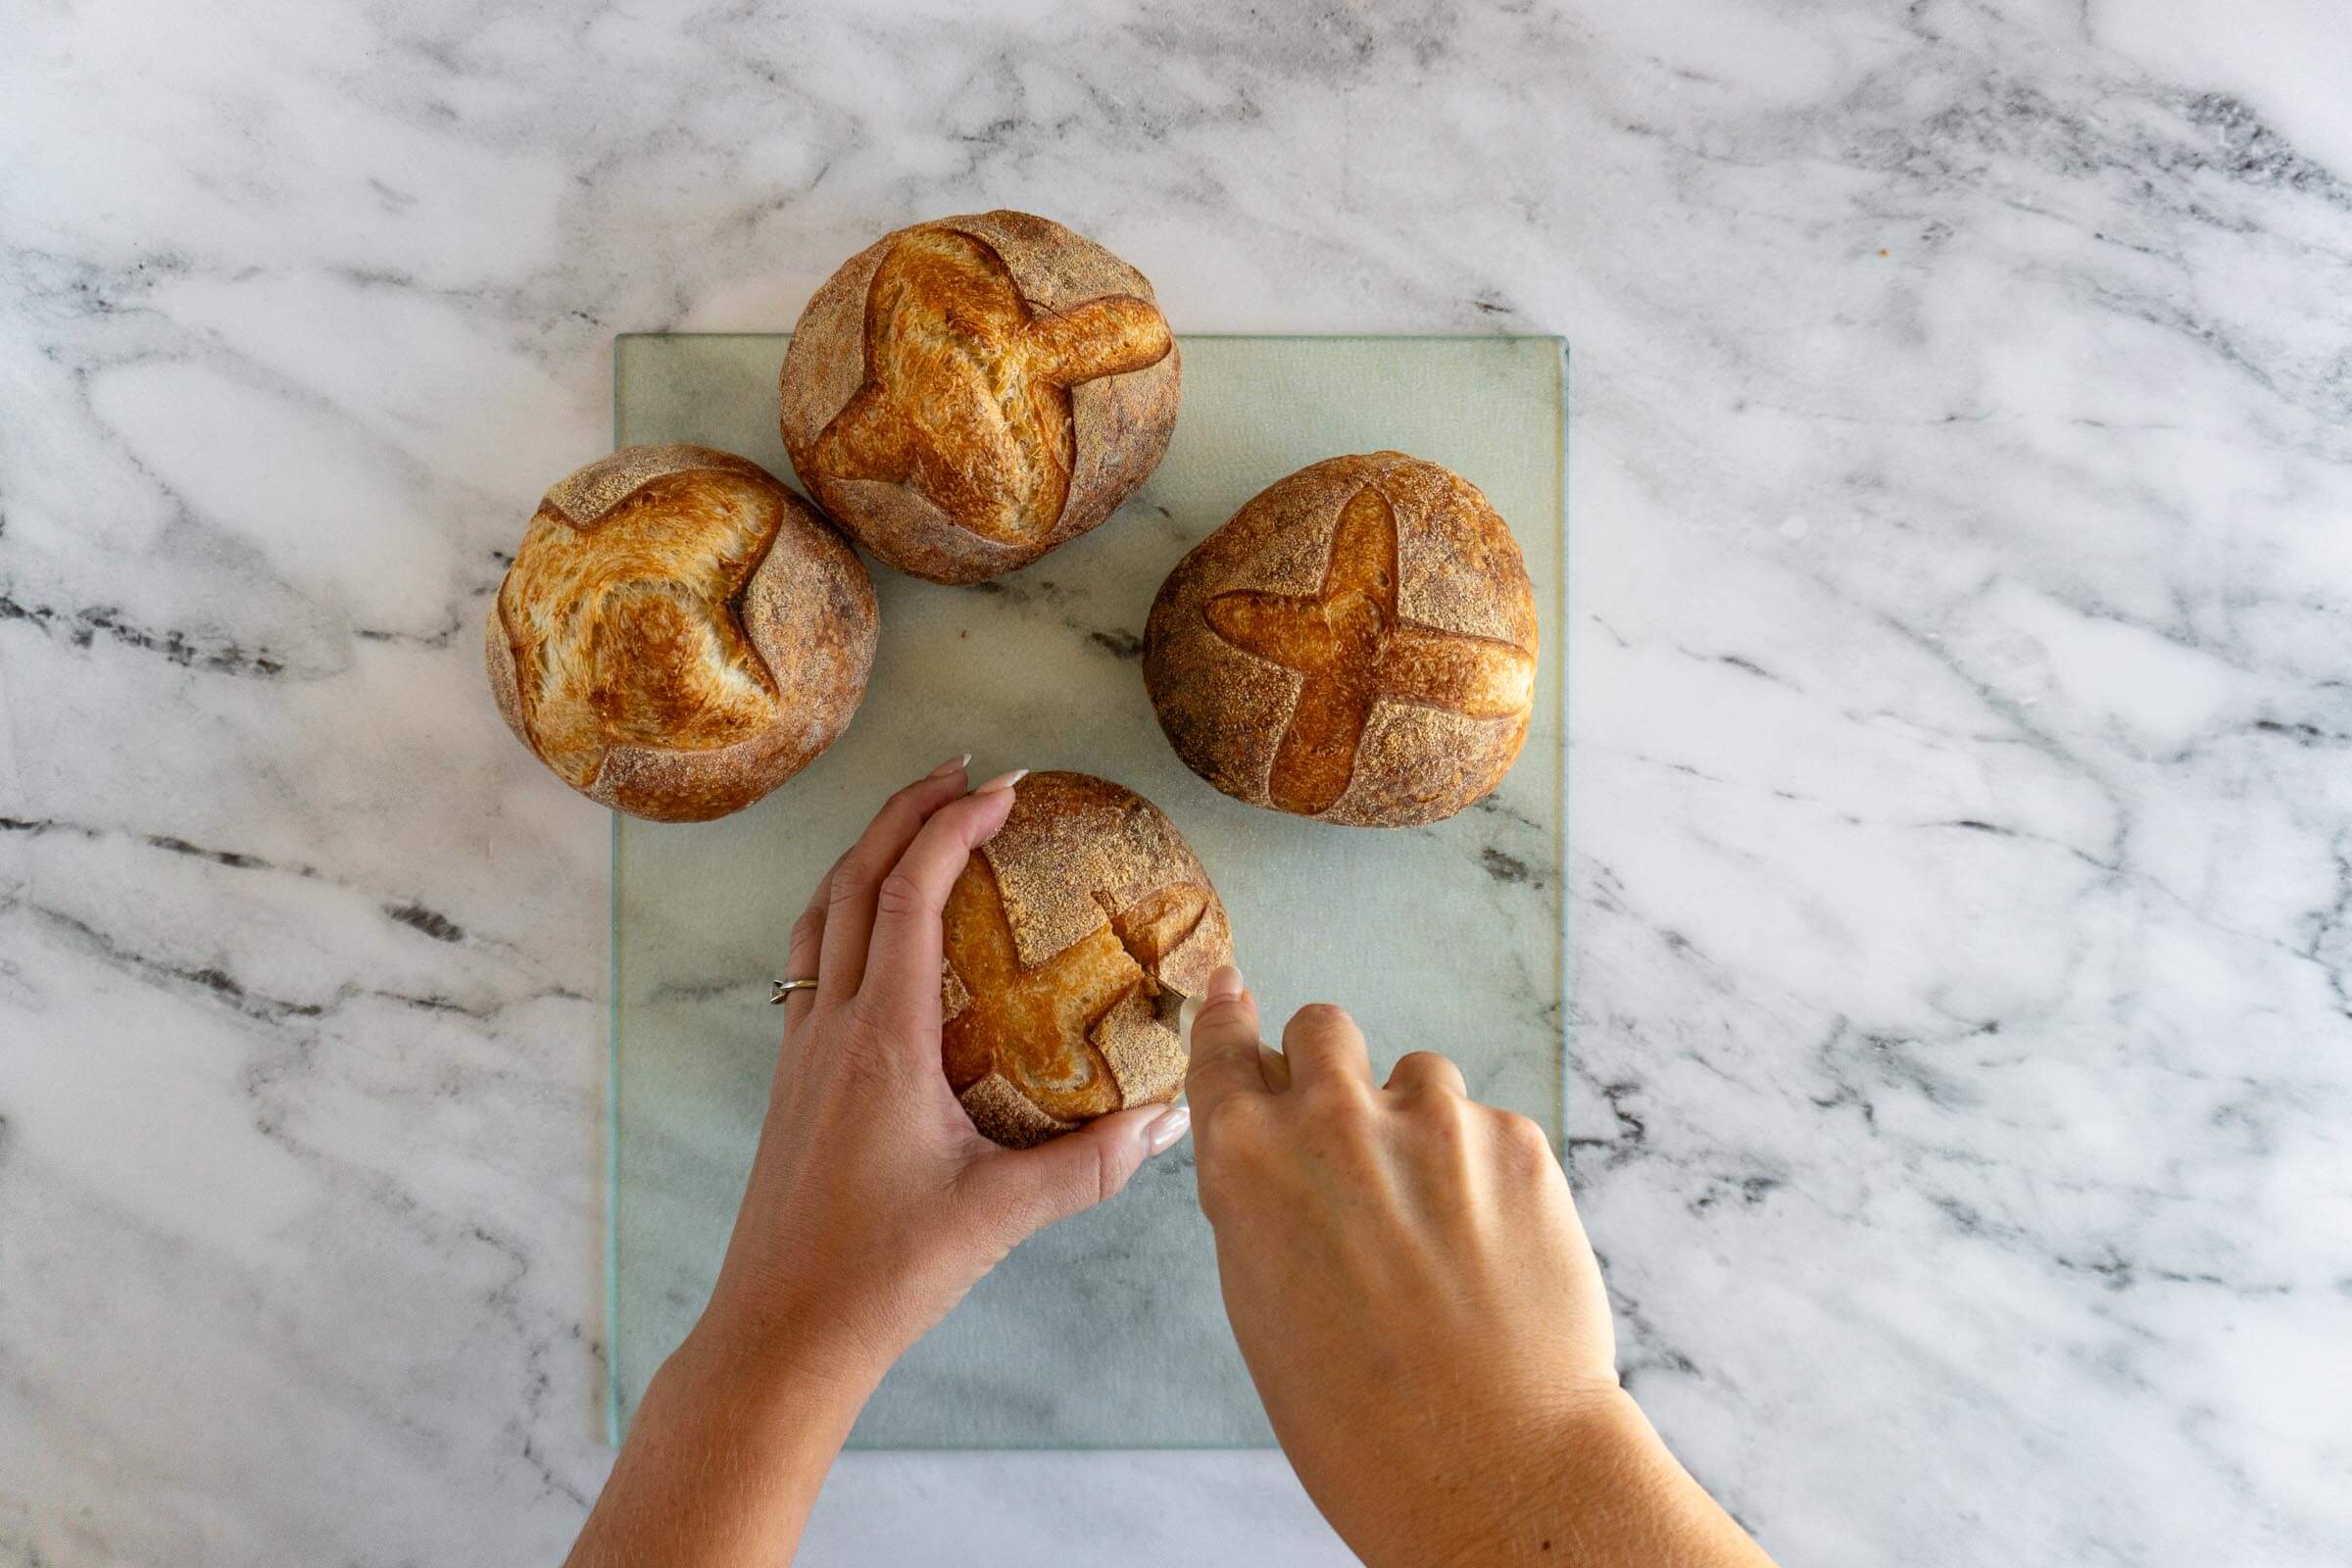
- Step 19: Remove baked sourdough bread bowls from the oven and transfer to a wire mesh cooling rack to cool completely before slicing. I like to leave it for at least 2 hours before using, as slicing too soon can affect the crumb and texture of your loaf.
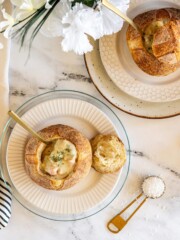
Preparing Sourdough Bread Bowls For Serving:
- Step 20: Use a small serrated knife to cut the top off of the loaf.
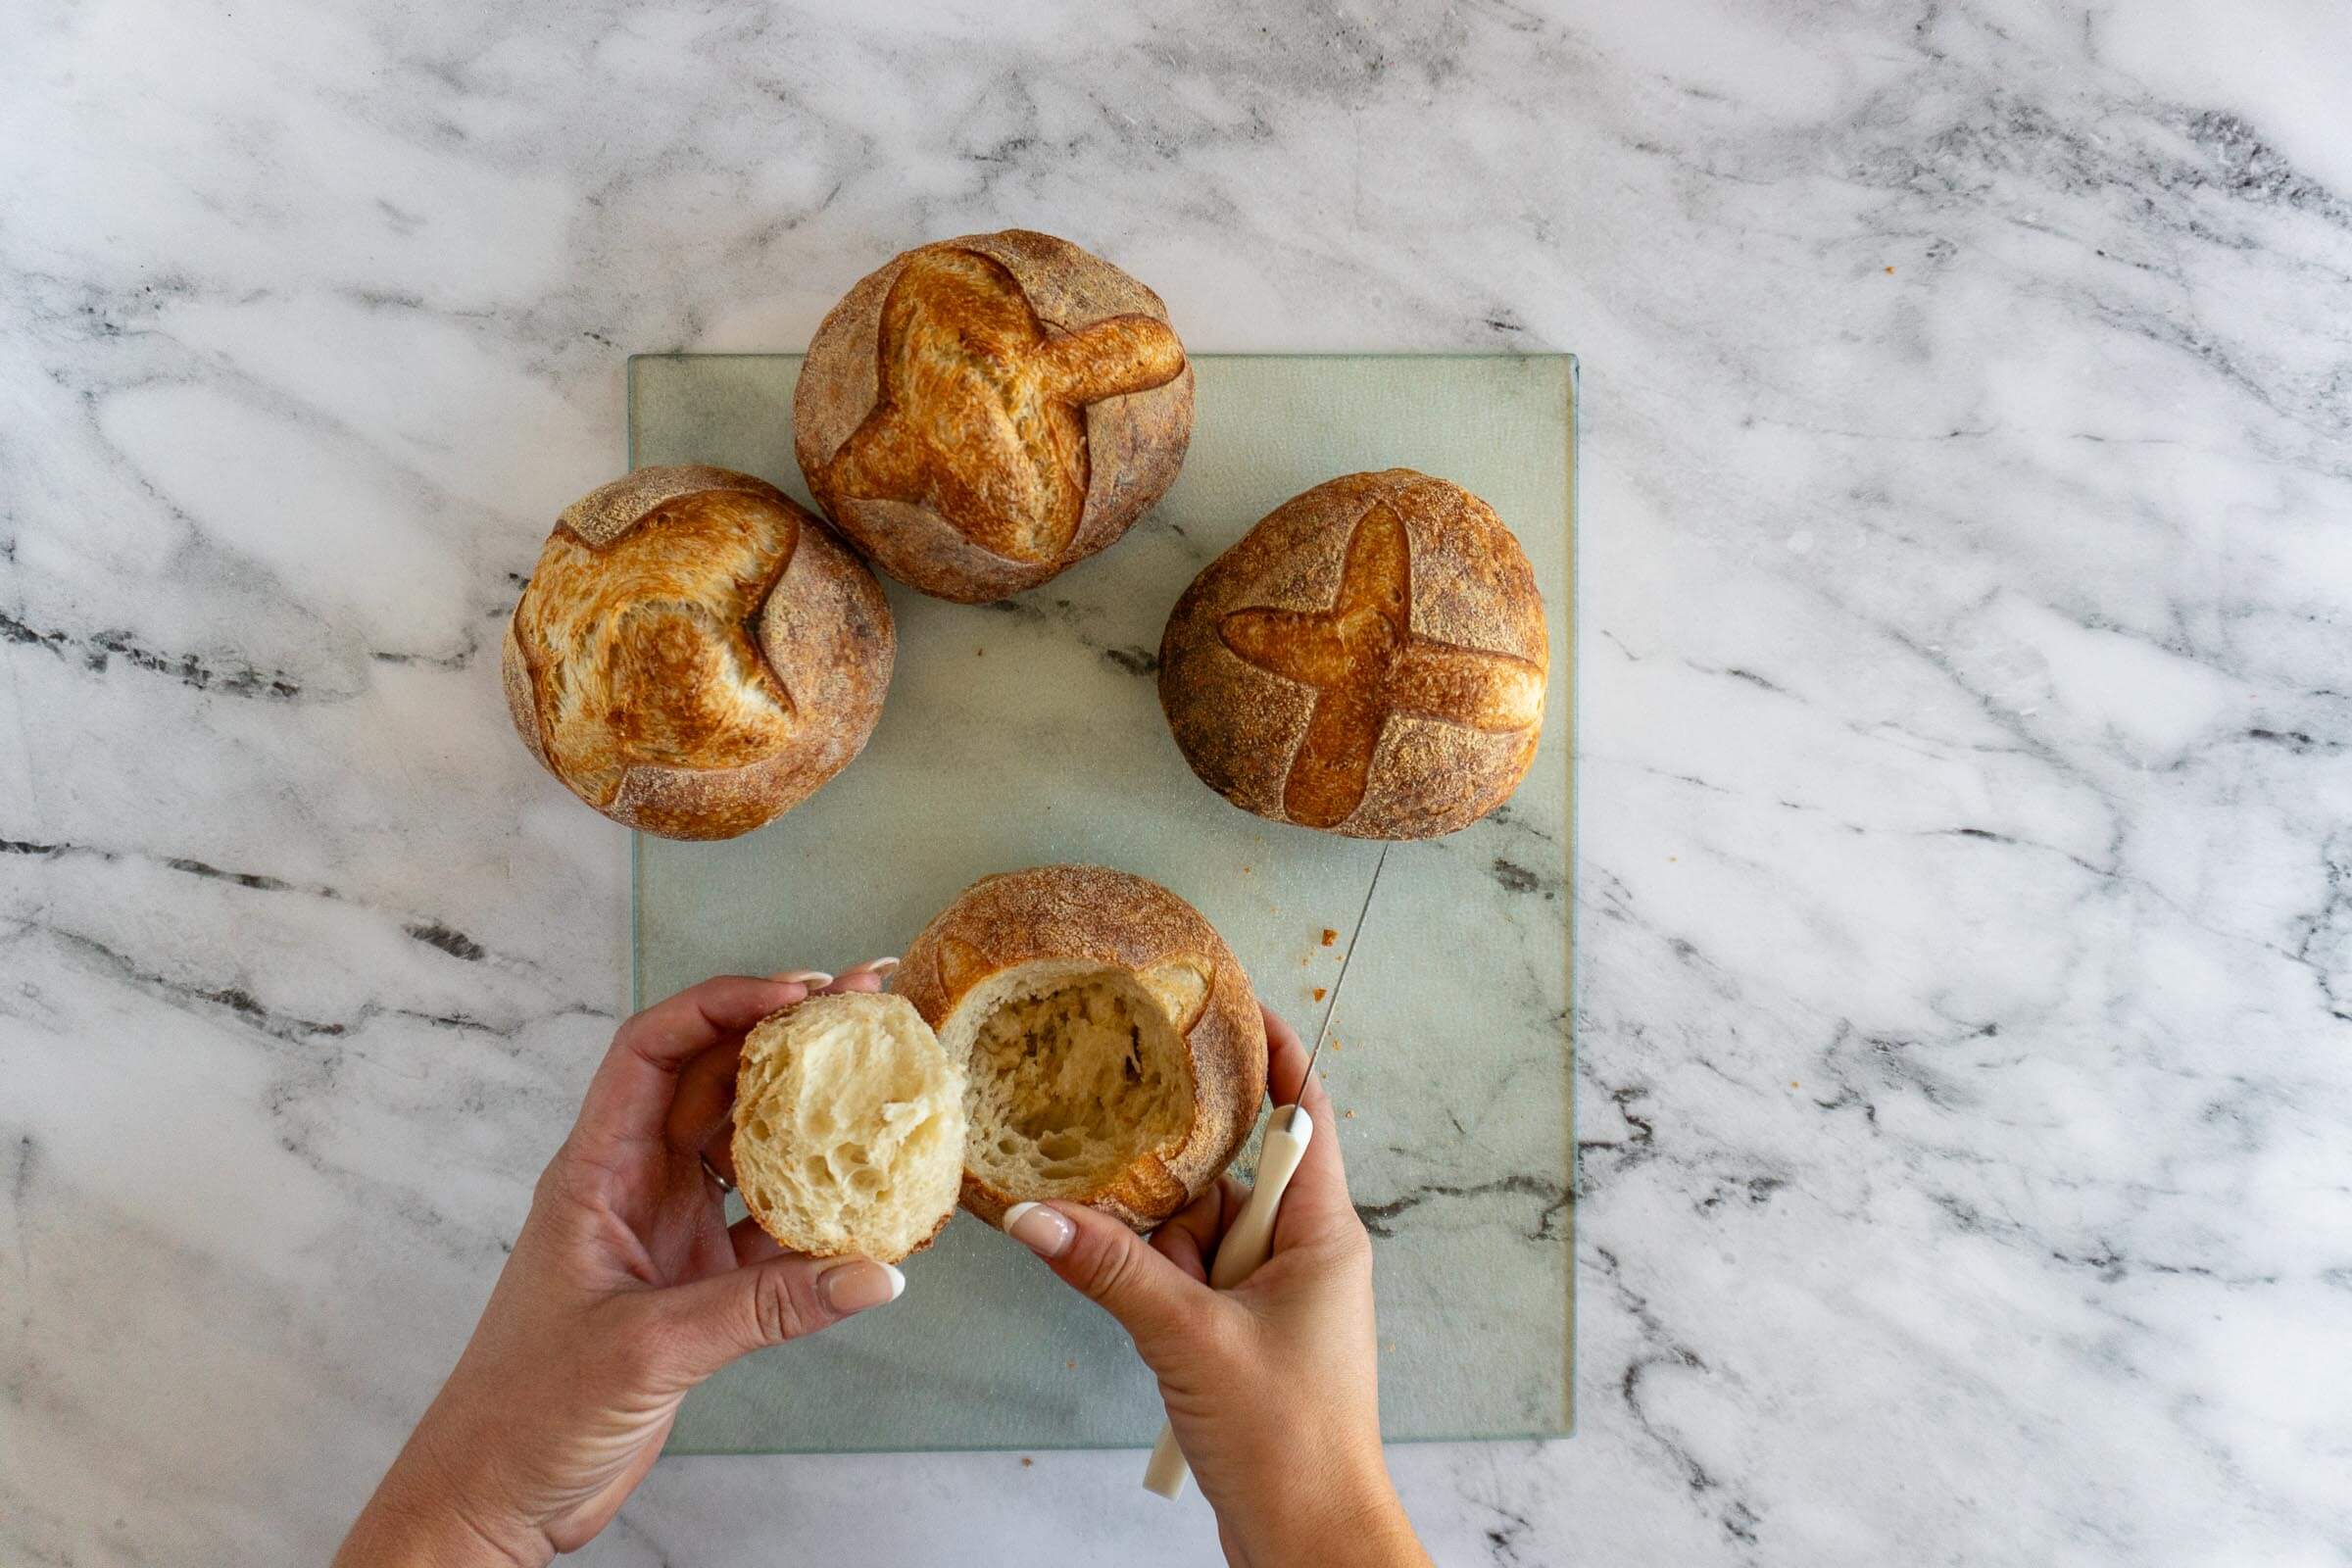
- Step 21: I like to angle my knife towards the center to cut out a wedge shape.
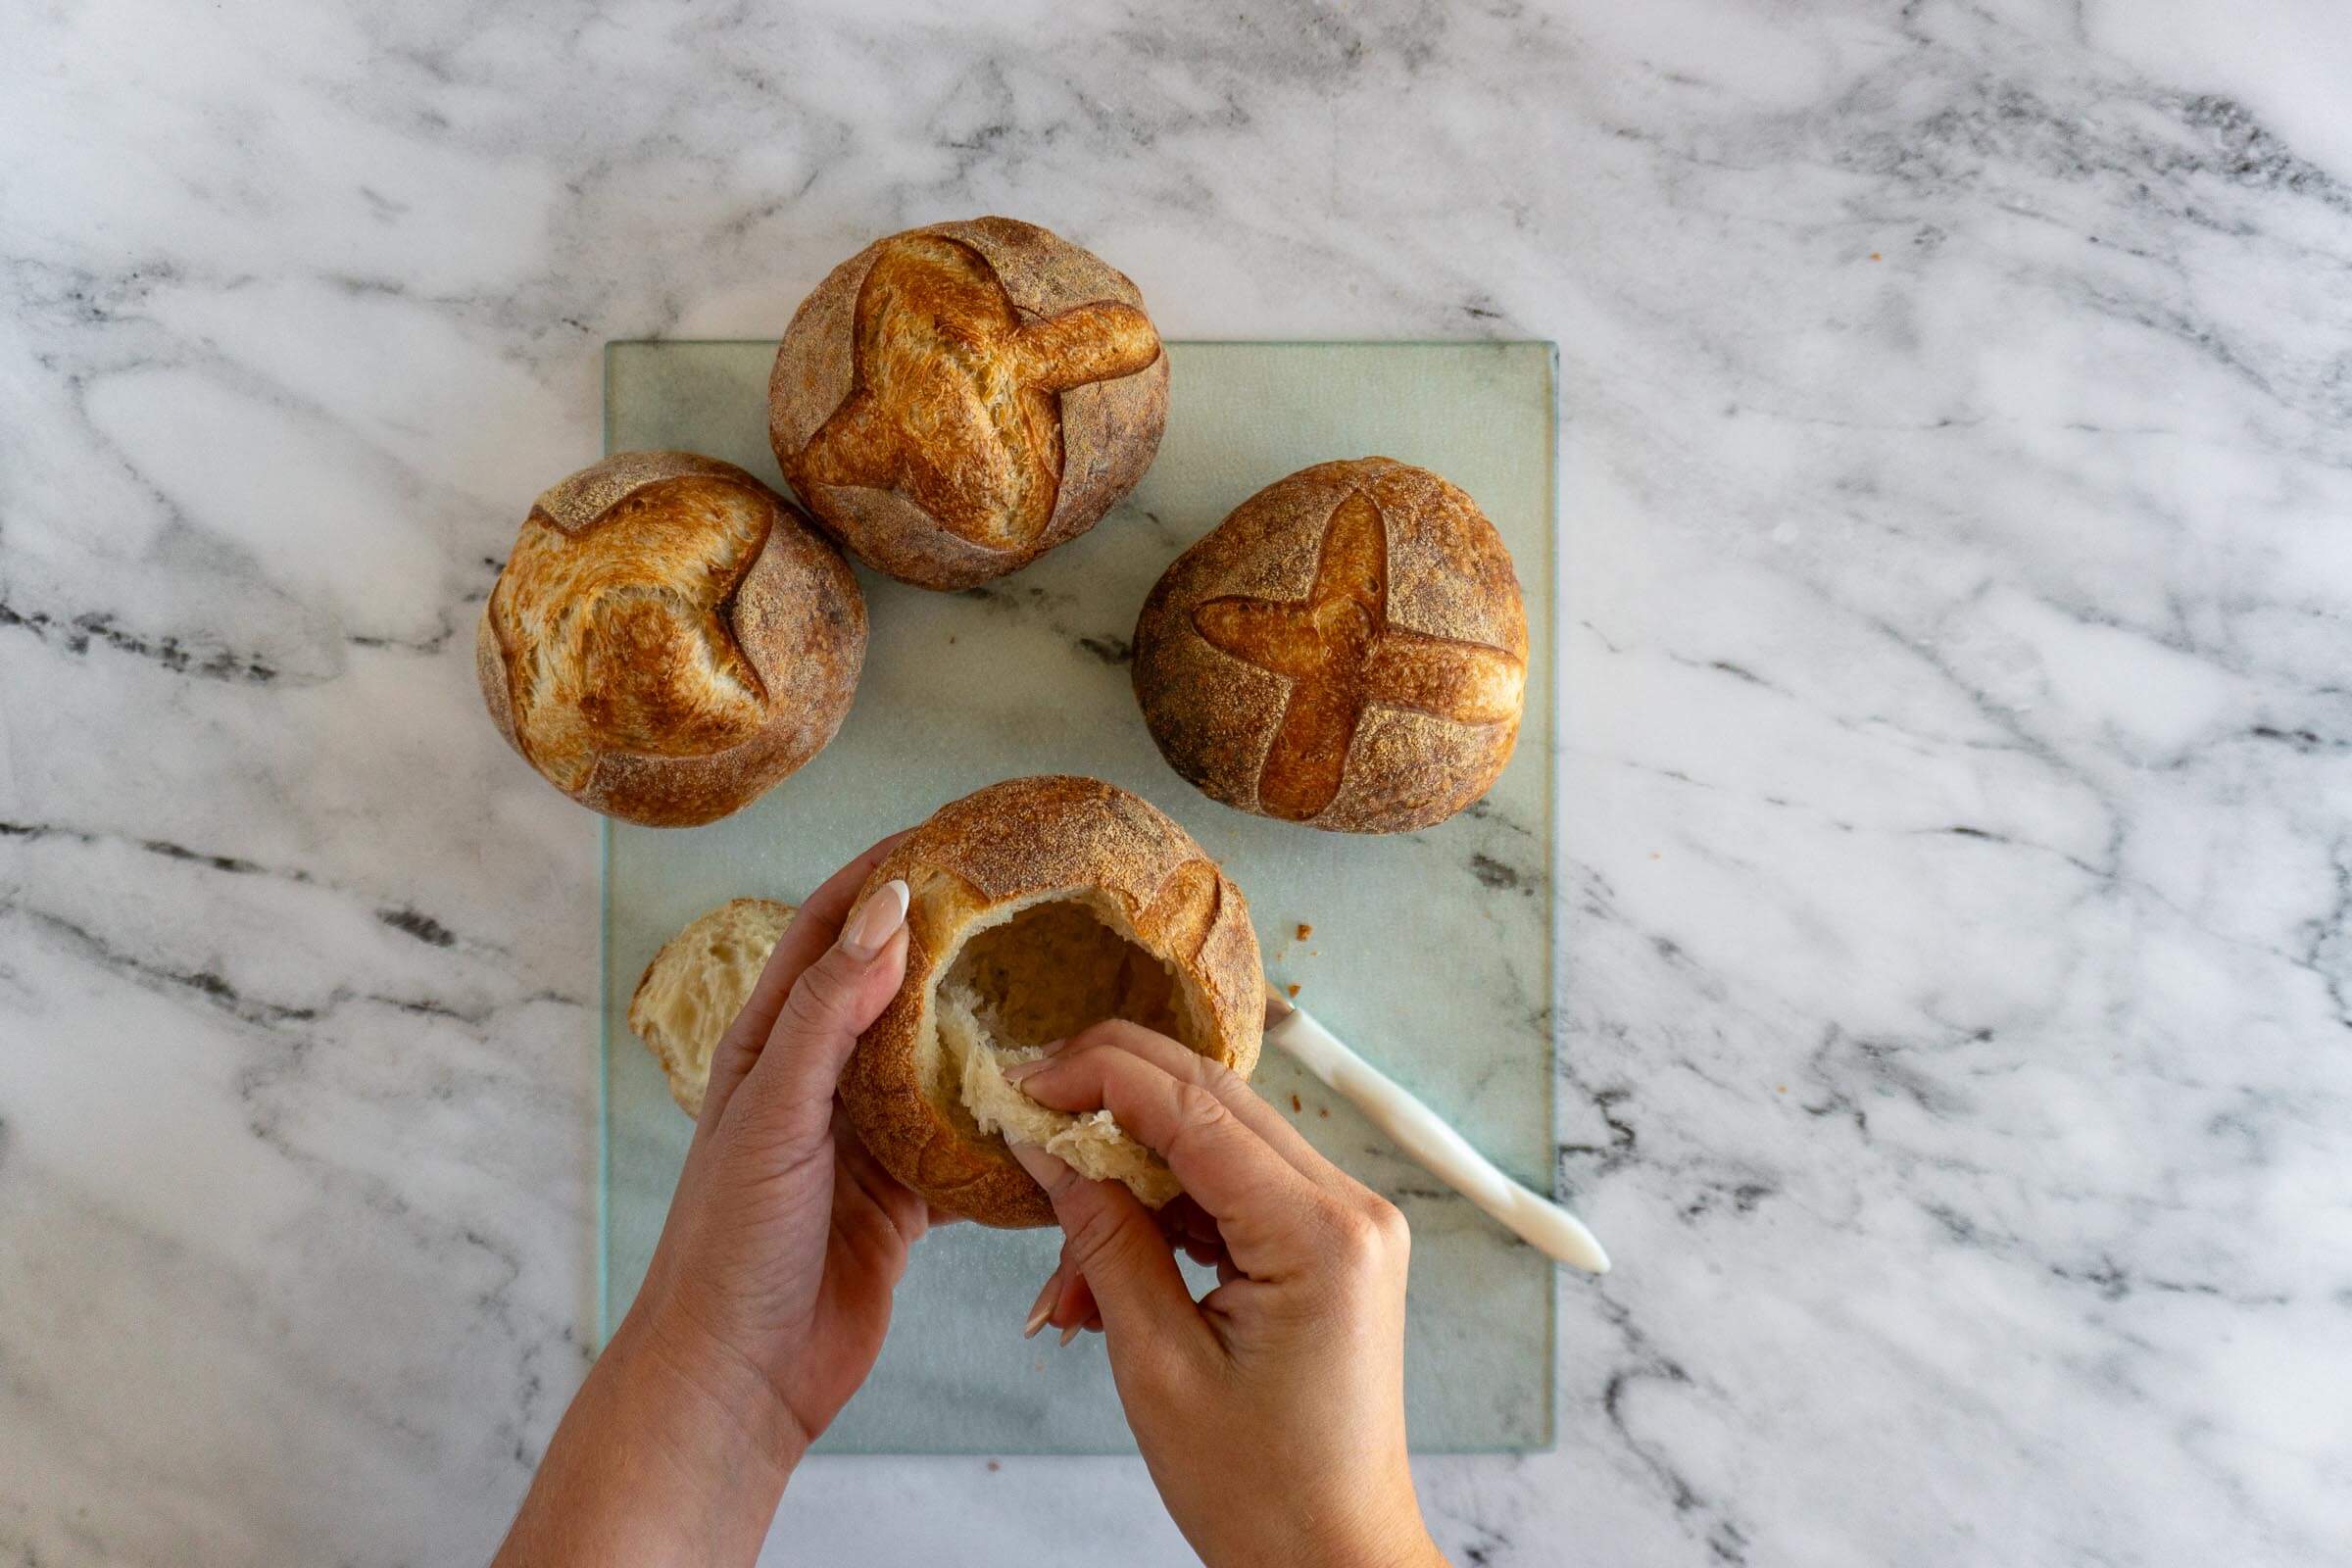
- Step 22: Once you have the top removed, you can scrape out more of the insides to make a larger cavity to fit more soup!
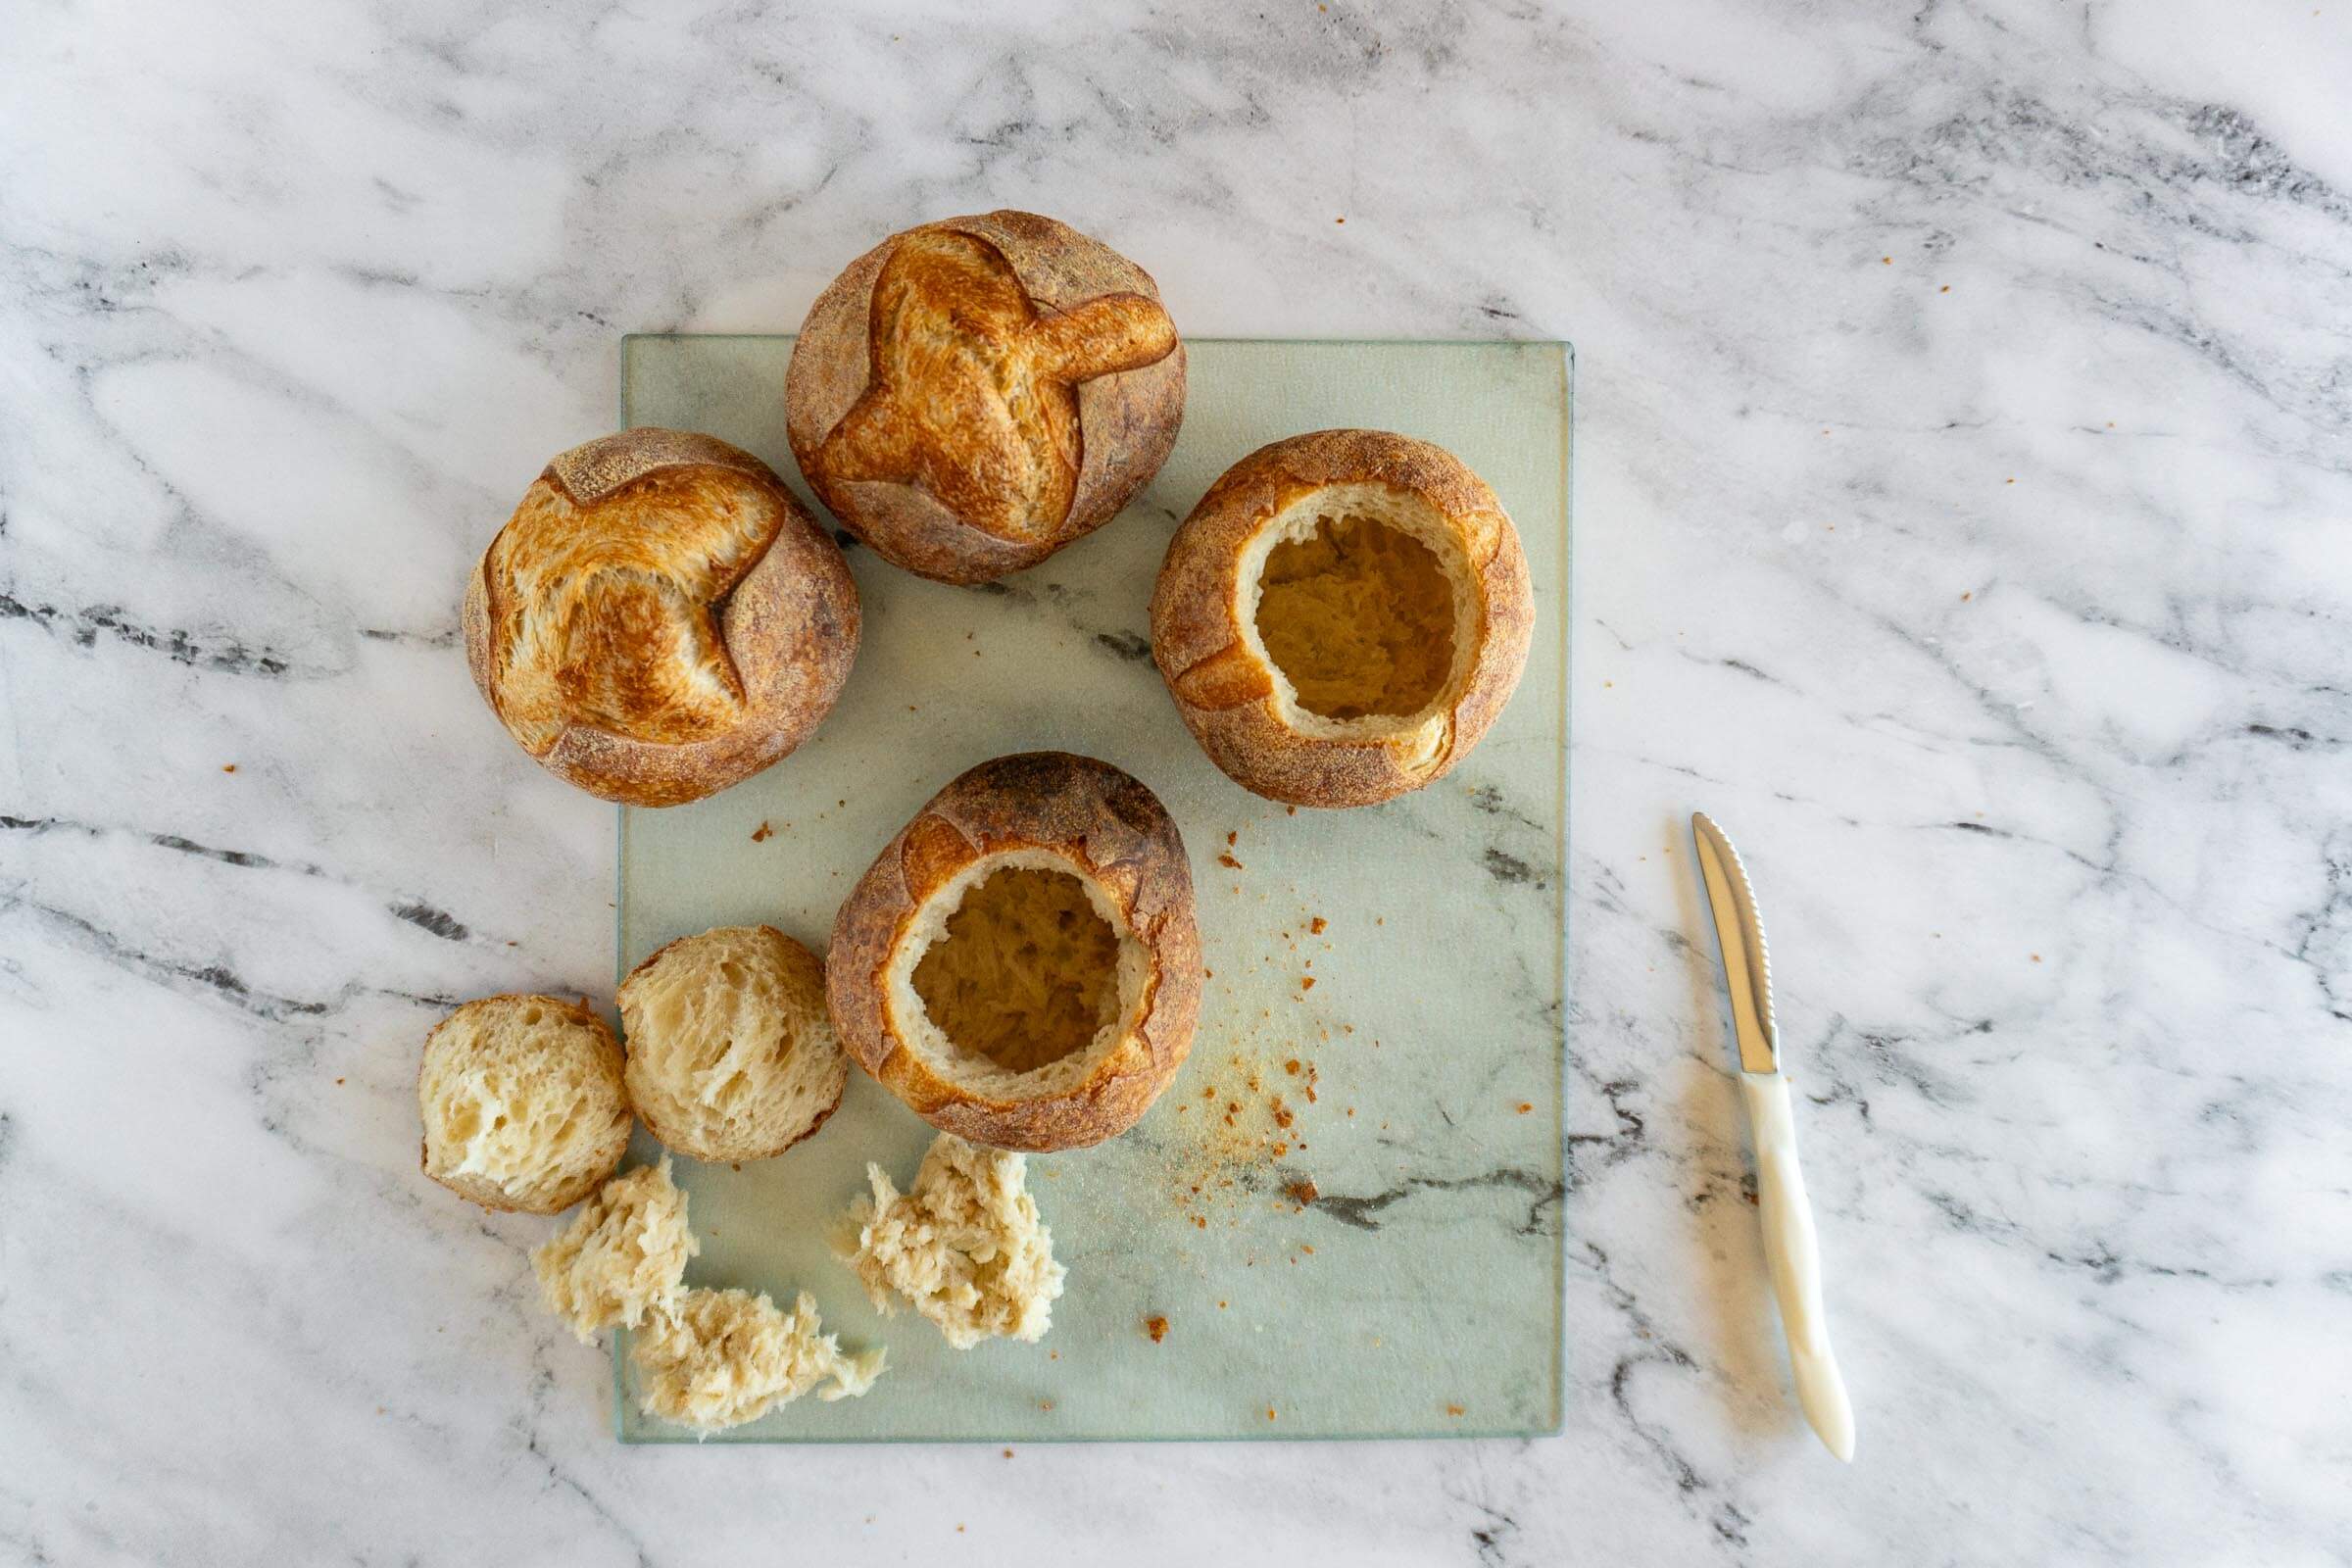
- Step 23: Save the top and the bits you’ve removed to dip in your soup or chili.
Expert Tips
- I don’t have bread bowl sized bannetons and because I already have too many banneton baskets I am tapping into a banneton alternative. Cereal bowls I picked up at a local dollar store and lined them with tea towels worked great. If you’re looking to do the same, choose bowls that are narrow at the bottom and have steeper sides, this will help to keep the shape of your bread bowls.
- This recipe is written with an open oven bake, but if you don’t have a pizza stone or baking steel, the bread bowls can be baked in a dutch oven, but you’ll likely need to work in batches.
- I bulk ferment and proof my bread dough at room temperature, but if you’re in a warm place (warmer than 70-72f), your rising times will need to be shortened.
Why This Recipe Works
Bread bowls that hold their shape when filled. Stretch-and-folds build a strong gluten network over several hours without intensive kneading, giving the dough the strength to trap gas, hold its shape during baking, and stand up to a full ladle of soup without collapsing.
A chewy crumb and genuine sourdough tang. The long bulk ferment and optional cold retard give wild yeast and bacteria time to develop complex flavor and improve dough strength. The slow process is what separates a true sourdough from a bread that just looks the part.
A crust that stays crisp, not soggy. Open baking with steam keeps the crust flexible during oven spring, then firms into a shell once the steam dissipates. The result is a sturdy exterior that holds up to soups and stews without softening too quickly.
Tall, round loaves with room to fill. Shaping the dough into tight balls builds surface tension that encourages upward rise rather than spreading, giving you loaves with enough height and interior space to hollow out into a proper bowl.
Sourdough Bread Bowl FAQs
Store your homemade sourdough bread bowls uncovered at room temperature for up to 2 days.
To freeze, cool completely, wrap tightly in plastic wrap, slide into a bread bag, and freeze for up to 1-2 months. To thaw, unwrap and leave at room temperature for 1-2 hours before serving.
Do not cut the tops off the bowls until you’re ready to fill and serve them.
Yes, but bread flour is recommended. Its higher protein content develops more gluten, which helps the bowls hold their shape better when filled.
Yes! After shaping, place the bowls on a baking sheet, cover, and refrigerate for up to 3 days. When ready to bake, take them straight from the fridge to the oven, no need to bring them to room temperature first.
Absolutely! This recipe doubles and triples easily. I’ve included baker’s percentages in the body of the post to make scaling simple and accurate.
Baker’s Timeline
Day 1:
- 9:00 AM: Combine ingredients to make dough
- 10:00 AM: First stretch and fold
- 11:00 AM: Second stretch and fold
- 12:00 PM: Third stretch and fold, bulk ferment
- 3:00 PM: Bulk ferment complete, shape, place bread bowls into proofing baskets, beginning of the proof
- 6:00 PM: Proofing complete, place bannetons in fridge to cold retard
Day 2:
- 9:00 AM: Place baking steel and skillet with water into oven and preheat
- 9:45 AM: Bake sourdough bread bowls
Baker’s Percentages
| Ingredient | Weight | Percentage (%) |
|---|---|---|
| Flour | 500g | 100% |
| Water | 350g | 70% |
| Starter | 100g | 20% |
| Salt | 12g | 2.4% |
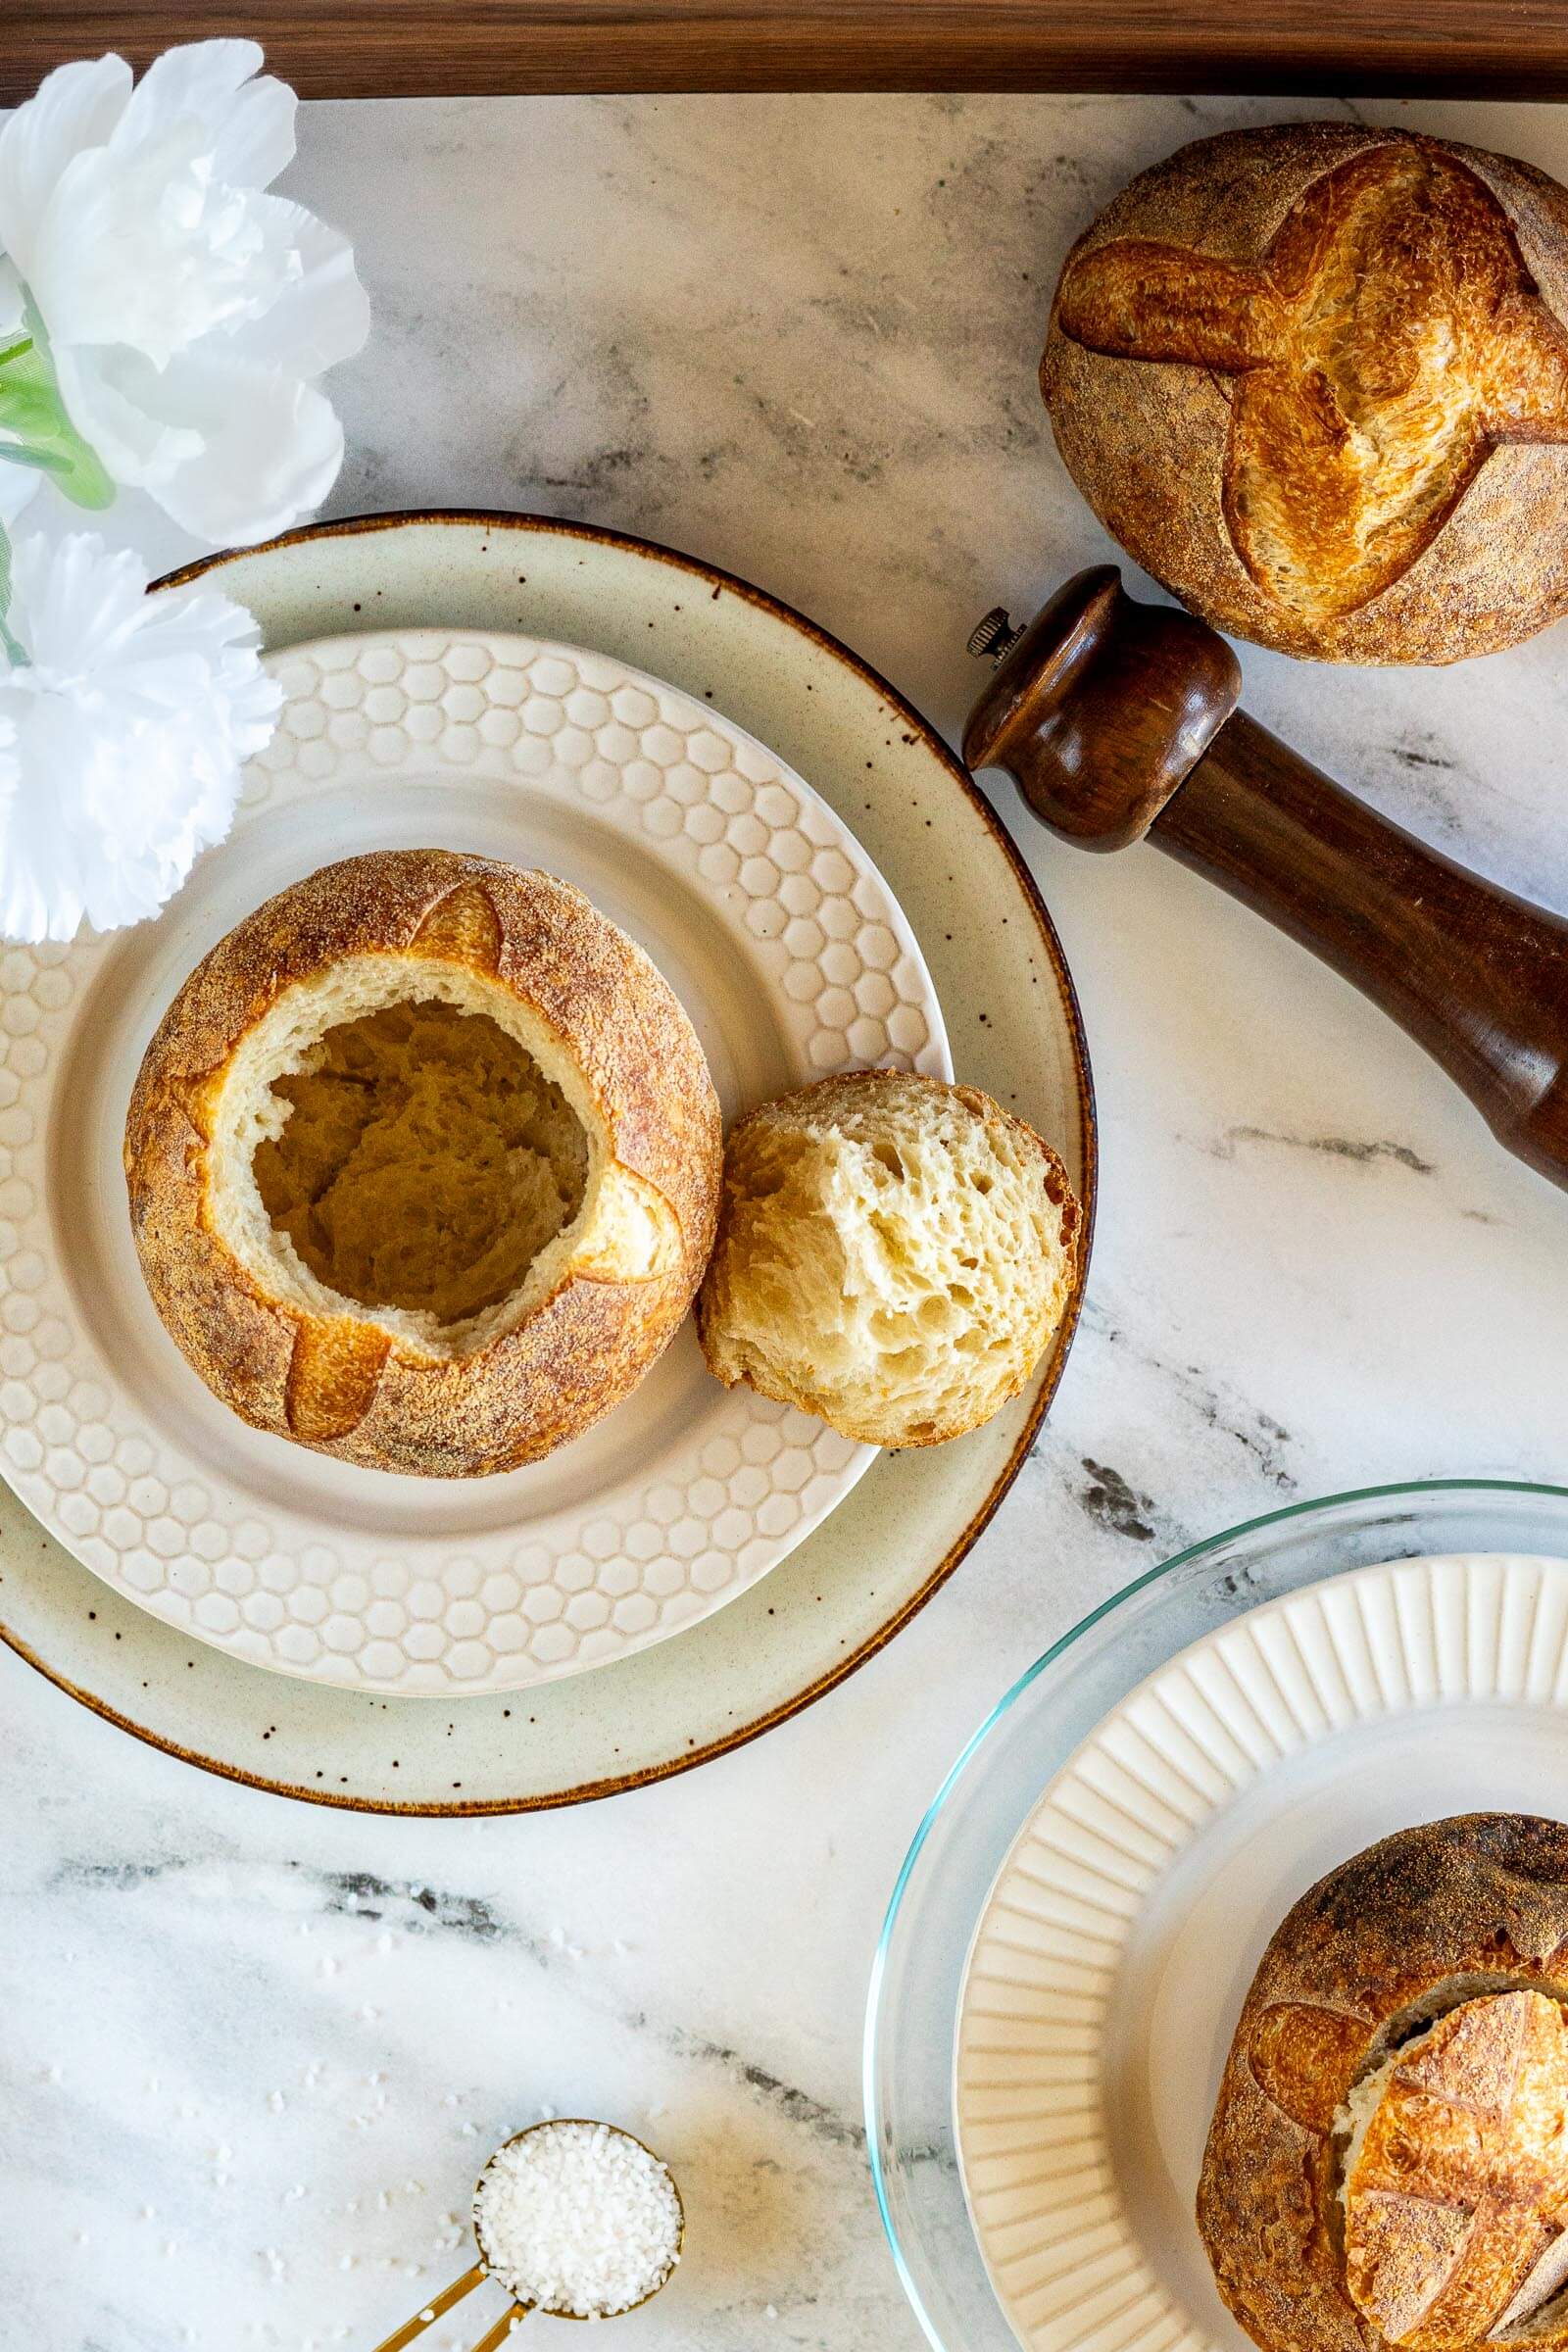
Serving Suggestions
Now that we’ve got delicious homemade sourdough bread bowls, we need some delicious fillings, right? To maximize success, opt for thick soups and stews and avoid thin broth based soups to help prevent your bread bowls from getting soggy. Here’s some ideas:
Recommended Equipment:
Baking Steel:
I've had baking stones in the past and if that's what you've got, by all means use them! I loved my baking stones, but you know what, they are not indestructible like a baking steel. So when my second baking stone got broken, I replaced it with two 14 by 16 inch baking steels. They do exactly the same job but are much more durable!
Pizza Peel:
I have a 14″ pizza peel because of my Traeger pizza oven, and it really does come in handy for other cooking projects like this one. The pizza peel allows me to quickly, safely, and easily slide the sourdough right onto the baking steel in the oven without risking touching anything hot or burning myself. It also makes them easy to remove.
Safety Tips
Any time we are cooking with high heat and water or steam, we need to be very careful. Here are some ways to reduce the likelihood of injury or damage to your oven and bakeware.
- Always, always wear good quality high heat oven mitts. I personally prefer the ones with the silicone grip on the outside when I'm working with liquids because they are waterproof, while my fabric ones are not.
- Exercise caution when using water in the oven burns aside, water can damage bakeware and your oven.
- Use a pizza peel if you have one, it can make transferring the sourdough loaves to the oven quick and easy, reducing the likelihood of burns and keeps more steam in the oven.
See What Else I’m Making With My Starter


If you tried this Sourdough Bread Bowls recipe or any other recipe on my blog, please leave a 🌟 star rating and let me know how it went in the comments below. Thanks for visiting!
📖 Printable Recipe
Sourdough Bread Bowl Recipe
Ingredients
- 350 g water
- 100 g active sourdough starter
- 500 g bread flour
- 12 g coarse sea salt
Instructions
Make The Dough:
- In a large mixing bowl, combine 350g warm water with 100g of active starter until mostly combined.
- Add 500g bread flour to the bowl and mix until a shaggy dough forms. Knead the dough with your hands until all the shaggy bits are incorporated. Sprinkle 12g salt over the dough.
- Cover the bowl and set aside for 45 - 60 minutes.
Stretch And Fold:
- Uncover the bowl and using damp hands, grab the dough and gently pull it until the flap is long enough to fold over itself, then fold the flap, rotate the bowl 90 degrees, and repeat 3 more times, this is considered a set of stretch and folds.
- Recover the bowl, and set it aside for 60 minutes.Repeat the stretch and fold process 3 times over 3 hours, for a total of 3 sets of stretch and folds each followed by a 60 minute rest.
Bulk Ferment:
- Complete a fourth and final stretch and fold then cover the bowl and set aside for 3 hours to finish the bulk ferment. It is important to keep the dough bowl somewhere warm to encourage the microbes to work quickly!
Shape:
- Observe your dough, at this point, the dough should have risen in the bowl, and have a smooth surface with visible bubbles. If the dough is domed in the bowl it is ready to work with, if the dough is flat it may need more time in the bulk ferment.
- Uncover the dough and transfer to a lightly floured surface or countertop. Use a bench scraper or knife to section the dough into 4 equal portions.
- Form each of the portions into a tight dough balls by folding it into itself.
- Generously dust each ball with rice flour and place them seam side up in a towel lined bowl or banneton.
Prove And Cold Retard:
- Prove the sourdough bread bowls covered in their bowls or bannetons for 2 - 3 hours before placing in fridge to cold retard for up to 3 days. I have small bread bags that I use, but in a pinch you could place your bannetons or bowls on a baking sheet and cover with plastic wrap. If you want to bake it right after proving, you're welcome to, but the flavor is better after resting in the fridge.
Bake:
- Place one oven rack on the oven floor, and place a cast-iron skillet on that rack. Add 4 cups of water to the skillet.
- Then place a second oven rack in the lower third of your oven, usually you'll need to place it in the second from bottom slot in order to clear the skillet. Place your baking stone or baking steel on the rack.
- Preheat the oven to 450f, with the baking stone in the oven for at least 45 minutes.
- Once the oven is fully preheated, turn your sourdough boules out of the proofing bowls onto a sheet of parchment paper. Score each bread bowl to allow for expansion.
- Quickly, but carefully, open the oven and using a pizza peel or the parchment paper as a sling, place the sourdough onto the heated baking stone and bake uncovered with the water-filled skillet for as 30 minutes. If required, remove the skillet, and continue baking until the crust has reached your desired color, usually another 5 or so minutes.
Notes
Safety Tips
Any time we are playing with high heat and water or steam, we need to be very careful. Here are some ways to reduce the likelihood of injury or damage to your oven and bakeware.- Always, always wear good quality high heat oven mitts. I personally prefer the ones with the silicone grip on the outside when I’m working with liquids because they are waterproof, while my fabric ones are not.
- Exercise caution when using water in the oven burns aside, water can damage bakeware and your oven.
- Use a pizza peel if you have one, it can make transferring the sourdough loaves to the oven quick and easy, reducing the likelihood of burns and keeps more steam in the oven.
Expert Tips
- I don't have bread bowl sized bannetons and because I already have too many banneton baskets I am tapping into a banneton alternative. Cereal bowls I picked up at a local dollar store and lined them with tea towels worked great. If you're looking to do the same, choose bowls that are narrow at the bottom and have steeper sides, this will help to keep the shape of your bread bowls.
- This recipe is written with an open oven bake, but if you don't have a pizza stone or baking steel, the bread bowls can be baked in a dutch oven, but you'll likely need to work in batches.
- I bulk ferment and proof my bread dough at room temperature, but if you're in a warm place (warmer than 70-72f), your rising times will need to be shortened.


Nothing beats a beautiful bread bowl and thick warm soup on a cold day! We love these bread bowls for cozy warm dinners – and carb loading LOL