
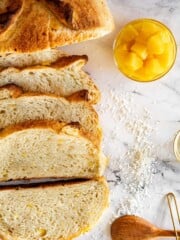
Pina Colada Sourdough

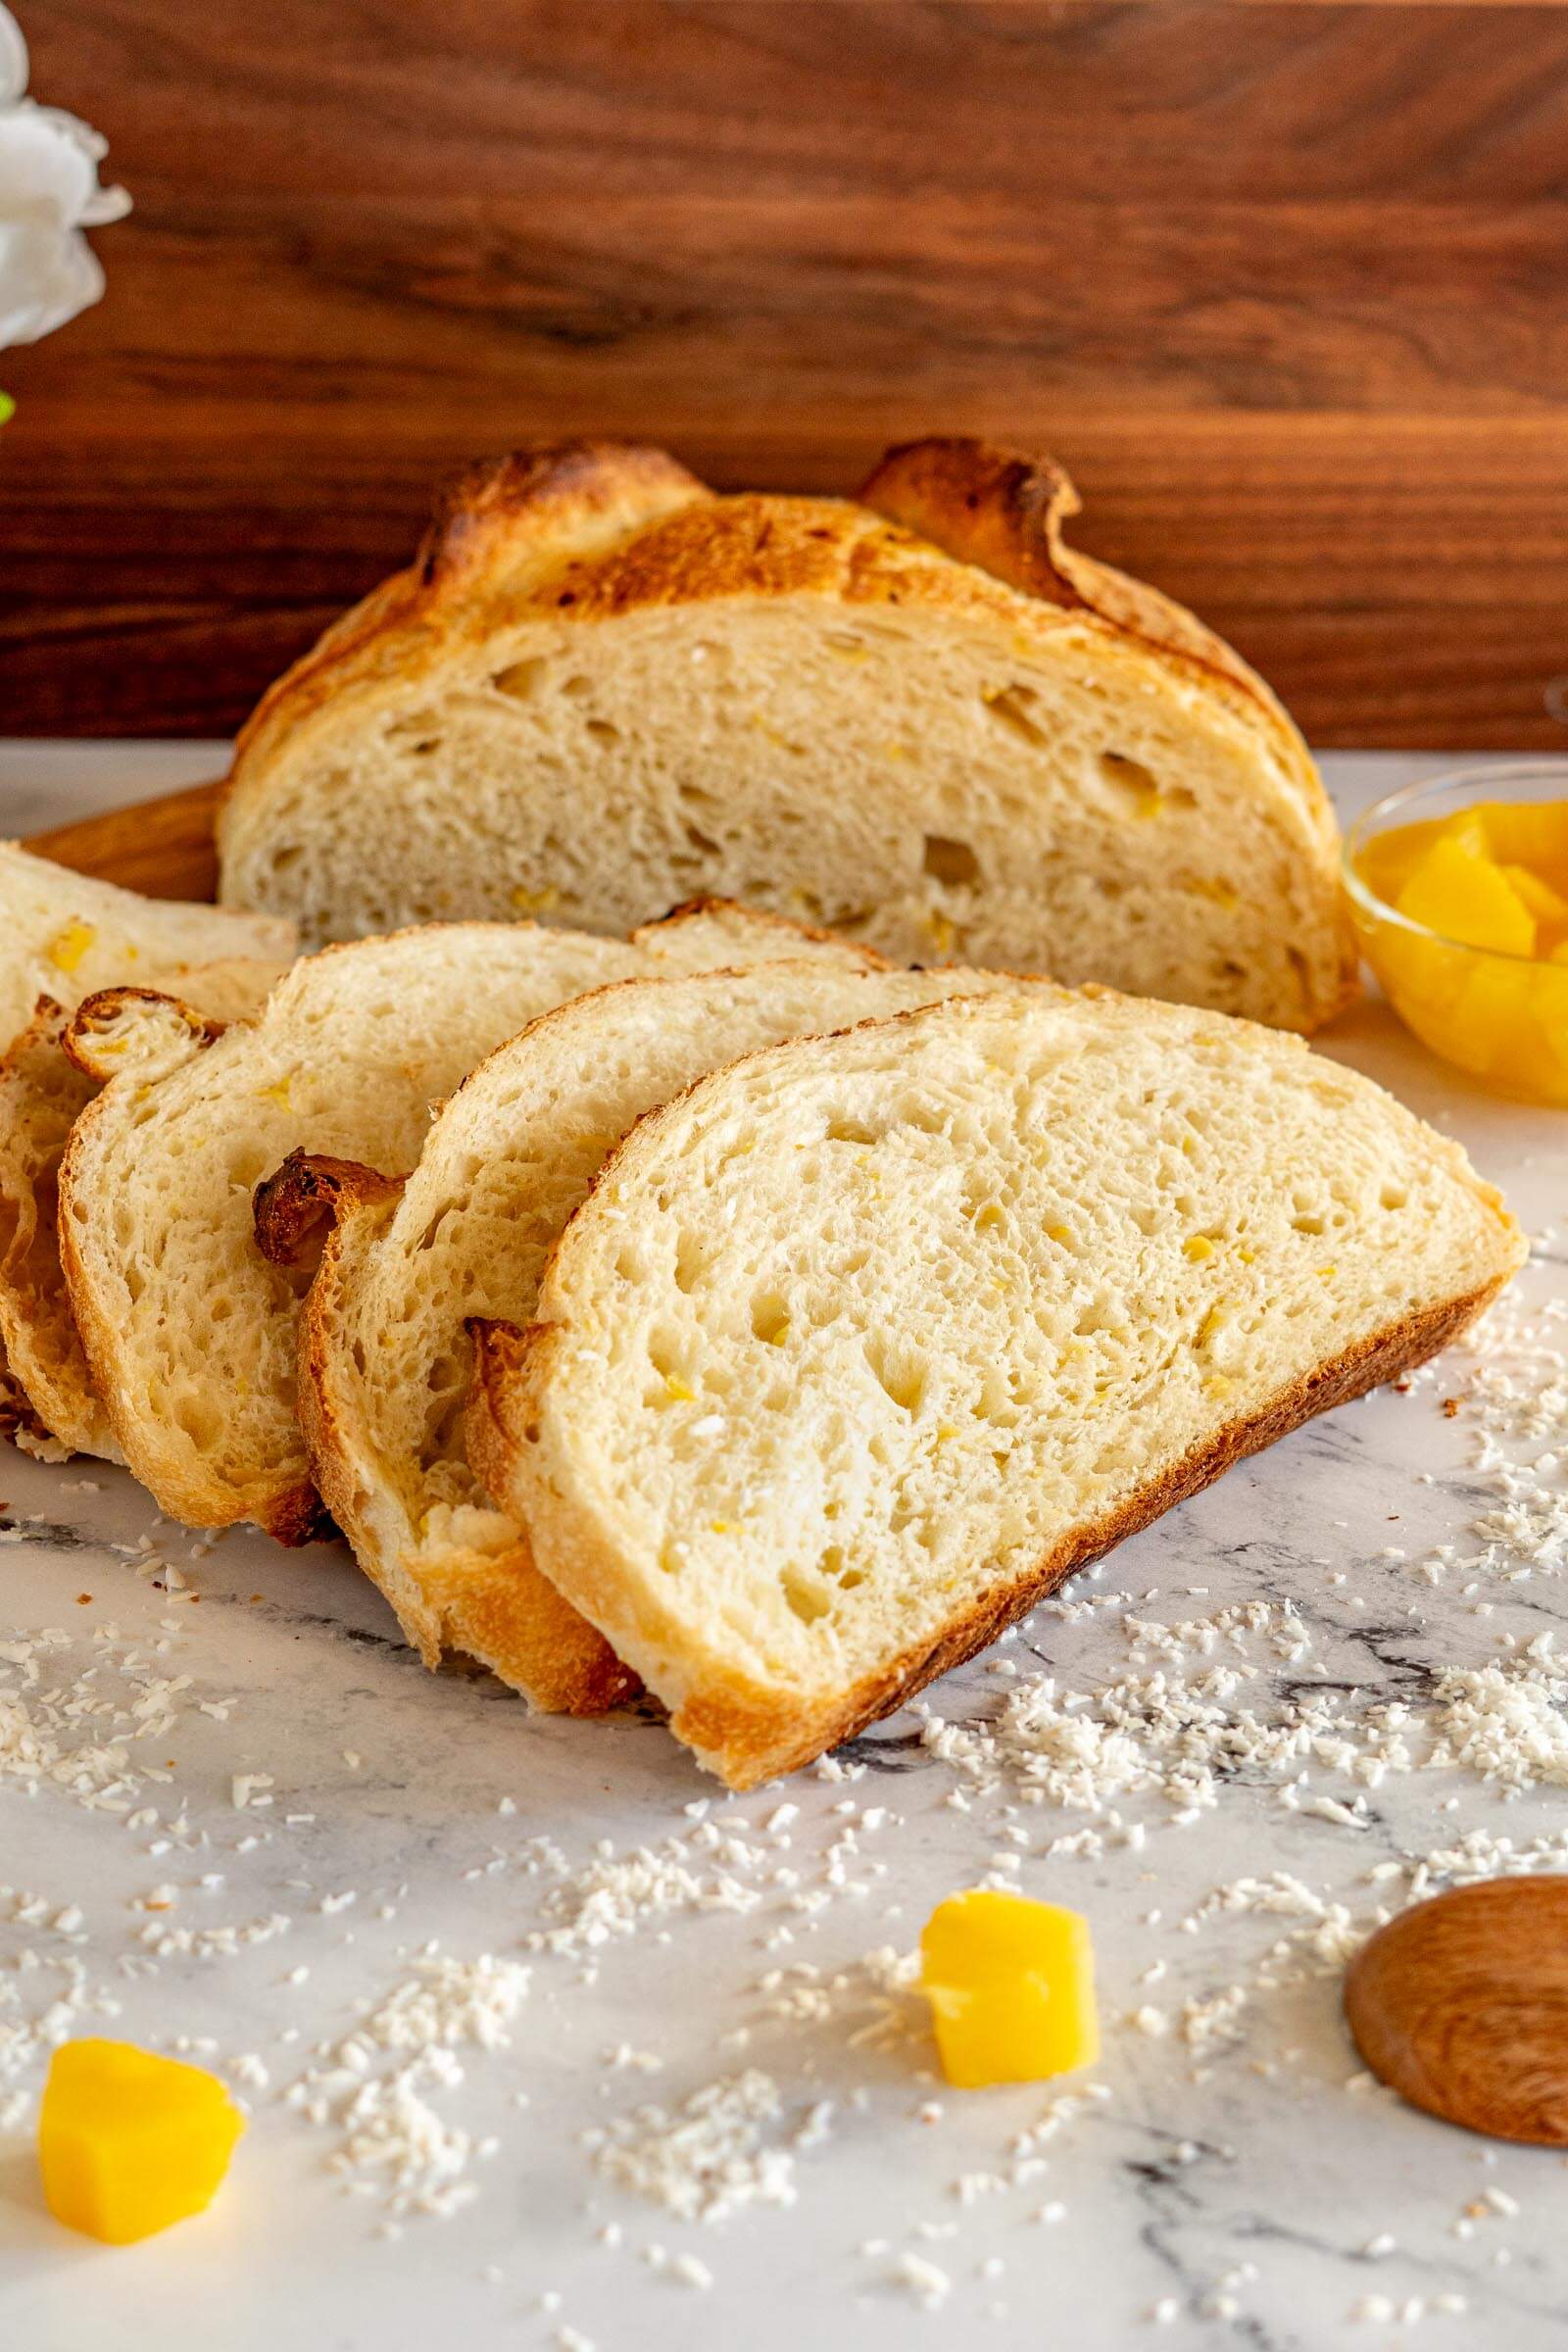
Piña colada sourdough bread bakes up with a caramelized, golden crust, thanks to pineapple sugars doing their thing in a hot oven and a soft, coconut-rich crumb that smells like a tropical cocktail and a sourdough loaf had a baby. Naturally fermented and lightly sweet, with just enough tang to keep things interesting, it’s a standout loaf that disappears faster than it should.

Craving The Recipe Details?
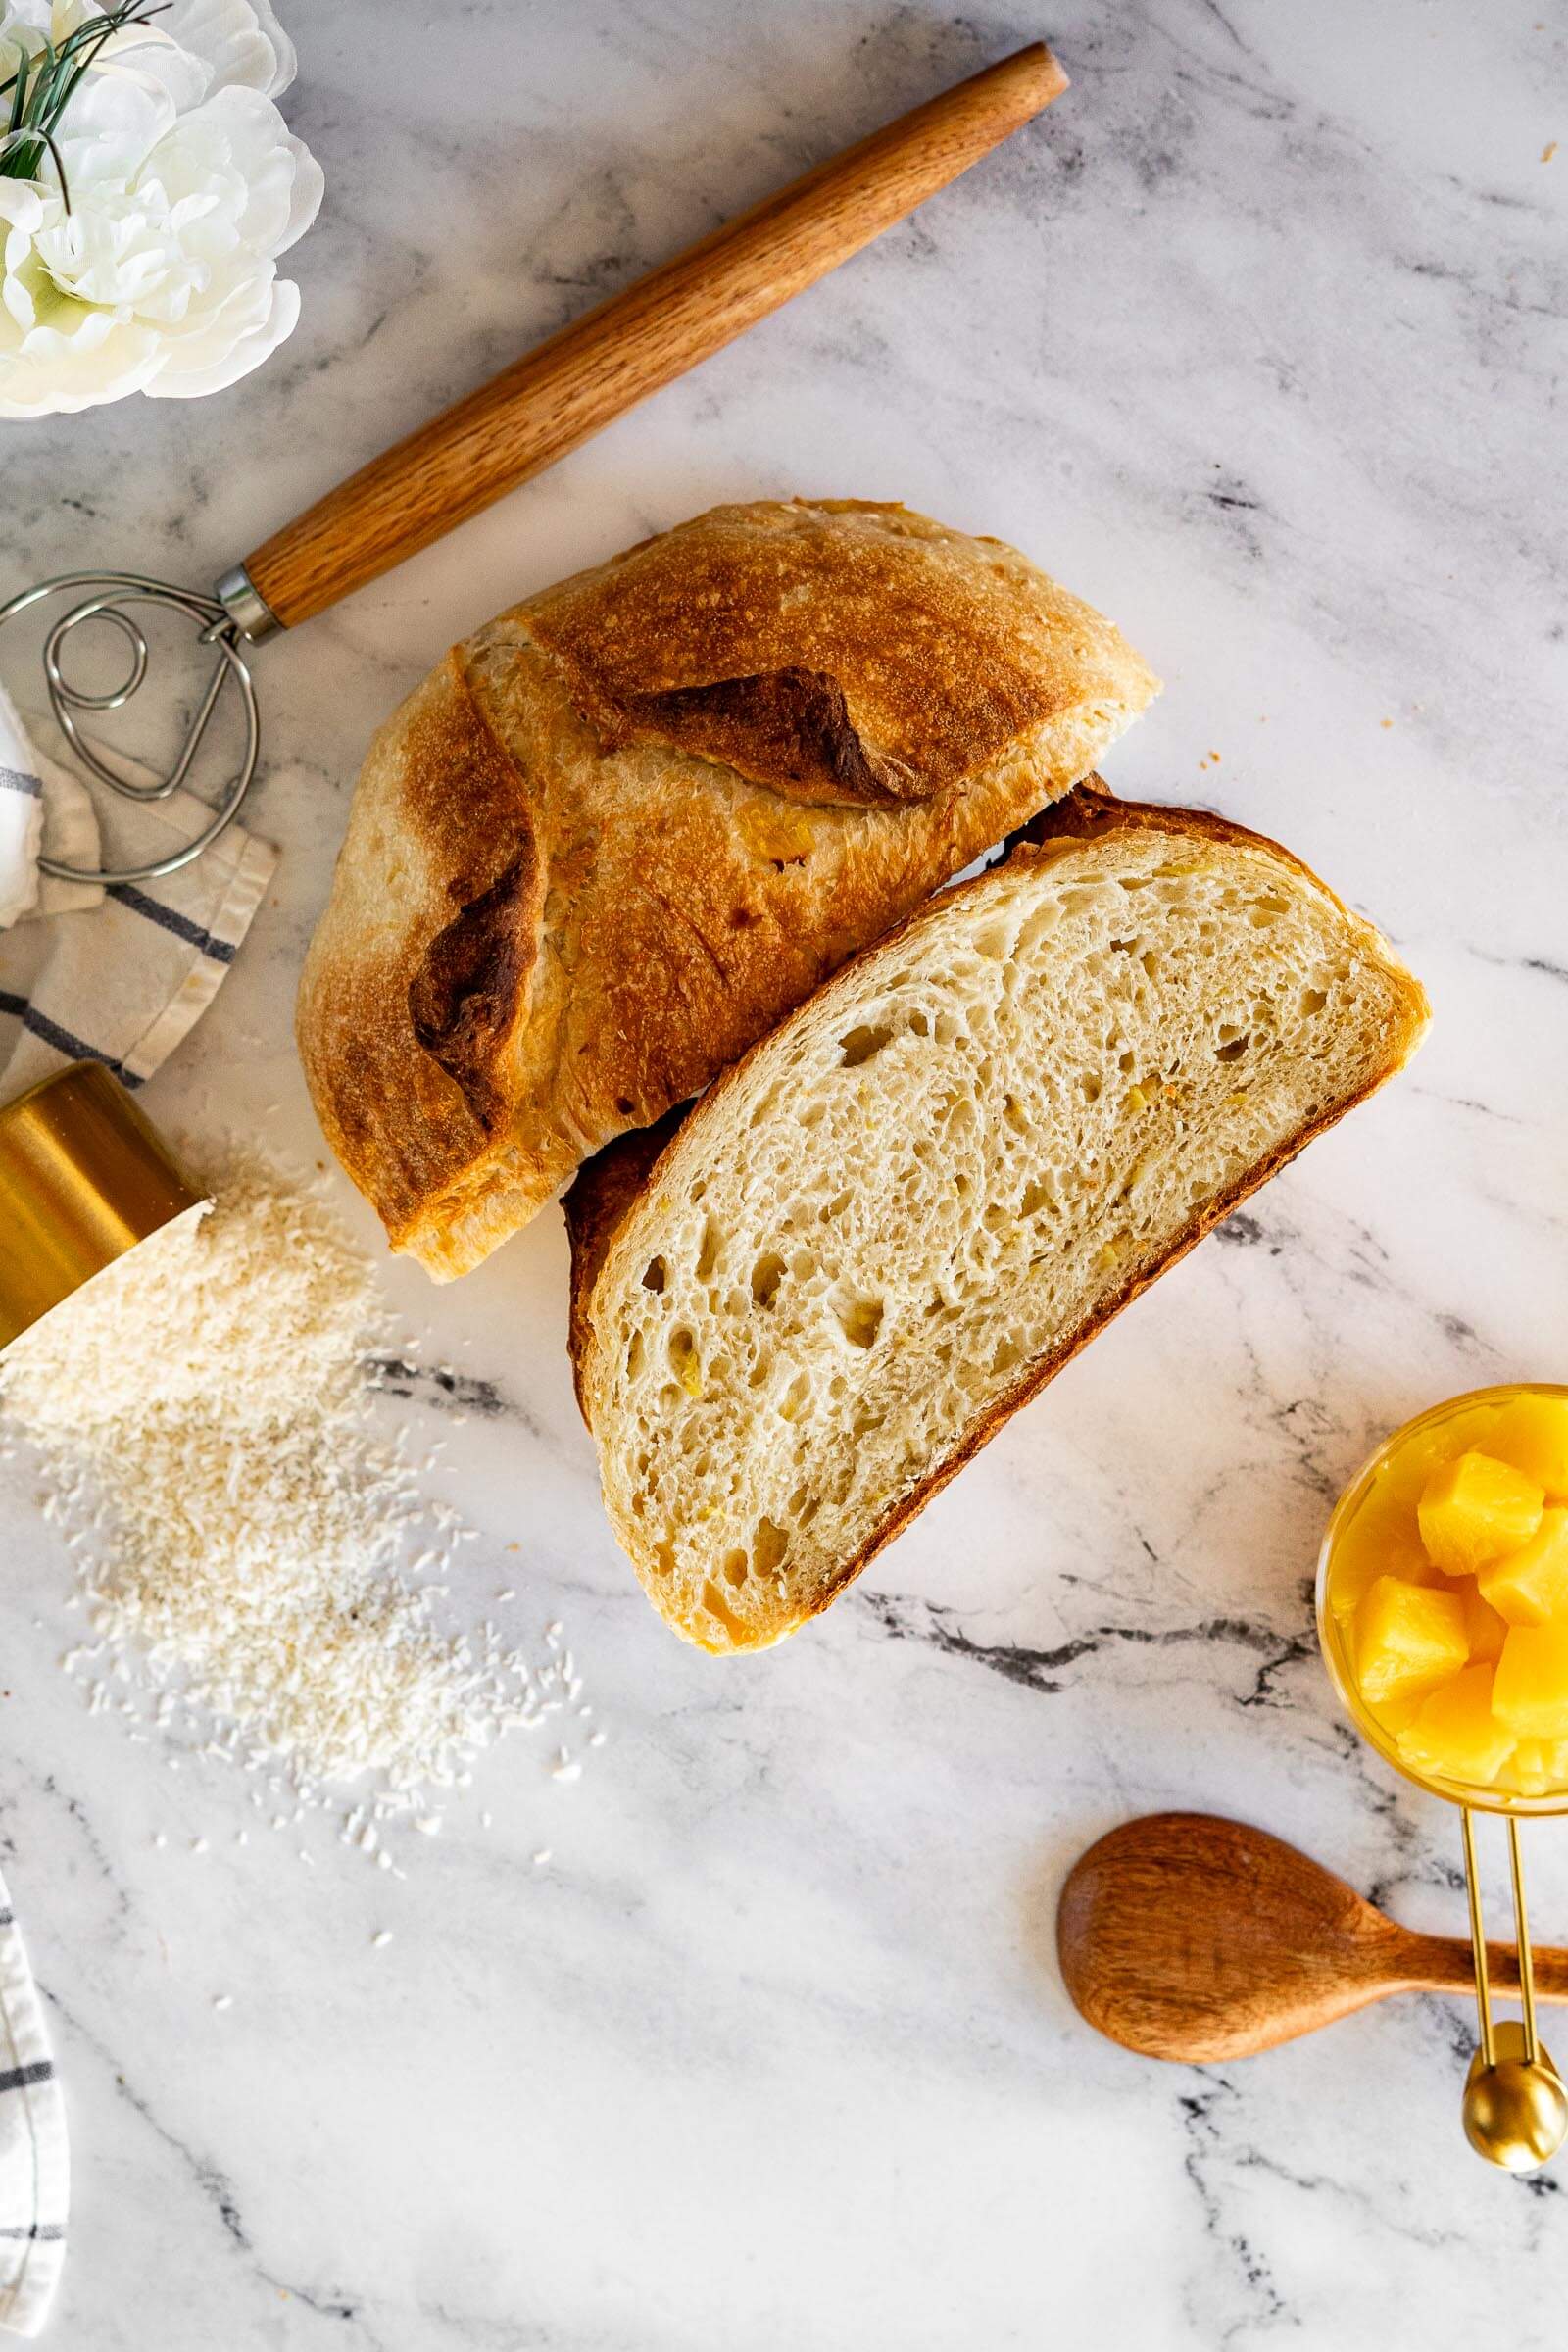
What it is: A naturally fermented sourdough loaf made with full-fat coconut milk and pineapple juice instead of water, real pineapple folded into the dough, and dried coconut throughout, producing a golden, caramelized crust and a soft, lightly sweet crumb with a subtle tang from the long ferment.
Why you'll love it: It tastes like a piña colada decided to become a sourdough: coconut-rich, pineapple-forward, and complex enough that people will ask you what’s in it. No added sugar, no eggs, no shortcuts.
How to make it: Mix active sourdough starter with coconut milk and pineapple juice, then add bread flour, coconut, salt, and chopped pineapple. Develop the dough with stretch and folds, bulk ferment, shape, proof (optionally cold retard), then bake at 450°F until golden and fragrant.
I can’t stop, won’t stop, adding things to my sourdough.
The idea for this one came up a few weeks ago, it was approaching freezing outside and I jokingly said I wished I was on a beach somewhere sipping a pina colada instead of whipping up a batch of sourdough pizza crust for dinner.
My brain immediately said “pina colada sourdough bread“. A few weeks and a couple of iterations and test batches later… here it is!
This pina colada sourdough is dedicated to the beach!

Master Your Sourdough Starter In 5 Days!
From Confused To Confident.
Find success with 5 simple, actionable secrets delivered to you. No more guessing games – just clear, proven steps to a thriving starter.
Jump to:
Key Ingredients
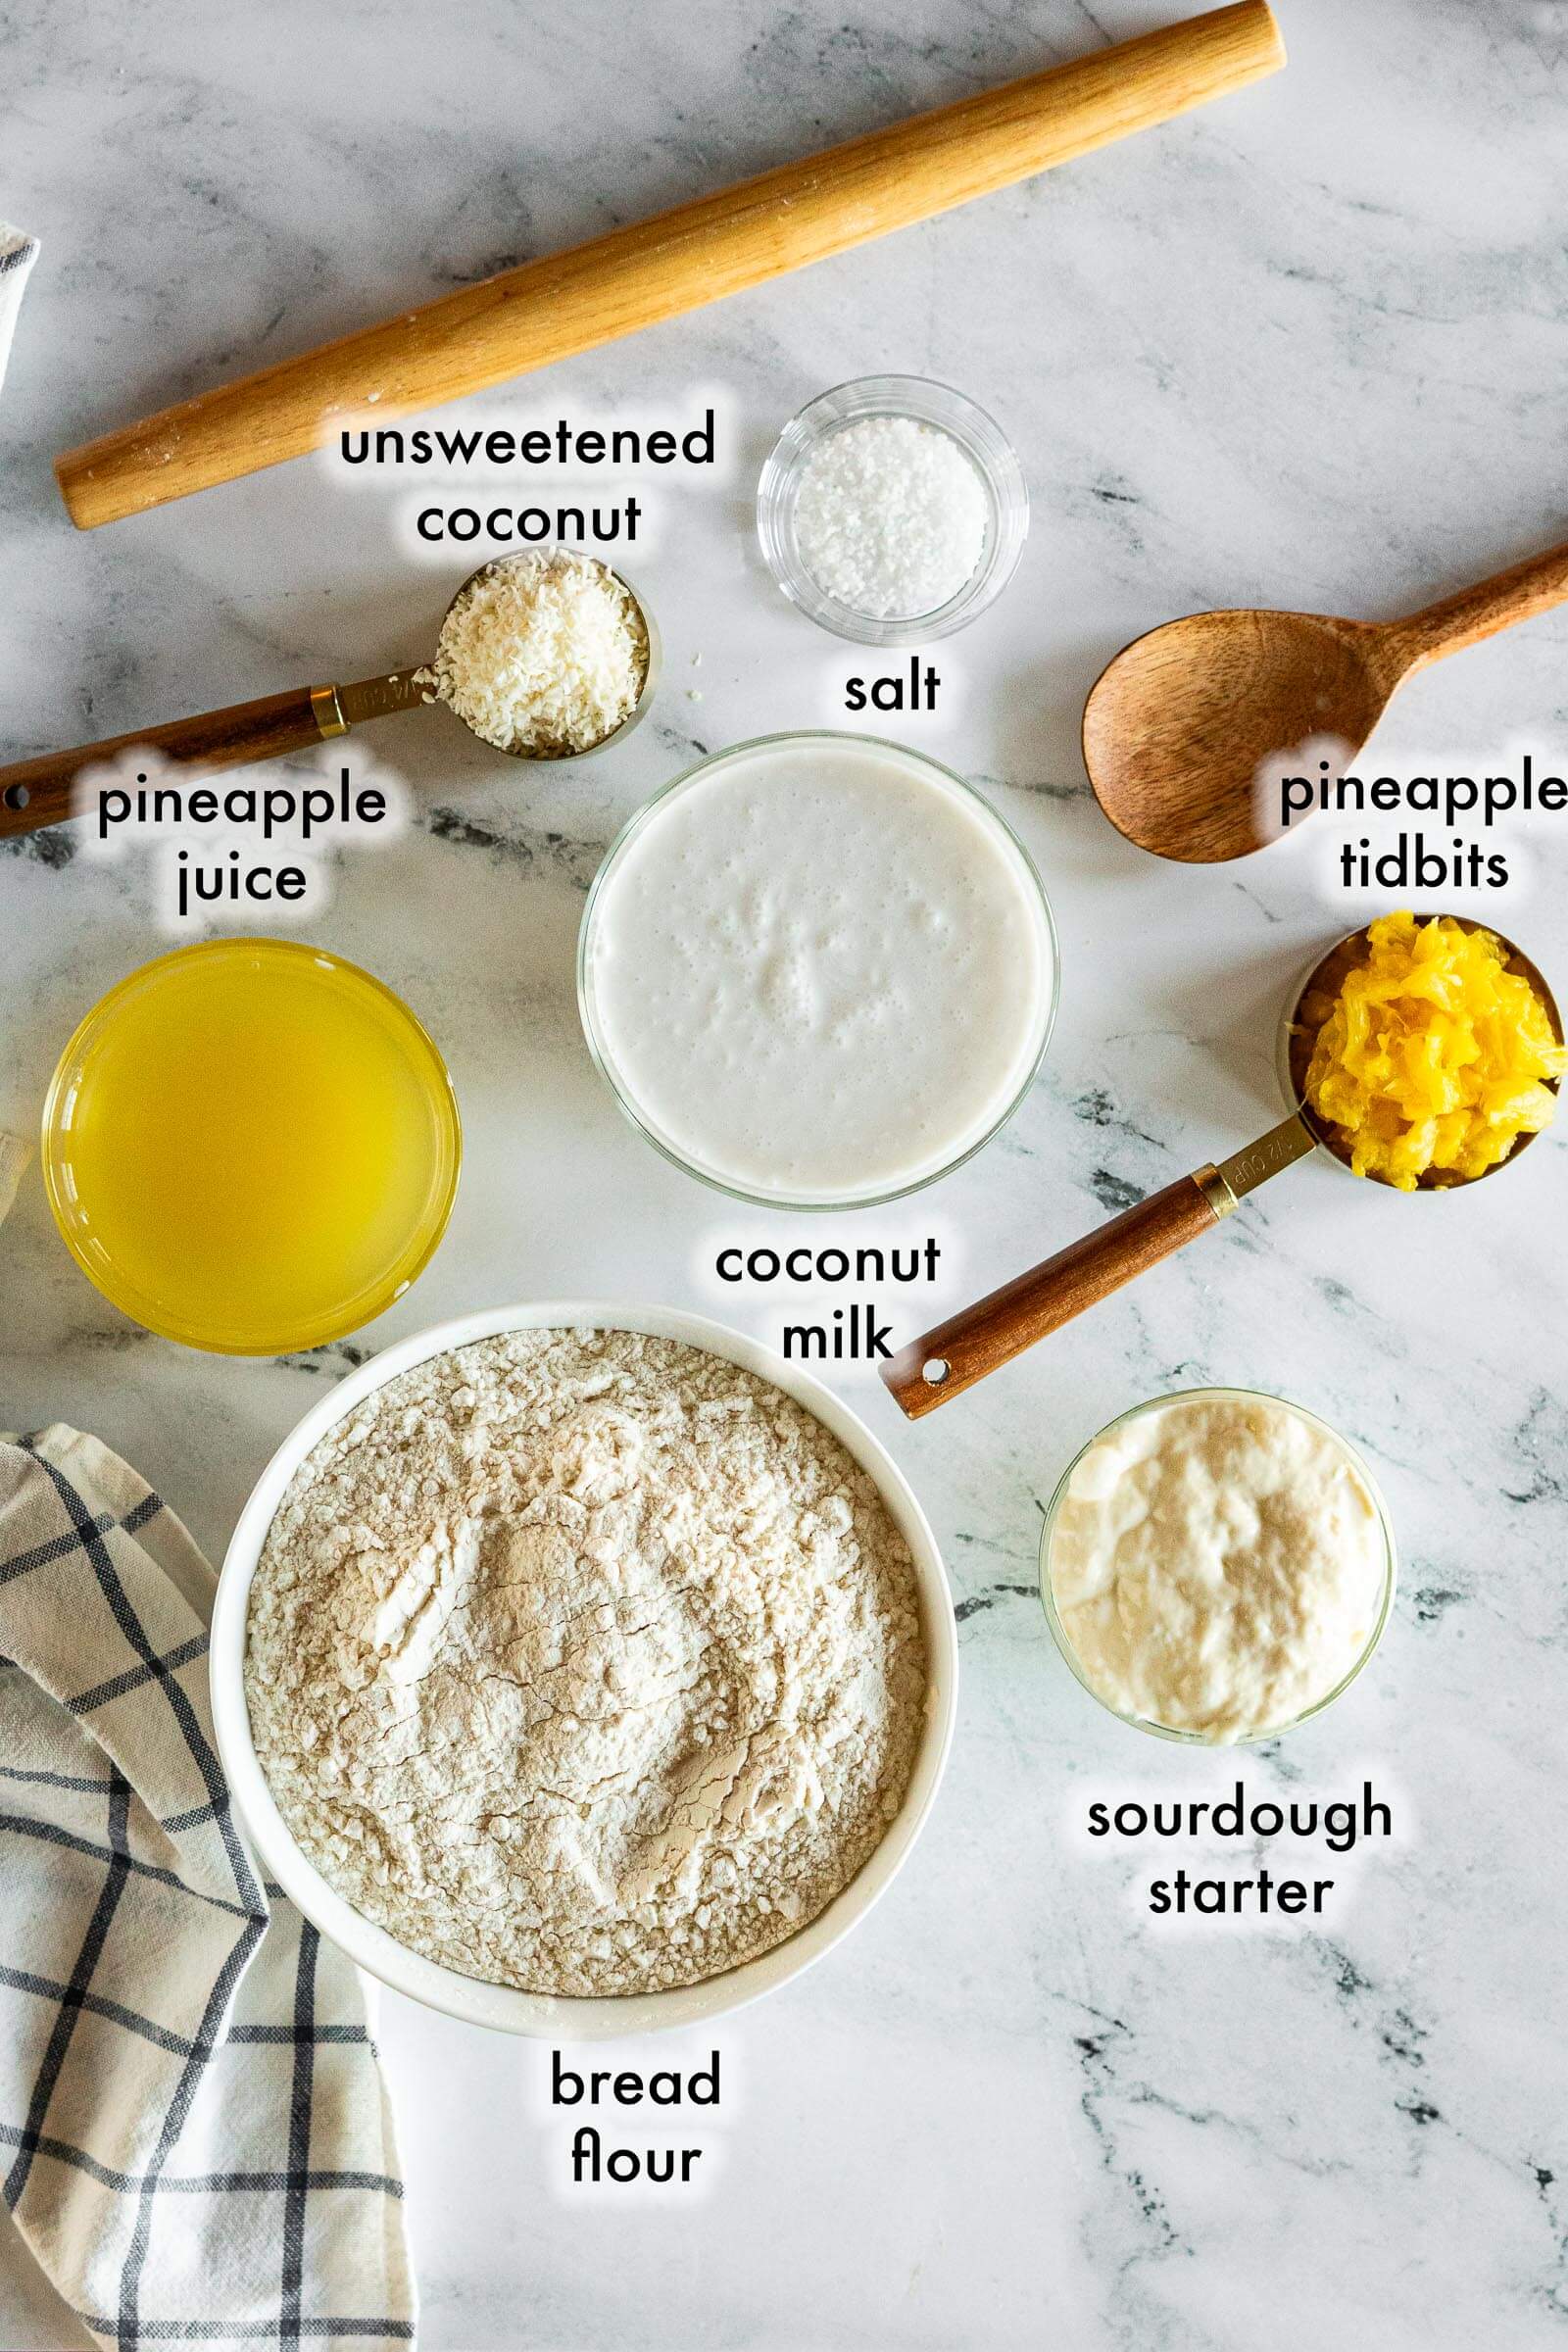
Canned Coconut Milk: I used full fat canned coconut milk for this recipe, and I’m so glad I did! You’ll likely not get enough liquid from the can to make the full 230g required, so you’ll have to reserve some of the cream.
Canned Pineapple: You want to use pineapple chunks or rings for this recipe, you’ll be using both the fruit and the juice. Crushed pineapple might work, but I’m not sure how well they strain out and we need to be conscious of how much water we add to the recipe to maintain proper hydration levels.
Sourdough Starter: For this recipe, you want to use a fed and active sourdough starter. Your starter should have been fed before beginning and have at least doubled in size.
Can I Use Fresh Pineapple?
Fresh pineapple contains bromelain which is a protease capable of gluten relaxation, and can lead to dough collapse or the inability to hold gases causing flat loaves. Luckily for us, bromelain is denatured by heat, so cooked or canned pineapple does not cause the same issues.
It’s a lot easier to use canned pineapple for this recipe for two reasons; canned pineapple makes the juice-to-fruit ratio easier to control because fresh pineapple varies in water content depending on ripeness, and canned pineapple requires no prep work before using while fresh pineapple requires cooking to 180f (80c) and holding it for 8 minutes to denature the bromelain.
How To Make Pina Colada Sourdough
Make The Dough:
- Step 1: Open a can of full fat coconut milk, scoop off some of the cream and pour off as much liquid as possible, then add cream to make 230g. For example, if your can gives 150g of liquid, add 80g of the cream to make 230g. Whisk well to combine and eliminate any lumps.
- Step 2: Strain the pineapple chunks from the juice in the can, reserving the juice. Pulse the pineapple in the blender a few times to break up the pieces.
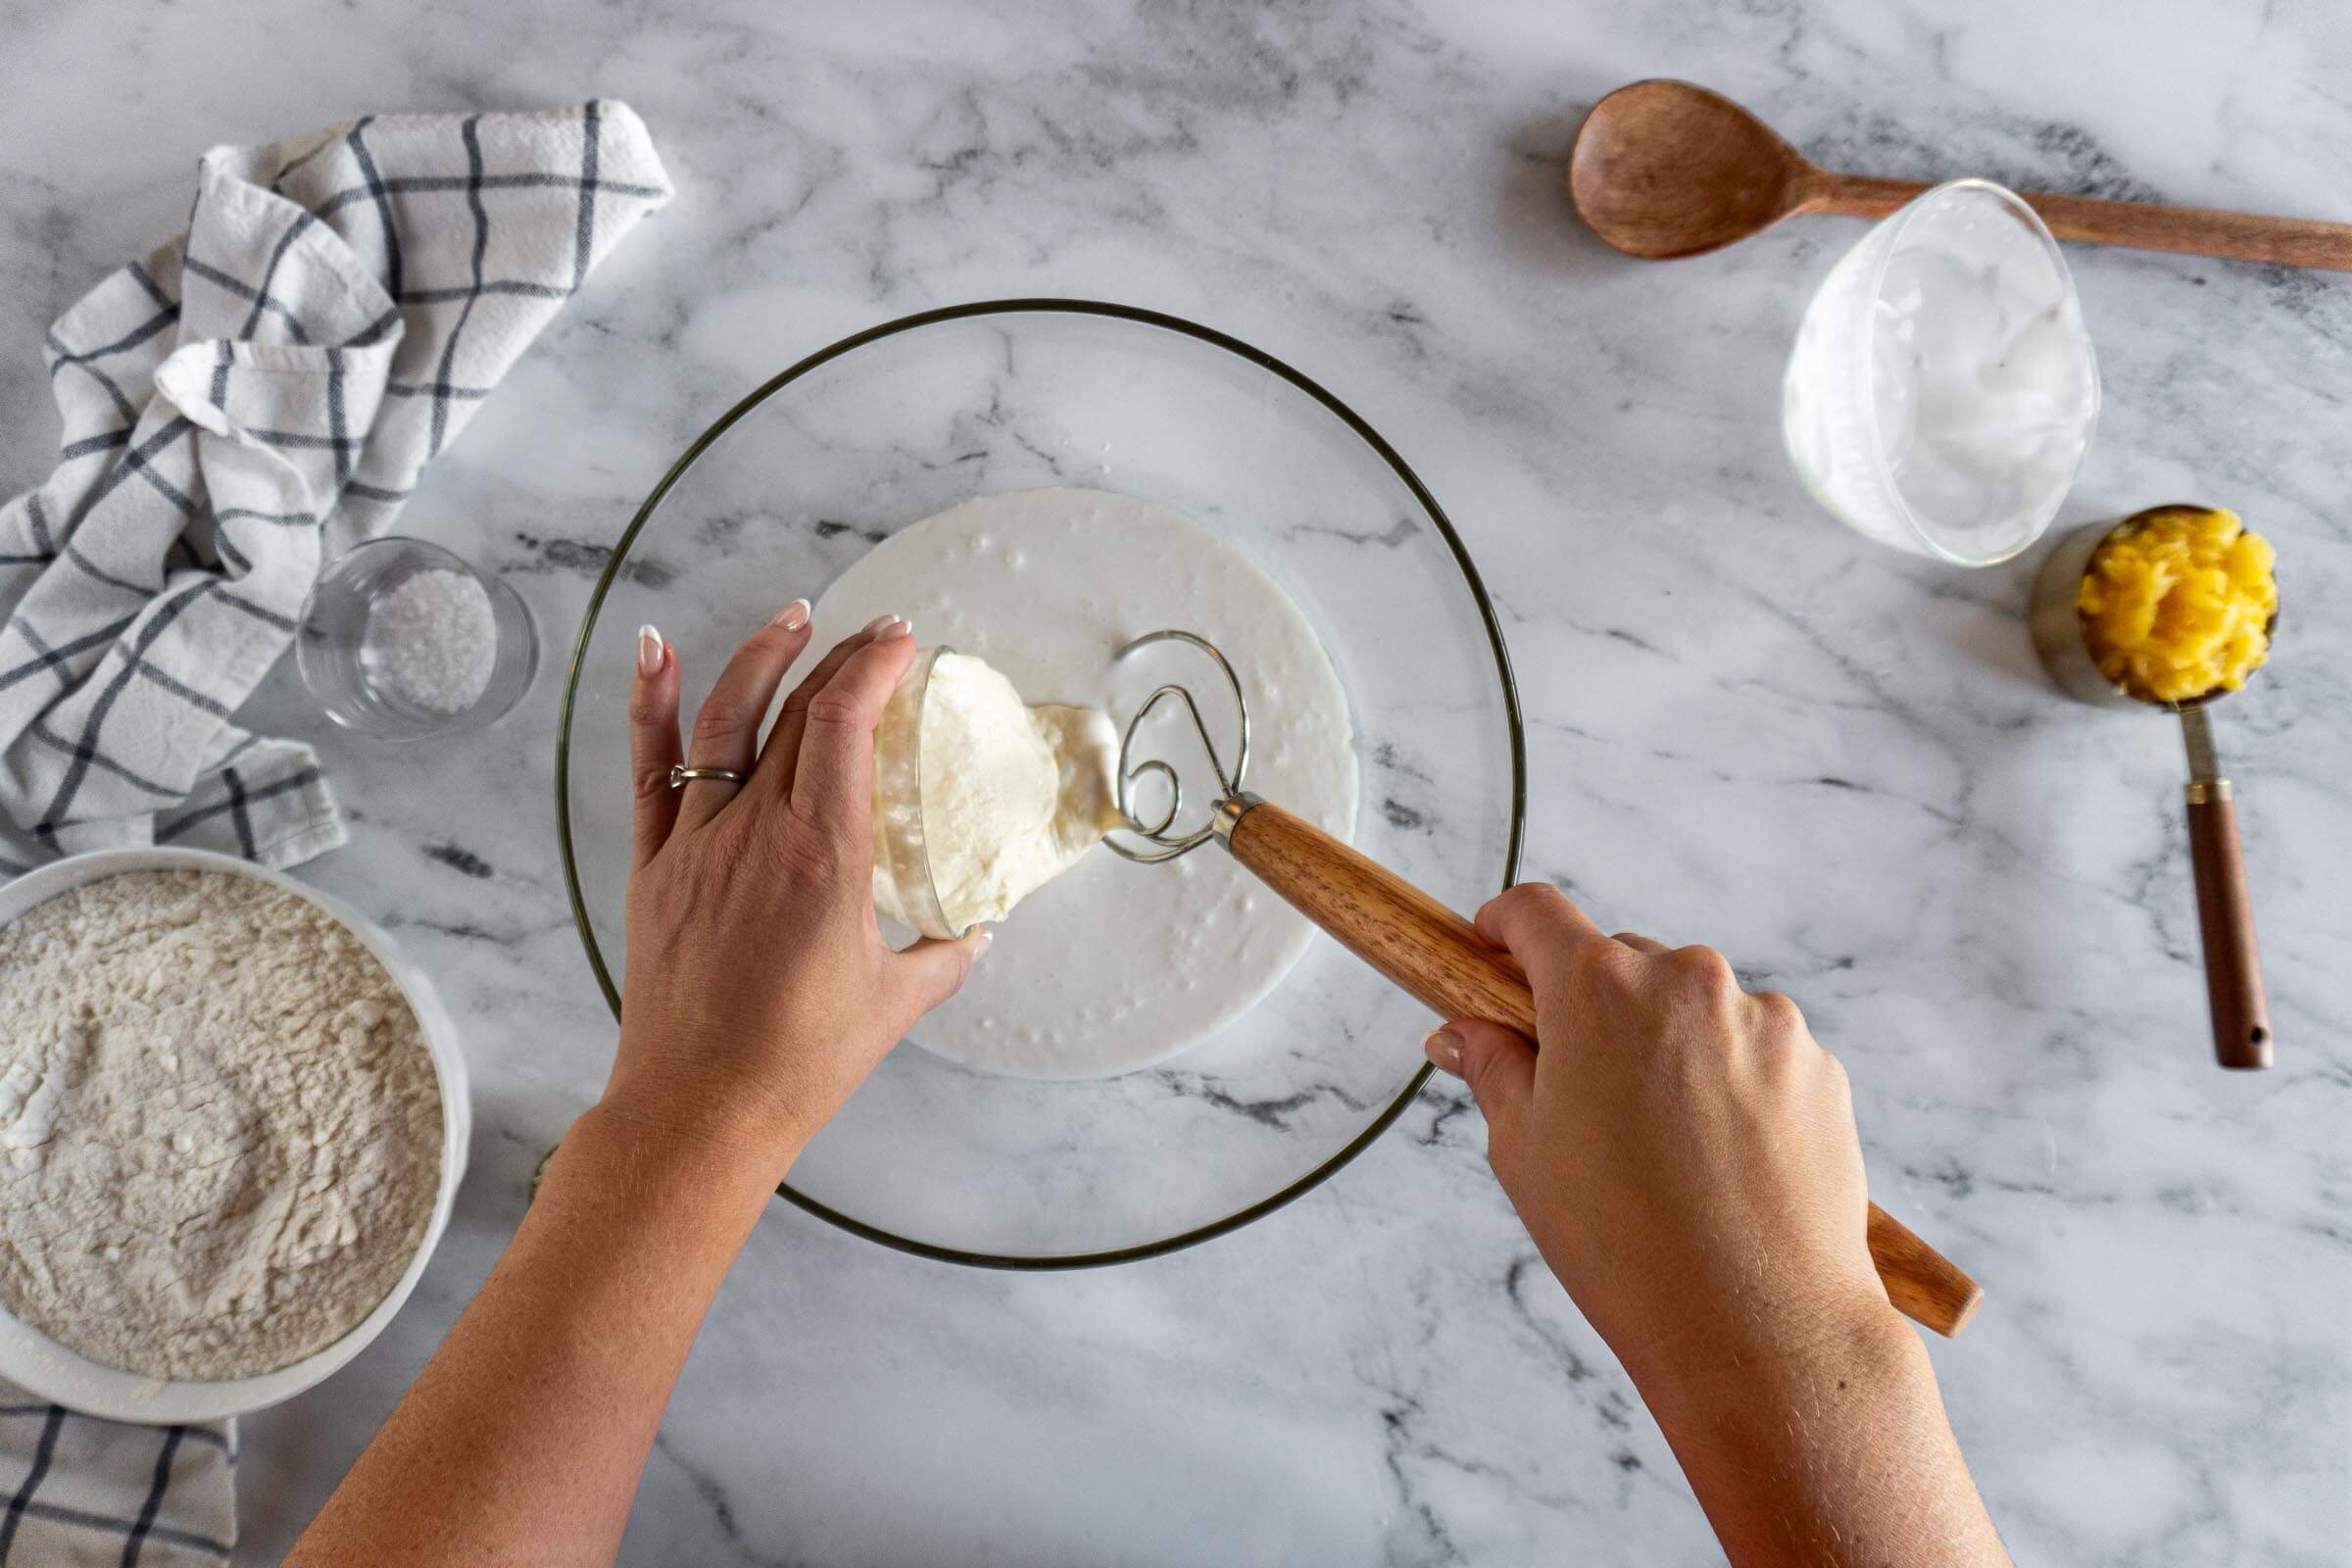
- Step 3: In a large bowl, combine 230g coconut milk and 120g pineapple juice and whisk in 100g of active sourdough starter until mostly combined. I prefer to mix my liquid ingredients with the sourdough starter before adding the flour because it's much easier to ensure that the starter is more evenly distributed in the dough.
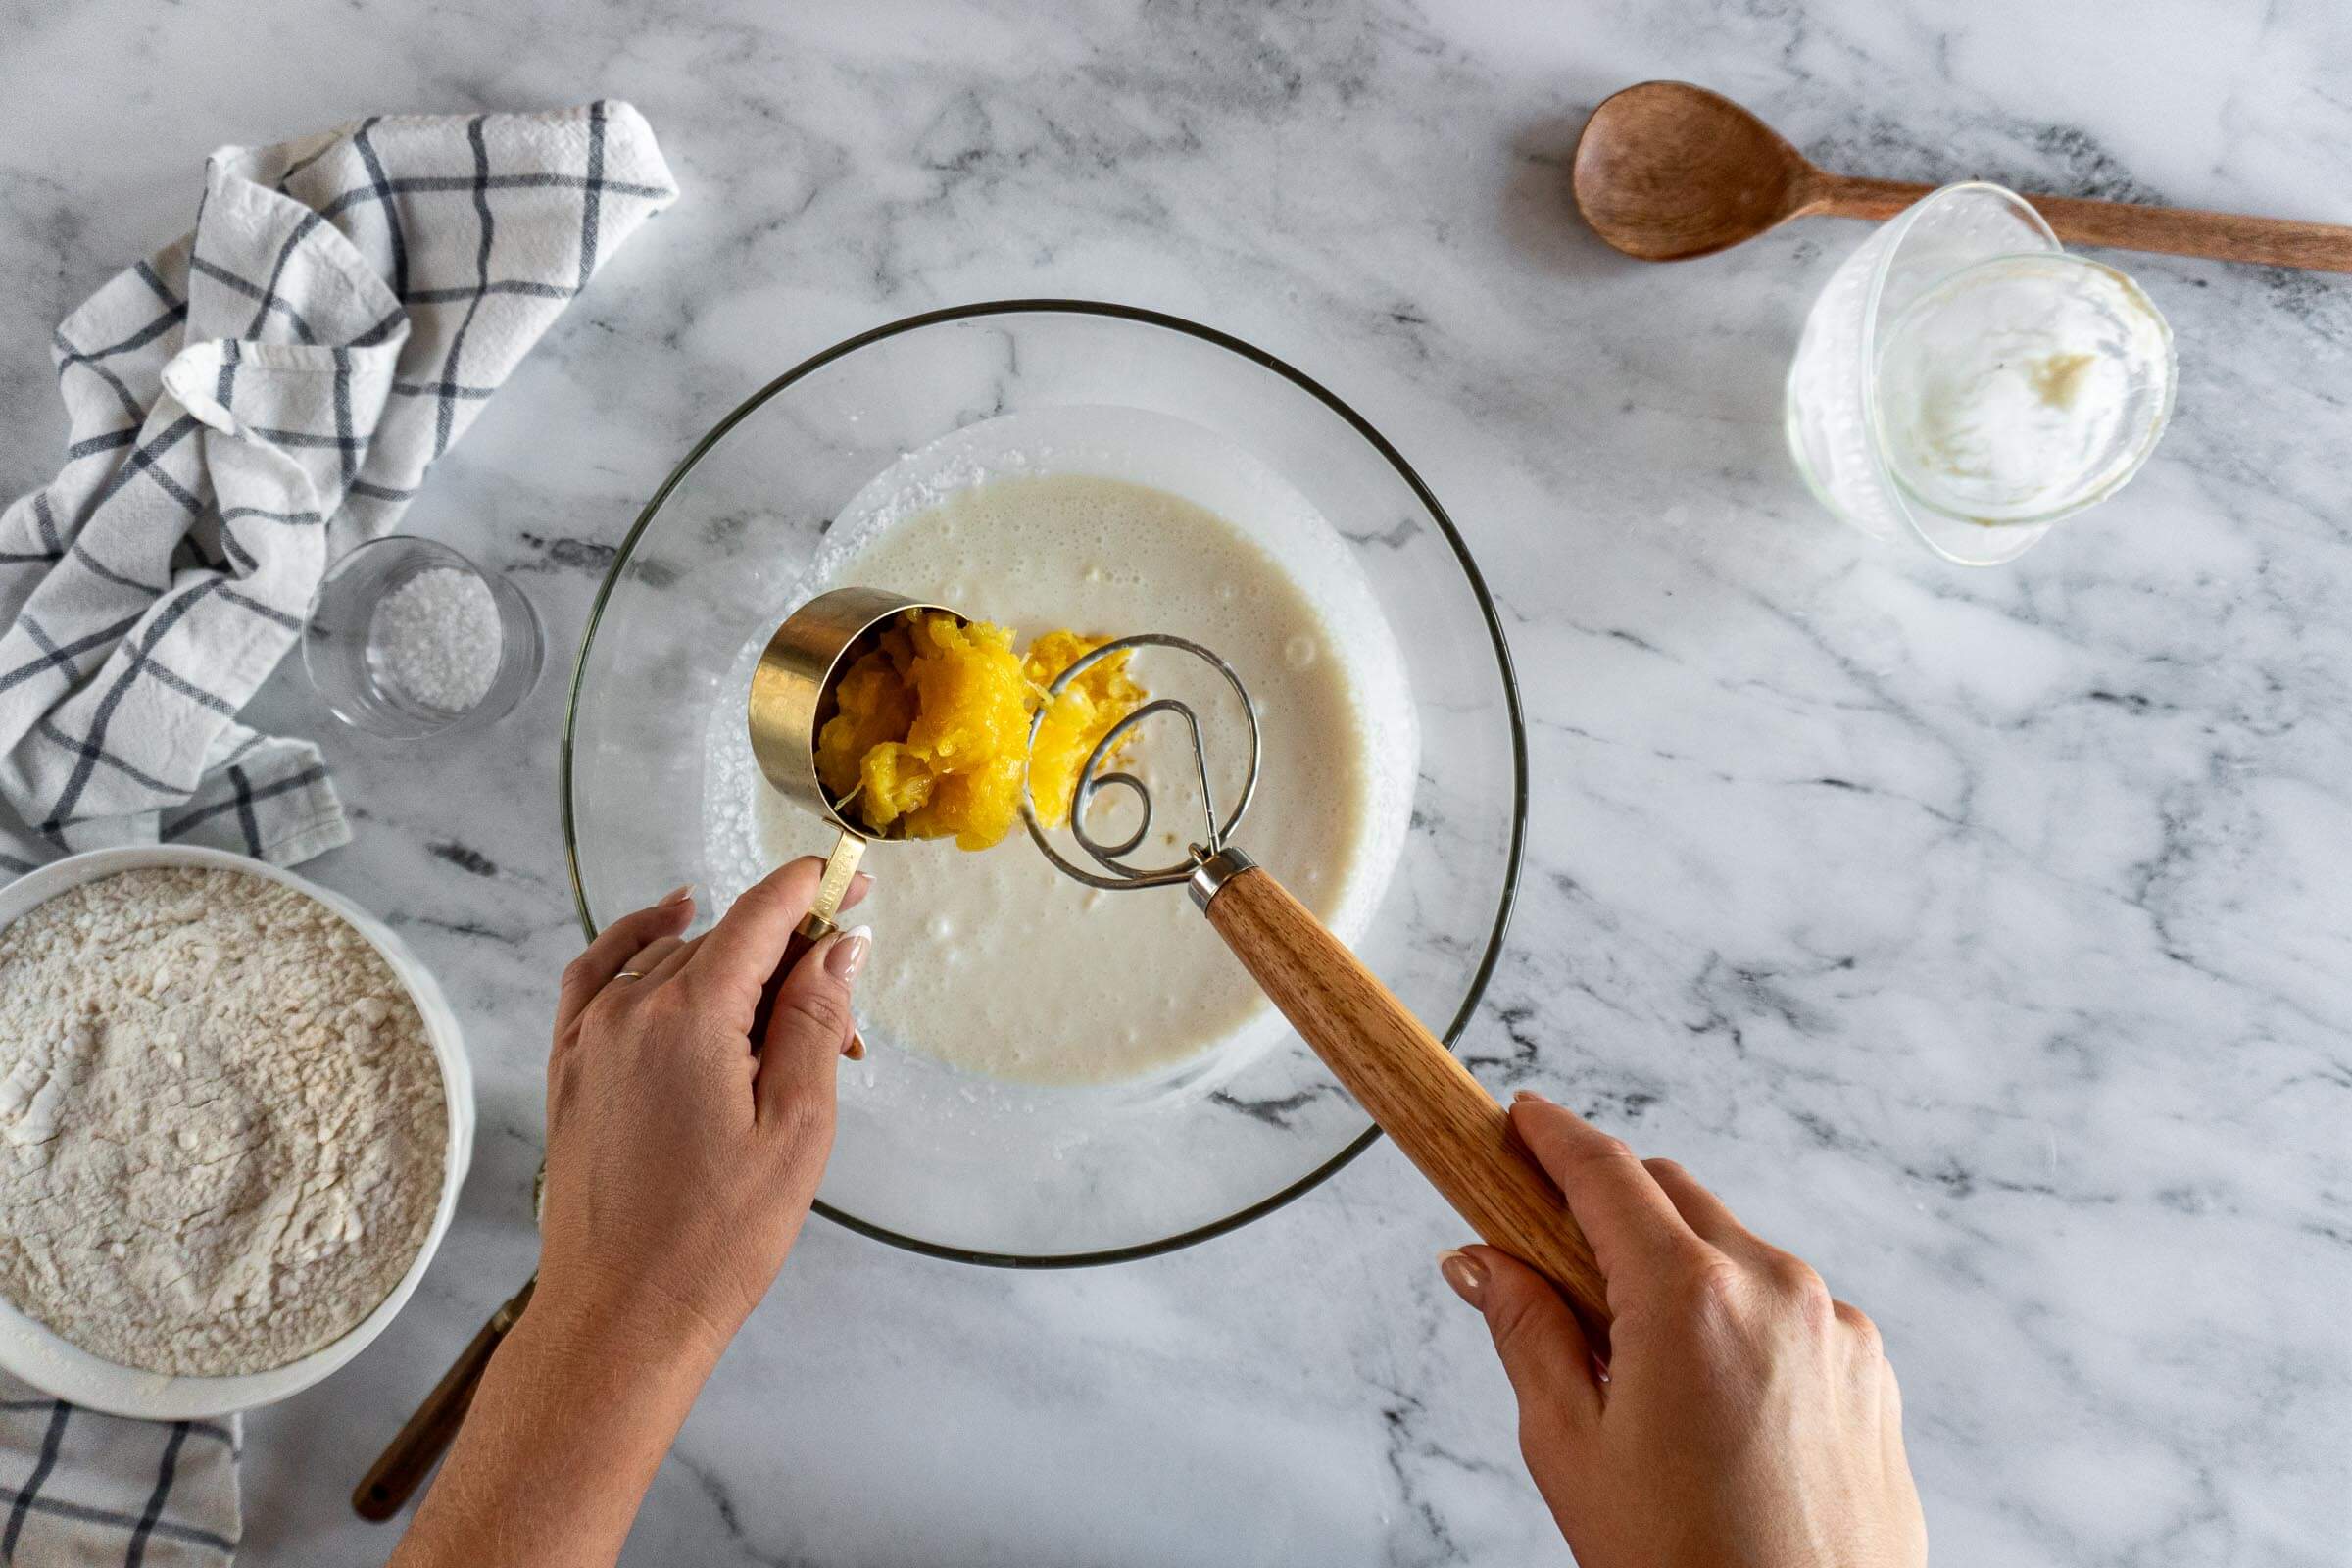
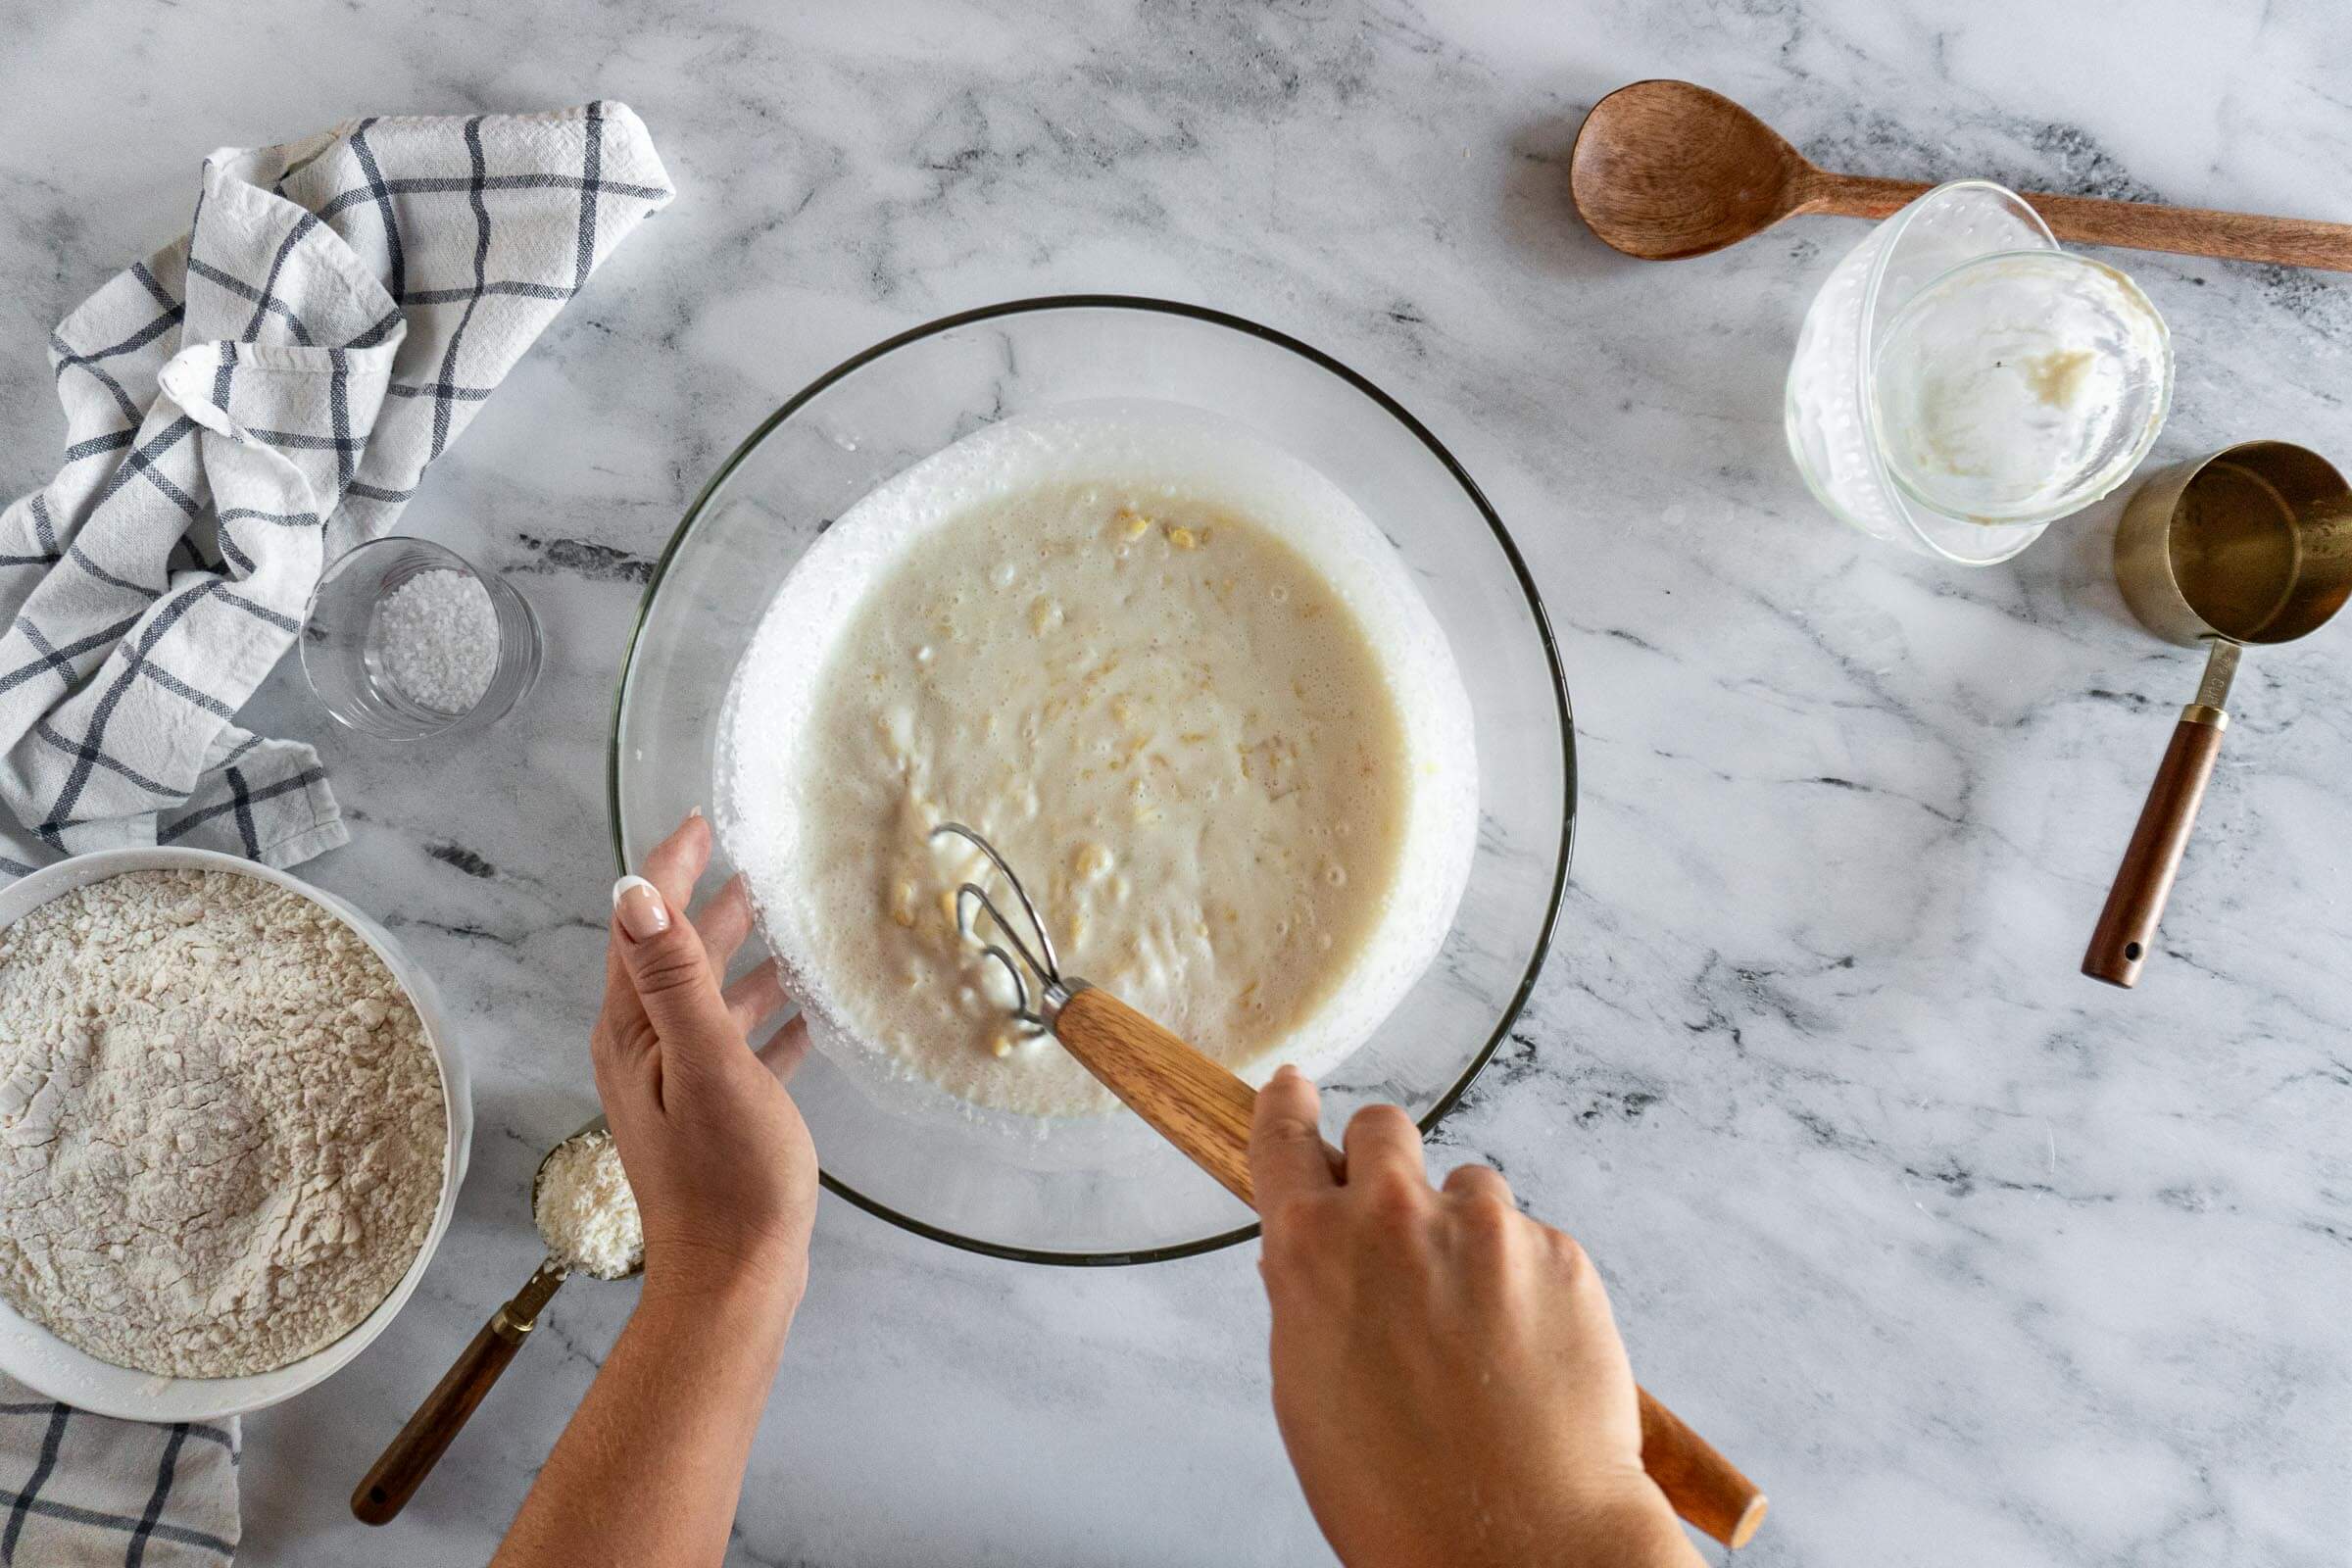
- Step 4: Add in 150g of chopped pineapple and stir till combined.
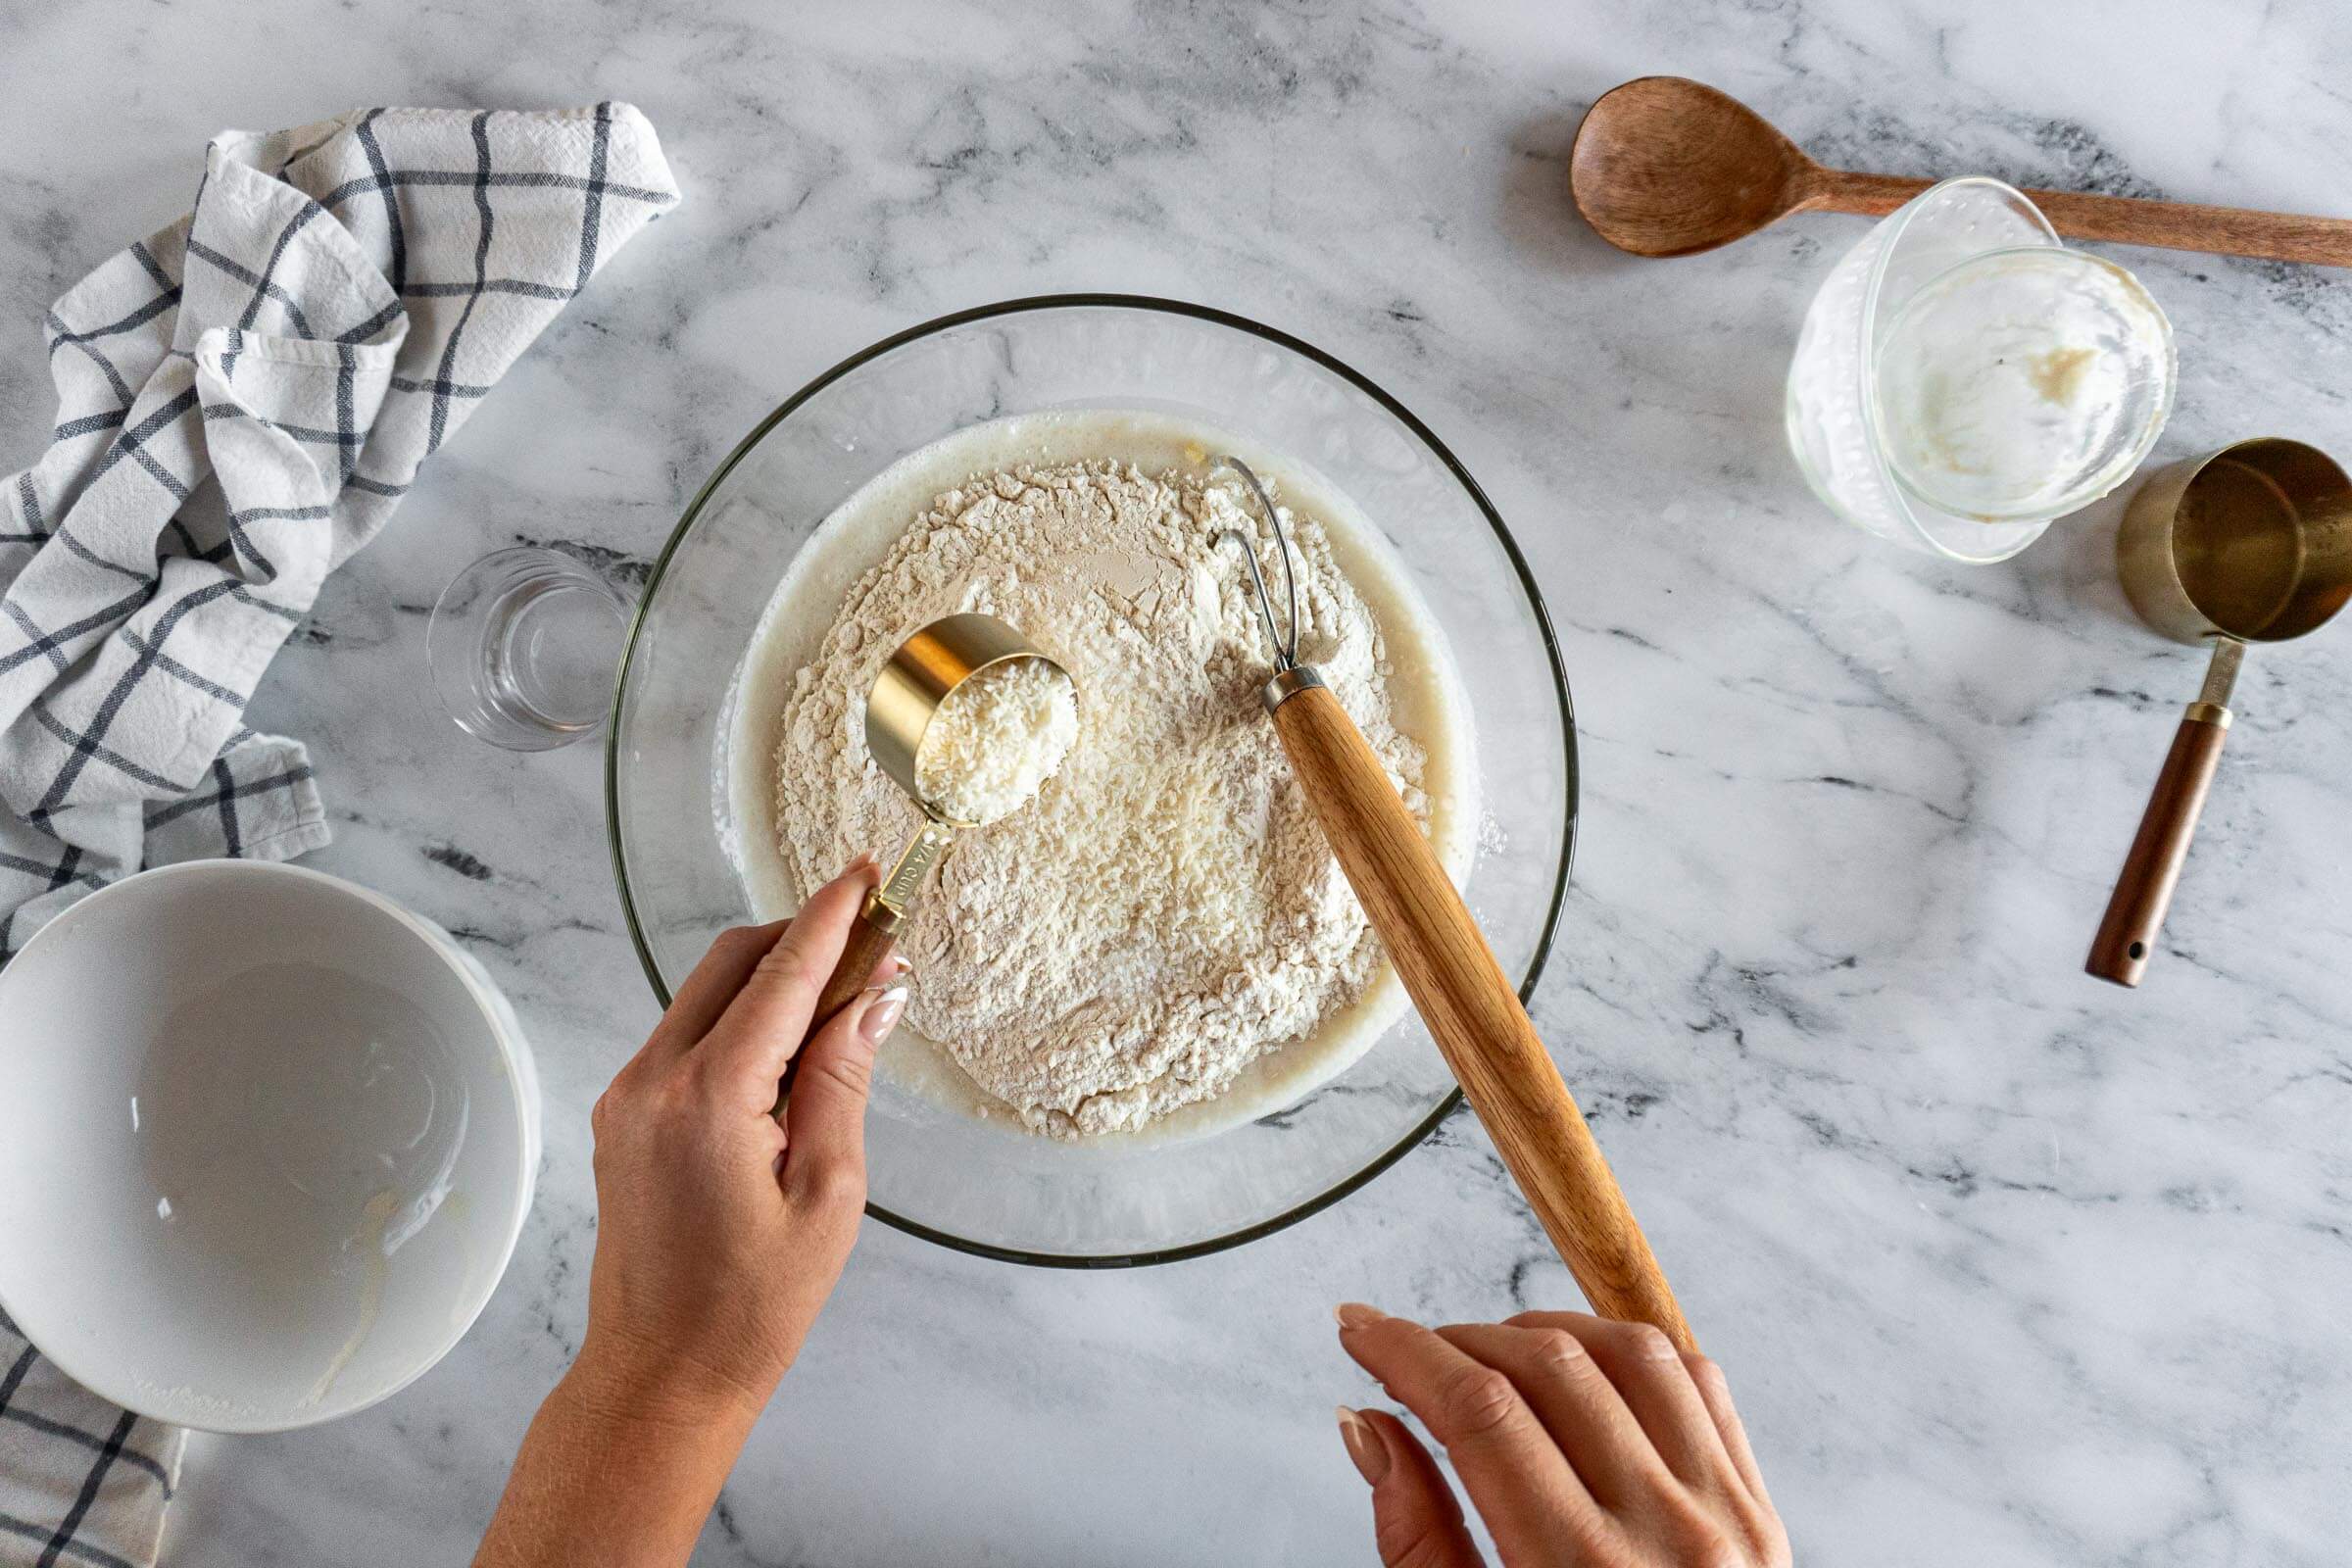
- Step 5: Dump 500g unbleached bread flour on top of the sourdough starter mixture , then add 20g dried unsweetened coconut plus 12 g salt.
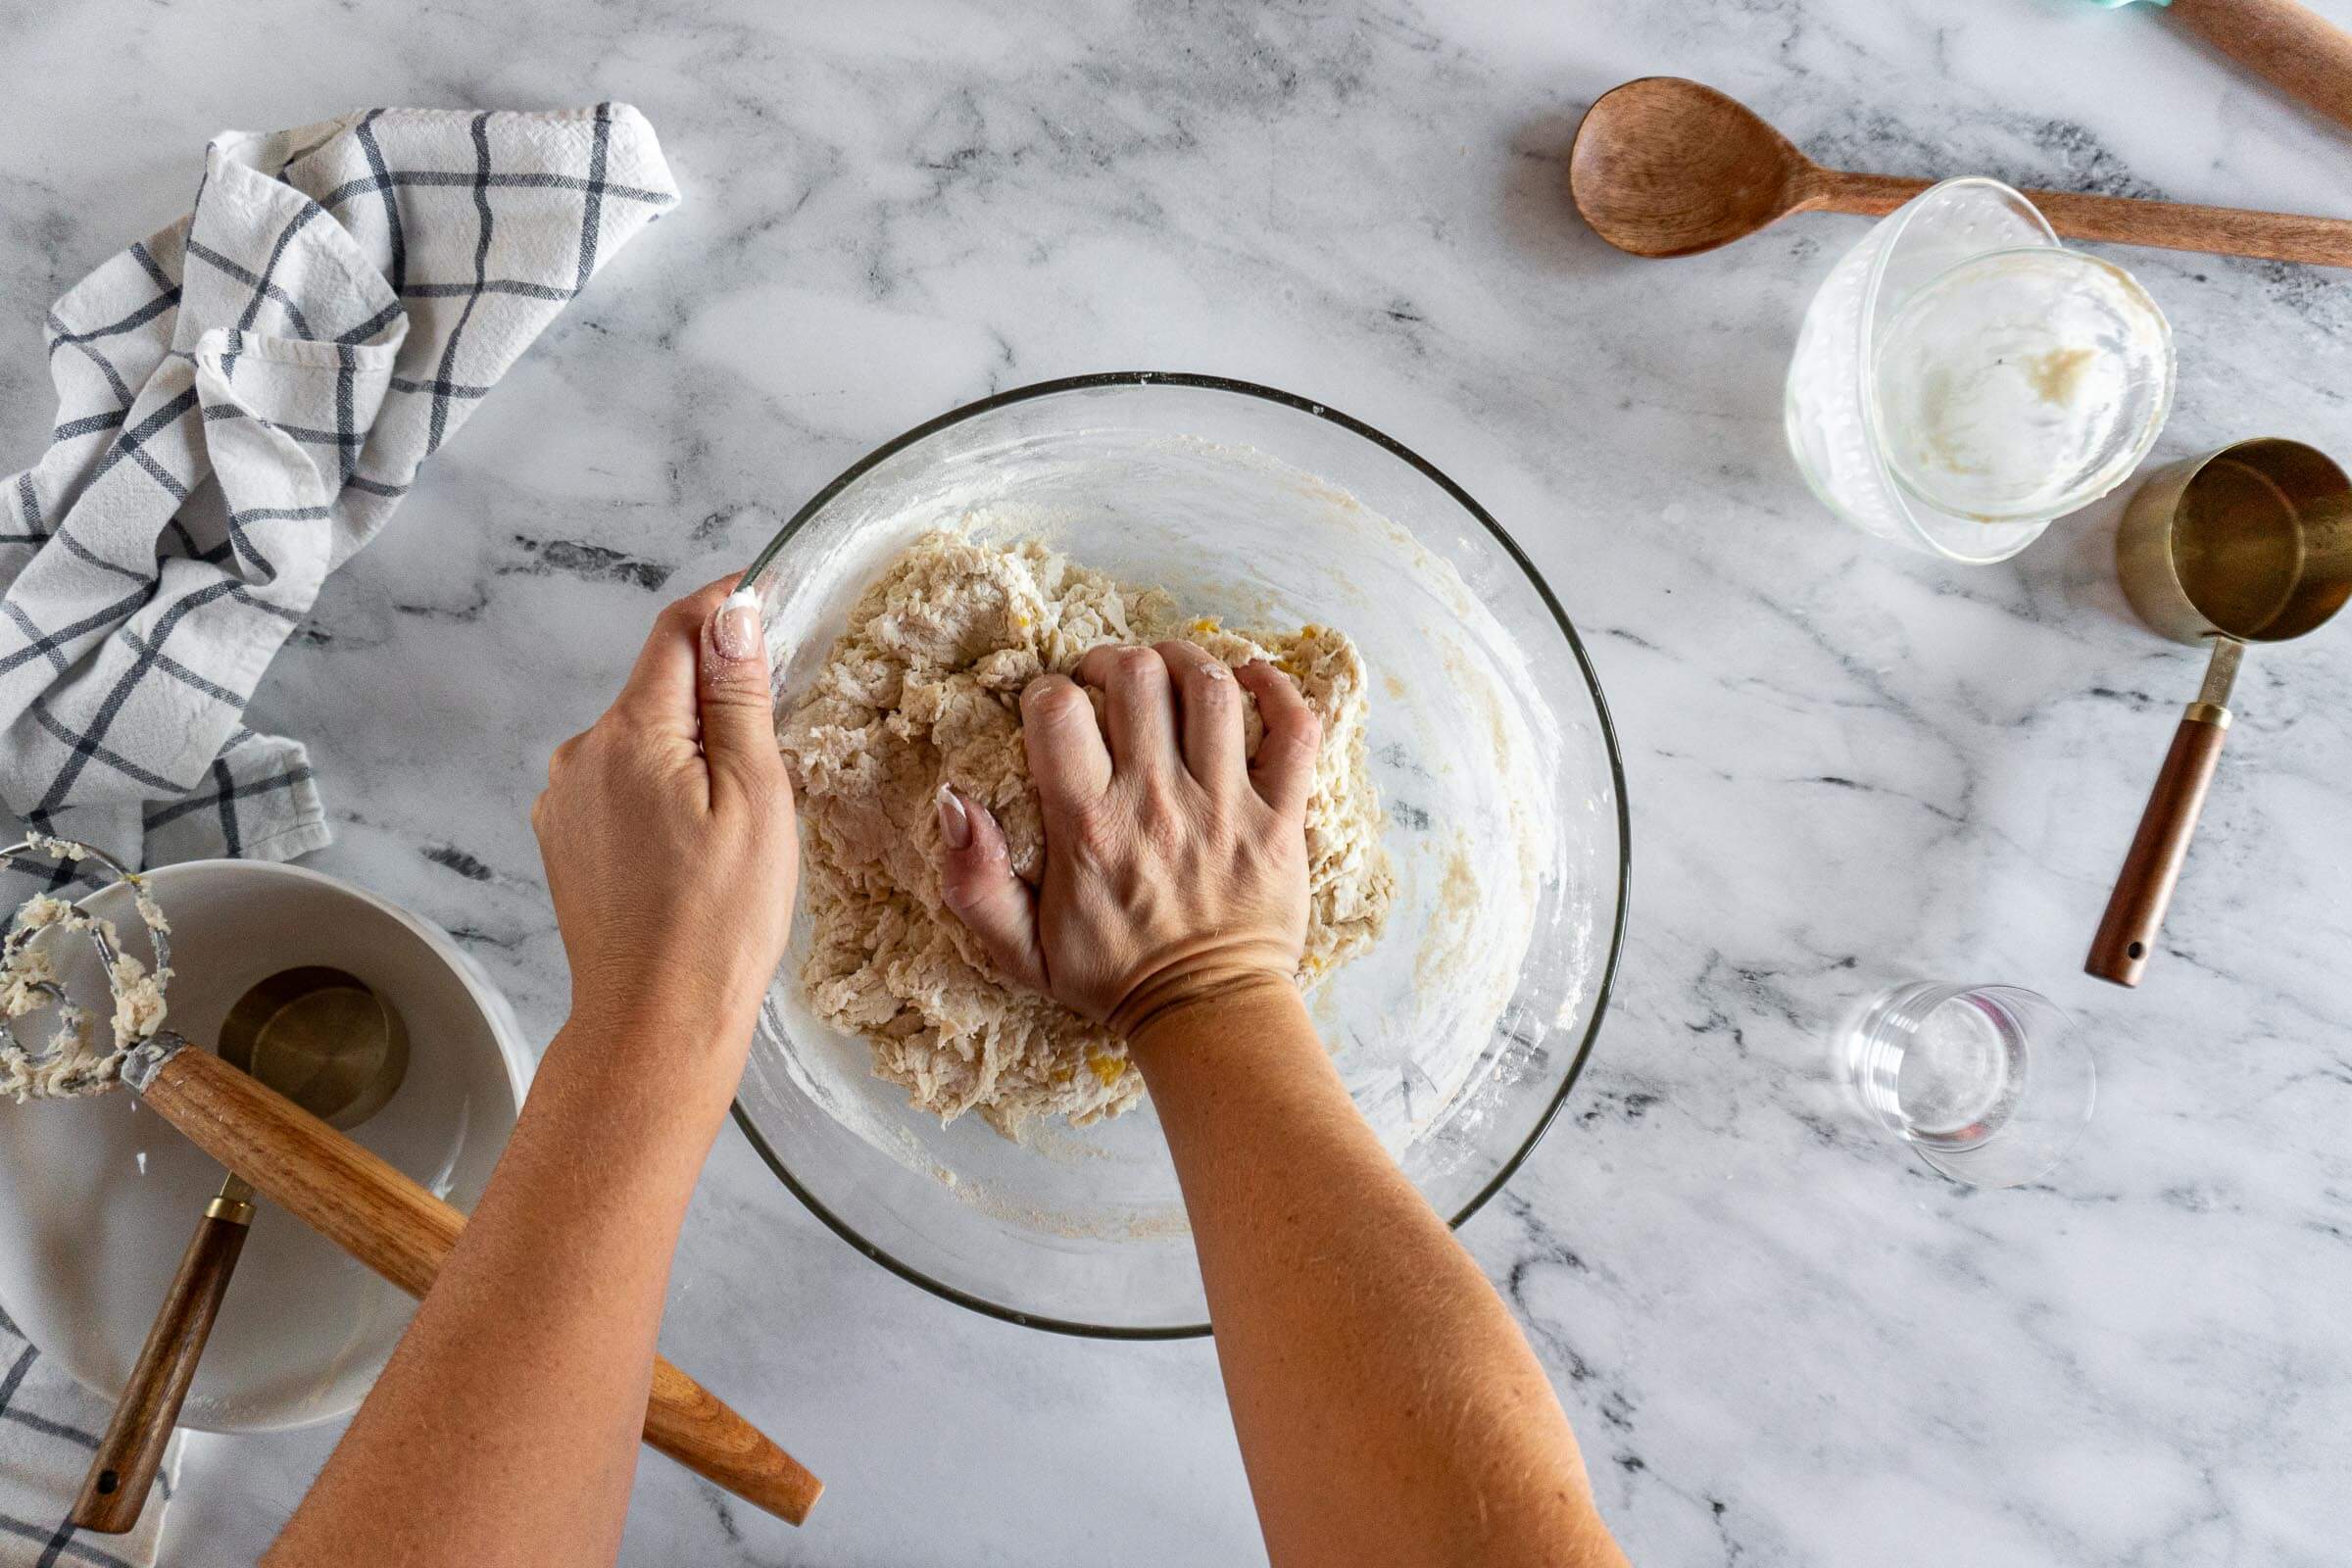
- Step 6: Using a danish dough whisk, spatula, or spoon mix until a shaggy dough forms. Knead the dough with your hands until all the dry bits are incorporated.
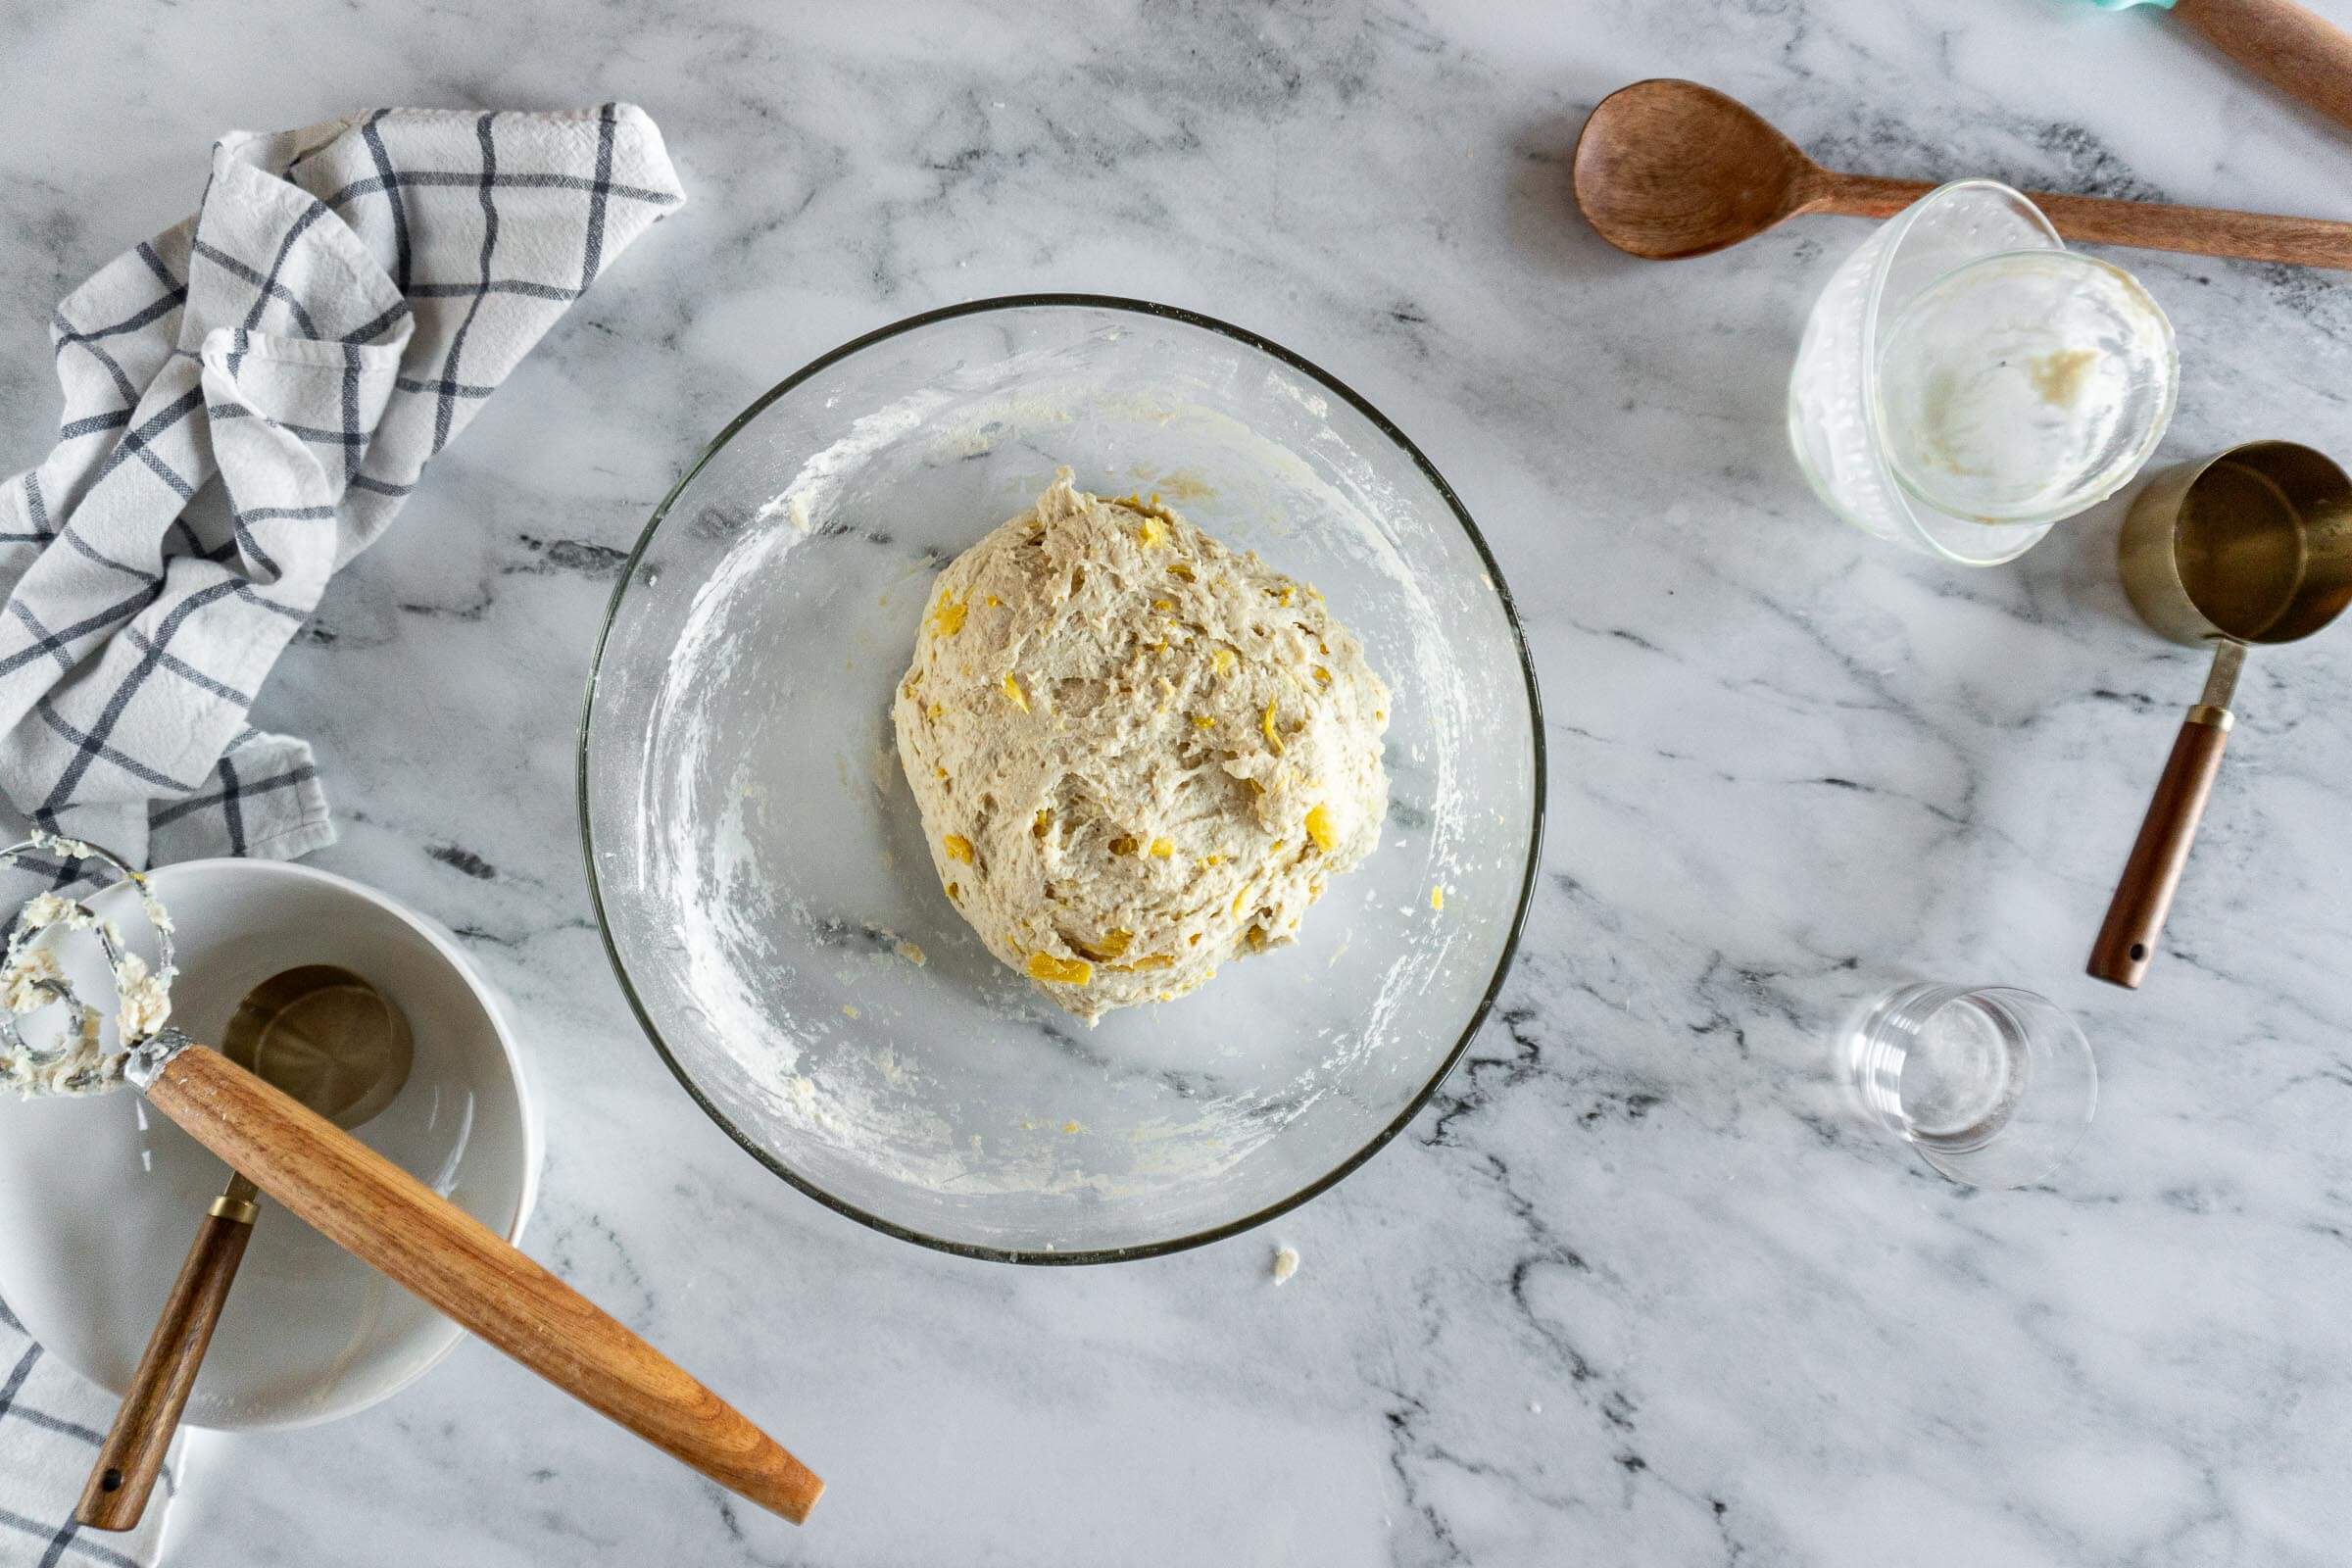
- Step 7: Cover the bowl and set aside for 60 minutes.
Stretch And Fold:
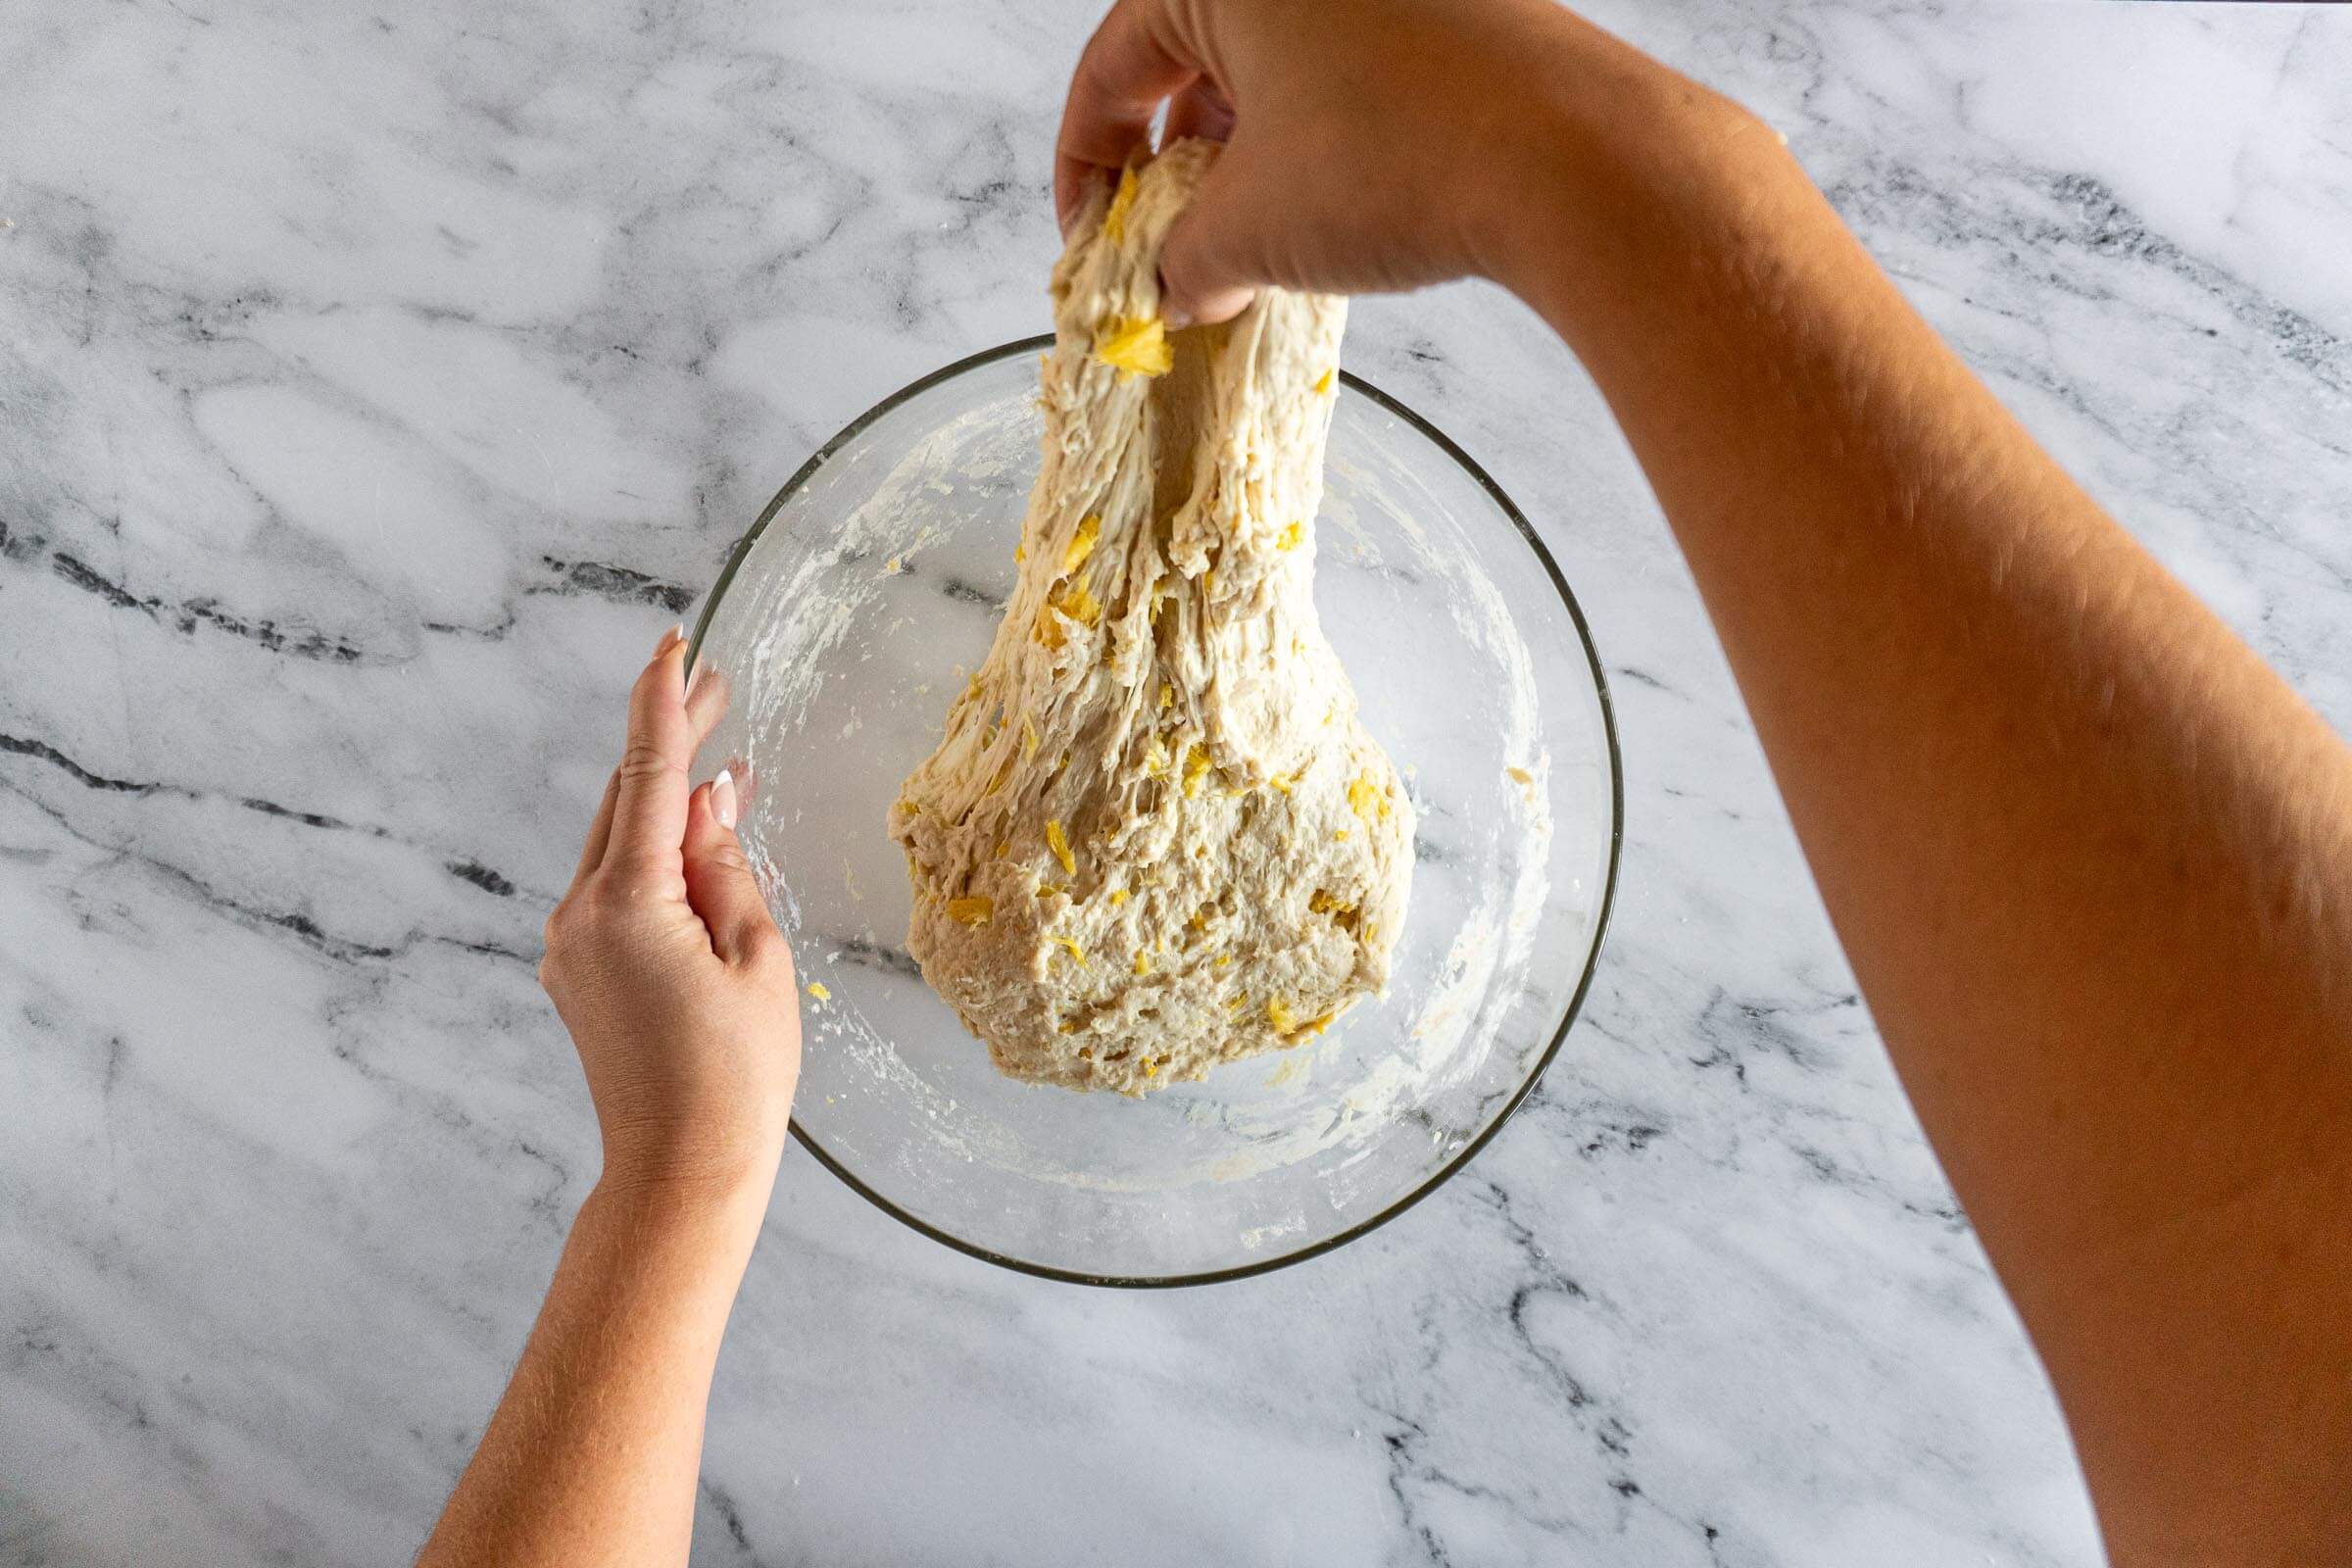
- Step 8: Using damp hands, grab the dough and gently pull it until the flap is long enough to fold over itself, then fold the flap, rotate the bowl 90 degrees, and repeat 3 more times, this is considered a set of stretch and folds. Recover the bowl, and set it aside for 60 minutes.
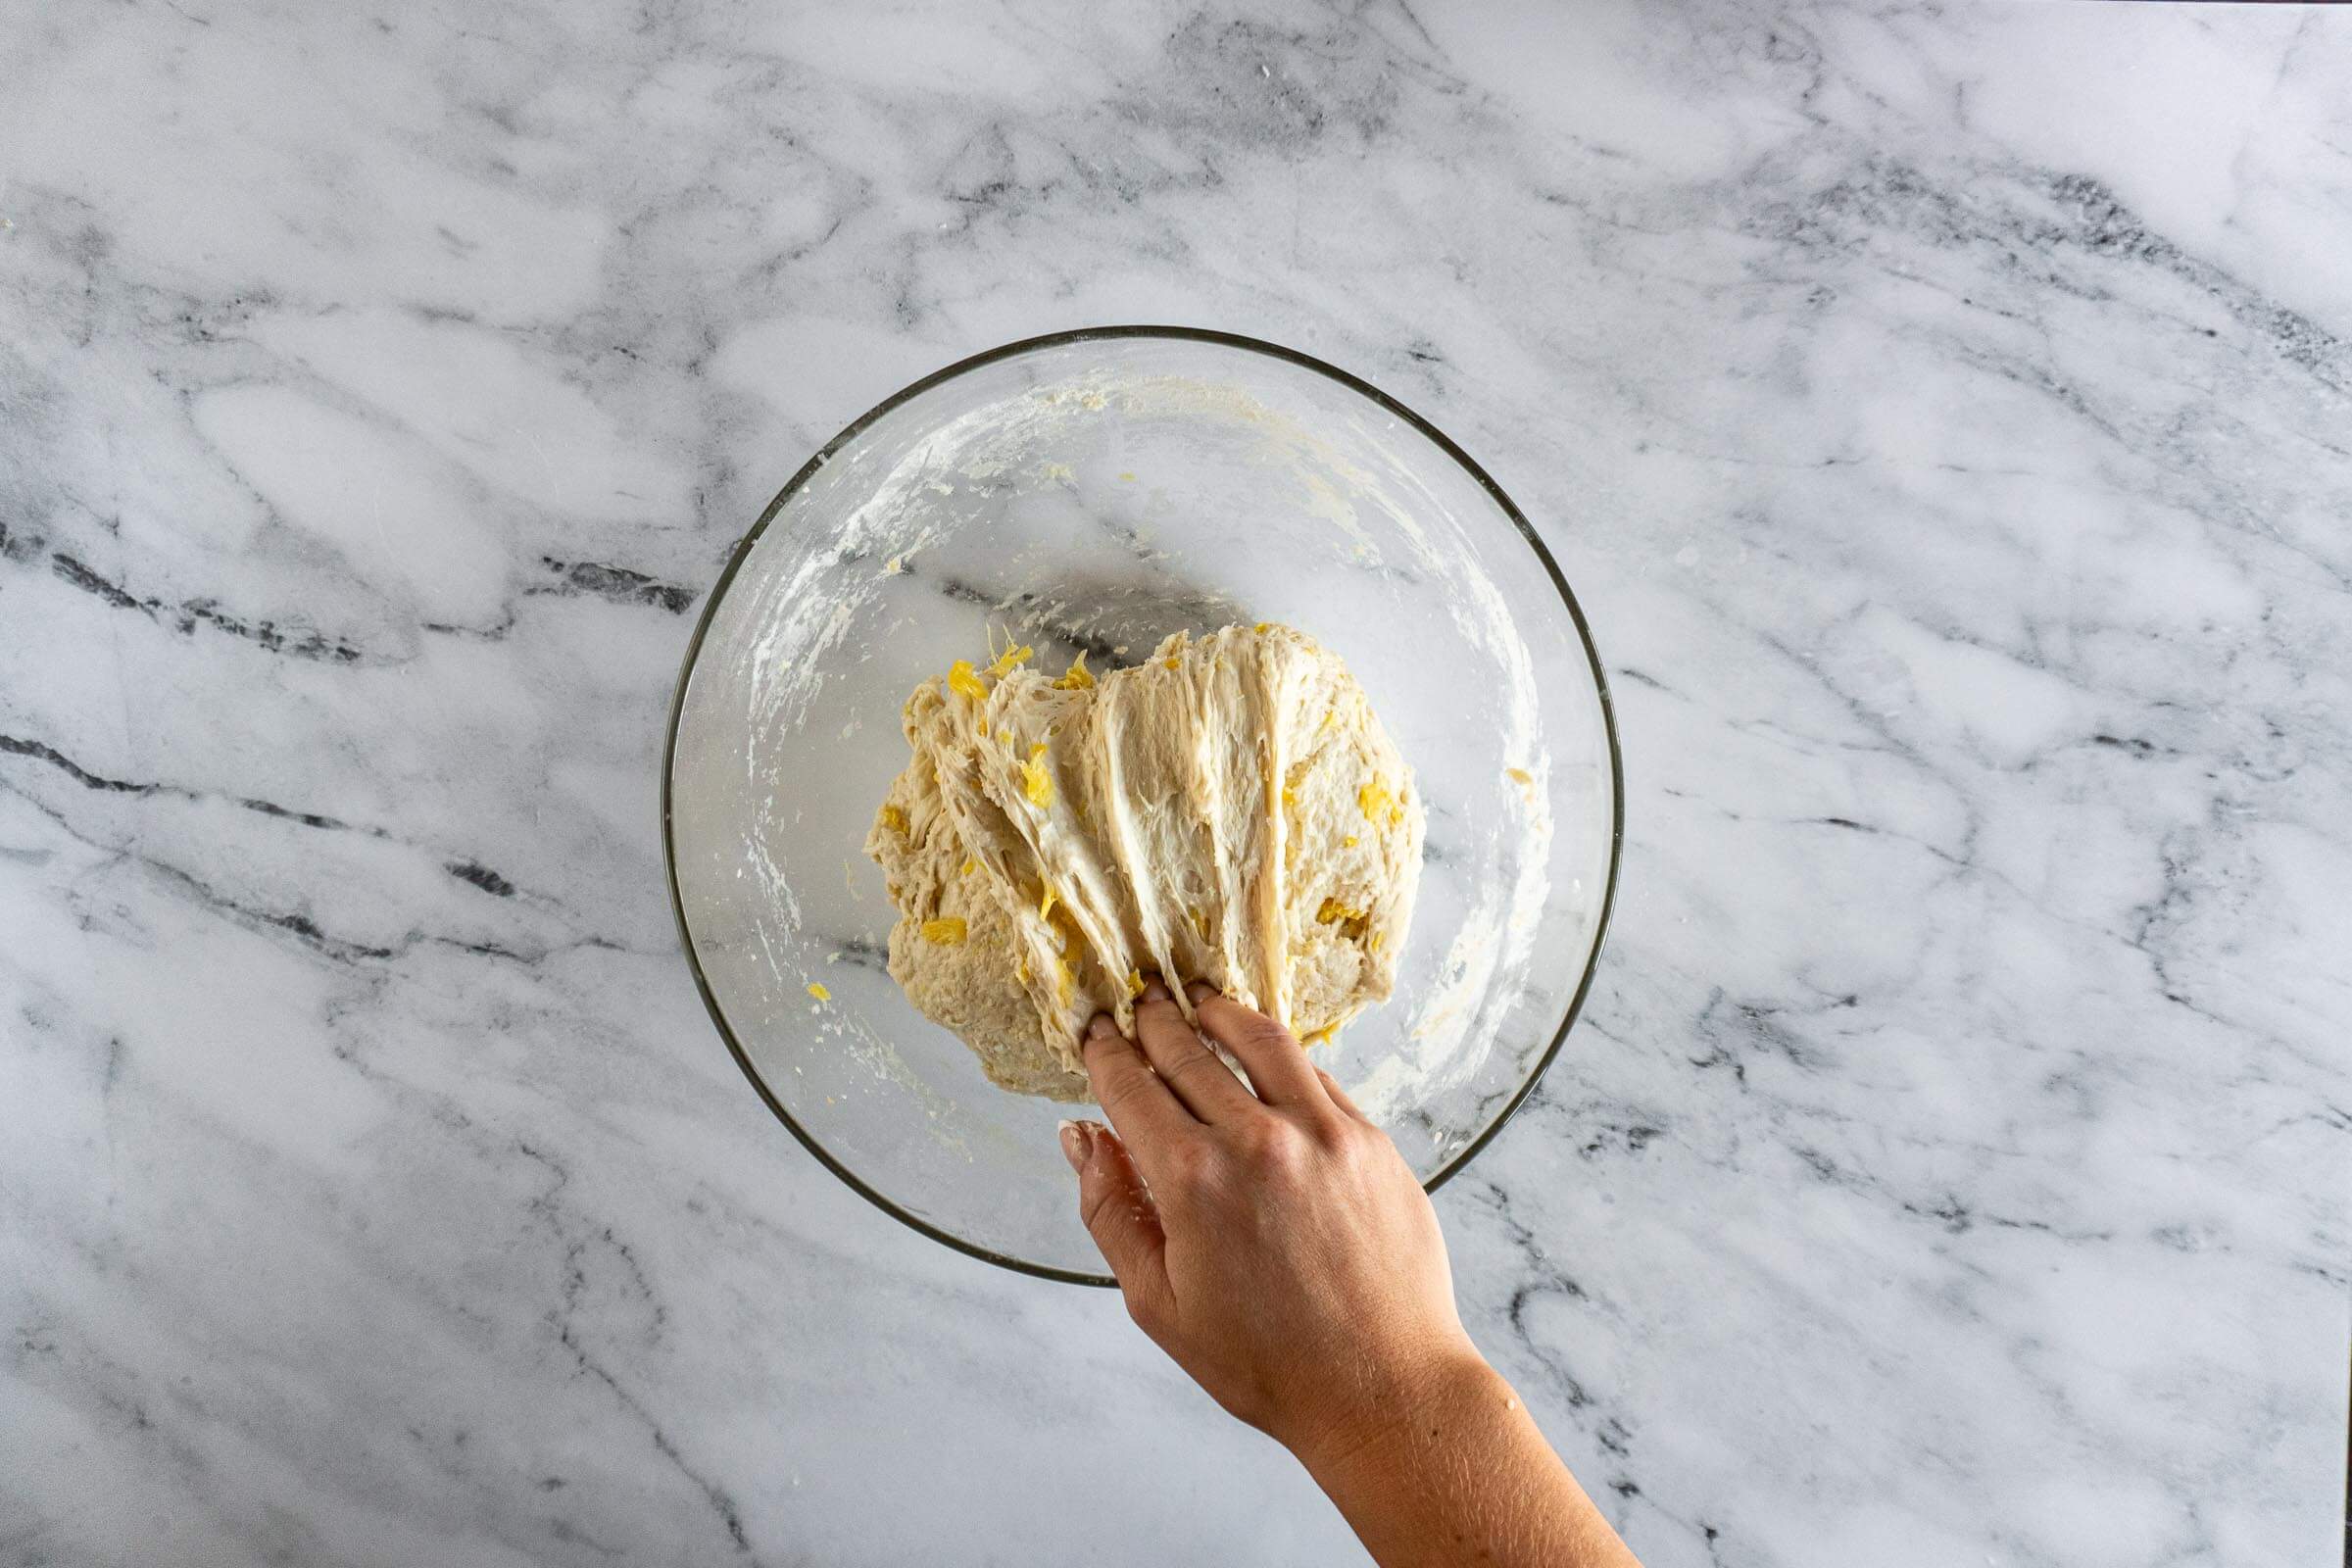
- Step 9: Repeat the stretch and fold process 3 times over 3 hours, for a total of 3 sets of stretch and folds each followed by a 60 minute rest.
Bulk Ferment:
- Step 10: Complete a fourth and final stretch and fold then cover the bowl and set aside for 3 hours (at 70f) to finish the bulk ferment. It is important to keep the dough bowl somewhere warm to encourage the microbes to work quickly!
Pre-Shape + Shape:
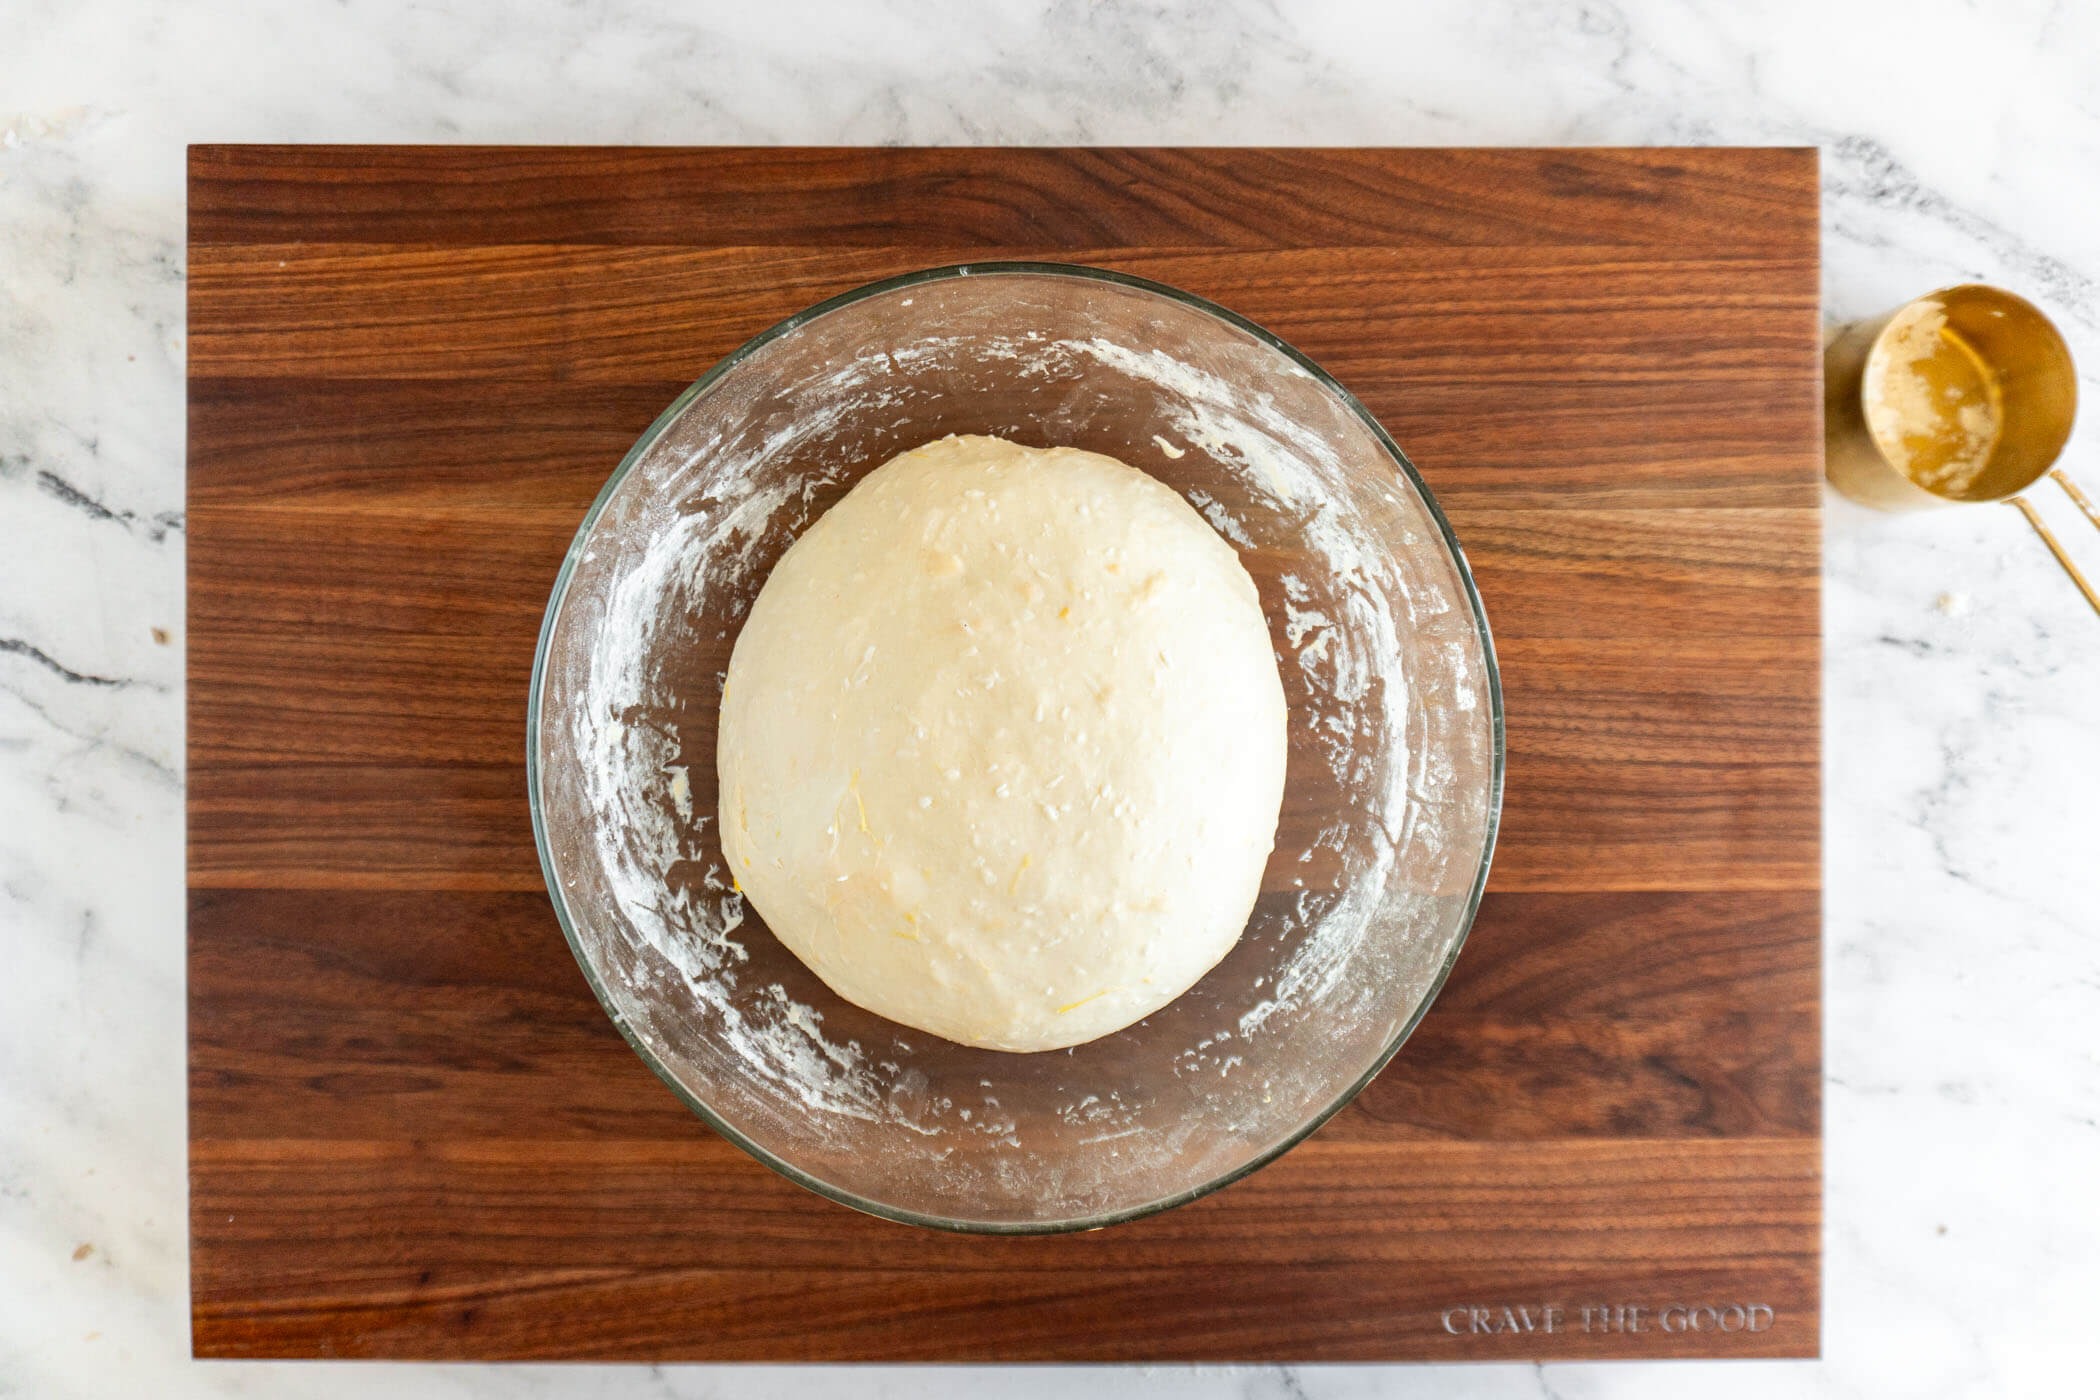
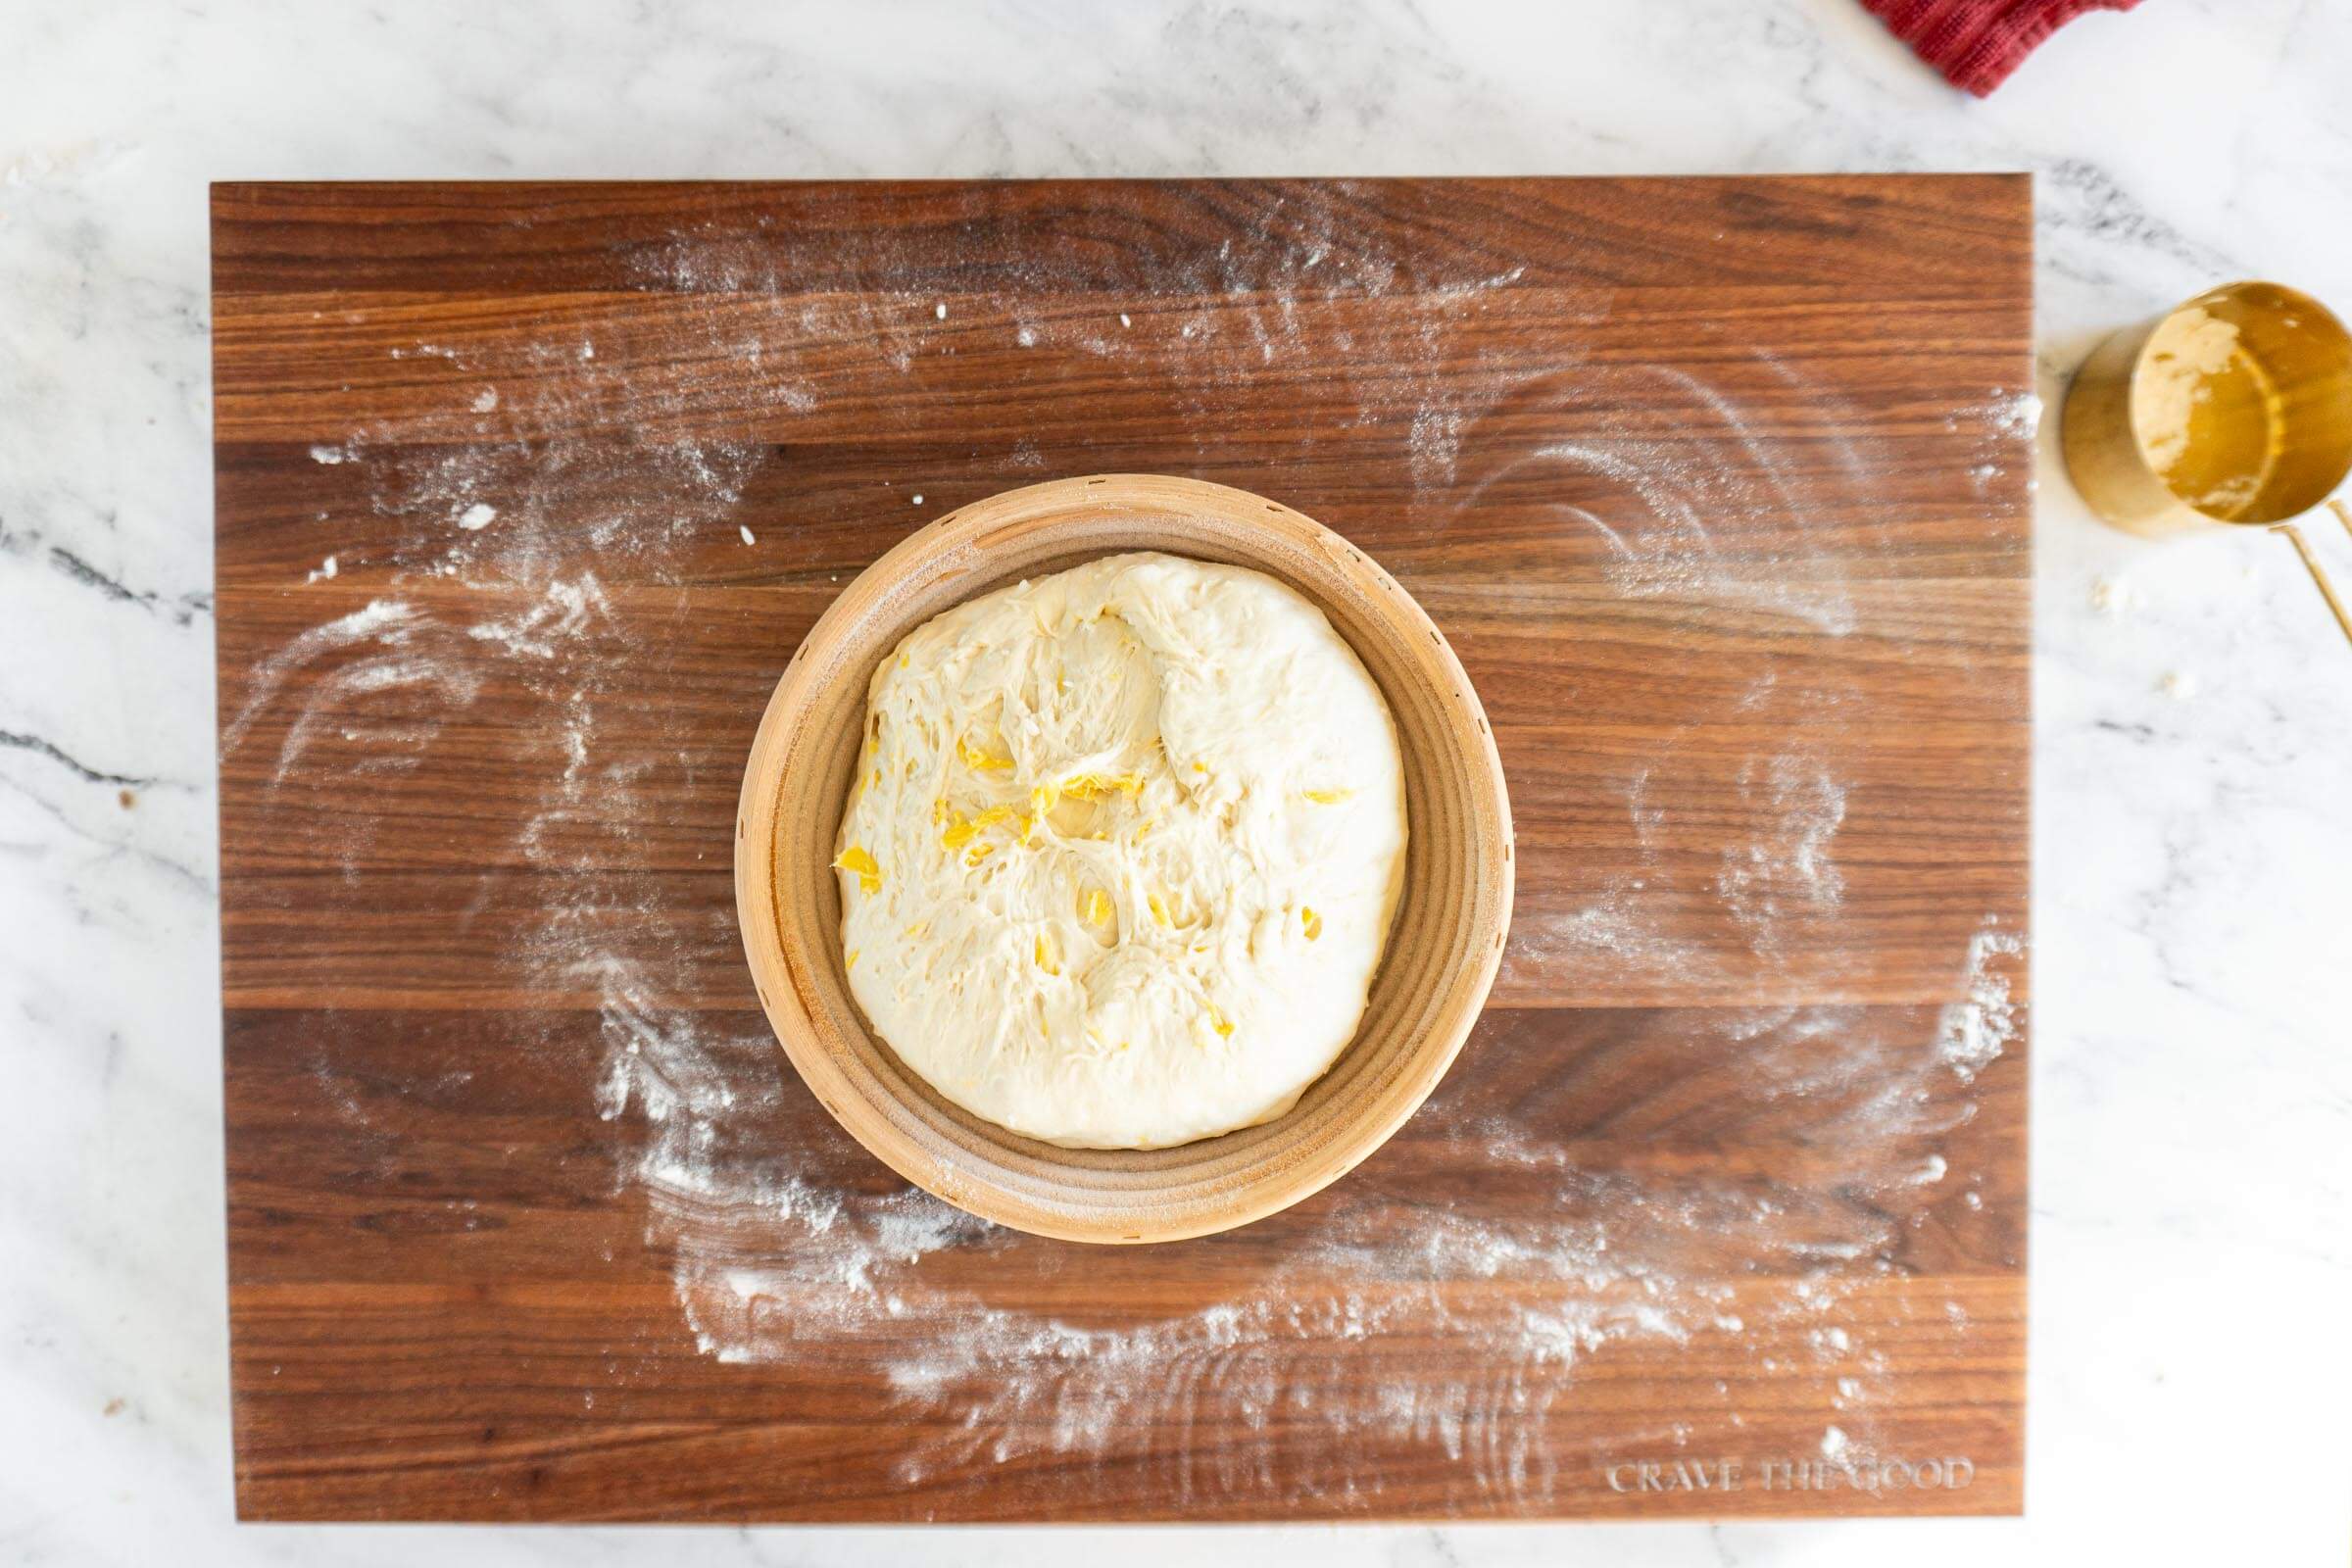
- Step 11: Observe your dough, at this point, the dough should have risen in the bowl, and have a smooth surface with visible bubbles. If the dough is domed in the bowl it is ready to work with, if the dough is flat it may need more time in the bulk ferment.
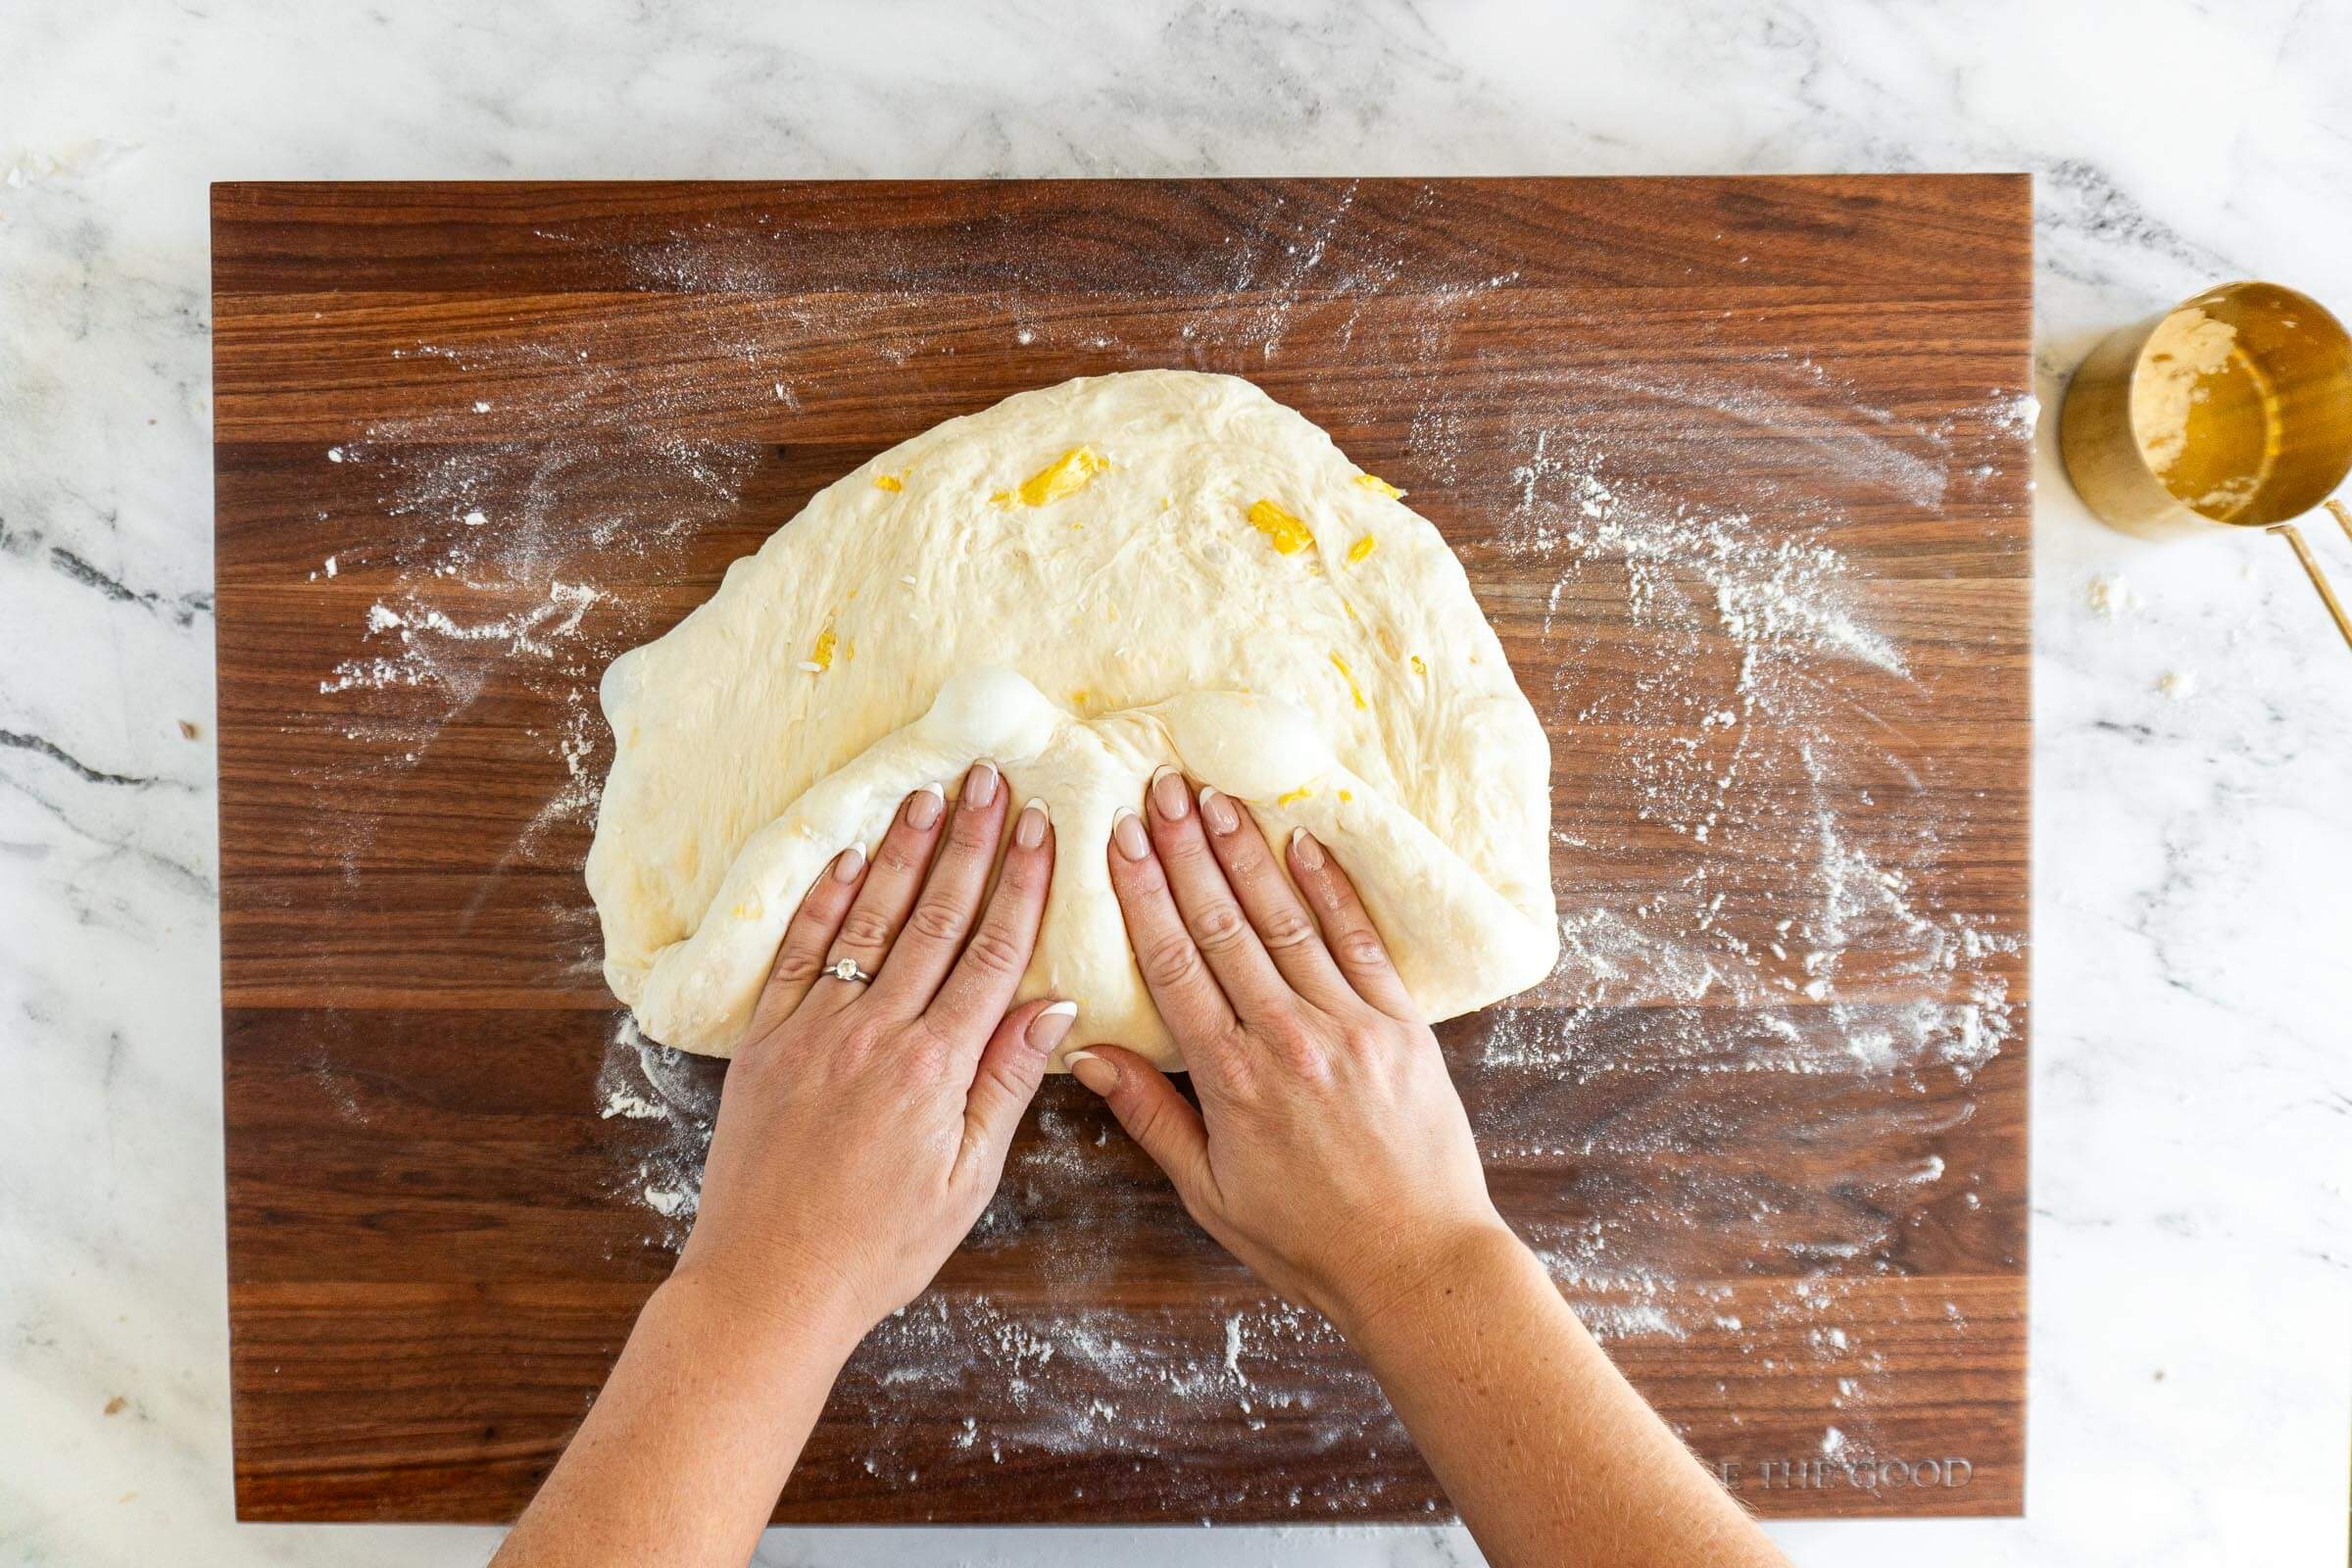
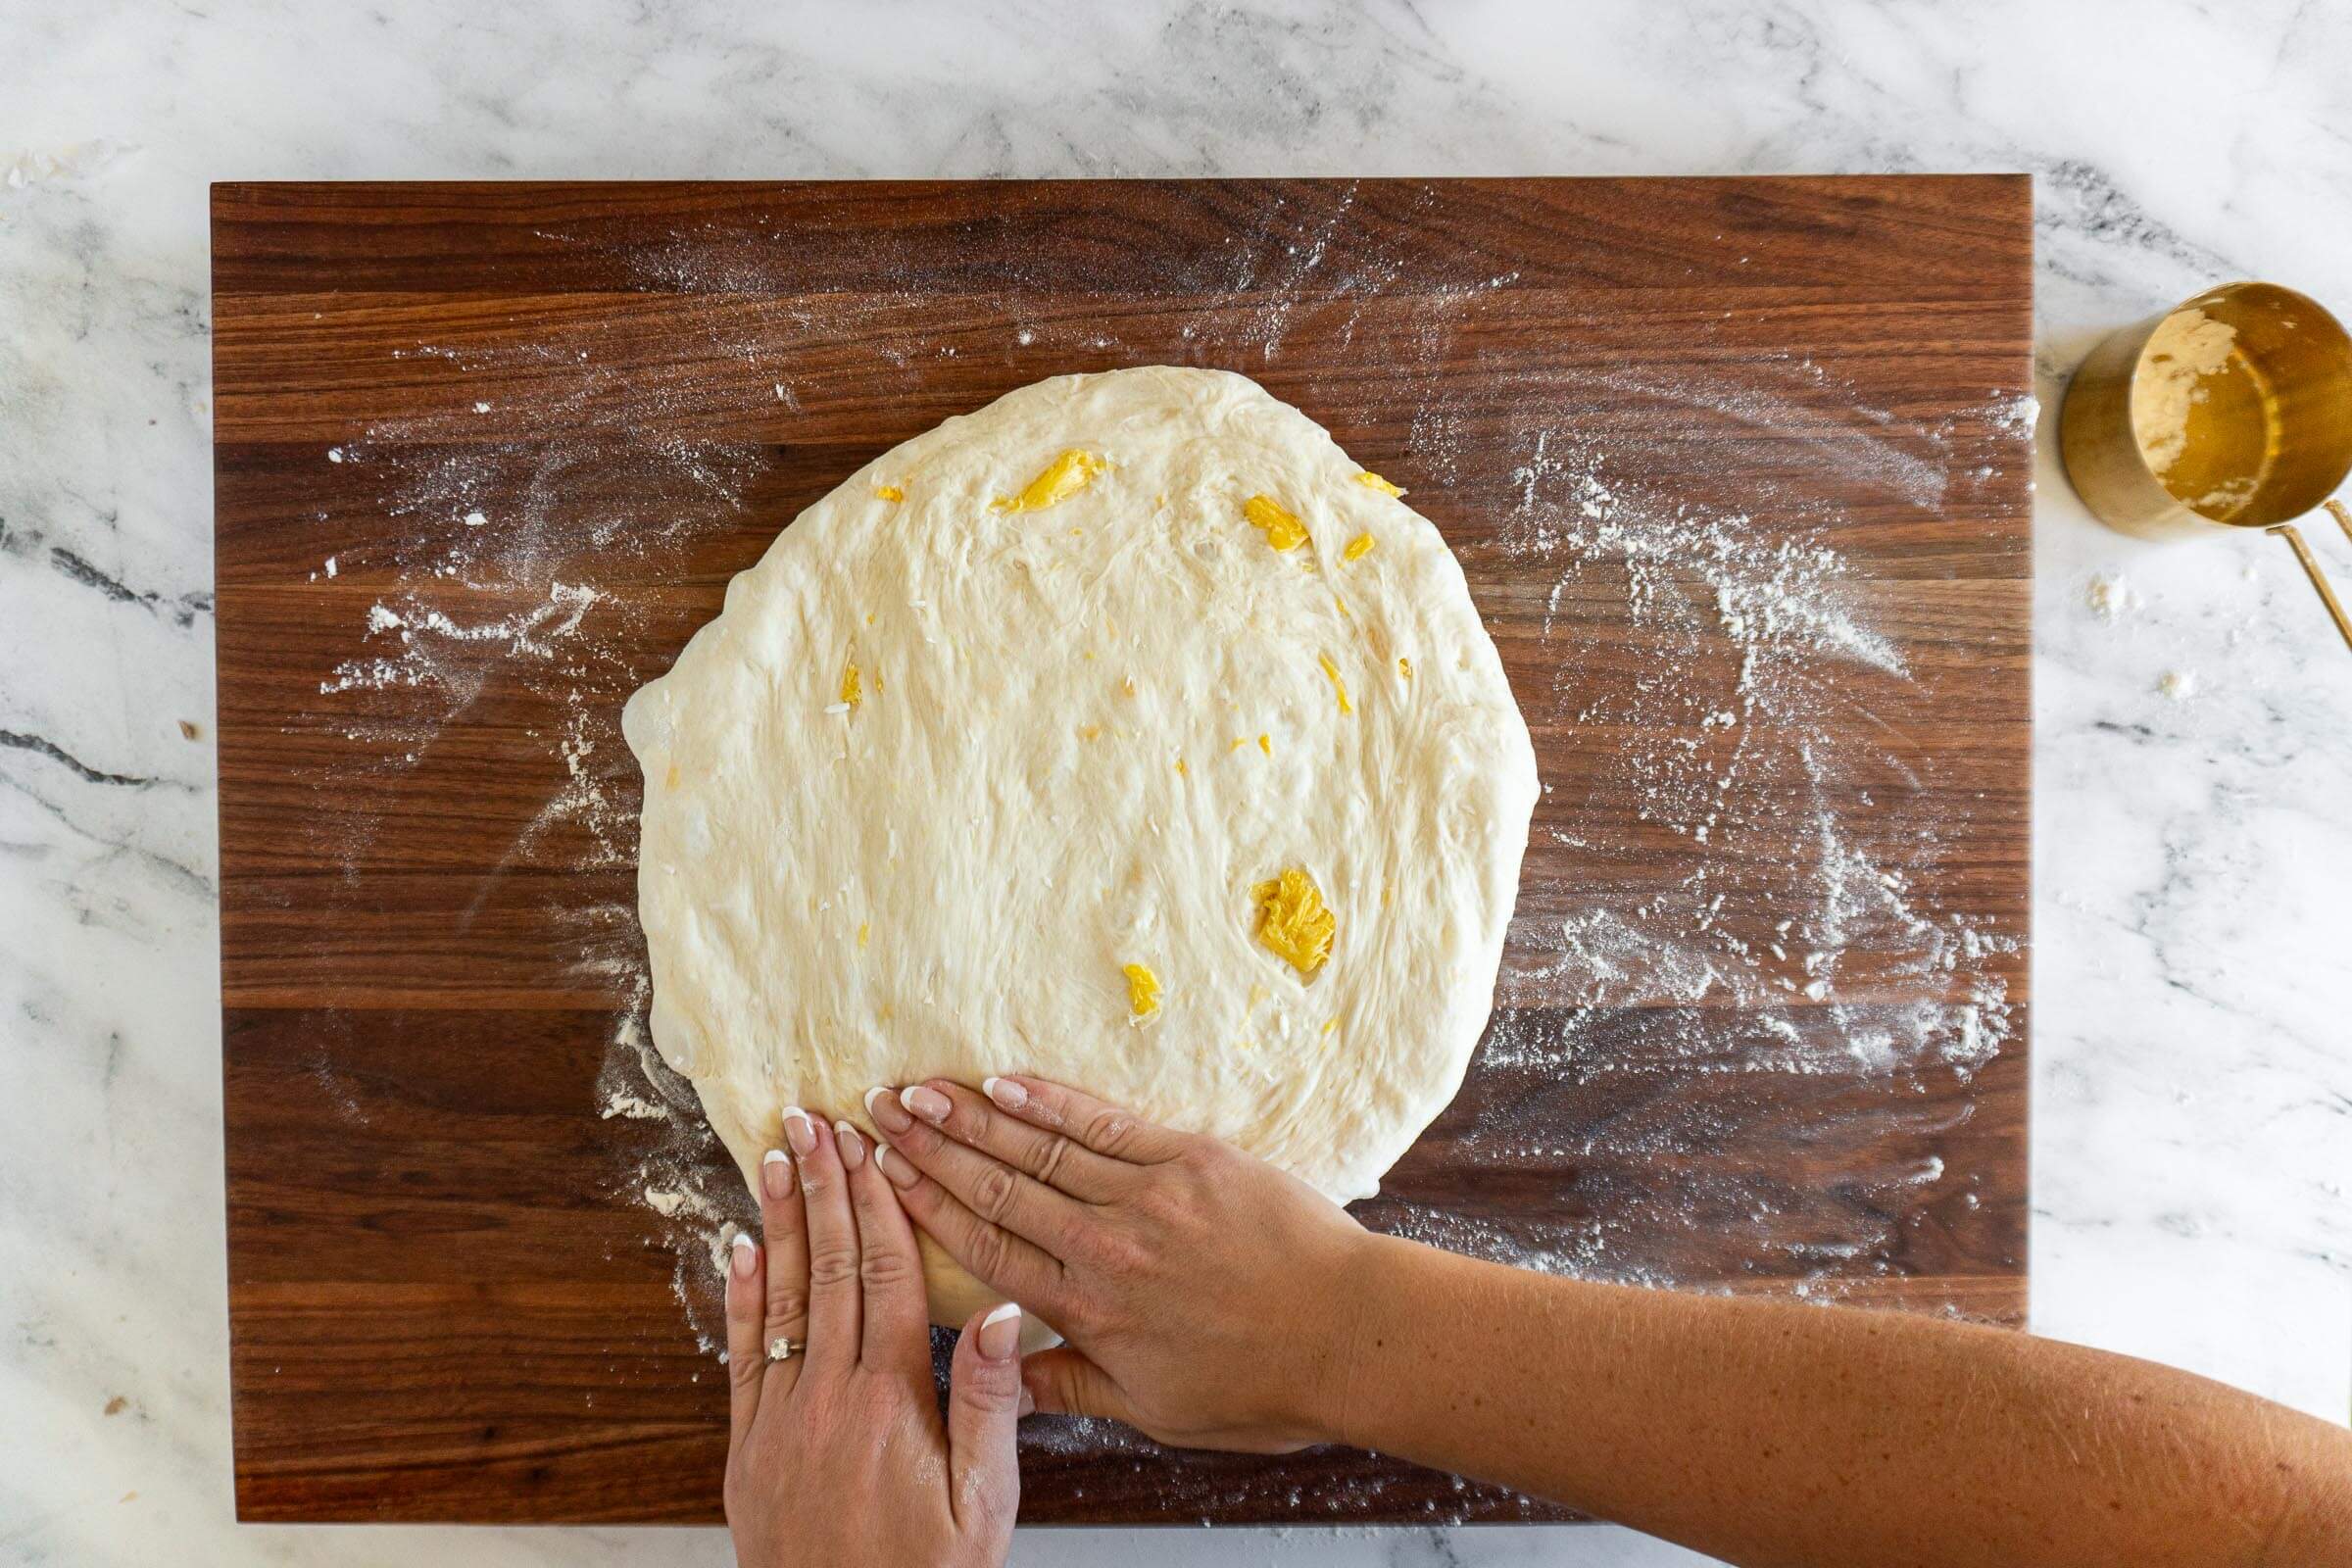
- Step 12: Uncover the dough and transfer to a work surface or countertop. Gently press and spread the dough into a large rectangle.
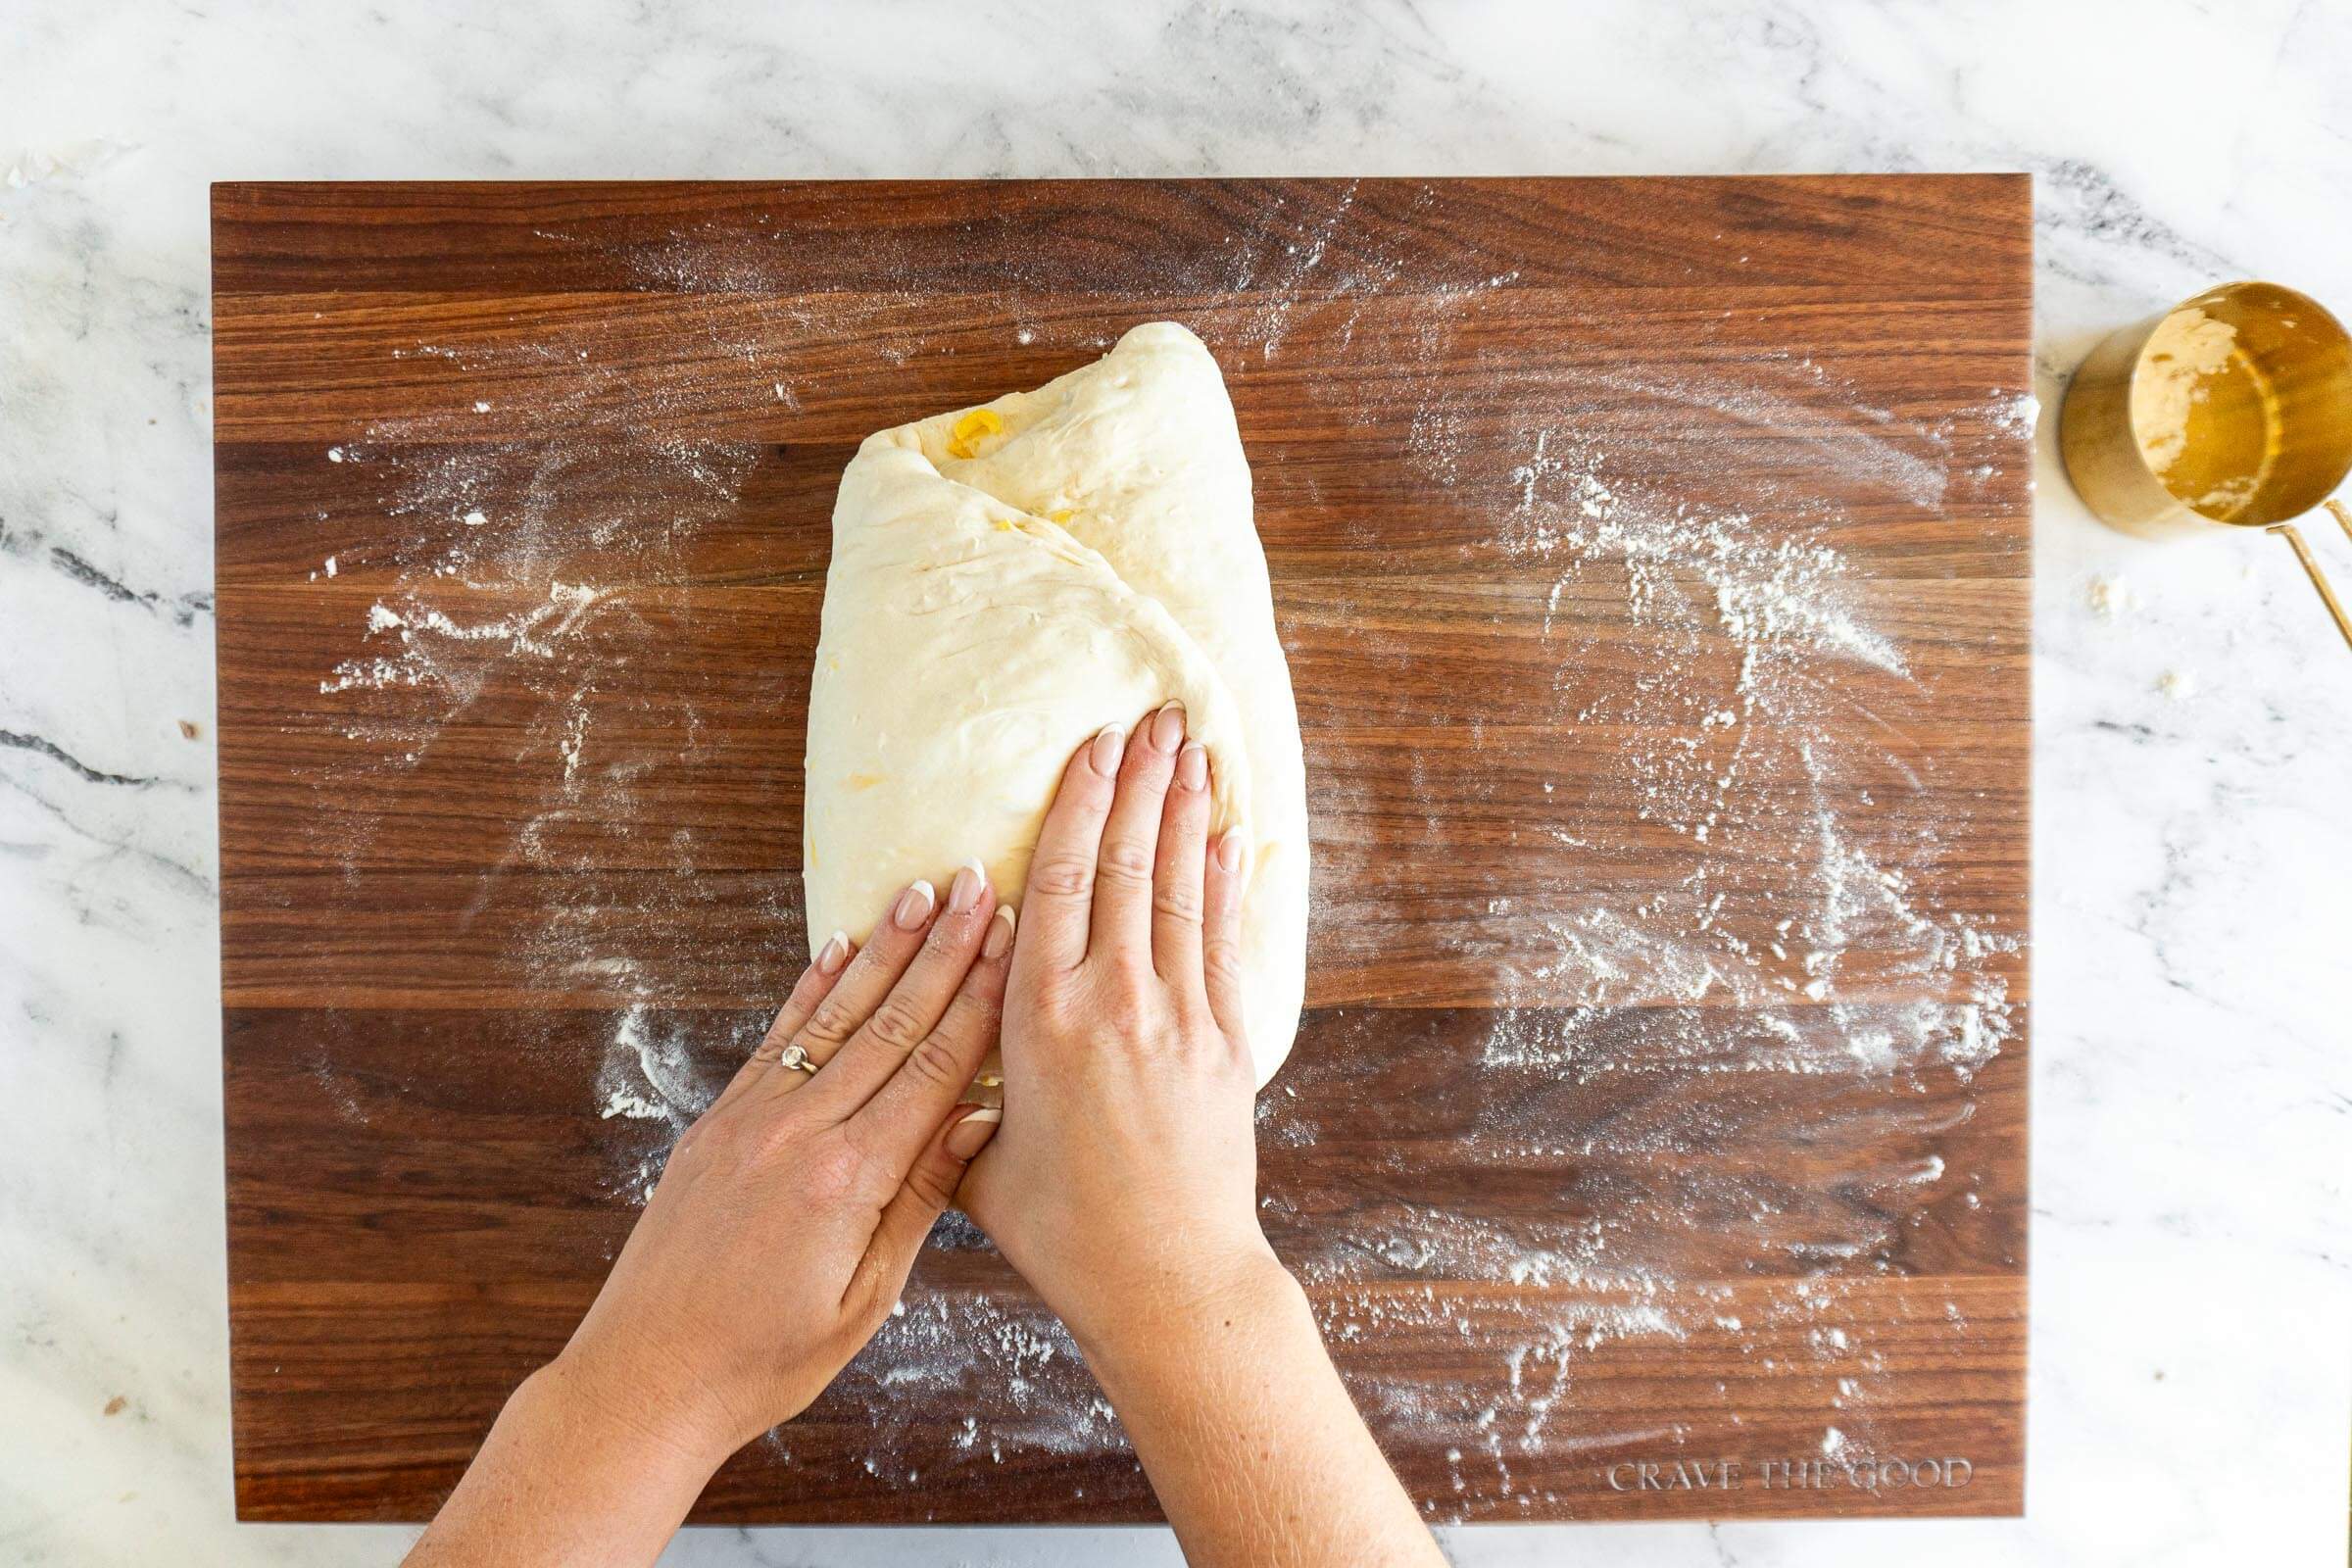
- Step 13: Fold up the bottom third of the dough as though you were folding a letter. Fold in the right side about a third of the way across width wise then repeat with the left. Roll from the folded bottom to the top creating a log. Cover with a clean tea towel and rest for 30 minutes.
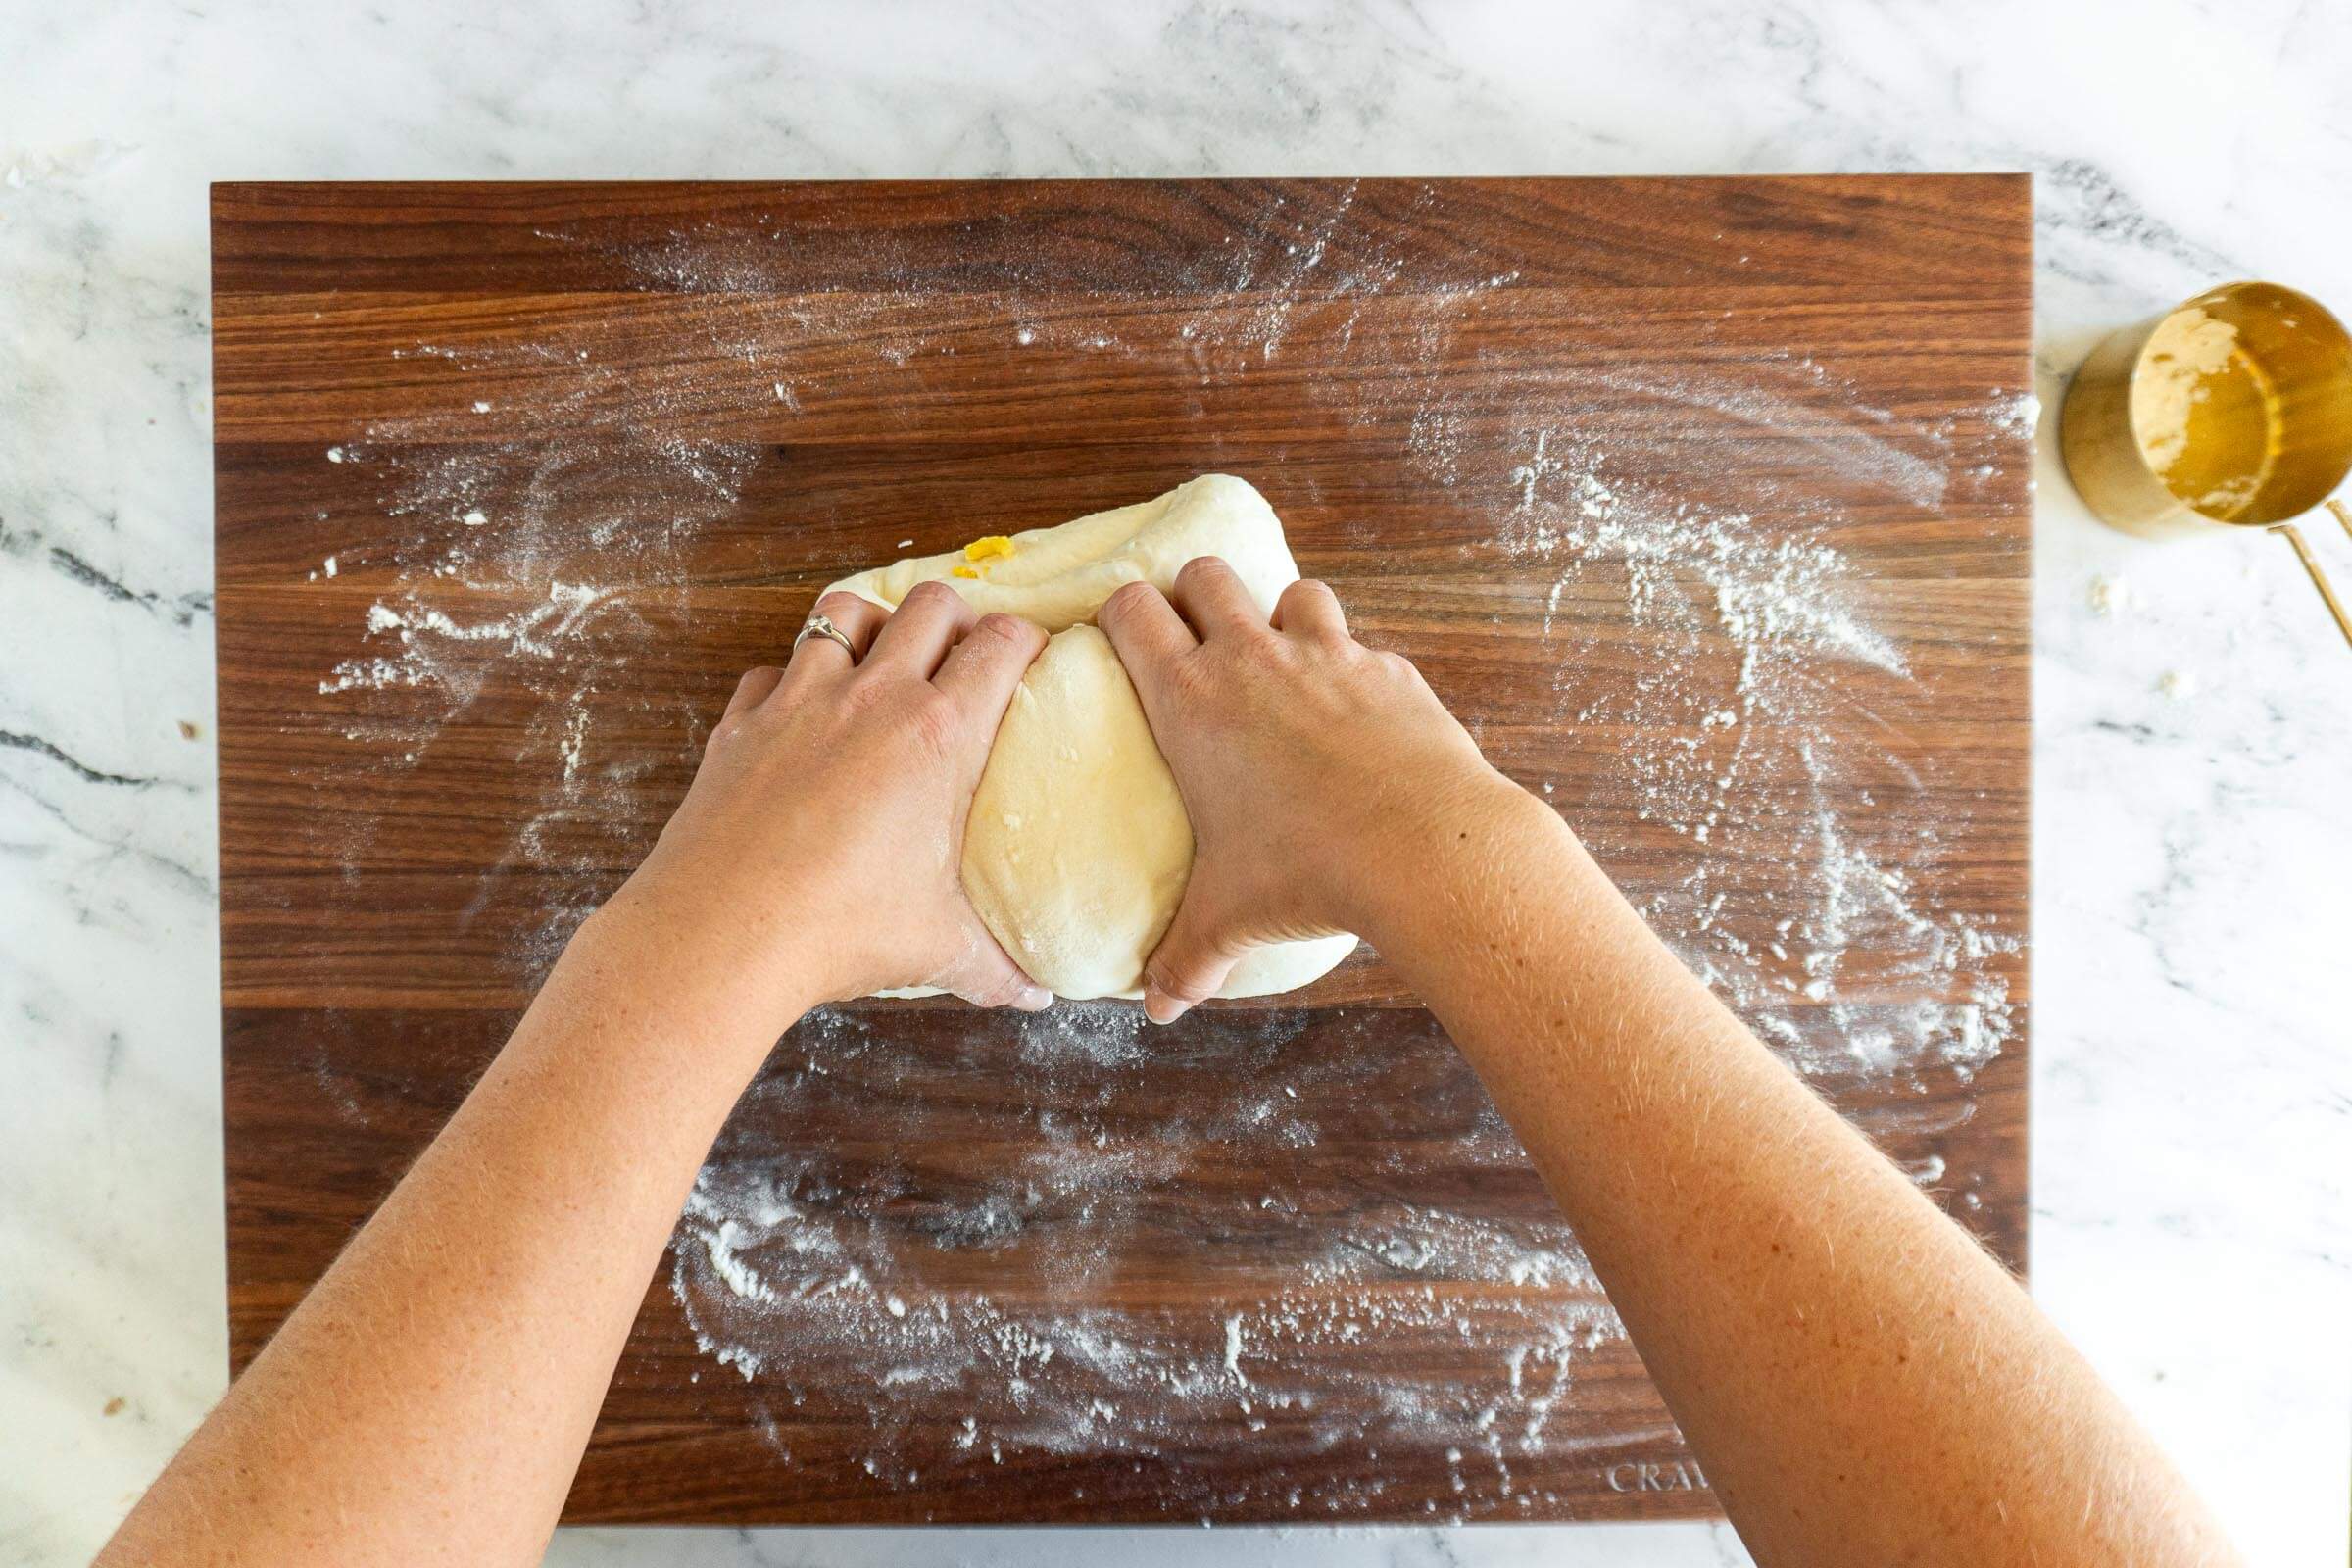
- Step 14: Uncover the dough and using your pinkies to create tension, roll the dough across your work surface to shape into a boule.
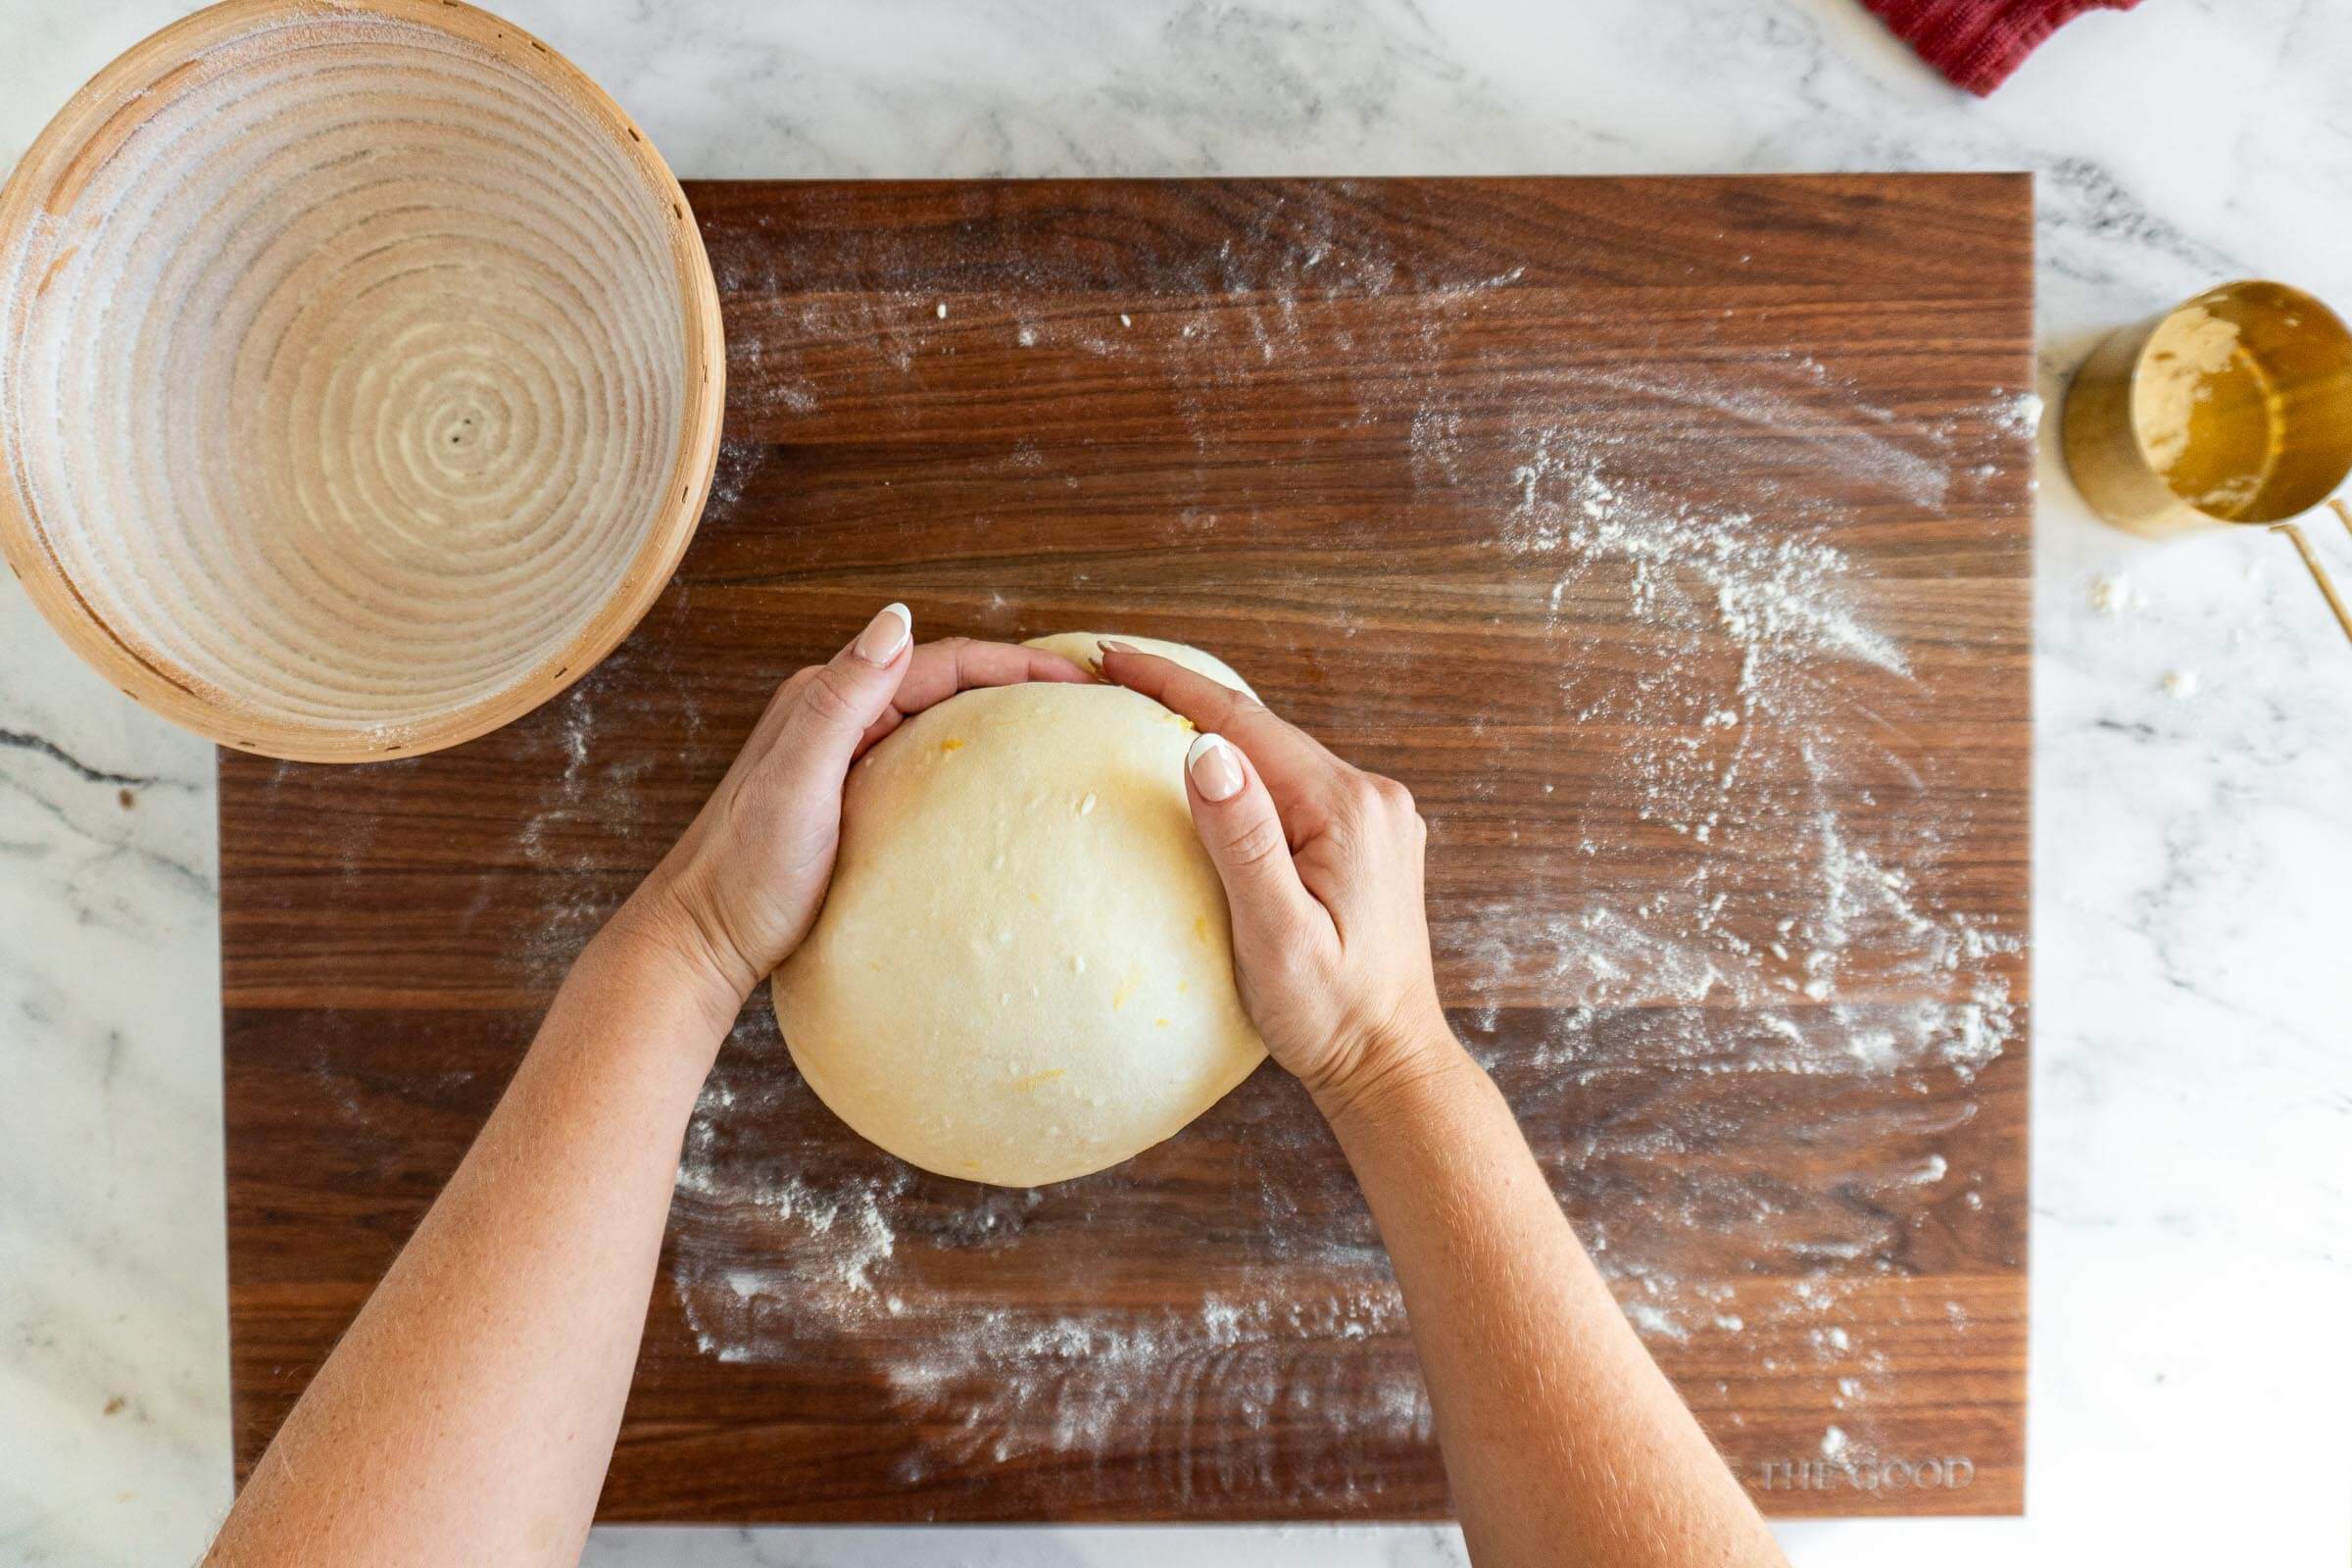
- Step 15: Dust the dough with rice flour then tuck seam side up into a banneton.
Don't have a banneton basket? I have a guide on bannetons and banneton alternatives!
Prove + Cold Retard:
- Step 16: Prove your pineapple coconut sourdough loaf in the banneton for 2-3 hours in a warm place before covering and placing in fridge to cold retard for up to 3 days.

- Step 17: If you want to bake it right after proving, you're welcome to, but the flavor is better after resting in the fridge.
Bake:

- Step 17: Place your dutch oven, cloche, or desired baking dish in the oven and preheat to 450f. If you don't have a dutch oven, I do have a guide on open oven sourdough bread baking.
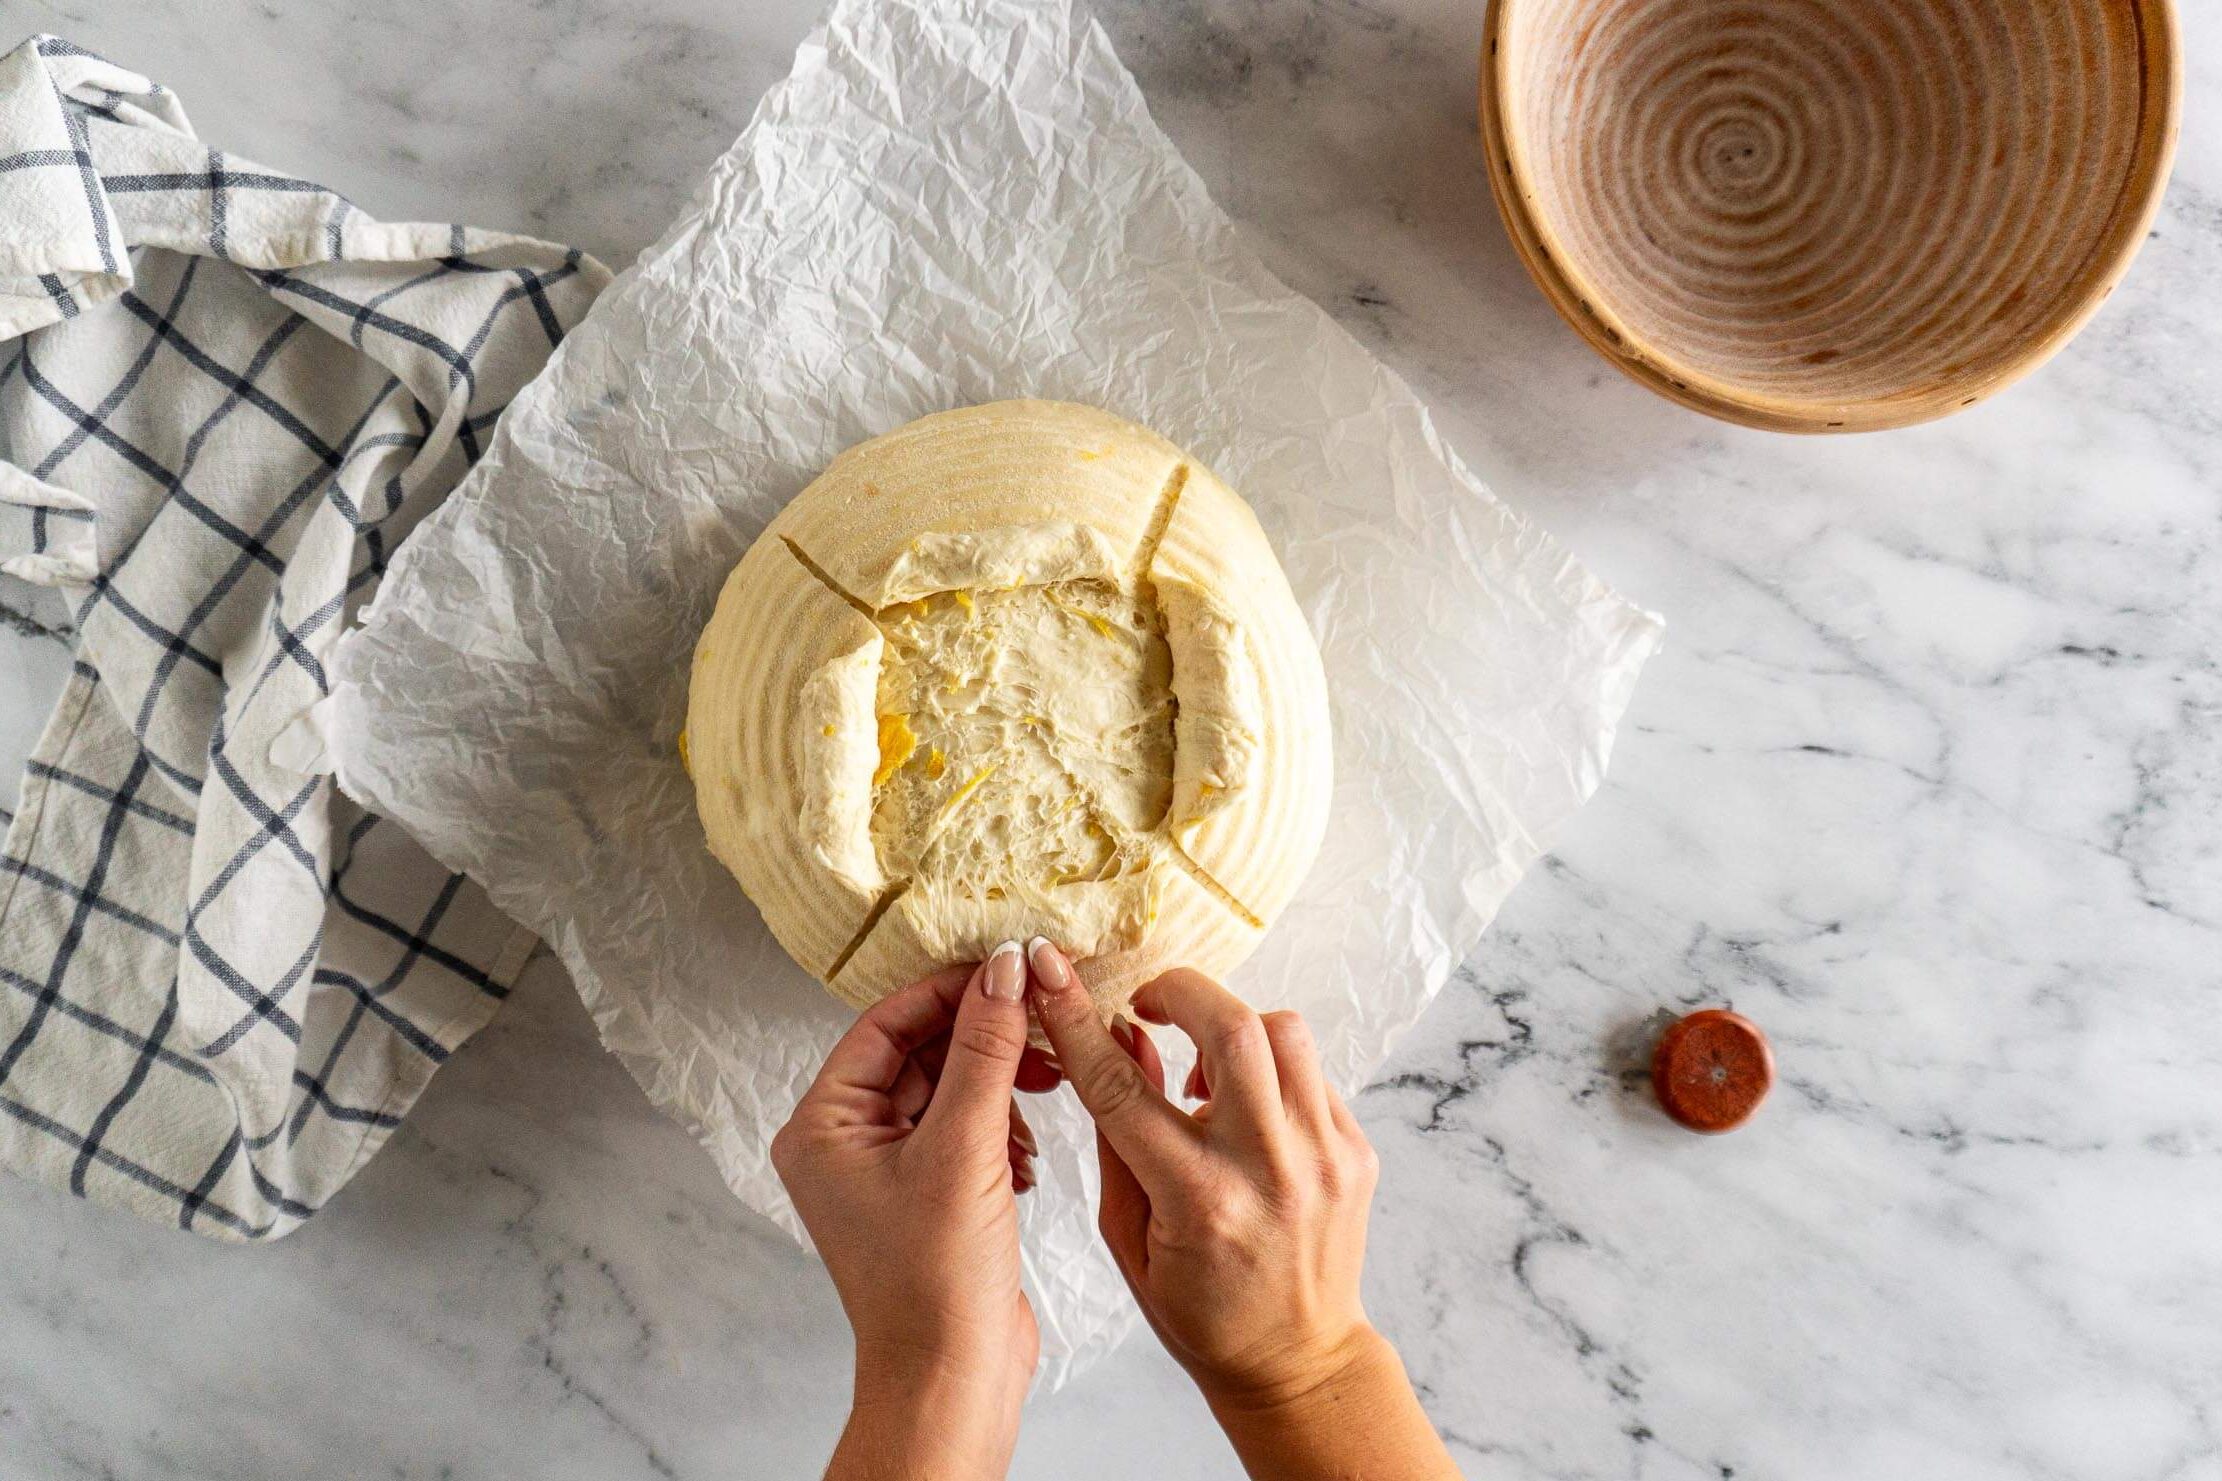
Once the oven is preheated, invert the banneton onto a sheet of parchment paper.

- Step 18: Use a lame, sharp knife, or clean razor blade to score the dough, I usually like to make one deep curved slash, but you can get as fancy as you like! Carefully remove the dutch oven from the oven, and using the parchment paper as a sling, transfer the sourdough loaf from the counter into the dutch oven.
- Step 19: Bake the pina colada loaf at 450f covered for 30 minutes and uncovered at 450f for 10-15 minutes, or until the loaf is cooked through and the crust is nicely browned.
Cool:
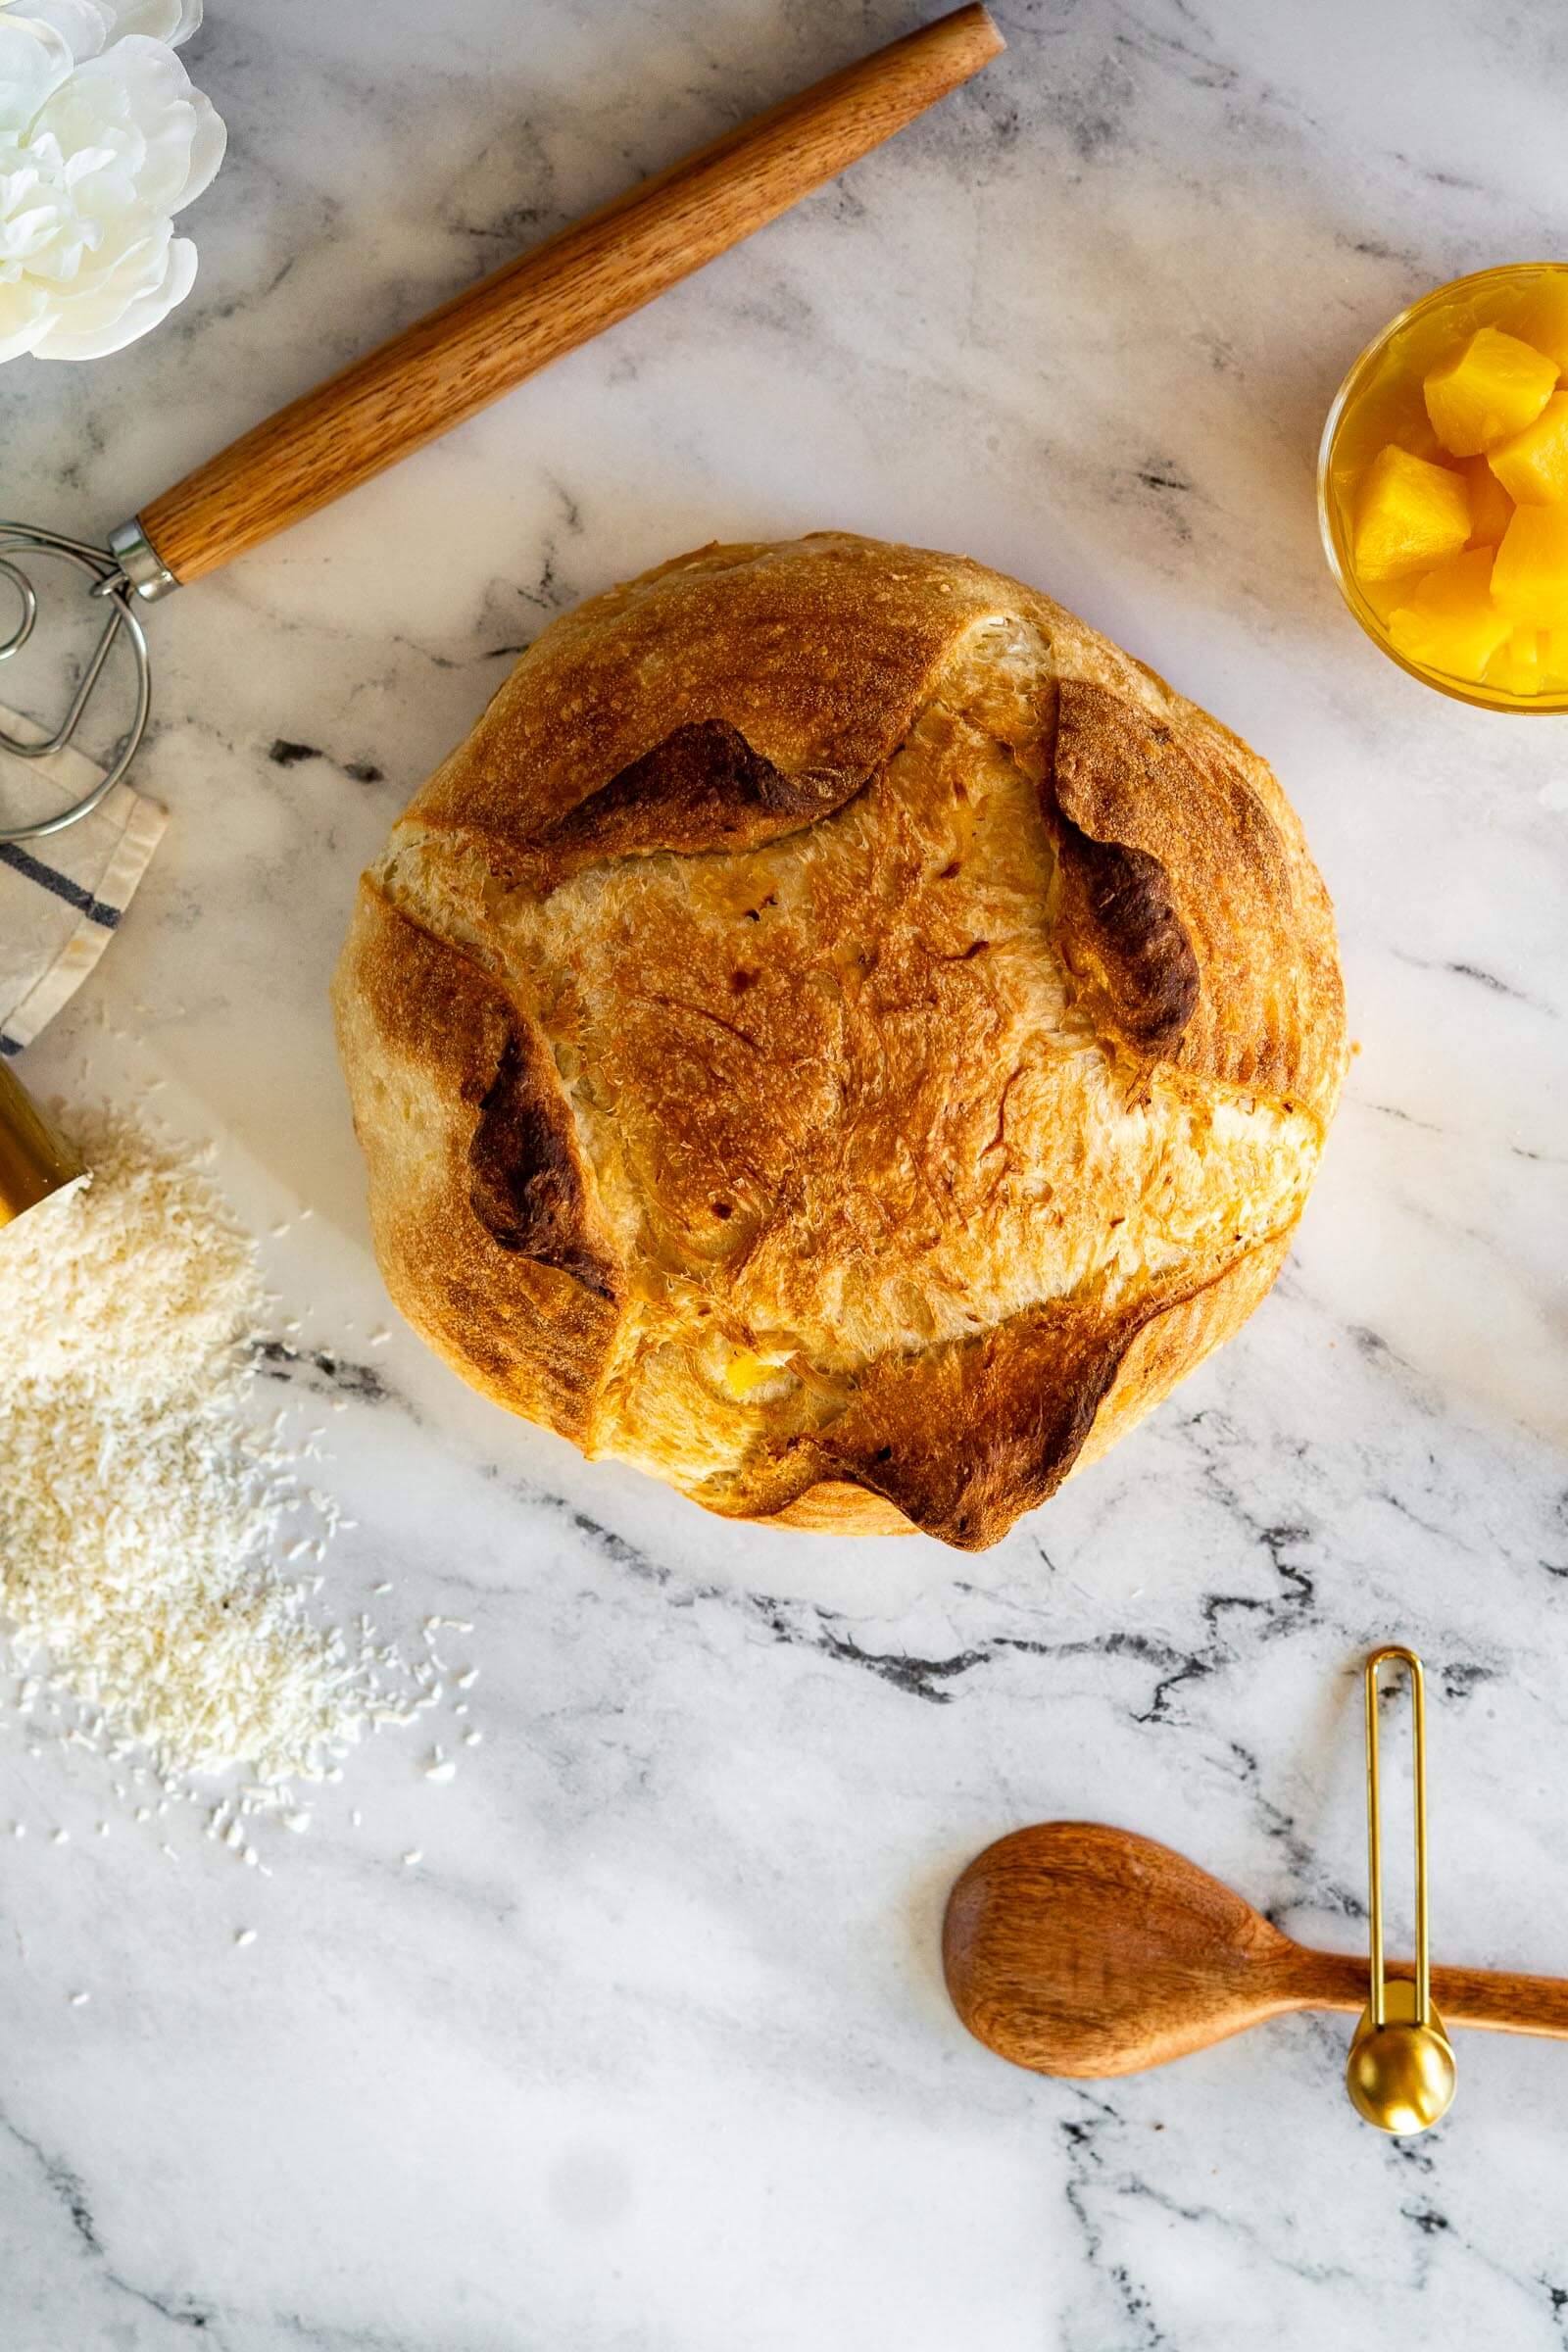
- Step 20: Remove baked bread from the dutch oven and transfer it to a wire mesh cooling rack to cool completely before slicing. I like to leave it for at least 2 hours before slicing, as slicing too soon can affect the crumb and texture of your loaf.
Expert Tips
- This dough will undoubtably double on you during the bulk ferment/ proofing process. That’s totally ok, there are tons of treats for the yeast to feast on in it.
- My bulk fermentation and dough proofing is done at 70-ish degrees Fahrenheit, but if you're in a warm place, your rising times will need to be shortened.
- This recipe calls for bread flour, but that can be substituted with all purpose flour at a 1:1 ratio, though the bread may not rise as high and the dough may seem a bit wetter to work with. If you're wanting to use whole wheat flour, I'd recommend subbing out no more than 50-75 grams and only if you're using bread flour.
Why This Recipe Works
Coconut milk enriches the dough without weighing it down. Using coconut milk instead of water adds fat and natural sweetness, creating a softer crumb and subtle richness while still allowing proper gluten development.
Layering inclusions keeps the crumb intact. Folding in the pineapple and shredded coconut during stretch and folds distributes them evenly without tearing the gluten network, so you get flavor in every bite without a dense loaf.
Balanced hydration keeps the dough workable. Between the coconut milk and juicy pineapple, this dough could easily become too wet. Draining the pineapple chunks ensures the dough stays elastic, shapeable, and capable of holding oven spring.
Cold proofing builds flavor and structure. A rest in the fridge slows fermentation, allowing the tropical flavors to deepen while firming up the dough for easier scoring and better rise in the oven.
Pineapple Sourdough Bread FAQs
There are a couple of ways to store sourdough bread to help prolong its quality after cutting.
Your pineapple sourdough loaf can be kept cut side down on a cutting board for up to 12 hours before the crust becomes too crisp. This is our go-to and usually we finish the loaf before the crust gets too crusty! I do recommend transferring it to a bread bag after 16-18 hours though.
Your sourdough loaf can also be frozen. To freeze sourdough bread, cool the loaf to room temperature, then tightly wrap it in plastic wrap, slide it into a bread bag, seal it up, and stick it in the freezer for 1-2 months. To use after freezing, remove the loaf from the freezer, unwrap, and allow it to come to room temperature (1 -2 hours) before slicing and enjoying.
They’re related in spirit, both lightly sweet and pineapple-forward, but the technique and texture are quite different.
Hawaiian bread is an enriched bread made with eggs, butter, milk, sugar, and commercial yeast. It’s quick (done in a few hours), and the result is a soft, fluffy, pull-apart loaf or roll with a tight crumb and mild sweetness, closer to a brioche than a rustic bread.
This piña colada sourdough uses no commercial yeast, no eggs, no butter, and no added sugar. The sweetness comes entirely from coconut milk, pineapple juice, and pineapple chunks. The 18+ hour fermentation develops flavor that commercial yeast simply can’t replicate, a subtle tang that balances the coconut richness and makes each slice genuinely complex.
This dough rises more aggressively than a standard sourdough because the sugars in the coconut milk, pineapple juice, and fruit chunks give the wild yeast extra fuel. Doubling during bulk ferment is completely normal here, don’t be alarmed!
Signs of a properly proofed dough:
– Domed in the banneton, not flat
– A floured finger poke springs back slowly but completely within a few seconds
– Surface looks smooth with visible bubbles just beneath
Signs of overproofing:
– Dough looks flat or has started to collapse in the banneton
– The finger poke leaves an indent that doesn’t spring back
– The dough spreads sideways when inverted onto parchment rather than holding its shape
What to do if you’re worried: Get it in the oven immediately, overproofing is pretty much irreversible, unlike underproofing, which can corrects itself with oven spring. Have the dutch oven preheated and ready before you pull the dough from the fridge so you can go straight from banneton to bake.
The cold retard (overnight fridge rest) also acts as insurance here, dramatically slowing fermentation and giving you a wider baking window.
When in doubt: a little underproofed produces a dense crumb. Overproofed produces a flat loaf you can’t recover.
Baker’s Timeline
Day 1:
- 9:00 AM: Combine all ingredients and make the dough
- 10:00 AM: First stretch and fold
- 11:00 AM: Second stretch and fold
- 12:00 PM: Third stretch and fold
- 1:00 PM: Fourth stretch and fold, beginning of bulk fermentation
- 4:00 PM: Bulk ferment over, pre shape
- 4:30 PM: Final shape, place dough into banneton, beginning of the proof
- 6:30 PM: Proofing complete, place banneton in fridge to cold retard
Day 2:
- 9:00 AM: Place dutch oven into oven and preheat oven
- 9:45 AM: Bake pineapple sourdough loaf
Serving Suggestions
This bread is good enough to eat straight off the bread knife, but don’t let that stop you from being creative.
- Grilled ham and cheese. Reminds me of Hawaiian pizza
- Toasted with butter. Sometimes simplest is best!
- French toast – pass the whipped cream please!
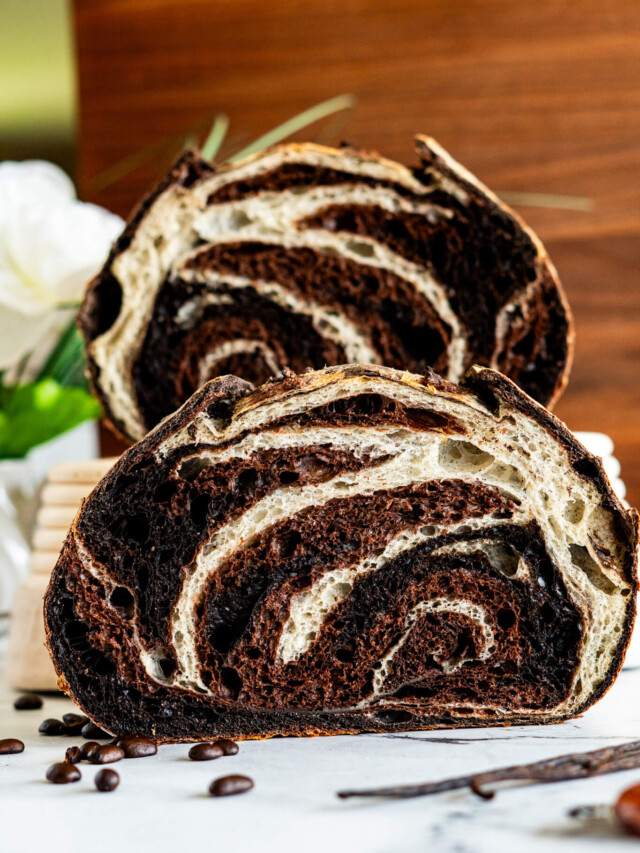
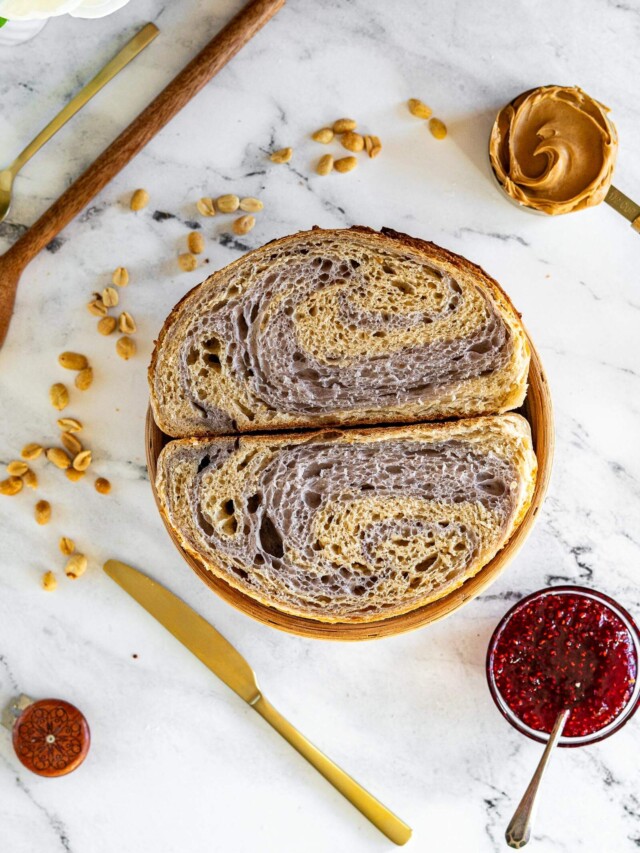
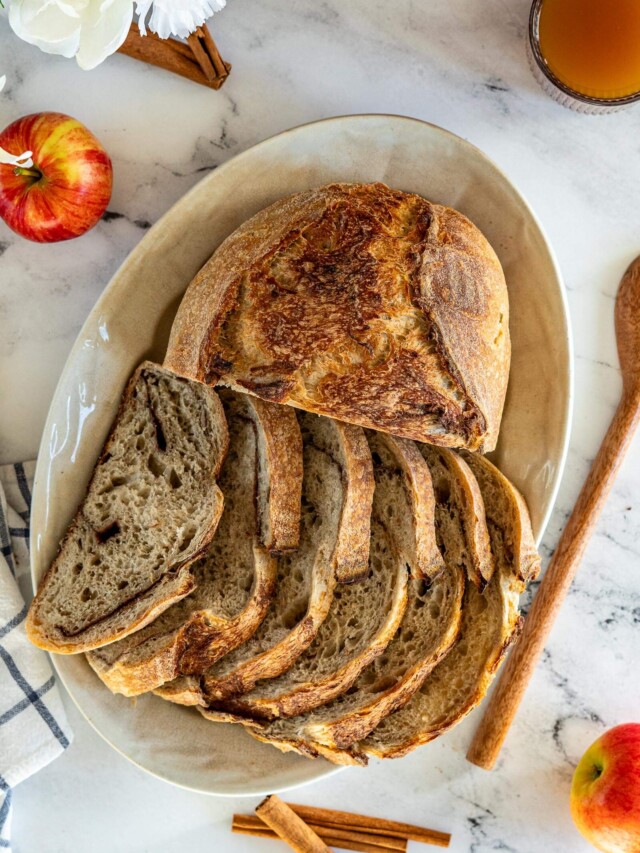
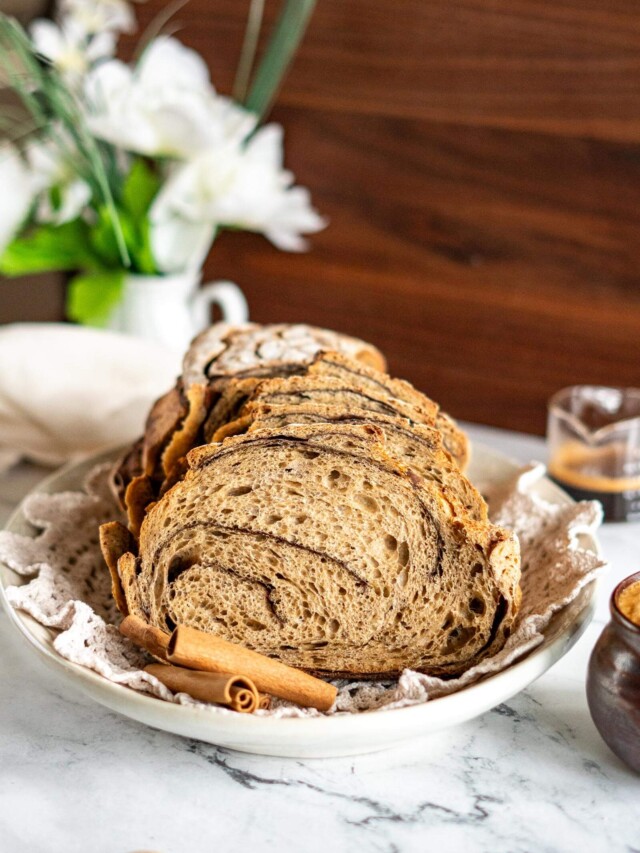
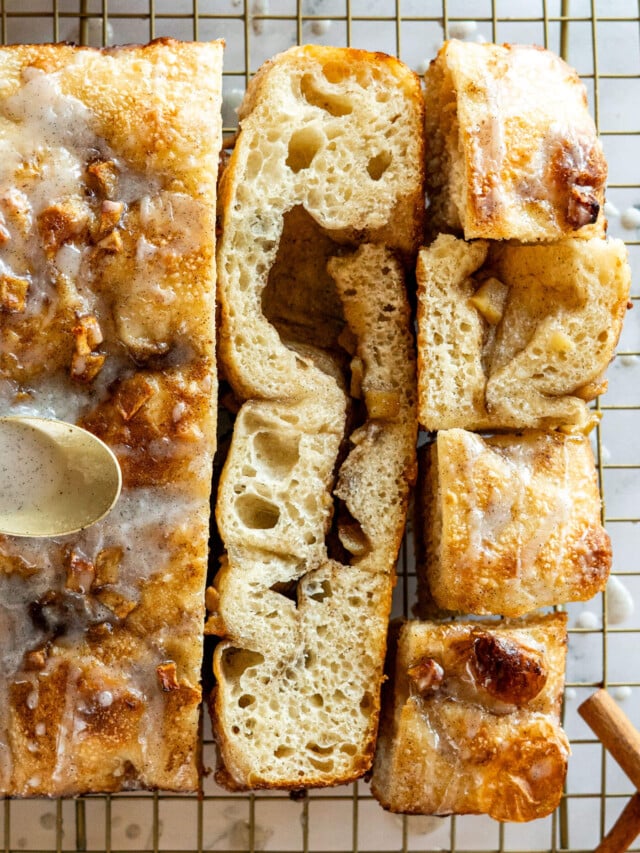
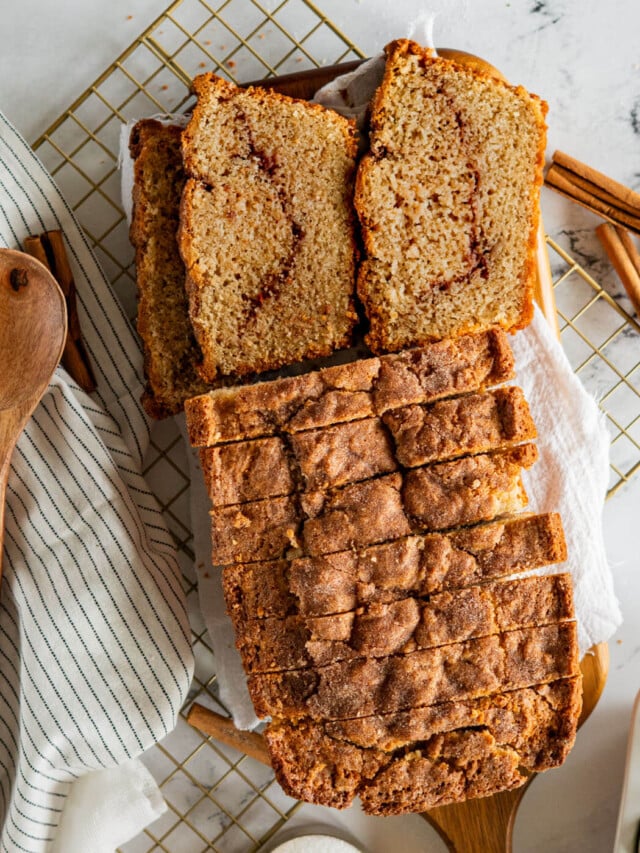
More Sweet Sourdough Bread Recipes
If you tried this Pina Colada Sourdough Bread recipe or any other recipe on my blog, please leave a 🌟 star rating and let me know how it went in the comments below. Thanks for visiting!
📖 Printable Recipe
Pina Colada Sourdough Bread Recipe
Ingredients
- 1 can coconut milk
- 1 can pineapple tidbits
- 100 g sourdough starter
- 500 g bread flour
- 20 g dried coconut, unsweetened
- 12 g coarse kosher salt
Instructions
Make The Dough:
- Open a can of full fat coconut milk, scoop off some of the cream and pour off the liquid into a bowl and weigh it, then add cream to make 230g. For example: if your can gives 150g of liquid, add 80g of the cream to make 230g. Whisk well to combine.
- Strain the pineapple chunks from the juice in the can, reserving the juice. Pulse the pineapple in the blender a few times to break up the pieces.
- In a large bowl, combine 230g coconut milk and 120g pineapple juice and whisk in 100g of active sourdough starter until mostly combined. Add in 150g of chopped pineapple and stir till combined.
- Dump 500g unbleached bread flour on top of the sourdough starter mixture , then add 20g dried unsweetened coconut plus 12 g salt.
- Using a danish dough whisk, spatula, or spoon mix until a shaggy dough forms. Knead the dough with your hands until all the dry bits are incorporated.
- Cover the bowl and set aside for 60 minutes.
Stretch + Fold:
- Using damp hands, grab the dough and gently pull it until the flap is long enough to fold over itself, then fold the flap, rotate the bowl 90 degrees, and repeat 3 more times, this is considered a set of stretch and folds. Recover the bowl, and set it aside for 60 minutes.
- Repeat the stretch and fold process 3 times over 3 hours, for a total of 3 sets of stretch and folds each followed by a 60 minute rest.
Bulk Ferment:
- Complete a fourth and final stretch and fold then cover the bowl and set aside for 3 hours to finish the bulk ferment. It is important to keep the dough bowl somewhere warm to encourage the microbes to work quickly!
Pre-Shape + Shape:
- Observe your dough, at this point, the dough should have risen in the bowl, and have a smooth surface with visible bubbles. If the dough is domed in the bowl it is ready to work with, if the dough is flat it may need more time in the bulk ferment.
- Uncover the dough and transfer to a work surface or countertop. Gently press and spread the dough into a large rectangle.
- Fold up the bottom third of the dough as though you were folding a letter. Fold in the right side about a third of the way across width wise then repeat with the left. Roll from the folded bottom to the top creating a log. Cover with a clean tea towel and rest for 30 minutes.
- Uncover the dough, and using your pinkies to create tension, roll the dough across your work surface to shape into a boule.
- Dust the dough with rice flour then tuck seam side up into a banneton.
Prove + Cold Retard:
- Prove your pineapple coconut sourdough loaf in the banneton for 2-3 hours in a warm place before covering and placing in fridge to cold retard for up to 3 days. If you want to bake it right after proving, you're welcome to, but the flavor is better after resting in the fridge.
Bake:
- Place your dutch oven, cloche, or desired baking dish in the oven and preheat to 450f.
- Once the oven is preheated, invert the banneton onto a sheet of parchment paper.
- Use a lame, sharp knife, or clean razor blade to score the dough.
- Carefully remove the dutch oven from the oven, and using the parchment paper as a sling, transfer the sourdough loaf from the counter into the dutch oven.
- Bake the dough at 450f covered for 30 minutes and uncovered at 450f for 10-15 minutes, or until the loaf is cooked through and the crust is nicely browned.
Cool:
- Remove baked bread from the dutch oven and transfer it to a wire mesh cooling rack to cool completely before slicing. I like to leave it for at least 2 hours before slicing, as slicing too soon can affect the crumb and texture of your loaf.
Notes
Expert Tips
- This dough will undoubtably double on you during the bulk ferment/ proofing process. That's totally ok, there are tons of treats for the yeast to feast on in it.
- My bulk fermentation and dough proofing is done at 70-ish degrees Fahrenheit, but if you’re in a warm place, your rising times will need to be shortened.
- This recipe calls for bread flour, but that can be substituted with all purpose flour at a 1:1 ratio, though the bread may not rise as high and the dough may seem a bit wetter to work with. If you’re wanting to use whole wheat flour, I’d recommend subbing out no more than 50-75 grams and only if you’re using bread flour.


Very disappointed in this recipe. I used the appropriate amounts, as given in recipe, and still have a soupy mess after several messy attempts of stretch and folds. I’ve cross referenced other recipes and the amount of liquid in these is so much less than this recipe. Explains why I have a sourdough fail.
Hi Marni, this recipe has quite a few positive reviews and I’ve made it a few times (plus tested it 3 times) with great success. 230g of coconut milk/cream + 120g pineapple juice is only 350g, which is 70% hydration which leaves a bit of room for the liquid from the chopped pineapple.
On thing that could have added extra hydration to this recipe making it more difficult to work with is insufficient draining of the pineapple chunks could add extra liquid. I strained mine with an actual sieve, so that could account for a difference. Over processing the pineapple in the blender beyond a couple of pulses could also inadvertently lead to higher hydration, as a puree would act more like a liquid inclusion than a solid one.
Did you use bread flour or other high protein flour? High protein flour is better able to absorb moisture and result in a workable dough.
Hope we can get to the bottom of this!
Excellent flavor and texture! Really moist with the coconut milk and pineapple juice versus just water.
So happy to hear you enjoyed it, Kathryn!
This sweet-ish sourdough is so fun to make! The extra sugar helps it to rise beautifully, and I actually love to use it for pulled pork sandwiches – its a strange combo but so good!