
Same Day Sourdough Bread

Craving sourdough but short on time? This same day sourdough bread recipe delivers tender, flavorful bread in around 8 hours!
Once you've mastered this loaf, check out my whole wheat sourdough bread, rustic sourdough bread, and dill pickle sourdough bread for even more delicious bakes.

Craving The Recipe Details?
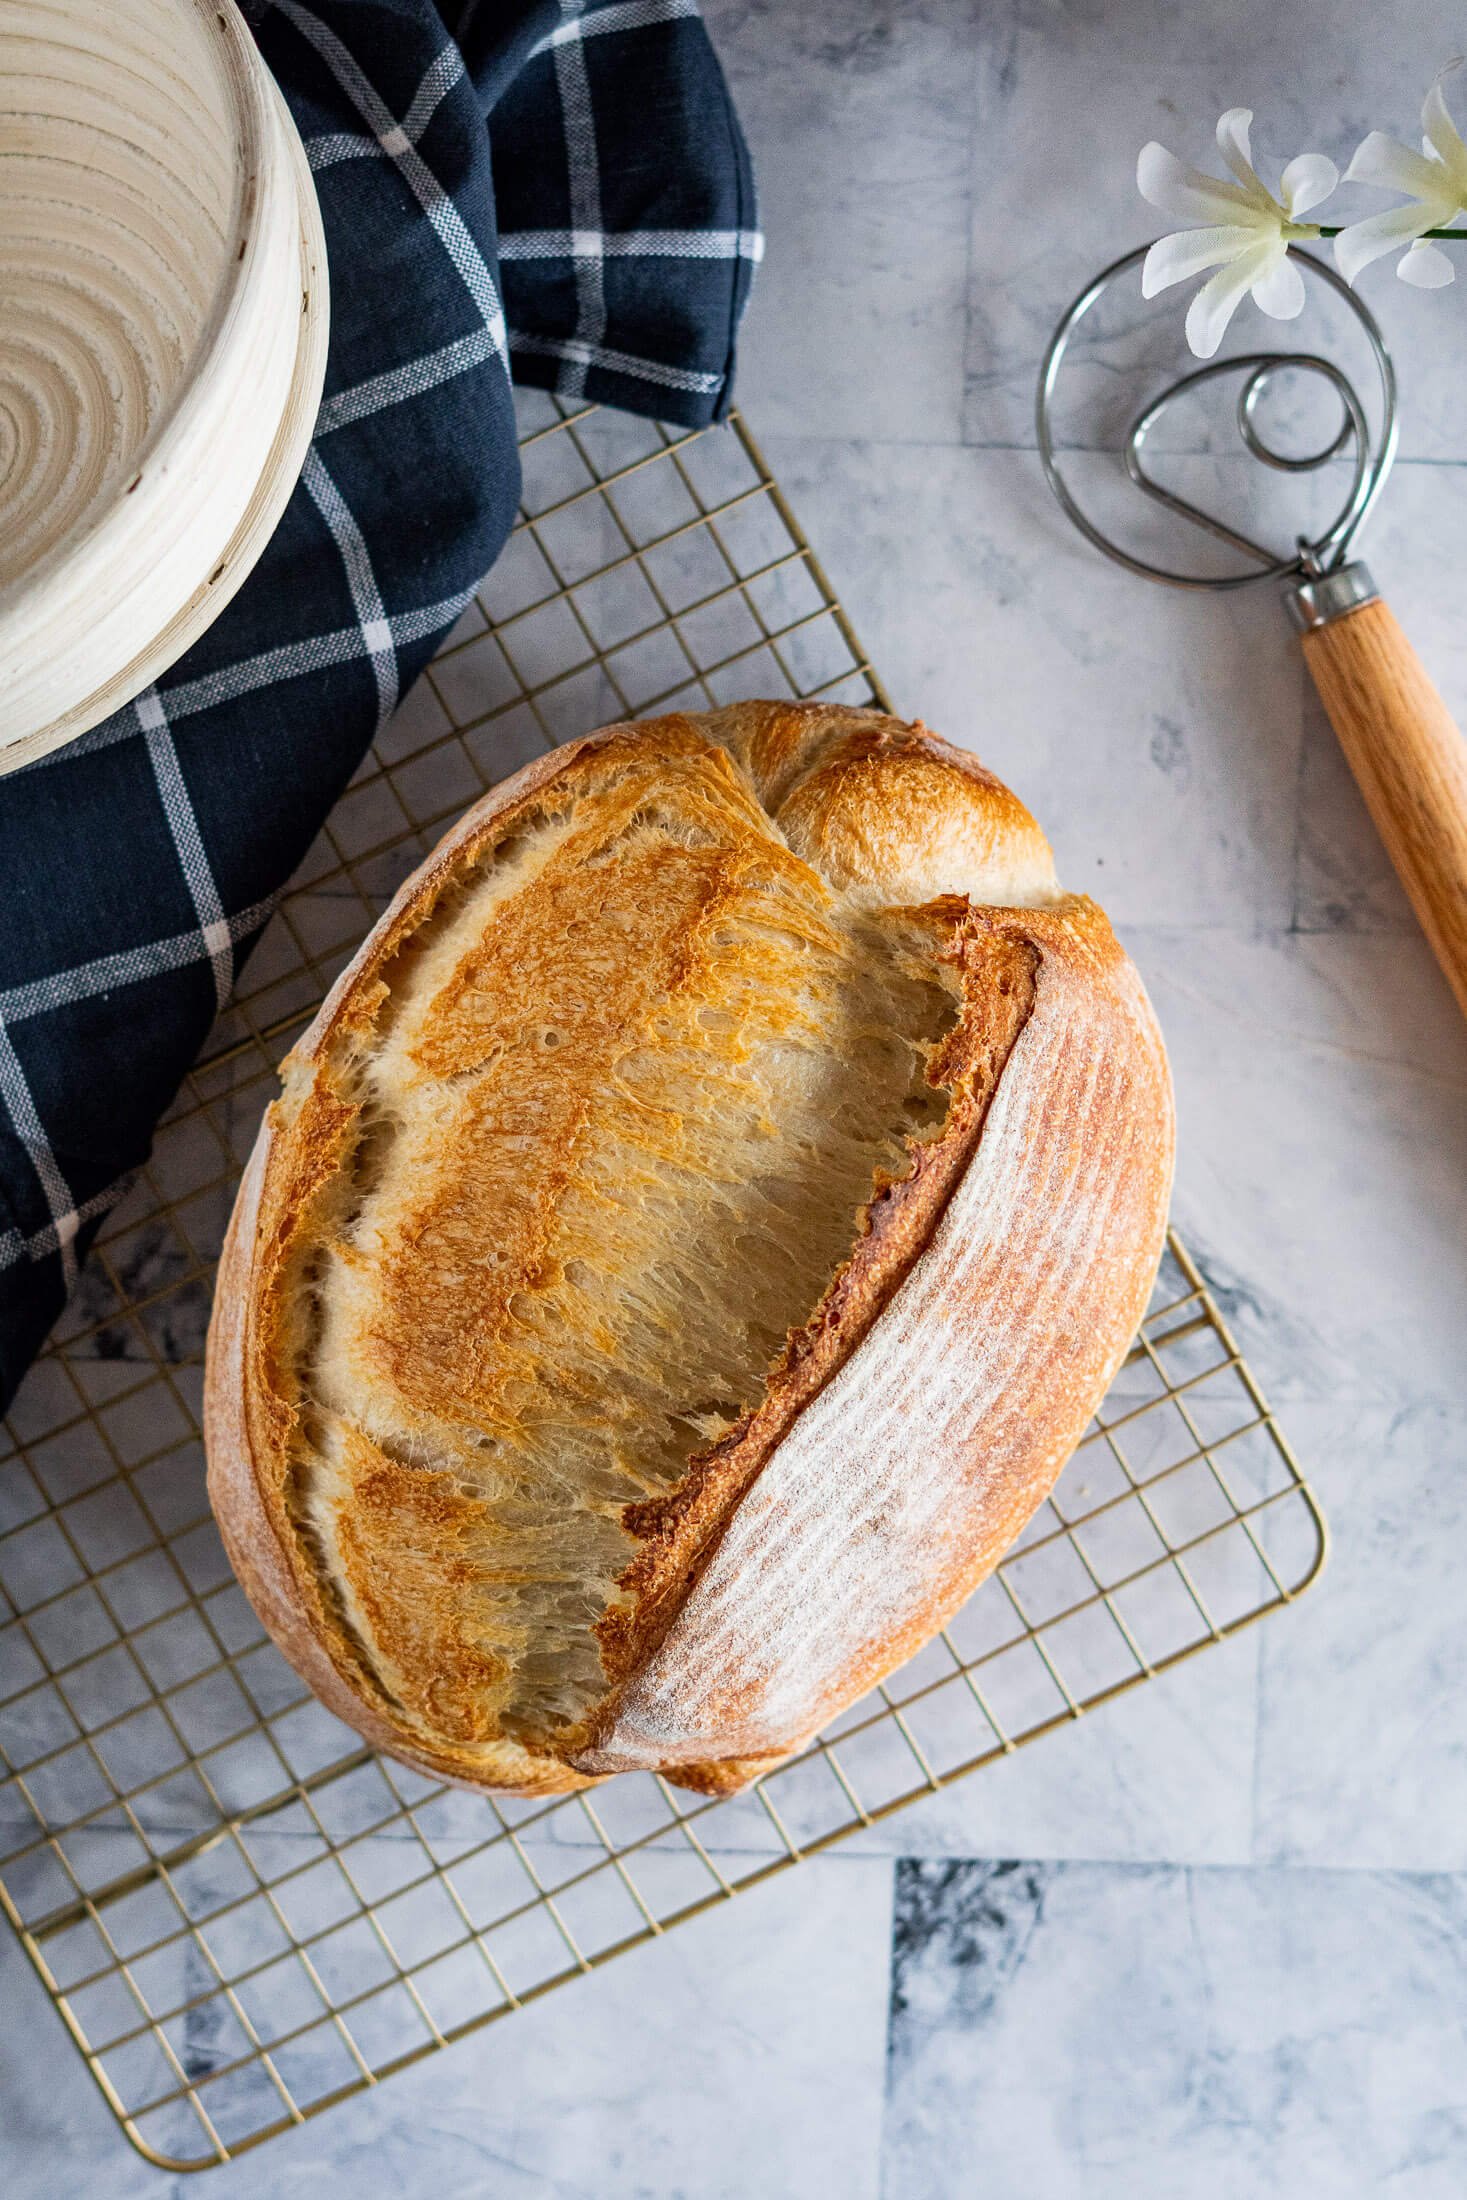
What it is: A same day sourdough bread recipe that goes from mix to bake in about 8 hours, without an overnight rise.
Why you’ll love it: You get a crisp crust and tender, airy crumb without waiting till tomorrow!
How to make it: Mix the dough, let it rest, then work through 4 sets of stretch and folds. Bulk ferment, shape, proof, then bake in a preheated dutch oven at 450°F.
The important part: The 8 hour schedule is based on active sourdough starter and dough kept around 75°F during fermentation.
Don’t get me wrong, I love the traditional process. There’s something deeply satisfying about slow fermentation, just like when I make my everything bagel sourdough or sourdough focaccia. Watching simple flour and water transform into something incredible never gets old.
But life happens. Sometimes you need bread today. Whether it’s to accompany tonight’s oven roasted cross rib roast or you’ve just got a hankering for some fresh sourdough! That’s exactly why I created this recipe.
This same day sourdough bread recipe is dedicated to hankerings.
Jump to:
Key Ingredients
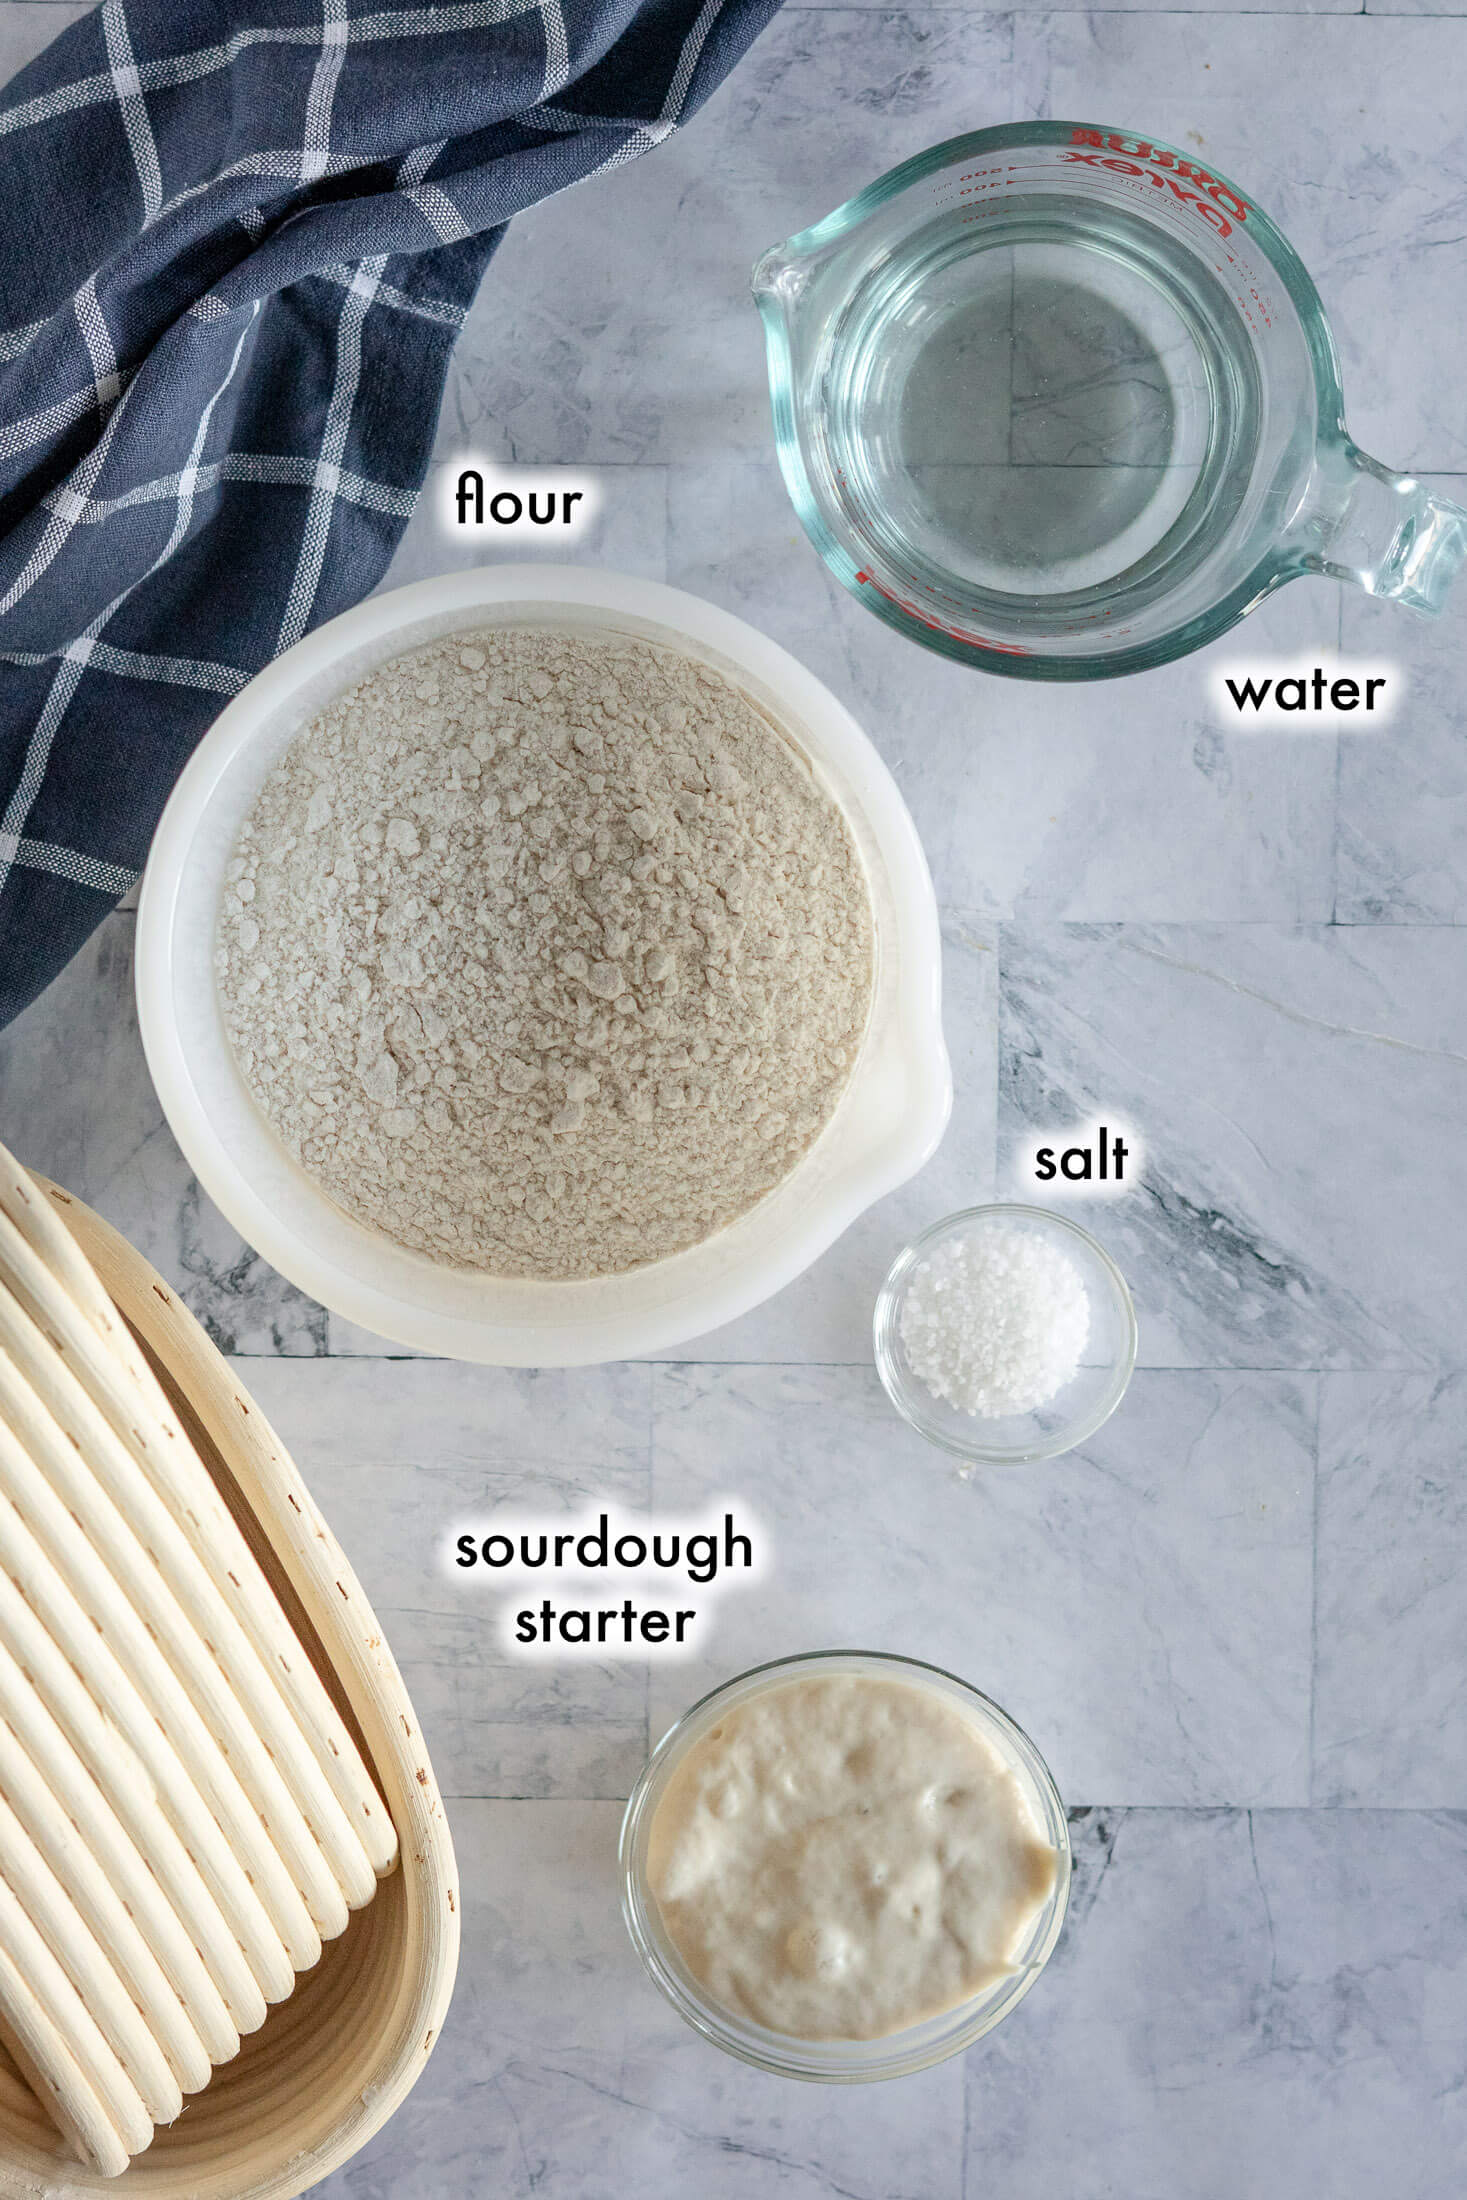
Sourdough Starter: Use a fed and active starter. It should’ve been fed about 8 hours before (the night before works great) and doubled in size. This recipe assumes 100% hydration starter (equal parts flour and water by weight).
Bread Flour: I use an unbleached bread flour around ~13% protein because it gives this fast fermented dough enough strength to hold its shape. All purpose flour can work, assuming the protein content is high enough.
Salt: I use hand-ground kosher salt, but any fine salt works. Salt does more than just season, it enhances the dough’s natural flavors and aromas while tightening the gluten structure, making it easier to trap those beautiful air bubbles.
See the recipe card for full information on ingredients and quantities.
What Makes Same Day Sourdough Possible?
A one day sourdough loaf isn’t the product of an ordinary sourdough recipe with the clock squeezed tighter, the formula and fermentation environment have to work together.
1. An Active, Ready-to-Go Starter (and Lots of It!)
For this recipe, I use a full 150 grams of starter, or 30% starter, which is significantly more than my other sourdough recipes. That high ratio of starter to flour is key to getting same-day results. The higher starter percentage increases active fermentation right from the start.
I usually feed my starter the night before using a 1:5:5 ratio: 20g starter, 100g water, and 100g flour. In my kitchen that gives it plenty of food to ferment overnight and puts it in a good position for a morning bake.
The clock isn’t gospel, though. Your starter is ready when it’s visibly active, risen, domed, bubbly, and at/or near its peak.
If your house runs warm or your starter activates fast, feed it with cold water to slow things down slightly. It won’t stop fermentation, just helps your starter peak closer to when you’re actually ready to bake.
2. A Warm, Consistent Environment
Temperature is the other half of the equation.
Fast sourdough isn't just about the starter. It's also about the environment you give your dough. In my cold-proofing guide, I explain how lowering temperature slows fermentation. The opposite is also true: keeping your dough warm speeds everything up, which is exactly what we want when baking same day sourdough.
For this recipe, I aim to keep the dough around 75°F (24°C) during fermentation. That’s the temperature my tested schedule is based on, and it gives me a predictable enough fermentation window to mix in the morning and bake that same afternoon.
Think of 75°F as the anchor for the schedule, but not a magic or absolute number.
If your dough is cooler, fermentation will generally take longer. If it’s warmer, it can move faster. The goal isn’t to make your dough obey the clock, just to create conditions where the dough can complete the process in one day!
Here are a few easy ways to create a warm microclimate:
- Use a Brod + Taylor Proofing Box
- Use the proof setting on your oven or microwave
- Tuck the bowl in a warm spot near a heat register
The Short Version
Neither the amount of starter nor the warm environment is a magic trick on its own. You need both an active starter and warm dough.
How To Make Same Day Sourdough Bread:
Make The Dough:

- Step 1: In a large mixing bowl, combine 330g warm water (~75°F) with 150g of active sourdough starter until mostly combined. I like to use a Danish dough whisk, but a wooden whisk, silicone spatula, or even your hands will work.

- Step 2: Add 500g bread flour and 10g salt to the bowl and mix until a shaggy dough forms. Knead the dough with your hands until all the shaggy bits are incorporated.
Cover the bowl and set aside in a warm place (~75°F) for 45 – 60 minutes.
Stretch And Fold:

- Step 3: Uncover the bowl and using damp hands, grab the dough and gently pull it until the flap is long enough to fold over itself, then fold the flap, rotate the bowl 90 degrees, and repeat 4 times. Cover the bowl and set aside for 30 minutes.

- Step 4: Repeat the stretch and fold process at least 3 more times for a total of 4 sets, over the next 2 hours. The intervals can be as short as 15 minutes, or as long as 60 minutes.
You’ll notice after the second stretch and fold how much the dough has softened and begun to look like actual bread dough!
Finish Bulk Ferment:

- Step 5: After final stretch and fold, cover the bowl and set aside for around 2 hours to complete bulk fermentation at 75°F.

- Step 6: Near the end of the bulk ferment, observe your dough.
When properly fermented, the dough should have risen in the bowl (I aim for about 50% rise), have a smooth, domed surface with air bubbles visible beneath and seem lighter than its volume. If the dough lacks those characteristics, it may need more time in the bulk ferment.
Shape:

- Step 7: Lightly flour the work surface and use a bowl scraper to turn the dough out onto the floured surface. Try to get the smooth top part face down so that the sticky underside is on top facing you, this will make shaping the dough easier.

- Step 8: Fold the edges into the middle, alternating sides as though lacing the dough together. Then starting from the top, fold the dough into thirds as you would a letter.

- Step 9: Roll the dough tightly into a log, pulling the dough along the counter to create surface tension. Stop there if making a batard, or tuck the long ends underneath to create a boule.

- Step 10: Dust the top of your boule or batard with rice flour, then use a bench scraper to pick up the dough, flip the dough, and place it upside down, or seam side up, into a banneton to prove.
Prove:

- Step 11: Cover the banneton either using a damp kitchen towel or a shower cap. During the proving period, the dough will rise and become puffy in the banneton, but it should be watched – as over-proofing can cause the dough to bake up flat. This process will take a different amount of time based on the ambient temperature in your kitchen.
Check the dough: look at its volume and shape, then gently poke it and observe how it responds:
– If the dough feels tight and dense and looks like it hasn’t relaxed in the basket, it is likely under proofed. Underproofed dough will resist your poking and spring back almost immediately.
– If the dough feels airy but still elastic and looks relaxed in the basket, it is properly proofed. Properly proofed dough will be easily poked, and the indent will slowly fill back in but may not even totally recover.
– Overproofed dough feels sticky and lacks elasticity, it will likely look slack in the basket and your indentation won’t rebound.
Learn More: How to use and maintain your banneton baskets!
Preheat Oven:
- Step 12: Place your dutch oven, cloche, or desired baking dish and its lid in the oven and preheat to 450°F. If you don’t have a dutch oven, I do have a recommendation on how to bake sourdough bread without a dutch oven.
- Step 13: Meanwhile, place the banneton in the freezer while the oven preheats.
Why I chill the dough in the freezer before baking: After the final proof, I put the banneton in the freezer for about 30 minutes. The dough doesn’t freeze solid, but the quick chill helps to firm the surface enough to make the dough easier to turn out, score, and transfer without knocking out the gas you’ve worked so hard to build!
Bake:

- Step 14: Once the oven is preheated, remove the dough from the freezer and invert the banneton onto a piece of parchment paper. Use a lame, sharp knife, or clean razor blade to score the dough, I usually like to make one deep curved slash, but you can get as fancy as you like!

- Step 15 Carefully remove the dutch oven from the oven, and using the parchment paper as a sling, transfer the sourdough loaf from the counter into the dutch oven.

- Step 16: Bake the dough at 450°F covered for 30 minutes and uncovered at 450°F for 10-15 minutes, or until the loaf is cooked through and the crust is golden brown. You can test the doneness of the loaf with an instant-read thermometer. Bread is cooked once it reaches 205 – 210 degrees Fahrenheit internal temperature.
Cool:
- Step 17: Remove baked bread from the dutch oven and transfer it to a wire mesh cooling rack to cool completely before slicing, as slicing too soon can affect the crumb and texture of your loaf.
- Step 18: Check out my guide on storing sourdough bread to ensure it stays fresh for days, or learn how to freeze sourdough bread for a rainy day.
Expert Tips
- Feed it like you mean it. Your starter is doing the heavy lifting here, so don’t start with a sluggish starter. I feed mine 1:5:5 the night before so it’s active and ready to go in the morning. Bubbly, risen, domed, and lively is what you’re looking for.
- Warm dough, fast bread. If you want sourdough in a day, temperature matters. I aim for a temperature around 75°F throughout fermentation. Cooler dough will take longer, warmer dough will take less time.
- Don’t wait for doubled. This dough doesn’t need to double during bulk fermentation. For this recipe, I am for about a 50% rise, along with bubbles, a smooth, domed surface. Waiting for it to double can push this loaf too far.
- Take a chill pill. This is one of my favorite little tricks. Popping the banneton in the freezer for 30 minutes or so firms up the surface just enough to make turning out, scoring, and transferring to a screaming hot dutch oven so much less chaotic.
- Your dough can’t read a schedule. Every starter and kitchen will have their own schedule. Learning to read the dough and not the clock will level up your sourdough baking.
Why This Recipe Works
More active starter. A high starter percentage (30%) gives this dough a relatively high inoculation, helping fermentation get moving quickly and stay moving quickly.
Warm fermentation. The schedule is built around keeping the dough around 75°F. Temperature has a direct effect on fermentation speed, which is why the same formula can take noticeably longer in a cool kitchen and move much faster somewhere warm.
A defined one day schedule. The dough isn’t expected to ferment by the clock, each stage includes visual cues, and step-by-step photographs from my own kitchen so you can adjust the timeline according to your starter and environment.
One Day Sourdough Bread FAQs
Absolutely, it’s delicious! But let’s be honest: it won’t have the same tangy complexity as a long-fermented loaf.
When you speed up the process, you’re prioritizing rise over flavor development. Those microbes need time to create that signature sourdough tang, and in same day bread, we’re asking them to focus on lift instead. With less fermentation time, there is simply less time for the acids and other fermentation by products that contribute to sourdough’s flavor to accumulate.
Think of this as a milder, gentler version of sourdough. It still has that tender crumb and subtle depth, just without the sharp bite of a longer fermented loaf.
Not for this recipe. This loaf relies entirely on sourdough starter for leavening so you need a vigorous, active starter capable of fermenting dough quickly. Discard just doesn’t have enough oomph to rise the loaf within 8 hours. Save your discard for brown butter sourdough brownies or sourdough discard peanut butter cookies instead!
Nope! While this recipe is built to go from mix to bake in one day, it doesn’t have to. Once the dough is shaped, you’re at a fork in the road:
Bake it today: Proof the shaped dough at 75°F for 1.5 – 2 hours, then bake. This is the quick path, mix at breakfast, slice by dinner.
Bake it tomorrow: Skip the room temperature proof, cover the banneton, then transfer to the fridge for an overnight cold proof. The next morning, preheat your oven and dutch oven, then bake straight from the fridge. You’ll get a slightly more developed, tangier loaf, plus the flexibility if your day runs long.
Both paths use the same dough, the only difference is what happens after shaping.
Definitely! I bake it often. This loaf genuinely goes from mixing to baking in around 8 hours. What you’re trading for speed isn’t the process, it’s the result. Expect a milder flavored loaf, and a slightly softer crumb.
If you’ve got leftovers, you’ve got serious willpower! Here’s how to keep your bread fresh:
Short-term (up to 18 hours): Store your loaf cut-side down on a cutting board. The crust will stay nice for about 12 hours, though it gets crispier after that. After 16-18 hours, transfer it to a bread bag to keep it from drying out completely.
Long-term (1-2 months): Let the loaf cool to room temperature, wrap it tightly in plastic wrap, slide it into a bread bag, seal, and freeze your sourdough bread. When you’re ready to eat it, remove from the freezer, unwrap, and let it come to room temperature (1-2 hours) before slicing.
My Same Day Sourdough Schedule
| Time | Action | Important Notes |
|---|---|---|
| 8:00 am | Mix dough | Starter is active; dough in warm place (~75°F) |
| 9:00 – 11:00 am | Stretch and folds | 4 sets, about 30 minutes apart |
| 11:00 am – 1:00 pm | Finish bulk fermentation | Keep dough around 75°F |
| 1:00 – 3:00 pm | Shape + final proof | Watch the dough, not just the clock |
| 3:00 pm | Preheat oven + chill loaf | Freeze for 30 minutes for easier scoring |
| 3:30 pm | Bake | 450°F in preheated dutch oven |
| 6:00 pm | Slice | Cool completely before cutting |
This is my tested schedule, not a promise that every kitchen will follow the same pattern. Starter strength, dough temperature, and flour can all change fermentation speed.
What If My Dough Isn’t 75°F?
Don’t panic if you can’t get your dough to 75°F. That is just the target that my same schedule is based on. But your dough doesn’t have to hit that exact number to be successful. It just means that your timeline may change.
- Cooler dough: Expect fermentation to take longer, give it a little more time to complete its tasks rather than forcing it through the timeline.
- Warmer dough: Check it earlier particularly during the bulk fermentation and proofing stages. Warm dough can move quickly, especially in a recipe with 30% starter.
- Starter not ready: Wait. A sluggish starter will make the entire schedule harder to achieve. You can encourage your starter to activate more quickly by keeping it warm!
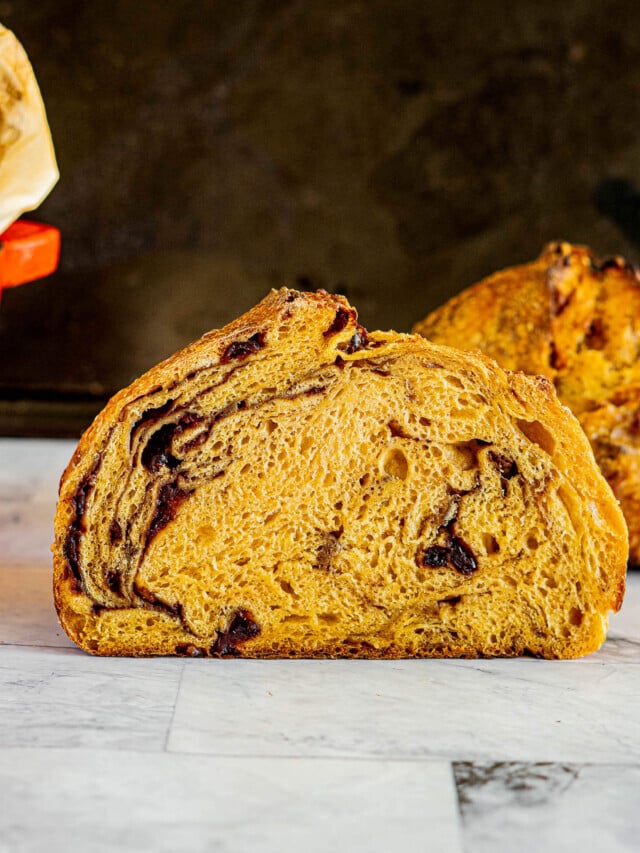
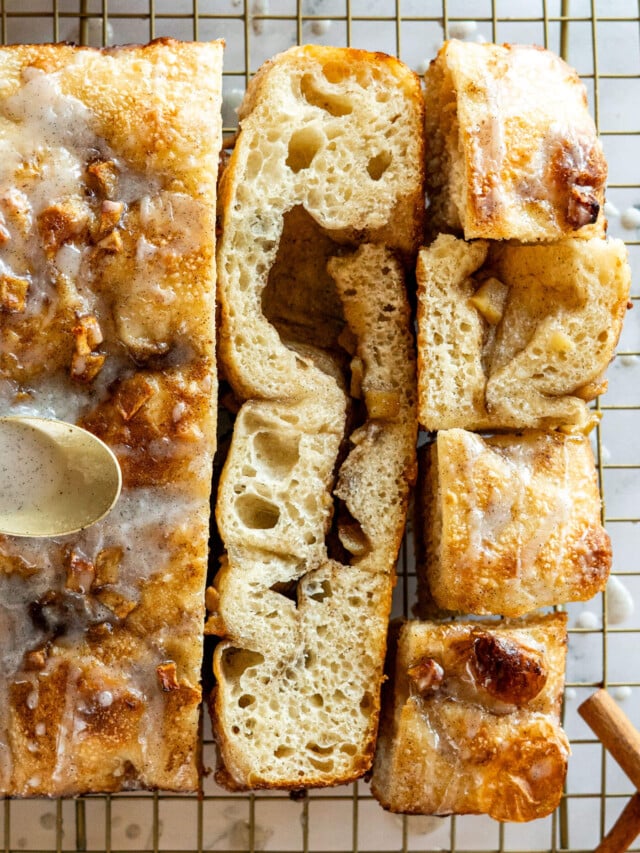
Want To See More Sourdough Bakes?



If you tried this Same day sourdough bread recipe or any other recipe on my blog, please leave a 🌟 star rating and let me know how it went in the comments below. Thanks for visiting!
📖 Printable Recipe
Same Day Sourdough Bread
Ingredients
- 330 g water, warm
- 150 g sourdough starter, active
- 500 g bread flour
- 10 g sea salt, fine
Instructions
Make The Dough:
- In a large bowl, combine 330g warm water (approx 75°F) with 150g of active sourdough starter until mostly combined. Add 500g bread flour and 10g salt to the bowl and mix until a shaggy dough forms. Knead the dough with your hands until all the shaggy bits are incorporated.
- Cover the bowl and set aside for 45 – 60 minutes.
Stretch And Fold:
- Uncover the bowl and using damp hands, grab the dough and gently pull it until the flap is long enough to fold over itself, then fold the flap, rotate the bowl 90 degrees, and repeat 4 times. Cover the bowl and set aside for 30 minutes.
- Repeat the stretch and fold process at least 3 more times for a total of 4 sets, over the next 2 hours. The intervals can be as short as 15 minutes, or as long as 60 minutes.
Finish Bulk Ferment:
- After final stretch and fold, cover the bowl and set aside for 2 hours to complete bulk fermentation. It is important to keep the dough bowl in a warm place, around 75°F to encourage the microbes to work quickly!
Shape:
- Near the end of the bulk ferment, observe your dough.When properly fermented, the dough should have risen in the bowl (I aim for about 50% rise), have a smooth, domed surface with air bubbles visible beneath and seem lighter than its volume. If the dough lacks those characteristics, it may need more time in the bulk ferment.Lightly flour the work surface and use a bowl scraper to turn the dough out onto the floured surface. Try to get the smooth top face down so that the sticky underside is on top facing you, this will make shaping the dough easier.
- Fold the edges into the middle, alternating sides as though lacing the dough together. Then starting from the top, fold the dough into thirds as you would a letter, then roll the dough tightly into a log, pulling the dough along the counter to create surface tension. Stop there if making a batard, or tuck the long ends underneath to create a boule.
- Dust the top of your boule or batard with rice flour, then use a bench scraper to pick up the dough, flip the dough, and place it upside down, or seam side up, into a banneton to prove.
Prove:
- Cover the banneton either using a damp kitchen towel or a shower cap. During the proving period, the dough will rise and become puffy in the banneton, but it should be watched - as over-proofing can cause the dough to bake up flat. This process will take a different amount of time based on the ambient temperature in your kitchen.Check the dough: look at its volume and shape, then gently poke it and observe how it responds:– If the dough feels tight and dense and looks like it hasn’t relaxed in the basket, it is likely under proofed. Underproofed dough will resist your poking and spring back almost immediately.– If the dough feels airy but still elastic and looks relaxed in the basket, it is properly proofed. Properly proofed dough will be easily poked, and the indent will slowly fill back in but may not even totally recover.– Overproofed dough feels sticky and lacks elasticity, it will likely look slack in the basket and your indentation won’t rebound.
PreHeat Oven:
- Place your dutch oven, cloche, or desired baking dish in the oven and preheat to 450°F . Meanwhile, place the banneton in the freezer – 30 minutes in the freezer won't adversely affect your dough, it will just make it easier to remove from the banneton, score, and transfer to the dutch oven.
Bake:
- Once the oven is preheated, remove the dough from the freezer and invert the banneton onto a sheet of parchment paper. Use a lame, sharp knife, or clean razor blade to score the dough.
- Carefully remove the dutch oven from the oven, and using the parchment paper as a sling, transfer the sourdough loaf from the counter into the dutch oven.
- Bake the dough at 450°F covered for 30 minutes and uncovered at 450°F for 10-15 minutes, or until the loaf is cooked through. You can test the doneness of the loaf with an instant-read thermometer. Bread is cooked once it reaches 205 – 210 degrees Fahrenheit internal temperature.
Cool:
- Remove baked sourdough from the dutch oven and transfer it to a wire mesh cooling rack to cool completely before slicing.
Notes
- Feed it like you mean it. Your starter is doing the heavy lifting here, so don't start with a sluggish starter. I feed mine 1:5:5 the night before so it's active and ready to go in the morning. Bubbly, risen, domed, and lively is what you're looking for.
- Warm dough, fast bread. If you want sourdough in a day, temperature matters. I aim for a temperature around 75°F throughout fermentation. Cooler dough will take longer, warmer dough will take less time.
- Don't wait for doubled. This dough doesn't need to double during bulk fermentation. You're looking for about a 50% rise, along with bubbles, a smooth, domed surface. Waiting for it to double can push this loaf too far.
- Take a chill pill. This is one of my favorite little tricks. Popping the banneton in the freezer for 30 minutes or so firms up the surface just enough to make turning out, scoring, and transferring to a screaming hot dutch oven so much less chaotic.
- Your dough can't read a schedule. Every starter and kitchen will have their own schedule. Learning to read the dough and not the clock will level up your sourdough baking.
Sample Baker’s Schedule
| Time | Action |
|---|---|
| 8:00 am | Mix dough |
| 9:00 – 11:00 am | Stretch and fold every 30 minutes |
| 11:00 am – 1:00 pm | Complete bulk ferment |
| 1:00 – 3:00 pm | Shape and proof |
| 3:00 pm | Preheat oven and chill loaf |
| 3:30 pm | Bake sourdough |



Easy to follow overall. The only confusing part is that in recipe printout it says to bake covered for 20 minutes and uncovered for 25–30 minutes, but in the detailed instructions it says to bake covered for 30 minutes and uncovered for 10–15 minutes. Those times don’t match, so it’s unclear which one to follow.
Hey Angela! I’m so sorry about that – I edited the recipe recently and missed that detail. Either way would work, but I now prefer to cook 30 mins covered and then uncovered for 10-15 🙂
You don’t mention your room’s ambient temp so the schedule doesn’t mean anything when trying to follow this recipe
Hey Julie, thanks for the feedback – I’ve edited the post to reflect that!
Love this recipe, my loaf turned out beautiful and so tasty
So happy to hear this Vanessa!
I made this today with half wholemeal, half bread flour and it was superb! I threw some cheese and garlic in before the last prove and it was a beautiful loaf. My family enjoyed it with some bolognese. I’m thrilled with this recipe! Thank you!
That sounds so good, Hannah!
Can you add any wheat flour to this recipe? How would you go about this?
Hey Jillian, I would hesitate to substitute more than 50-75g. But either option is worth a try!
This came out amazing! This was absolutely the easiest dough to work with. I’ve been experimenting for a year and a half with different recipes and this one finally worked for me! I dreaded making a good sourdough boule for my family because I never knew how it would turn out. This was actually easy! I made a small modification that worked for me. I only had AP flour, so I reduced the water by 10%. I used 297 grams of water instead of the 330 grams. I mixed my dough in my stand mixer because it is difficult for me to hand mix. I also put my dough in my proofer at 80 degrees for the bulk ferment and the last proof. The last proof took 1 hour 30 minutes. I also did the full bake (50 minutes) covered since I don’t like a darker, harder crust. I’m at 5,200 feet altitude, and the bread temperature read 200 degrees when it was finished. The notes say it’ll last for two meals but not in my house! The four of us devoured the entire loaf with homemade chicken noodle soup!
Awesome to hear this Patricia! Thank you for sharing and thank you for sharing your notes on high altitude baking, that information is invaluable for people who live at higher elevations!
So happy you love the recipe 🙂
Turned out to be my best loaf yet!
Awesome to hear Lindsay!
I’ve tried many sourdough bread recipes but this has become my favorite! I’ve made it several times and it has turned out beautifully! Thanks for the recipe!!💕
That’s great to hear, Kathy!!
I think this is my most beautiful loaf so far!!!
<3 Love to hear it!
After. Mixing, Stretching, bulked, covered with a wet dishtowel I let it hang our in the oven with door closed and only light on for warmth. Mine was a 3 multiplied for ingredients, entered oven at noon, done at 4:20, shaped added extra nippy white cheddar cubbed out and jalapeños.
Rolled into tight rolls and added to my 10”long banneton basket to rest in refrigerator (I had enough for two loafs, baking one now and the next one in the next few days *can be stored in the refrigerator before banking up to5 days. Have to say it looks and smells amazing.
Happy to hear you enjoyed it, Nancy!
I just made this for my first ever loaf!! My starter wasn’t perfectly active and I left it in the fridge overnight cause I got caught up in my day yesterday. Nevertheless it’s delicious!!! Thank you so much for this easy recipe!
Yes! So happy to hear, I really love this recipe – it always impresses!
Best recipe ever!! I make this sourdough boule EVERY week for my husband and I! We freeze leftovers sliced in the freezer. So perfect for avocado toast, sandwiches and for dipping in soup! I have not bought bread at the store or farmers market in the 3 months I have been using this recipe
I can’t tell you how much I LOVE to hear comments like this. Thank you for sharing, Jasmine <3 You've made my day!!
I’ve noticed the bread is more dense with the changing of seasons and temperature dropping. Should I extend the bulk fermentation or use warmer water when I make the dough?
Hey Chan, I tend to keep my house within 3 degrees year round – and I don’t bake when it’s super hot! But if you find it’s more dense, you can absolutely tack more time in the bulk ferment, and even a bit more in the final proof. I’d start with like 15 minutes in each and then go from there. You can use warmer water, but just keep it below 80 degrees, sourdough doesn’t tend to like too warm of water I’ve found.
BEST RECIPE EVER!!!!!! I’m a newbie and have made several loaves. Aesthetically they come out great, but the inside was always dense and gummy.
I was skeptical of this recipe, but holy cow the bread is so dang FLUFFY!!! So glad I gave it a try and now I can start gifting my bread. Thank you!!
Ah! That is so great to hear Natalie!
To all sourdough bakers- I’ve made decent loafs in the past – but this is the first and only recipe my husband gave a 10/10 ! It was so good to eat- not gummy – many bubbles in the bread but just a little denser than I prefer- although it may have been my fault as I let it proof maybe a bit too long. This will be my new default recipe especially when I want others eating my bread because it truly is sooooo good! I definitely recommend!
Really glad you enjoy the recipe!