
Bread Machine Banana Bread

Moist, tender bread machine banana bread with zero mixing bowls and zero oven – just your bread machine, a few pantry staples and the right setting. Sour cream and dark brown sugar improve the flavor and texture.

Craving The Recipe Details?
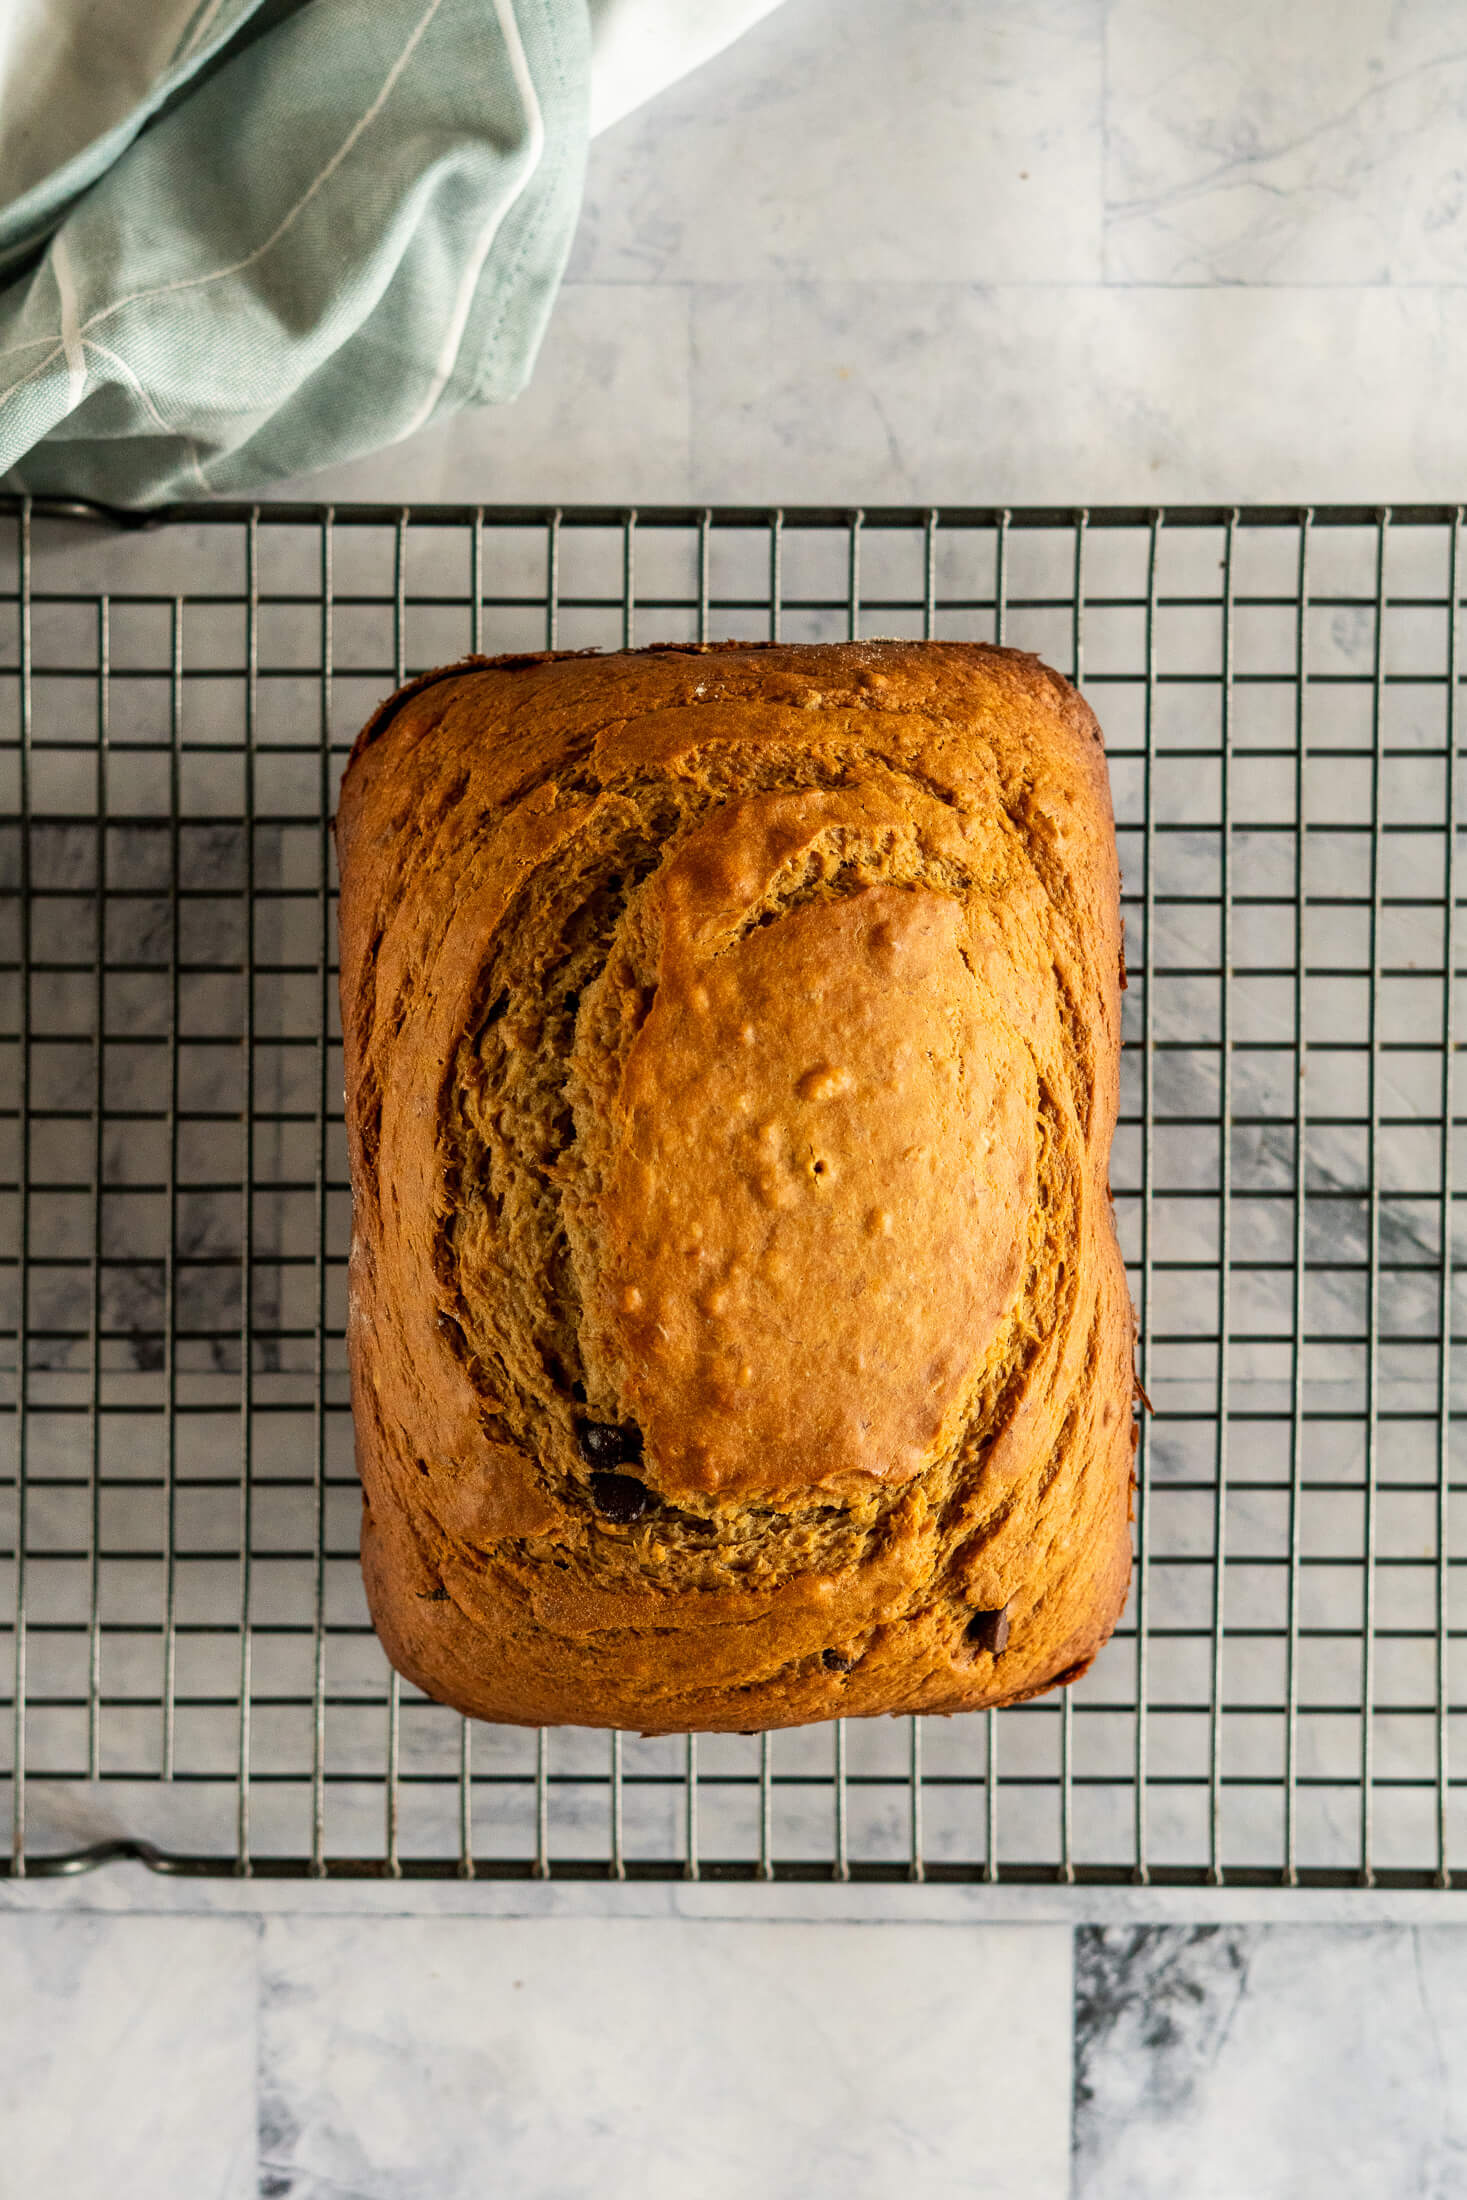
What it is: A moist, tender banana bread mixed and baked in a bread machine – no yeast or oven required.
Why you’ll love it: Brown sugar and sour cream help give this loaf its rich flavor and tender crumb, while the bread machine handles all the mixing and baking,
How to make it: Mash bananas, add the wet ingredients to the bread machine pan, top with dry ingredients, select appropriate cycle and bake until set.
I’m guilty. And you might be too!
I’ve been treating my beloved bread machine like… well, a bread machine, BUT they can do so much more.
One great example is banana bread. This tasty and easy-to-make treat is a great way to use up extra bananas, and it’s the perfect way to show off your bread machine’s capabilities. Plus, banana bread is a cinch to make in your bread maker.
The moral of the story here is: don’t be afraid to experiment with your bread machine. With a little creativity, you can turn out some truly amazing dishes.
This bread machine banana bread recipe is dedicated to guilt!
Jump to:

Key Ingredients
Bananas: Use overripe bananas, but don’t panic if they aren’t completely covered in black spots. In fact, I prefer to use bananas when they’re just starting to get spotty. They lend a more subtle sweet banana flavor. If you prefer to use fully brown bananas, that works too!
Brown Sugar: When baking this bread, I usually use dark brown sugar, because I prefer the more subtle caramel flavor and the moistness that brown sugar brings to baked goods. Light brown sugar will also work.
Sour Cream: The sour cream will not make your bread tangy, but it will make your bread incredibly moist and tender.
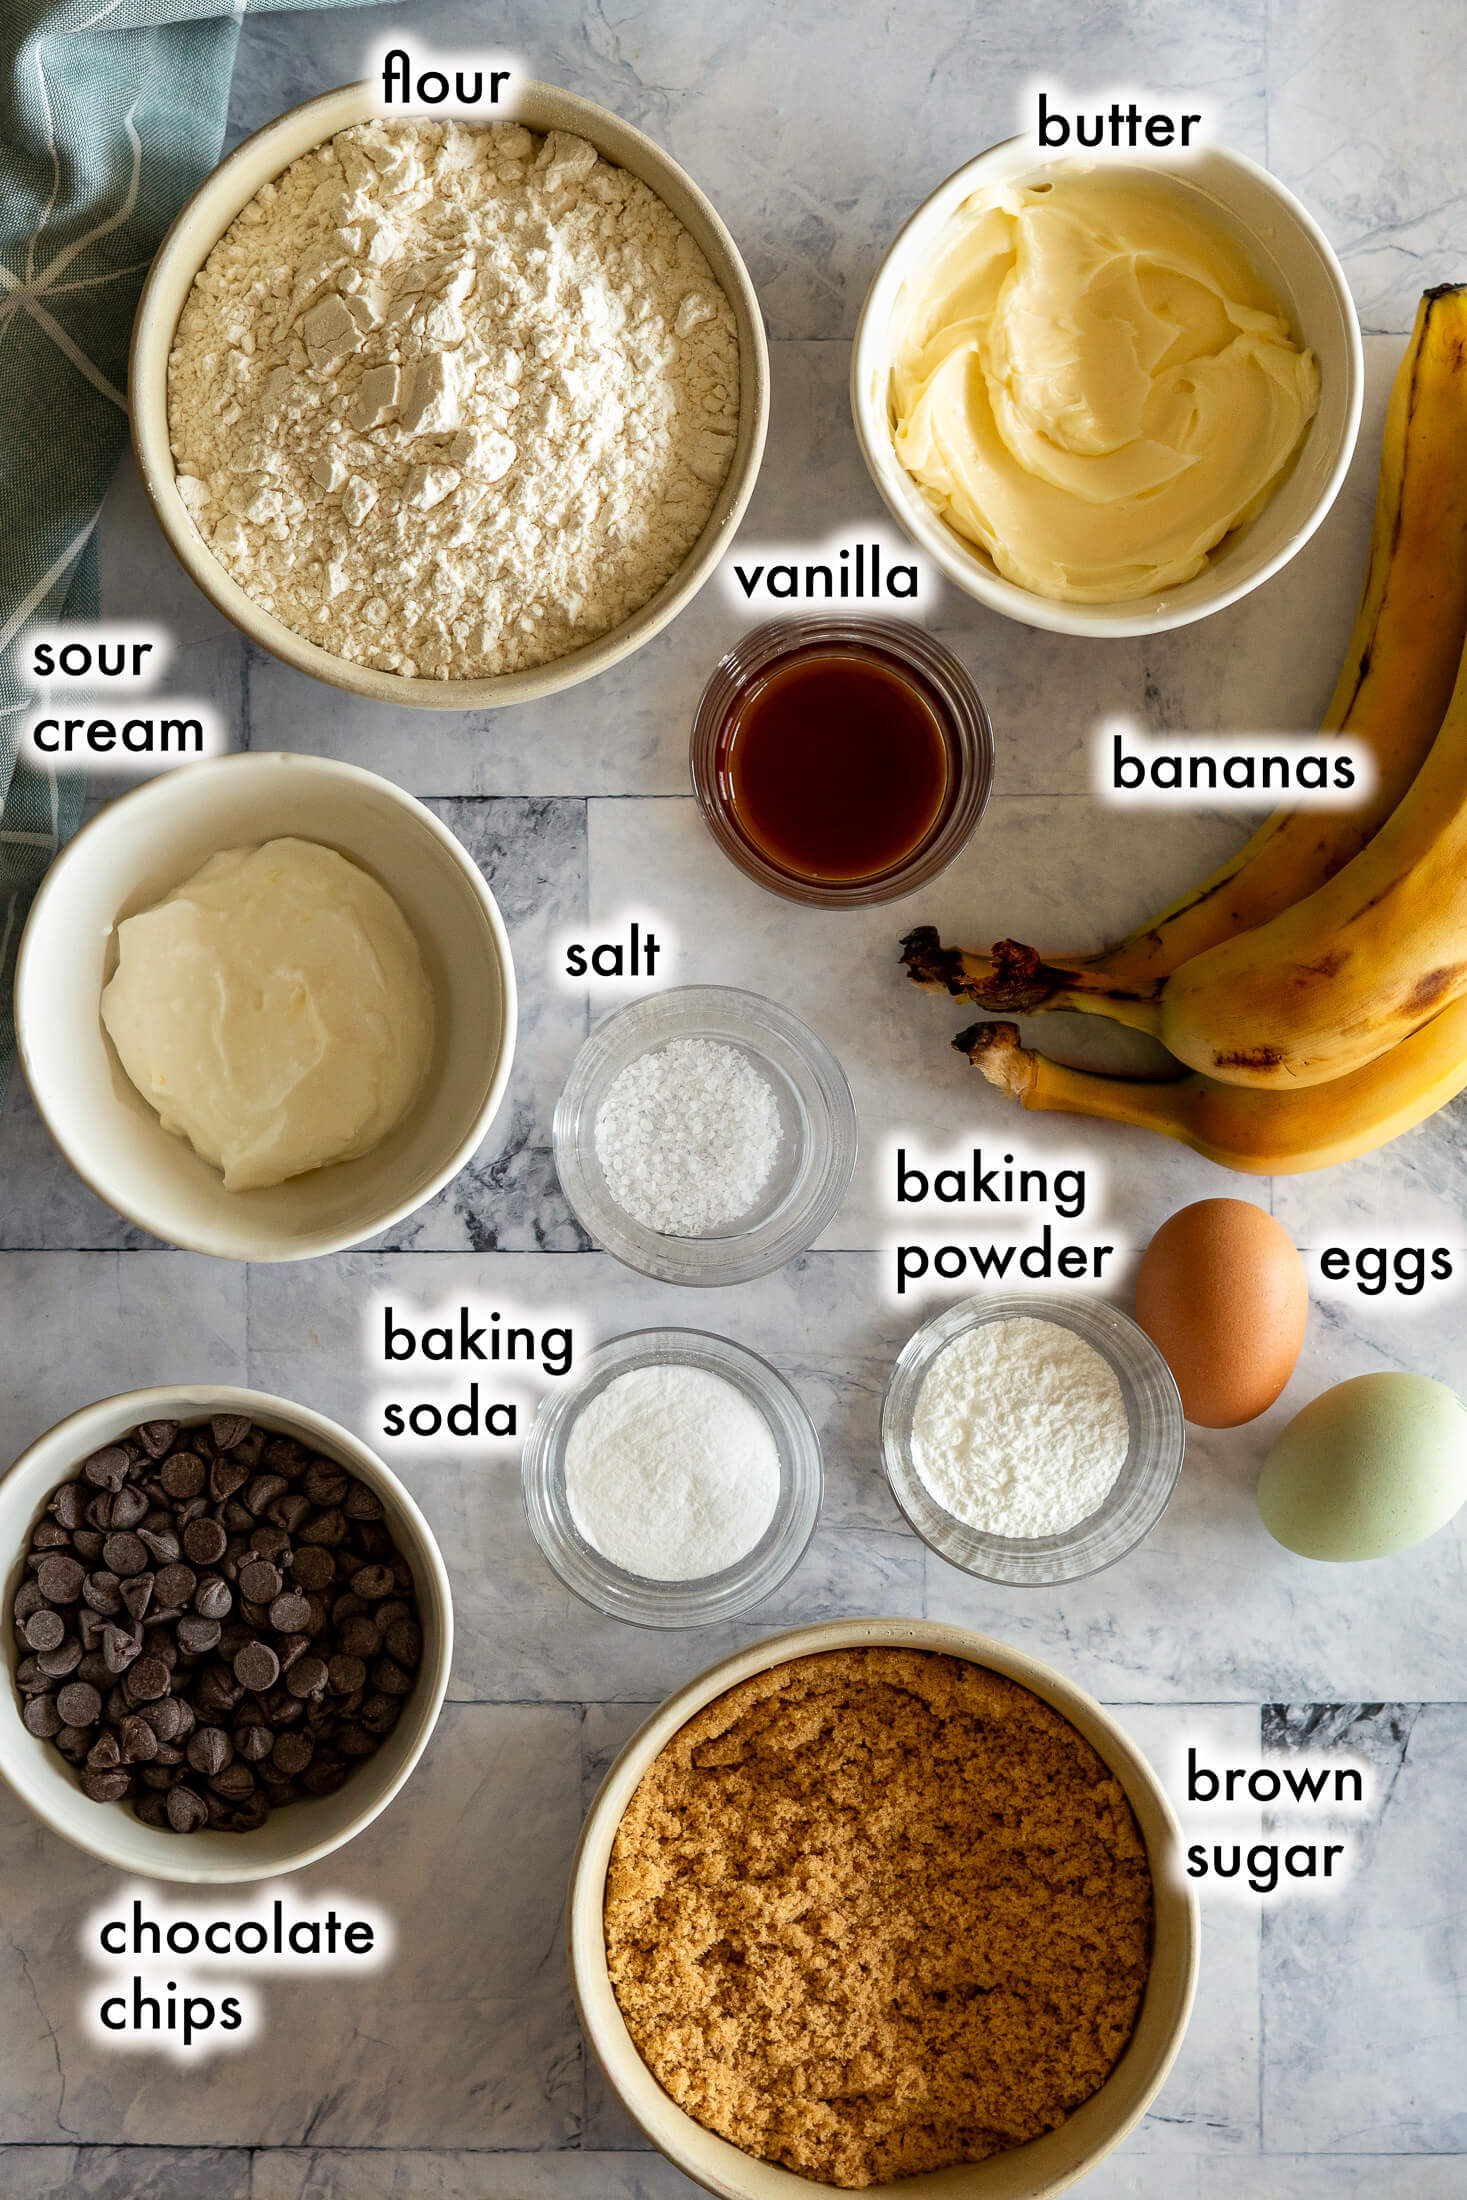
How To Make Bread Machine Banana Bread
Recipe testing note:
I developed and tested this recipe in my Breville Custom Loaf bread maker, but bread machines vary considerably in mixing patterns, pan size, and bake temperature. Use the visual and doneness cues rather than assuming all machines will finish at the same time.
Combine Ingredients:

- Step 1: Remove the bread pan from your bread machine and set aside. In a microwave-safe bowl, melt 1/2 cup of butter, and add to the bread pan.

- Step 2: Meanwhile, beat 2 large eggs and mash 3 medium ripe bananas (about 1 cup).

- Step 3: Pour beaten eggs and mashed bananas into the pan of your bread maker.

- Step 4: Add 1/4 cup of sour cream, 1 teaspoon of vanilla extract, and 1 packed cup of brown sugar to the bread pan.

- Step 5: Sprinkle 2 cups of all-purpose flour on top of the wet ingredients.

- Step 6: Followed by 1 teaspoon of baking soda, 1 teaspoon of baking powder, and 1/2 teaspoon of coarse kosher salt.
Bake Bread:
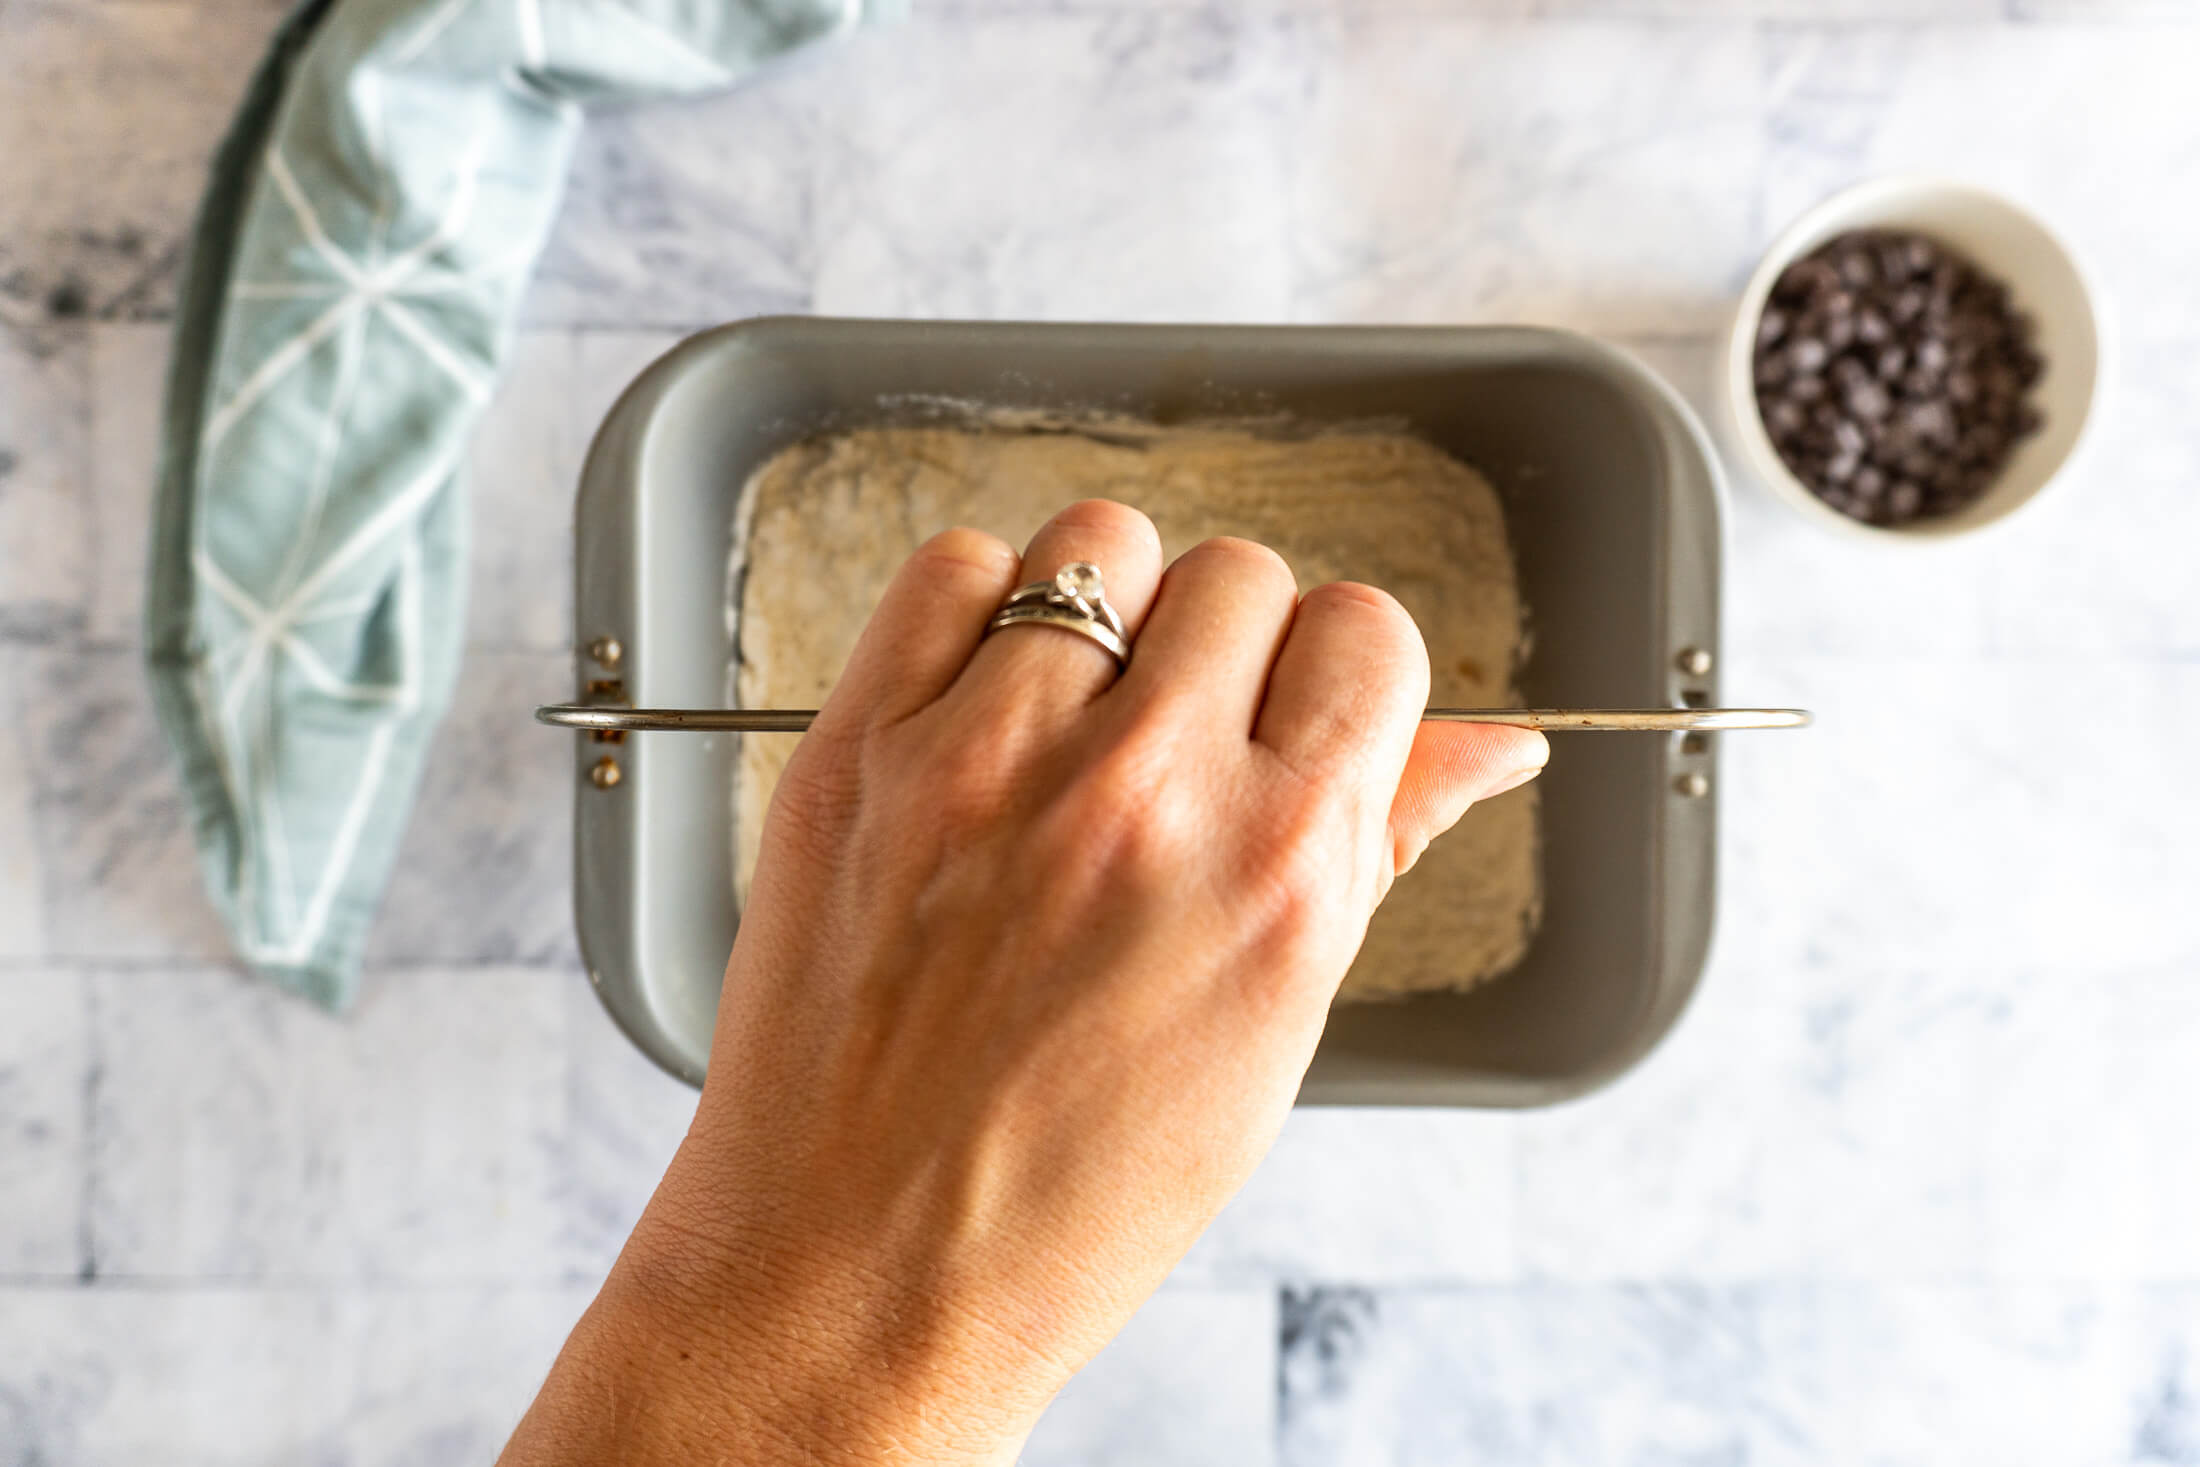
- Step 7: Return bread pan to bread machine. And select the Yeast Free Bread or Quick Bread setting then press start.
Which bread machine setting should I use?
Banana bread is a quick bread, so you’ll want a setting that skips the rise cycle completely. These are often called “Quick Bread”, “Cake”, “Batter Bread”, or “Yeast Free”. “Rapid”and “Express” settings are built for yeast breads and won’t work here. “Sweet Bread” is a coin flip – for some machines it’s a quick bread cycle and for others it’s designed for enriched yeasted doughs. See Best Settings below for how to confirm you’ve got the right one.

- Step 8: If equipped, add 1 cup of chocolate chips, chopped nuts, or a combination of both to the Fruit And Nut Dispenser on your bread machine. If your machine does not have a dispenser, add the chocolate and nuts during the break between the first and second mixing cycles.
- Step 9: Allow bread to bake in the bread machine. Checking for doneness starting with 15 minutes left.
Test the bread machine banana bread for doneness by using a toothpick inserted into the loaf.
If the toothpick comes out clean, the loaf is ready, if not, the loaf needs more time.
How do I know when the banana bread is done?
Start checking with 15 minutes left in the bake cycle:
- Near the center: Insert a toothpick or skewer into the center of the loaf, not near the edge.
- Look for wet batter: A few moist crumbs stuck to the toothpick are fine, but not raw batter clinging to the toothpick.
- Check the top: the top should look set, and chestnut brown in color, not shiny, soft, or jiggly.
- Check the edges: the edges should be brown in color and pulling away slightly from the sides of the bread pan.
- Step 10: Once the bread is fully cooked, remove the loaf pan from the bread machine using oven mitts and allow it to sit undisturbed for 5-10 minutes, before turning it out onto a wire rack.
- Step 11: Allow banana bread to cool for at least 45-60 minutes before removing the mixing paddle and slicing. Slicing your banana bread before it is completely cooled will often cause a crumbly crumb.
Expert Tips
- Layer it right. If you have your manufacturer’s manual, follow their ingredient order – some machines are picky about it. If you don’t, do what I do: liquid first, then dry on top. It’s a safe bet across most machines.
- Wait for the beep. Add nuts or chocolate chips after the first mixing cycle, not before. My Breville Custom Loaf has a Fruit + Nut Dispenser that handles this automatically, but if yours doesn’t, just listen for the pause between cycles. Add them too early and they may sink to the bottom of the loaf.
- Don’t overload it. Keep your mix-ins to 1 cup total, whether that’s all nuts, all chocolate chips, or split between the two – say 1/2 cup chips and 1/2 cup walnuts.
- Watch the first one. The mixing paddle is small, the bread pan is big, so the first time you make this, keep an eye on the mixing cycle in case you need to scrape the sides with a spatula.
- Don’t fully trust the clock. My Breville Custom Loaf (BBM800XL) usually finishes this banana bread 10 minutes before the bake cycle ends, so I start checking early. If yours passes the done check, hit cancel, unplug your machine, and remove the pan with an oven mitt.
Why This Recipe Works
Ripe bananas aren’t just sweeter – they’re actually different. As a banana ripens, enzymes convert its starches into sugars, which is why a spotty banana tastes sweeter than a firm green one. The softer flesh also releases its moisture more easily, helping to prevent a dry, bland loaf.
Layering ingredients is about timing. Baking soda and baking powder start reacting the moment they come into contact with liquid, so they less time they spend in contact with the wet ingredients the better your rise.
Sour cream is doing double duty. Its fat adds tenderness the same way butter does, but its acidity also helps to give baking soda an extra boost. Baking soda needs an acidic ingredient to fully activate, so sour cream helps boost leavening.
Bread Maker Banana Bread FAQs
This recipe is written for a machine with a 1.5 – 2 lb loaf capacity. If your bread machine is on the smaller/compact side, you may want to check your manual for your machine’s capacity before starting.
This is almost always a setting or timing issue rather than a recipe issue. Undercooked center usually means either the wrong cycle was selected (see setting section above for more information) or the loaf needed extra bake time beyond what your machine allowed. If the toothpick isn’t coming out clean at the end of the cycle, you can use a “Bake Only” cycle to add another few minutes of baking time.
A faint metallic or bitter taste is typically a sign of baking soda or baking powder that didn’t fully dissolve. A small undissolved pocket can taste sharp and slightly metallic when you bite into it. If this happens to you, you can prevent it next time by whisking the baking soda and baking powder into the flour before adding to the bread pan.
Homemade banana bread can be kept at room temperature in an air-tight bag or container for up to 3 days - if it lasts that long!
This banana bread can easily be stored in the freezer for 3-4 months; either whole or in slices.
Whole loaf: once completely cooled, carefully wrap it in plastic wrap or tin foil. Place the wrapped loaf into a ziplock bag and store it in the freezer for later enjoyment. To thaw, simply remove the loaf from the freezer and unwrap it before thawing at room temperature.
Sliced: once completely cooled, slice into desired width slices, we like 1/2″. Wrap 1-2 slices in plastic wrap before placing the slices into a ziplock bag and storing them in the freezer for later. To thaw, remove the slices from the freezer and thaw, wrapped at room temperature.
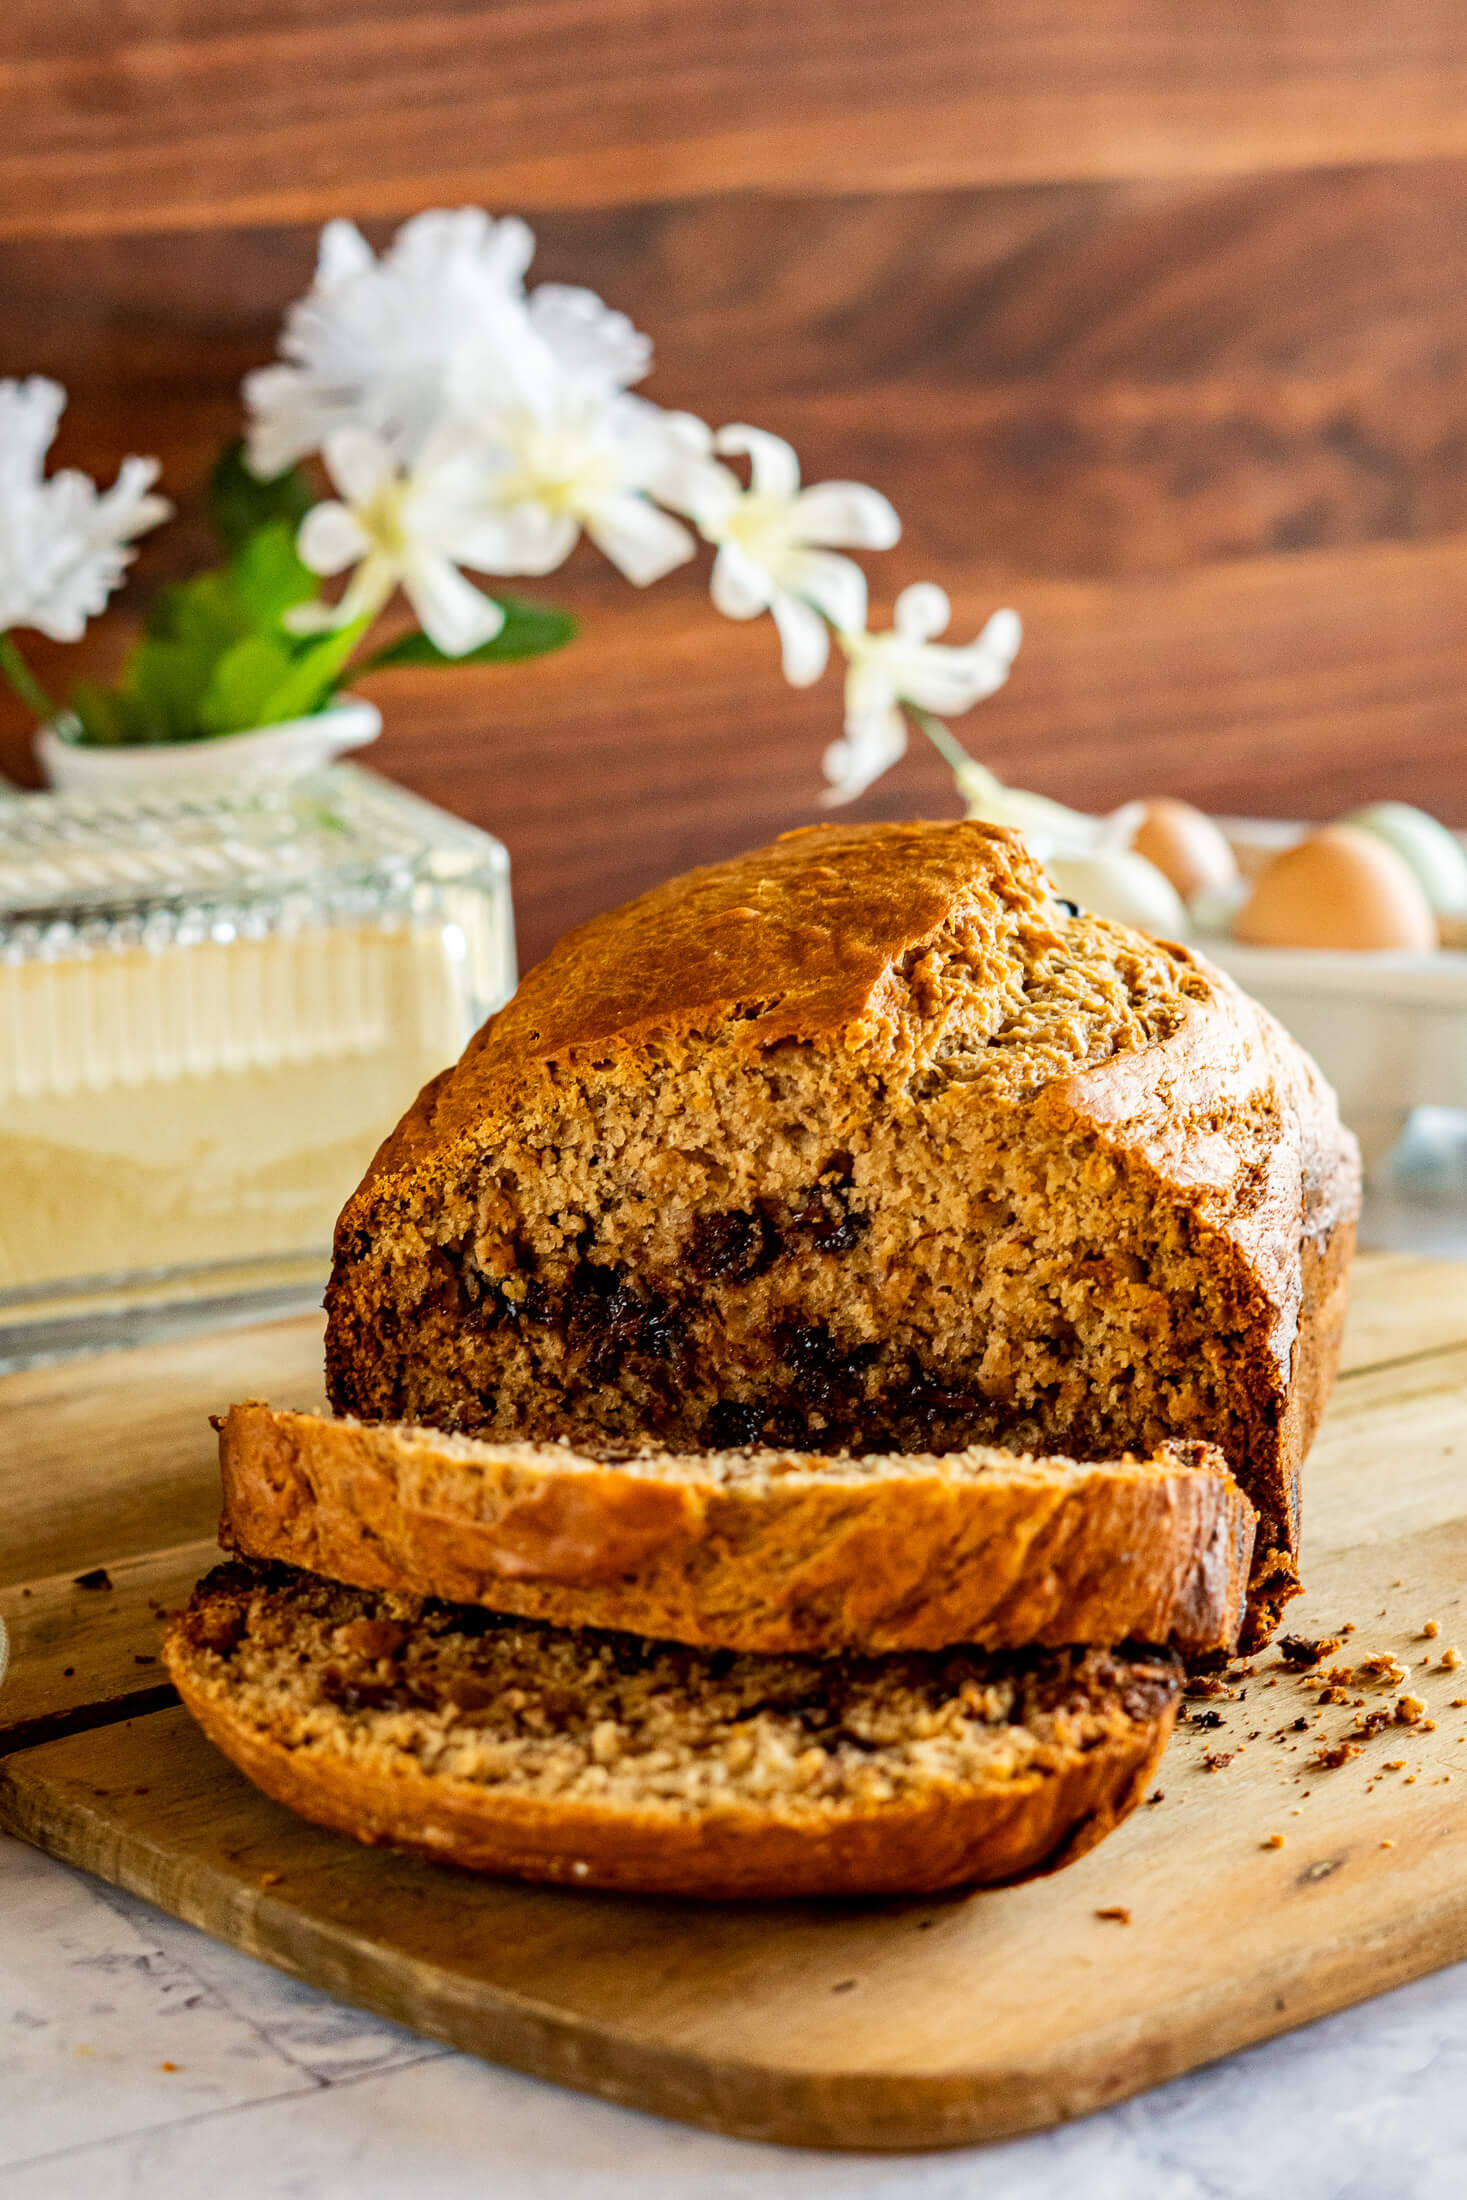
Best Settings For Bread Machine Banana Bread
Banana bread is a quick bread. The rise in this recipe comes from baking powder and baking soda, not yeast, which means it doesn’t need (and can’t handle) a yeast rise or punch down cycle.
The setting you want skips those phases entirely and goes straight from mixing to baking. Depending on your machine, that may be labeled:
- Quick Bread
- Yeast – Free
- Cake
- Batter Bread
Note: Some machines call certain non-yeast programs “Sweet Bread” but this varies by the manufacturer, so check the manual before using that cycle.
If you’re still not sure, I recommend consulting your owner’s manual for help choosing the proper setting for this recipe. It’s important to know what’s going to happen during that baking cycle to ensure that you get predictable, yummy results.
If you don’t have access to your owner’s manual, do an online search for “[your brand] [your model] manual”. For example, my bread machine search terms are “Breville BBM800XL manual”. Most manufacturers make their manuals accessible online, thankfully!
If your Google-fu runs out and you simply cannot find a manual or information anywhere, check your machine’s cycle time. You want a cycle that goes from mixing to baking, and they generally run between 1 hour 20 minutes and 1 hour 40 minutes. If it shows under an hour or well over an hour and a half, or includes a “punch down” or “rise” phase, you’re in the wrong setting.
More Bread Machine Recipes To Try:


If you tried this Bread Machine Banana Bread recipe or any other recipe on my blog, please leave a 🌟 star rating and let me know how it went in the comments below. Thanks for visiting!
📖 Printable Recipe

Bread Machine Banana Bread
Ingredients
- ½ cup butter, unsalted
- 2 eggs, large
- ¼ cup sour cream, full fat
- 3 medium bananas, about 1 cup
- 1 teaspoon vanilla extract
- 1 cup dark brown sugar, packed
- 2 cups all purpose flour
- 1 teaspoon baking soda
- 1 teaspoon baking powder
- ½ teaspoon coarse kosher salt
- 1 cup add ins, like chocolate chips or chopped nuts (optional)
Instructions
- Remove the bread pan from the bread machine and set it aside.
- In a microwave-safe bowl, melt 1/2 cup of butter. Meanwhile, beat 2 large eggs and mash 3 medium ripe bananas (about 1 cup).
- Pour melted butter, beaten eggs, and mashed bananas into the pan of the bread maker. Add 1/4 cup of sour cream, 1 teaspoon of vanilla extract, and 1 packed cup of brown sugar to the bread pan.
- Sprinkle 2 cups of all-purpose flour on top of the wet ingredients. Followed by 1 teaspoon of baking soda, 1 teaspoon of baking powder, and 1/2 teaspoon of coarse kosher salt.
- Return bread pan to bread machine. And select the Yeast-Free Bread setting (see below for more information on settings) then press start. Keep an eye on your bread machine during the mixing part of the process, it may be necessary to use a rubber spatula to scrape down the sides to ensure complete mixing.
- If equipped, add 1 cup of chocolate chips, chopped nuts, or a combination of both to the Fruit And Nut Dispenser on your bread machine. If your machine does not have a dispenser, add the chocolate and nuts during the break between the first and second mixing cycles.
- Bake bread in the bread machine. Checking for doneness starting with 15 minutes left. -Near the center: Insert a toothpick or skewer into the center of the loaf, not near the edge.-Look for wet batter: A few moist crumbs stuck to the toothpick are fine, but not raw batter clinging to the toothpick.-Check the top: the top should look set, and chestnut brown in color, not shiny, soft, or jiggly.-Check the edges: the edges should be brown in color and pulling away slightly from the sides of the bread pan.
- Once the bread is fully cooked, remove the loaf pan from the bread machine using oven mitts and allow it to sit undisturbed for 5-10 minutes, before turning it out onto a wire rack.
- Allow banana bread to cool for at least 45-60 minutes before removing the mixing paddle and slicing. Slicing your banana bread before it is completely cooled will often cause a crumbly crumb.
Notes
Expert Tips
- Layer it right. If you have your manufacturer's manual, follow their ingredient order - some machines are picky about it. If you don't, do what I do: liquid first, then dry on top. It's a safe bet across most machines.
- Wait for the beep. Add nuts or chocolate chips after the first mixing cycle, not before. My Breville Custom Loaf has a Fruit + Nut Dispenser that handles this automatically, but if yours doesn't, just listen for the pause between cycles. Add them too early and they may sink to the bottom of the loaf.
- Don't overload it. Keep your mix-ins to 1 cup total, whether that's all nuts, all chocolate chips, or split between the two - say 1/2 cup chips and 1/2 cup walnuts.
- Watch the first one. The mixing paddle is small, the bread pan is big, so the first time you make this, keep an eye on the mixing cycle in case you need to scrape the sides with a spatula.
- Don't fully trust the clock. My Breville Custom Loaf (BBM800XL) usually finishes this banana bread 10 minutes before the bake cycle ends, so I start checking early. If yours passes the done check, hit cancel, unplug your machine, and remove the pan with an oven mitt.
- Banana bread is a quick bread, so you’ll want a setting that skips the rise cycle completely. These are often called “Quick Bread”, “Cake”, “Batter Bread”, or “Yeast Free”. “Rapid”and “Express” settings are built for yeast breads and won’t work here. “Sweet Bread” is a coin flip – for some machines it’s a quick bread cycle and for others it’s designed for enriched yeasted doughs. See Best Settings in the article for how to confirm you’ve got the right one.


Made as directed and baked on bread machine’s ‘cake’ setting with medium crust selected and it came out perfectly. Simple, delicious recipe and nice to bake in warmer weather without needing to turn on the oven. Will make again. Thanks!
Made this per instructions, tasted metallic and didn’t cook all the way through. What size loaf is this recipe for? I think if I retried this recipe I would not put in baking powder.
My bread machine is the Breville Custom Loaf. Capacity is 1 – 2.5 lb loaves.
I’m not sure why it would have a metallic taste, I’ve never had that happen when I’ve made this recipe, I wonder if it was a pocket of undissolved or unmixed baking powder?
Ended up using the cake setting as suggested. Everything seemed way too wet after mixed and before baking so I had to add a good couple more sprinkles of flour into the mix to make it thicken up a bit. It already ran a full 1 hour 10 min cycle. It’s raised up very nicely but the entire thing still is sticky and wet. I just added another 45 mins to my machine and I’m keeping an eye on it. I really hope this turns out. Everything I’ve made in this machine has been great and with out fail so far but I’m terrified this one is a fail. It’s got a good rise to it and it’s not sunk in the middle currently. It looks great over all but hopefully more baking time will full cook it and it’s not a trash job. As it started to bake I noticed the outsides puffed up very quickly and the entire middle was sunken in. I panicked but just let it go and keep baking. Now we’re near the end and it looks like a beautiful loaf so I’m very hopeful! It smells wonderful. I’m really looking forward to banana bread with fingers crossed!
Delicious bread. Ingredients as listed. I did combine my baking powder, soda and salt in the flour instead of just dumping on top. A very moist.
Bread with a fabulous dark color using the brown sugar and medium crust on the Zojirushi Virtuoso cake setting.
Thank you for sharing! Glad you enjoyed the recipe <3
Delicious! Easy! Keeper recipe!
I have the same bread machine and my only issue was the chocolate chips went to the bottom & burnt. I added them to the dispenser…? It was still relish, we will try again … maybe it was a fluke
Would love more recipes for the Breville bread maker!
I’m not sure why the chips would have sunk! I’ll think about why!
I have a few bread machine recipes I make in Breville!
This banana bread was so so moist!! I did as suggested and scraped down the sides and bottom of the pan before the actual baking started and it was a big hit. I brought it for dessert to a friend’s place and it didn’t even need butter. Will make again for sure!