
Amish Friendship Bread Starter

This Amish Friendship Bread starter recipe makes sweet, fermented starter from flour, sugar, milk, and commercial yeast – no friend or established starter required! Follow the easy 10 day cycle to make your own sweet starter.

This Amish Friendship Bread starter recipe makes a sweet, fermented base that’s easy to make from scratch and perfect for baking. Use it in quick breads, muffins and the classic Amish Friendship Bread recipe. It’s a fun, low-fuss way to start baking with a living ferment.
I love sourdough bread. The tangy flavor and chewy texture are so delicious, and I enjoy the methodical process of caring for a starter and turning it into beautiful loaves. I’m always experimenting with new ways to bake with sourdough and have been branching out into different naturally fermented breads.
That’s where this sweet Amish starter comes in.
Unfortunately for me, I don’t have many friends who like to share their living space with fermenting foods, so I had to create my own Amish starter. That’s okay, because now you can make your own too!
This Amish friendship bread starter recipe is dedicated to befriending ferments.
Jump to:
- Craving The Recipe Details?
- What is Amish Friendship Bread?
- Key Ingredients
- How To Make Amish Friendship Starter
- What To Do With Amish Friendship Bread Starter
- The 10 Day Cycle Explained
- Expert Tips
- Why This Recipe Works
- Sweet Amish Friendship Starter FAQs
- Storing Sweet Starter In The Fridge
- Can You Freeze Amish Friendship Bread Starter?
- Is My Starter Healthy?
- 📖 Printable Recipe
Craving The Recipe Details?
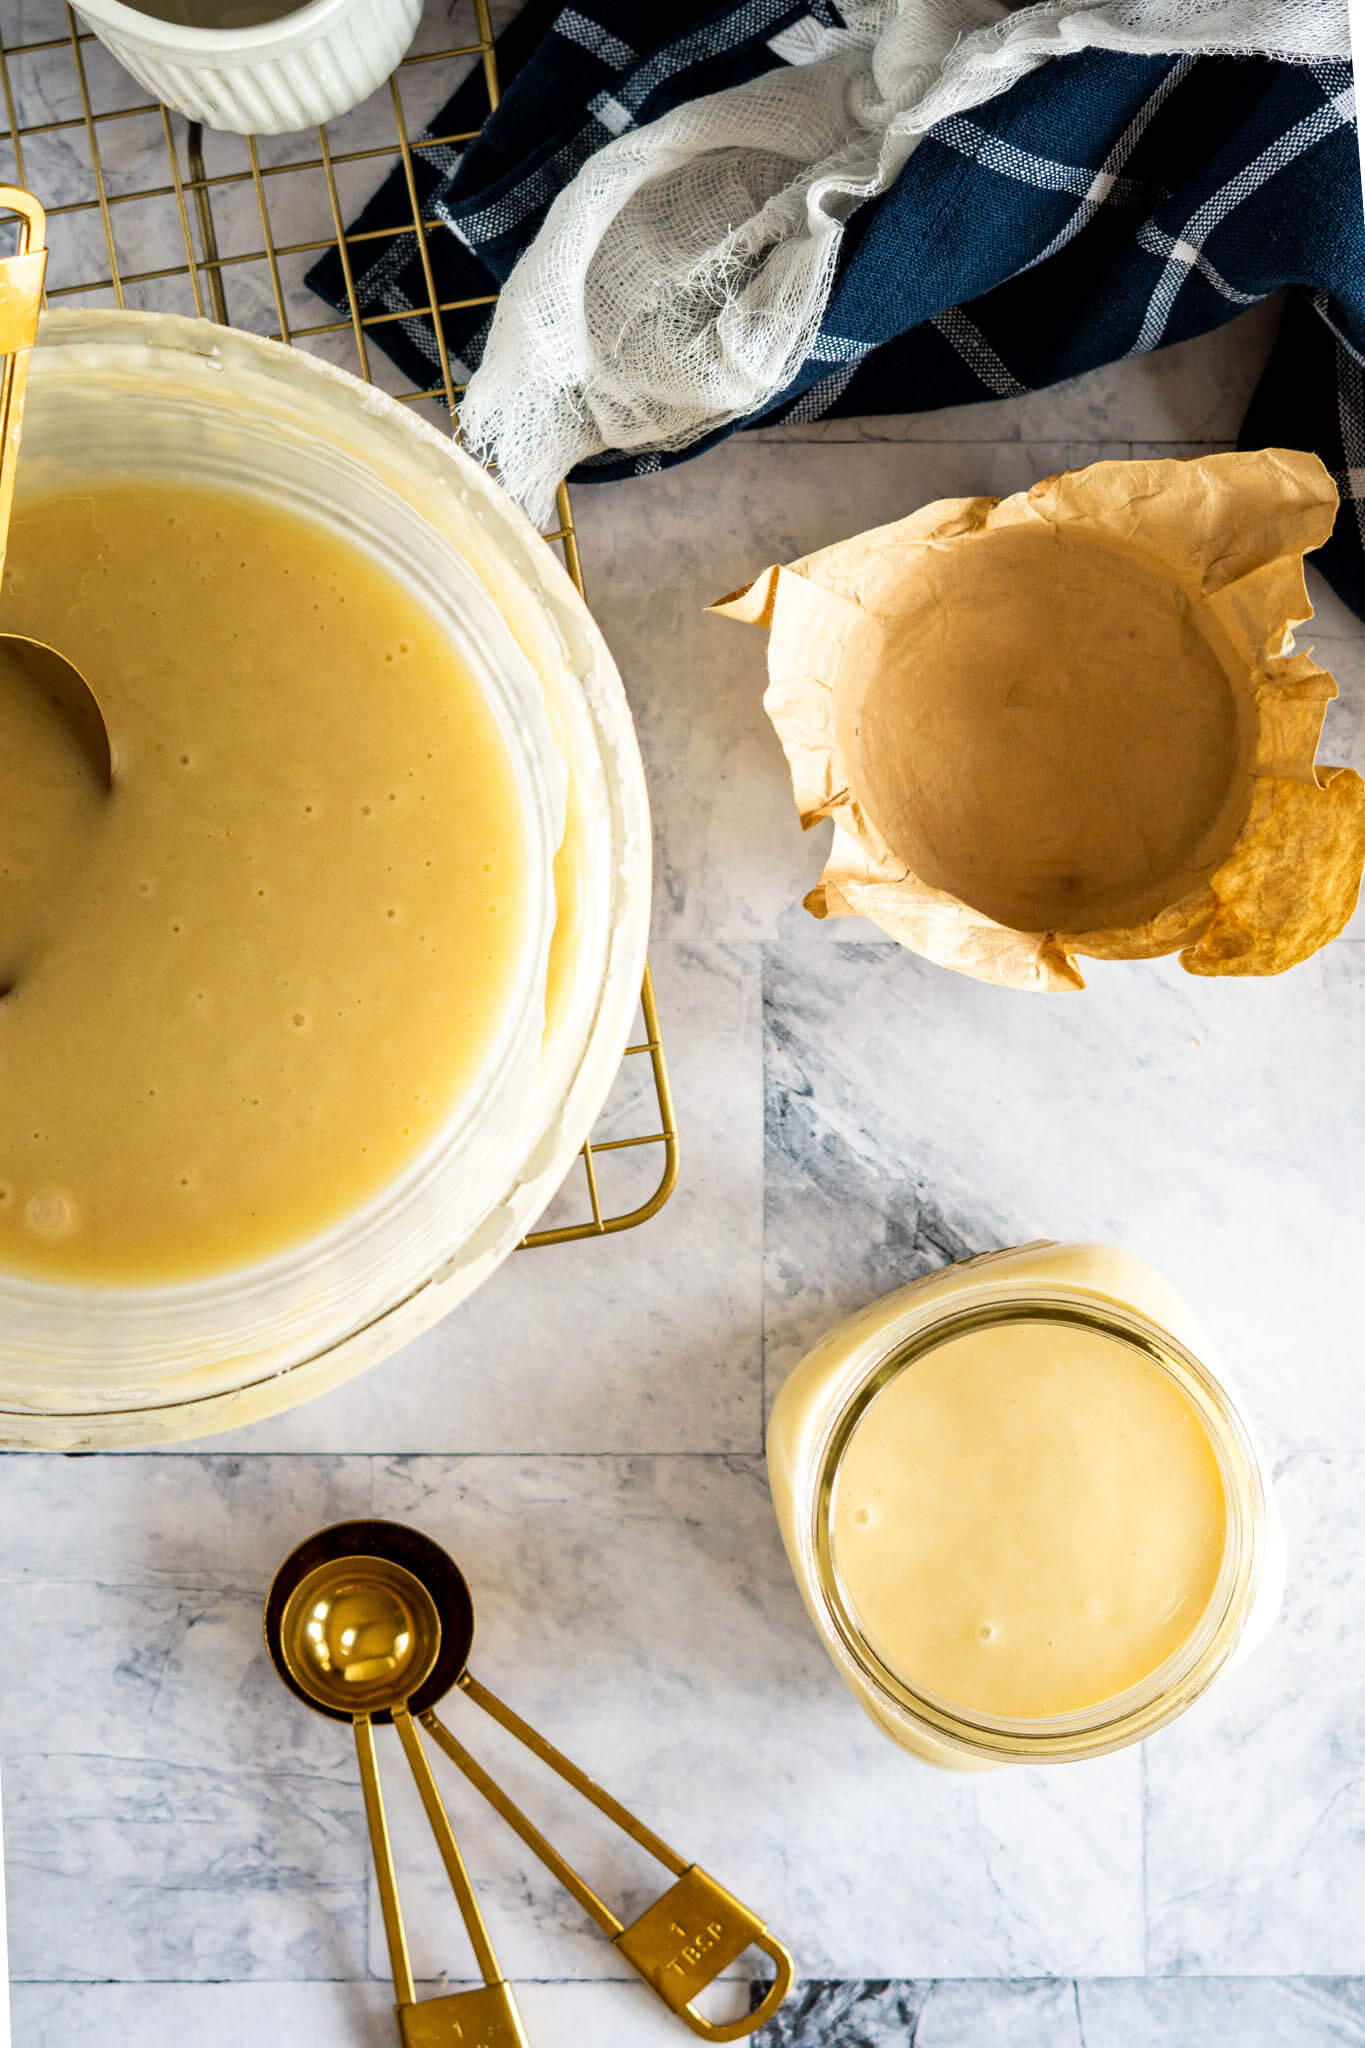
What it is: A sweet, fermented starter made with flour, sugar, milk, and commercial yeast. Unlike traditional sourdough starter, it follows a feeding and stirring cycle.
Why you’ll love it: It adds a subtle tang, fermented flavor, and tender texture to Amish Friendship Bread and other sweet bakes.
How to make it: Mix the flour, sugar, milk, and yeast, then stir the starter daily, feed it on Days 5 and 10. On Day 10, divide into portions to bake with, share, freeze, continue another 10 day cycle.
What is Amish Friendship Bread?
Metaphorically, it’s the chain letter of the baking world, an easy way of sharing love from your kitchen to another.
In reality, an Amish friendship starter is a fermented culture, but it isn’t quite the same thing as a traditional sourdough starter. This sweet version uses commercial yeast to kick-start fermentation along with flour, sugar, and milk. The added milk and sugar give the starter its characteristic sweet tangy profile and make it different from a traditional starter.
Amish starter is generally used when baking sweet bread, cakes, muffins, and other recipes that don’t require yeast for leavening. That’s why you’ll see it called “Amish sourdough starter”, even though the process is different from maintaining a flour and water starter.
Friendship bread gets its name from the tradition of sharing a portion of the starter with friends, rather than discarding starter like with sourdough, so they can make their own batch of Amish Friendship Bread!
So if you’re looking for an excuse to share some love instead of loaves, you should certainly give this recipe a whirl!
Key Ingredients

Warm water: The active dry yeast needs to be proofed, or activated, in the water before combining all the ingredients. Aim for a temperature around 100f for proofing yeast, if you don’t have a thermometer, test it on the inside of your wrist like you’d test a baby bottle.
Flour: The sweet bread or treats made with this starter generally don’t require gluten development for leavening so all-purpose flour is an excellent choice. Save your expensive bread flour for bread.
Sugar: Use granulated white sugar for this recipe, it does not require anything fancy, just an easy-to-process sugar for the yeast to eat.
Active Dry Yeast: You’ll need one packet or about two and a quarter teaspoons of active dry yeast for this recipe.
Milk: Whole milk is ideal, but any percentage will work.
How To Make Amish Friendship Starter
Day 1:

- Step 1: In a small bowl, combine 1/4 cup warm water with 2 1/4 teaspoons of active dry yeast. Set the bowl aside for 5-10 minutes to allow the yeast to bloom.

- Step 2: Meanwhile, whisk 1 cup of flour and 1 cup of sugar in a large bowl with at least 2-quart capacity.

- Step 3: When the flour and sugar are completely combined, mix in 1 cup of milk.

- Step 4: Once the yeast has been fully activated and is bubbly, pour the yeast mixture into the flour mixture and stir until fully combined.

- Step 5: Cover it with a clean kitchen cloth, a kitchen dedicated shower cap, or plastic wrap and store it at room temperature.

- Step 6: It may help to write yourself a post-it note with the dates of each day of the 10 day cycle.
Days 2 – 4:

- Step 7: Each day, uncover the bowl and stir the mixture thoroughly, scraping the sides as required.

- Step 8: Recover and set aside until the next day.
Day 5:

- Step 9: Uncover the bowl and prepare to feed the starter.

- Step 10: Add 1 cup milk, and stir until completely combined before moving on.
Here’s what I do:
I always feed with the milk first, it helps to loosen up the starter and make it much easier to stir in the thicker ingredients!

- Step 11: Add 1 cup of granulated sugar and stir until completely combined.

- Step 12: Add 1 cup flour and mix until mostly smooth, a few flour lumps remaining is ok. Re-cover the bowl and set aside until Day 6.
Days 6 – 9:
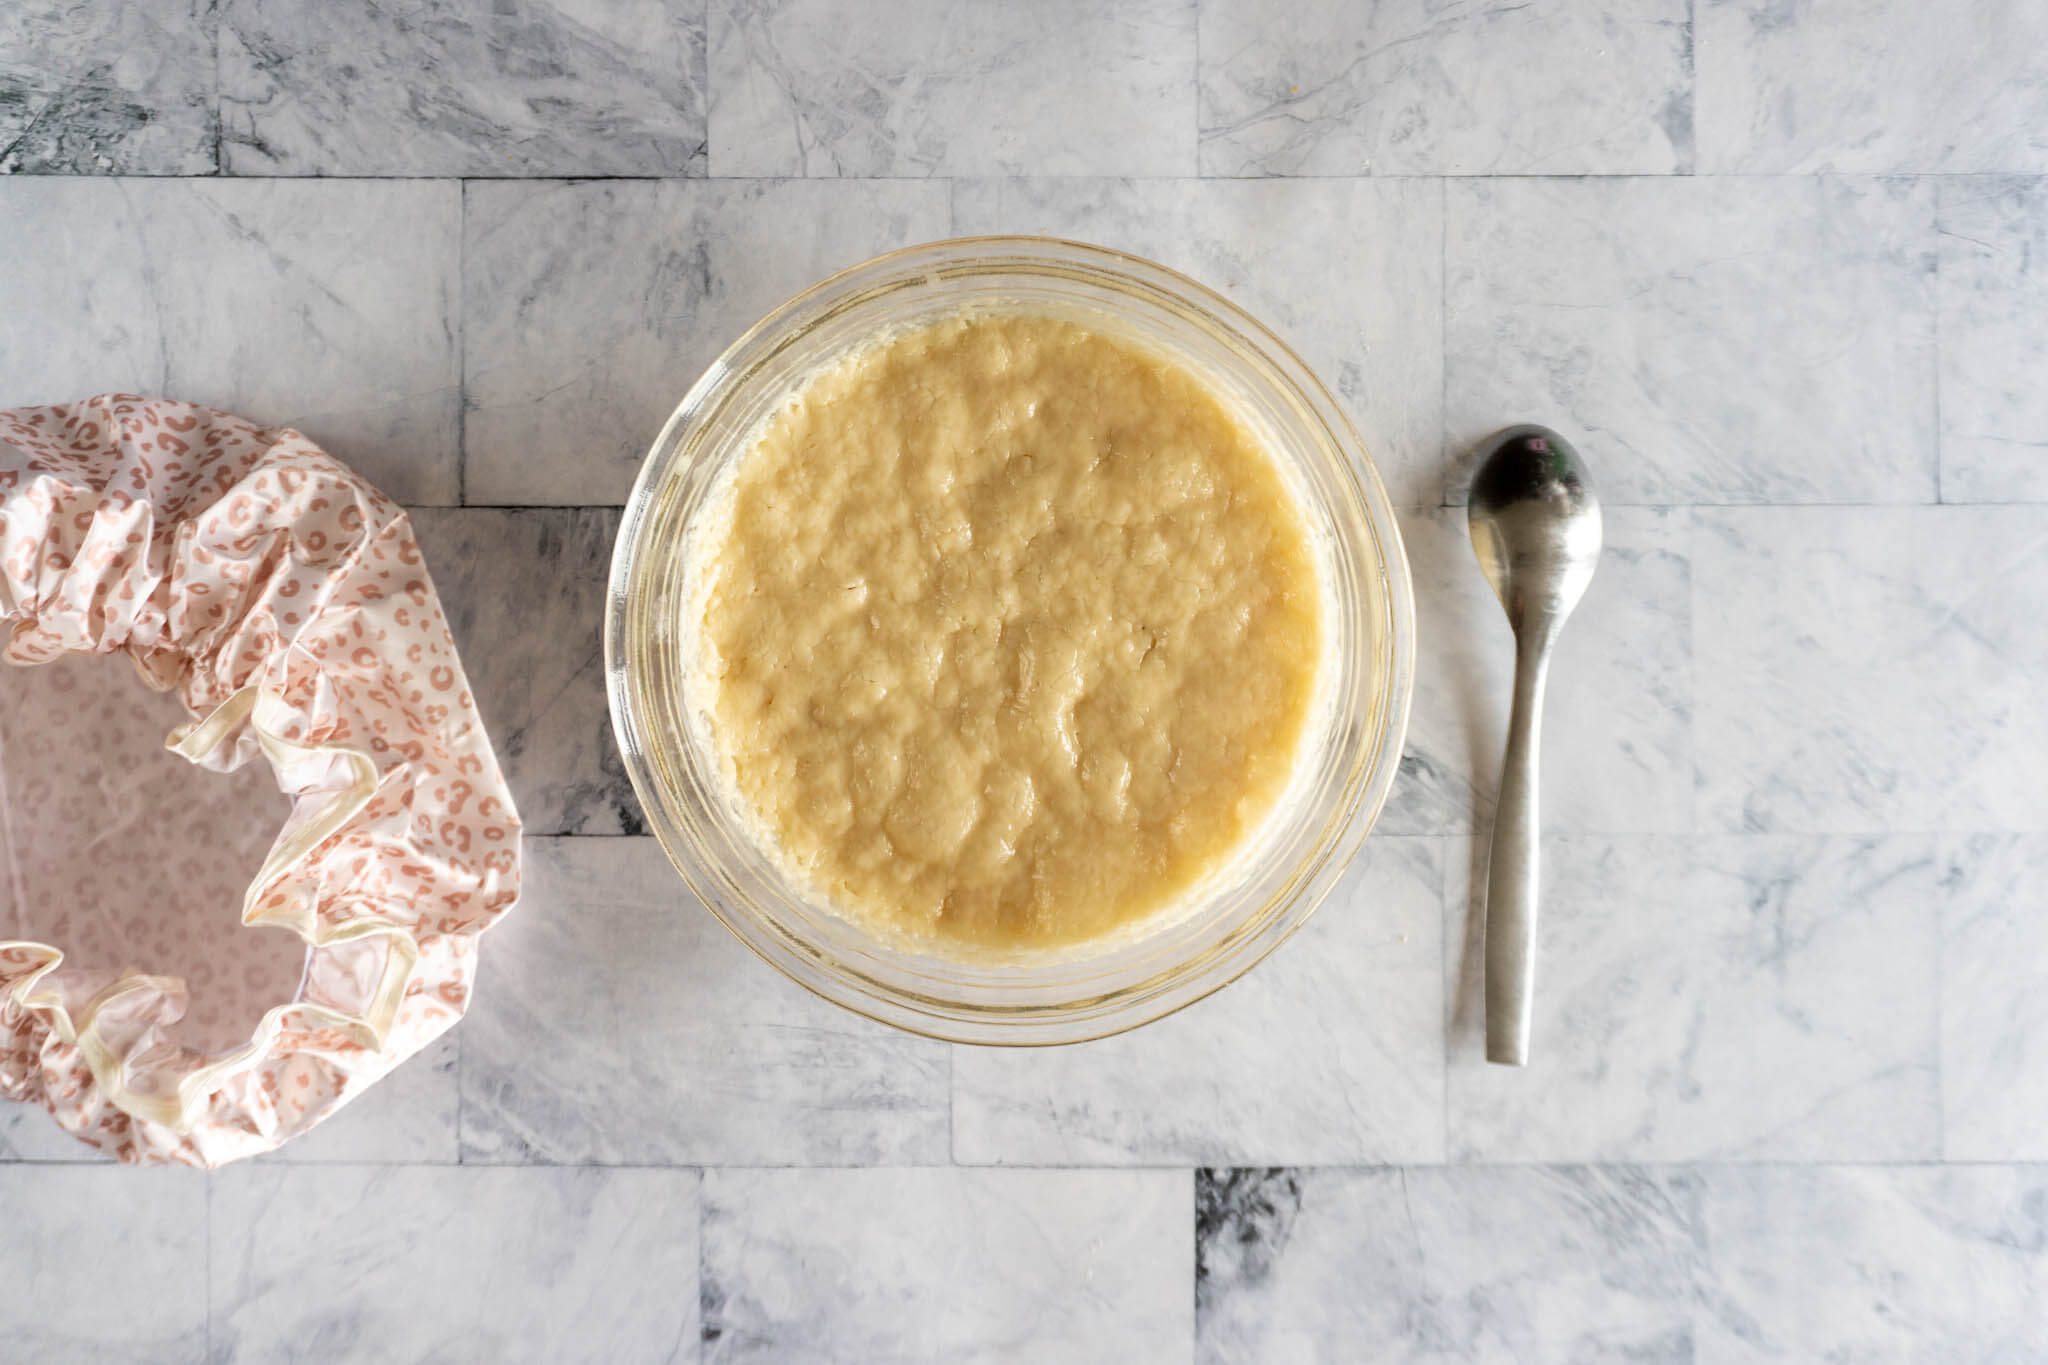
- Step 13: Each day: Uncover the bowl and stir the mixture thoroughly, scraping the sides as required.
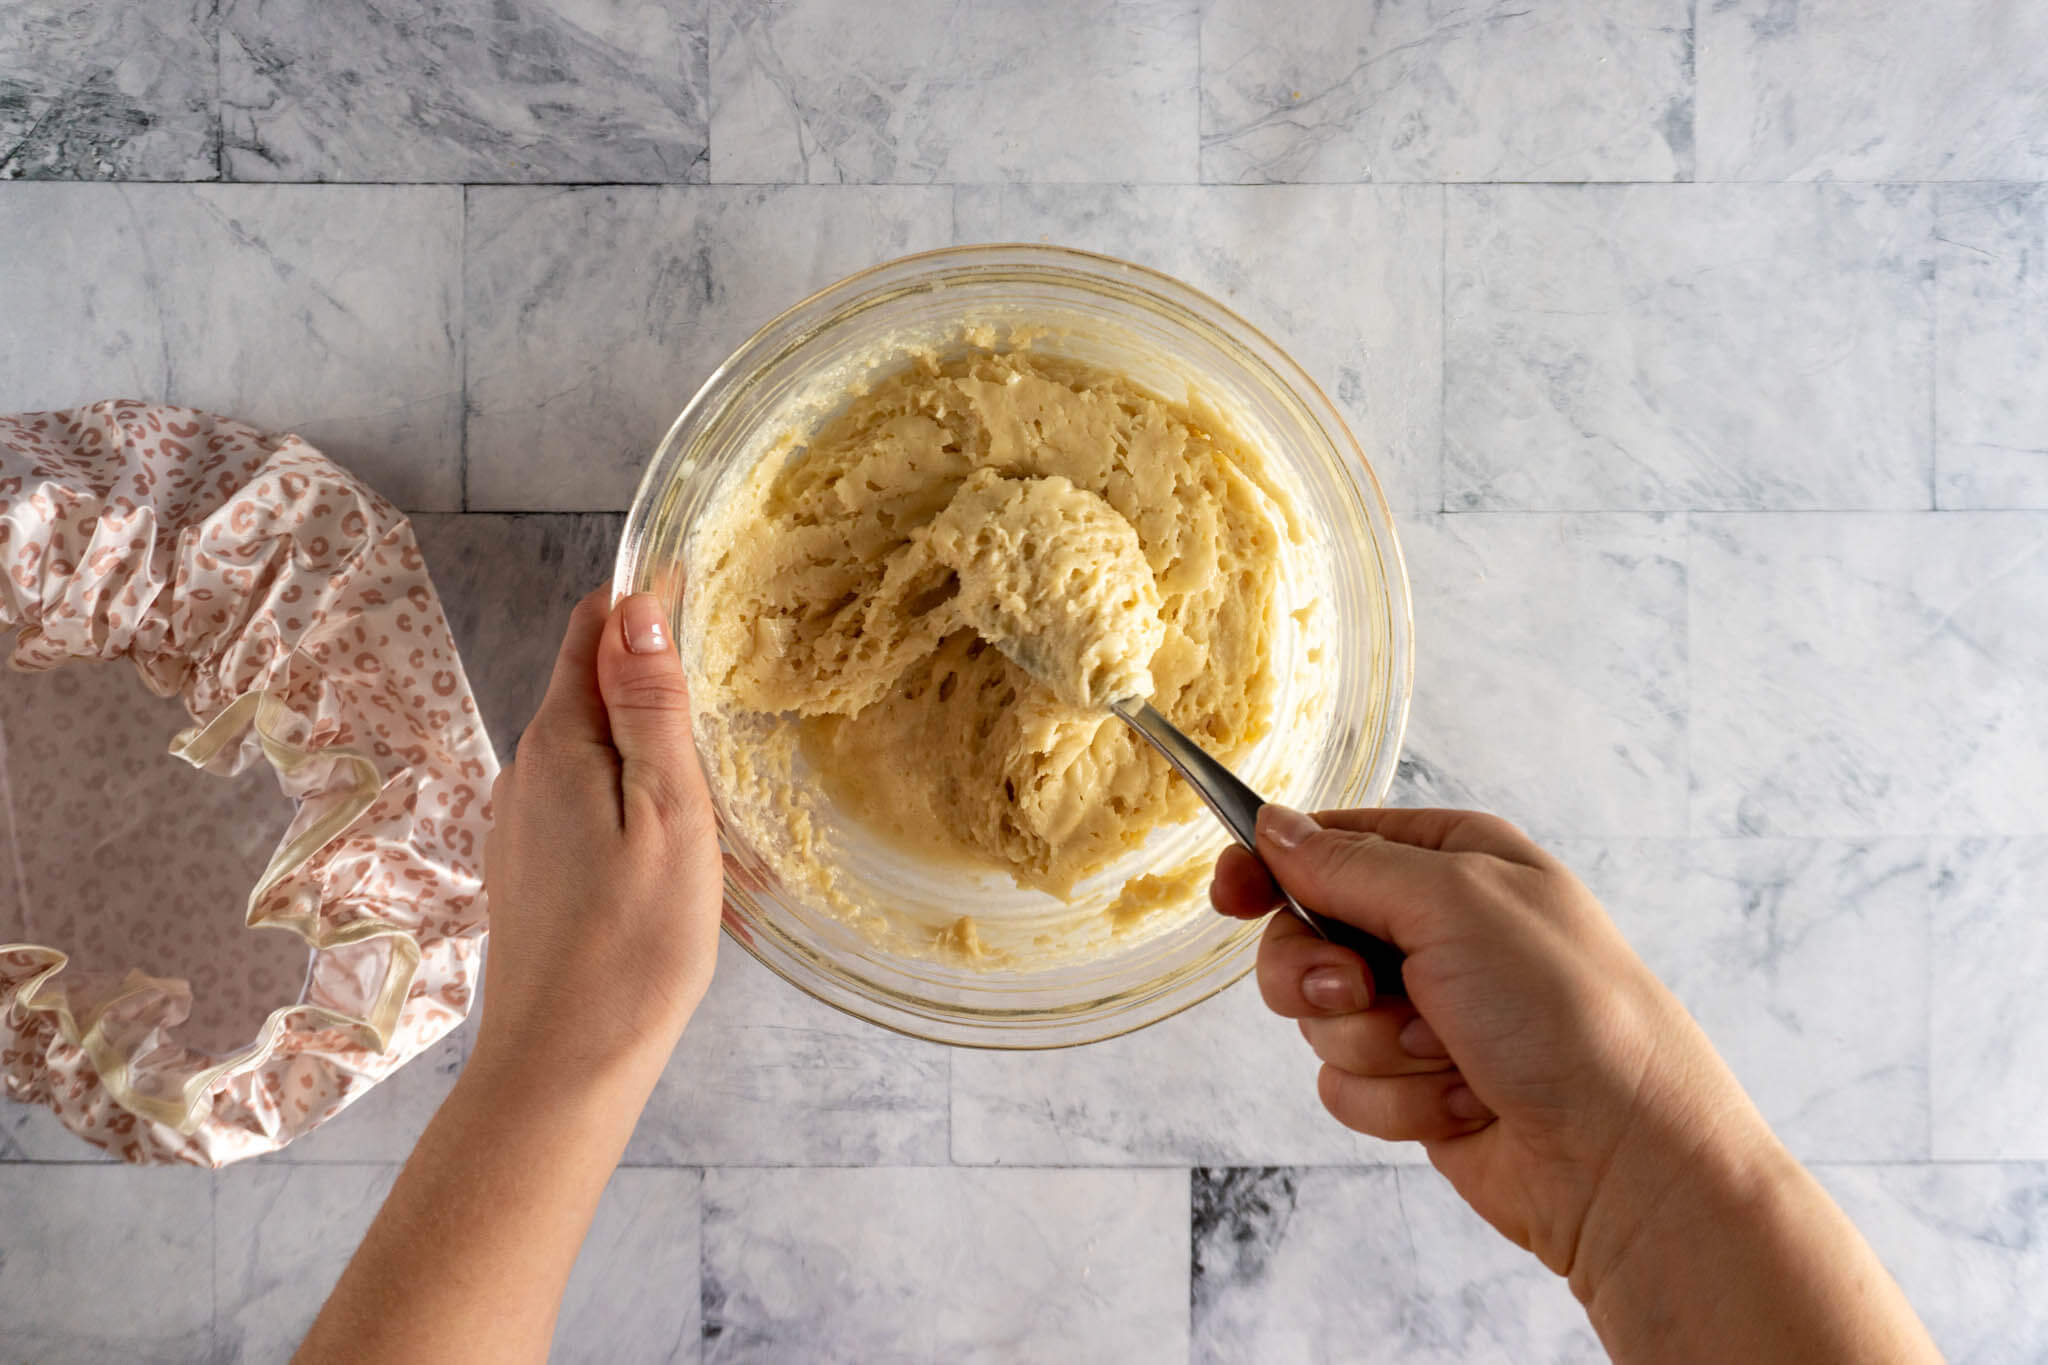
- Step 14: Re-cover and set aside.
Day 10:

- Step 15: Uncover the bowl and prepare to feed the starter.

- Step 16: Add 1 1/2 cup of milk, stir until completely combined.

- Step 17: Stir 1 1/2 cup of granulated sugar into the starter.

- Step 18: Add 1 1/2 cups of flour and stir until completely combined and smooth.

- Step 19: Divide your starter into 1 cup portions. Reserve 1 cup starter to keep the starter going. Divide the remaining starter into additional 1 cup portions to share or freeze. Your total yield may vary depending on how actively your starter ferments.
Ready To Bake? Here’s the full Amish Friendship Bread recipe
What To Do With Amish Friendship Bread Starter
Bake with it
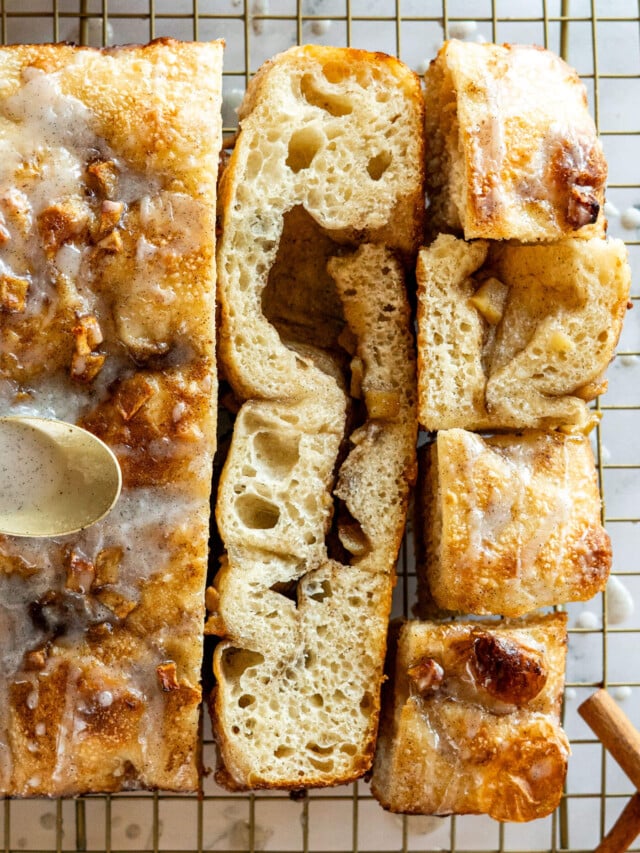
Use 1 cup in the Amish Friendship Bread recipe
Share it
Give 1 cup to a friend
Continue the starter
Keep 1 cup for your starter and begin another 10 day cycle
Freeze it
Save a portion for later
The 10 Day Cycle Explained
Amish Friendship Bread Starter lives on a 10 day cycle. The starter follows a 10 day cycle: stir it daily, feed it on Days 5 and 10, and divide it on Day 10.
On day one, you’ll mix up the ingredients and set it aside. Then, for the next three days, you’ll stir it once a day. On day five, you’ll feed it again and then let it sit, stirring daily until day 10.
On day ten, you’ll feed your starter then divide the starter into cup-sized portions. You’ll keep one cup for your starter, one for baking delicious bread, and gift the remainder to friends.
| Day | What To Do |
|---|---|
| 1 | Make the starter, cover and rest |
| 2 | Stir |
| 3 | Stir |
| 4 | Stir |
| 5 | Feed |
| 6 | Stir |
| 7 | Stir |
| 8 | Stir |
| 9 | Stir |
| 10 | Feed, divide, bake. |
The easy way to remember it:
Stir every day, feed on Day 5 and Day 10. Divide on Day 10. After you feed on Day 10, the reserved 1 cup becomes the starter for the next 10 day cycle. Treat that portion as Day 1 of the new 10 day cycle.
Expert Tips
- Give it room to breathe. A two quart glass, plastic, or ceramic container is my go-to for this starter. These non-reactive containers give you plenty of room for the starter to grow and make stirring a whole lot easier.
- Don’t stress about the spoon. You’ll often hear that fermented foods and metal don’t mix, but that advice is a carry over from many years ago when cooks had more reactive metalware, like aluminum and copper, in their kitchens. You don’t need to go out and buy a wooden spoon for your starter – if you don’t have one or a rubber spatula, a stainless steel spoon from your drawer will work just fine!
- Bag it or bowl it. A gallon sized zip-top bag is the traditional choice for Amish Friendship Bread starter, and it works perfectly well. I prefer a glass bowl because I find it easier to stir everything thoroughly without trying to vigorously squish starter without popping the bag open. I cover my bowl with a kitchen shower cap and leave it on the counter. If the bag works better for you, rock the bag!
- Mark your calendar. This starter isn’t fed every day like a traditional sourdough starter, you’ll stir it most days and feed it on specific days of the 10 day cycle. Keeping track of which day you’re on makes the process much easier!
- No friend? No problem. Amish Friendship Bread is meant to be shared, but someone has to make the first starter! This recipe uses commercial yeast to get the fermentation party starter, so you don’t have to wait for someone to share a cup of established starter.
Why This Recipe Works
Commercial yeast establishes initial fermentation. The yeast gives the starter a reliable starting population rather than requiring you to capture wild yeast from scratch.
Sugar changes the character of the starter. The added sugar makes this a sweet fermentation intended for sweet baked goods rather than a standard sourdough starter that is usually intended to leaven bread.
Scheduled feeding keeps the starter usable. The Day 5 and Day 10 additions replenish flour, sugar, and milk as the starter ferments. Dividing the starter on Day 10 keeps the amount manageable while giving you portions to bake with, share, freeze, and continue the cycle.
Sweet Amish Friendship Starter FAQs
Yes, swap a scant 2 teaspoons of instant yeast for the 2 1/4 teaspoons of active dry yeast, and you can skip the proofing step – simply stir it directly into the milk, sugar and flour mixture instead of blooming it in warm water first.
No, you only add commercial yeast once, in the very first batch, Once the sweet starter is established, reserve 1 cup on Day 10 and use that portion to begin the next 10 day cycle. You do not need new yeast each time you restart the cycle.
Yes, you can bake with it immediately after you feed it and divide it on Day 10 – no additional wait or ingredients needed to “activate it” or create a levain. The 10-day starter itself doesn’t make bread on its own, you’ll need to add it to an Amish Friendship Bread recipe.
Don’t restart from scratch, just stir it when you remember and continue the schedule. If you miss a feeding, feed it as soon as you can and continue monitoring it’s smell and appearance. If you see any signs of mold or discoloration, discard it rather than trying to rescue it.
No. Amish Friendship Bread starter is a fermented starter, but it isn’t the same as traditional sourdough starter. This recipe uses commercial yeast, milk, and sugar, and follows a 10 day cycle. Traditional starter is maintained with only flour and water.

Storing Sweet Starter In The Fridge
If you’re going to take a break from the 10 day feeding cycle, your starter can be stored in the fridge for up to 10 days. Here’s how to do it:
- After feeding and dividing, place 1 cup of the active starter into a clean plastic or glass container with a lid, but avoid airtight containers – the fermentation hasn’t stopped, and the last thing we want is a fermenty bomb in your fridge!
- Date your container – This helps to remind you quickly and easily when the last time you fed your starter to avoid having to revive your starter (like my long-forgotten sourdough starter last summer!)
- Feed your starter every 10 days. At least. Avoid going too long between feeds because this can weaken the starter, I find these sweet starters are a little bit less resilient than traditional sourdough starters.
- Remove your starter from the fridge 24-48 hours before feeding it. This allows the yeast and bacteria to reactivate, as they are sluggish in the fridge.
- Feed your starter (1 cup flour, 1 cup sugar, 1 cup milk), portion it out, and return the fed starter to the fridge and either bake with, freeze for later, or gift the remaining starter.
Can You Freeze Amish Friendship Bread Starter?
Sometimes you’ve baked enough sweets (gasp! it does happen) and you have starter that ready to bake with and no time to bake with it, the easiest way to preserve that starter is by freezing it for later use.
- After feeding and dividing, measure a generous cup of starter and pour into a ziploc style freezer bag, removing all the excess air.
Tip: I actually like vacuum packing my starter if I’m going to be storing it in the freezer because the vacuum bags are much thicker and can withstand the abuse of being banged around in the freezer without being punctured. - Label the bag with the contents and the date. Ex. Amish Friendship Bread Starter March 1, 2022.
- Lay the bag flat on a baking sheet and place it in the freezer until completely frozen. Tuck the flat-packed starter in a safe place in your freezer.
- Remove the bag of starter from the freezer 24-48 hours before baking, and allow to thaw at room temperature – keeping an eye on the bag, it will likely start to puff up as the yeasts reactivate.
- You can either bake with the thawed starter immediately, or feed it if you need to create more starter and restart the 10 day process then portion out 1 cup for baking.


Is My Starter Healthy?
A healthy starter is resilient and forgiving, most problems come from being forgotten, not from doing something wrong.
Signs your starter is healthy:
- Smell: Yeasty, beer-like, or mildly sweet right after feeding. Tangy and sharp when it’s hungry. Both are normal. The smell tells you more about which parts of your culture are active than whether the starter is in trouble.
- Appearance: Creamy and off-white throughout it’s cycle. It’ll look thick and dense right after feeding, then bubbly as it becomes active, then thinner and deflated when it’s hungry. All of those looks are normal, just stir and feed it on schedule.
Discard your starter immediately if you see:
- fuzzy mold on the surface
- pink, orange, or other discoloration or streaking
- a foul smell that doesn’t resemble normal fermentation
If any of these show up, don’t try to salvage your starter. My motto is “when in doubt – throw it out!”

If you tried this Amish Friendship Bread Starter recipe or any other recipe on my blog, please leave a 🌟 star rating and let me know how it went in the comments below. Thanks for visiting!
📖 Printable Recipe

Amish Friendship Bread Starter Recipe
Ingredients
- 2 1/4 teaspoons active dry yeast, or 1 packet
- 1/4 cup warm water
- 3 1/2 cups all purpose flour, divided
- 3 1/2 cups granulated sugar, divided
- 3 1/2 cups whole milk, divided
Instructions
Day 1:
- In a small bowl, combine 1/4 cup warm water with 2 1/4 teaspoons of active dry yeast. Set the bowl aside for 5-10 minutes to allow the yeast to bloom.
- Meanwhile, whisk 1 cup of flour and 1 cup of sugar in a large bowl with at least 2-quart capacity.
- When the flour and sugar are completely combined, mix in 1 cup of milk.
- Once the yeast has been fully activated and is bubbly, pour the yeast mixture into the flour mixture and stir until fully combined.
- Cover it with a clean kitchen cloth, a kitchen dedicated shower cap, or plastic wrap and store it at room temperature.
- It may help to write yourself a post-it note with the dates of each day of the 10 day cycle.
Days 2 – 4:
- Uncover the bowl and stir the mixture thoroughly.
- Re-cover and set aside.
Day 5:
- Uncover the bowl and prepare to feed the starter. Add 1 cup milk, and stir until completely combined before moving on.
- Add 1 cup of granulated sugar and stir until completely combined.
- Add 1 cup flour and mix until mostly smooth, a few flour lumps remaining is ok. Re-cover the bowl and set aside until Day 6.
Days 6 – 9:
- Uncover the bowl and stir the mixture thoroughly, scraping the sides as required.
- Re-cover and set aside.
Day 10:
- Uncover the bowl and prepare to feed the starter. Add 1 1/2 cup of milk, stir until completely combined.
- Stir 1 1/2 cup of granulated sugar into the starter.
- Add 1 1/2 cups of flour and stir until completely combined and smooth.
- Divide your starter into 1 cup portions. Reserve 1 cup starter to keep the starter going. Divide the remaining starter into additional 1 cup portions to share or freeze. Your total yield may vary depending on how actively your starter ferments.
- After feeding and dividing, the reserved 1 cup for the starter becomes Day 1 of the new cycle.
Notes
- Give it room to breathe. A two quart glass, plastic, or ceramic container is my go-to for this starter. These non-reactive containers give you plenty of room for the starter to grow and make stirring a whole lot easier.
- Don't stress about the spoon. You'll often hear that fermented foods and metal don't mix, but that advice is a carry over from many years ago when cooks had more reactive metalware, like aluminum and copper, in their kitchens. You don't need to go out and buy a wooden spoon for your starter - if you don't have one or a rubber spatula, a stainless steel spoon from your drawer will work just fine!
- Bag it or bowl it. A gallon sized zip-top bag is the traditional choice for Amish Friendship Bread starter, and it works perfectly well. I prefer a glass bowl because I find it easier to stir everything thoroughly without trying to vigorously squish starter without popping the bag open. I cover my bowl with a kitchen shower cap and leave it on the counter. If the bag works better for you, rock the bag!
- Mark your calendar. This starter isn't fed every day like a traditional sourdough starter, you'll stir it most days and feed it on specific days of the 10 day cycle. Keeping track of which day you're on make the process much easier!
- No friend? No problem. Amish Friendship Bread is meant to be shared, but someone has to make the first starter! This recipe uses commercial yeast to get the fermentation party starter, so you don't have to wait for someone to share a cup of established starter.



Hi! Will Lactaid free milk work for this recipe? Rainy day & I don’t want to go to the grocery store to buy regular milk so thought I would ask.
🤗 Can’t wait to try this! Thank you
Hi Lori, I am not sure, the only way to find out is try! I’d maybe halve the recipe so that if it doesn’t work, you’re not wasting too many ingredients – if you do try, please let me know I am super currious!
Thank you for this starter recipe. A friend gave me a starter years ago and I made some very tasty bread with it. I don’t recall whatever happened to it and I fell out of touch with that friend so I’ve been looking for a starter recipe. Can instant yeast be used instead of active dry yeast?
So glad you found the recipe you were looking for! Yes, you can use instant yeast but reduce the amount to a scant 2 teaspoons.
Just want to confirm… After the 10 days you can just put it into a pan and bake it for sourdough or add other ingrediants and make frienship bread? Or do you need to add anything to day 10 to make it sourdough to bake?
Hey Morgan, you’ll need to add other ingredients to make the friendship bread. This 10 day process is to get the starter going!
I use the recipe from the Amish friendship bread I linked above and toss in frozen blueberries to make the most delicious blueberry muffins!
Hello,
Do you have to use yeast again every time the 10 day cycle started over ? Like when you say use your one cup of starter and treat day 10 like it’s day 1. Do you have you give it more commercial yeast ?
Hey Melissa! You only need to feed it commercial yeast in the original feeding. When I say treat like day one, I just mean start over the 10 day cycle.
Hello, love the recipe! Would it be alright to use an all pourpose gf flour with xanthan gum in it.
Hi Priscilla, I’m sorry I have no experience with gluten free baking for this recipe and I know the ingredients are extremely expensive, so I hesitate to recommend anything! There may be a tested gluten free AFBS out there though!
I love that you have this “start up” recipe for the Amish Friendship Bread Starter.
I had one years ago and I finally baked it off when my parents health was so bad I had to deceive all of my time to them.
The only one thing I would like to suggest to you is the sponsor/advertisement.
I printed your recipe but I think I will hold off sharing the link. I just don’t want my friends to turn against the recipe before I can share it with them.
Hey Mark, sorry to hear about the ad! I will certainly look into that.
Thanks for your kind words, and glad to hear you are enjoying the starter.
I am excited to try this- I have loved your other sourdough recipes so I am looking forward to adding this to my repertoire. Would I be able to use whole wheat flour?
You should be to, BUT, I would start with the base recipe and sub half the whole wheat for all-purpose for the starter and the Amish Friendship Bread itself. Then if you find that it’s suitable to your tastes, you could try to do 3/4 whole wheat 1/4 AP flour for the next batch. Sometimes, whole wheat doesn’t sub well if you do it 1:1!
I am excited to try this recipe- I have loved your other sourdough posts so I am looking forward to adding this to my repertoire. It would be great at Easter.